
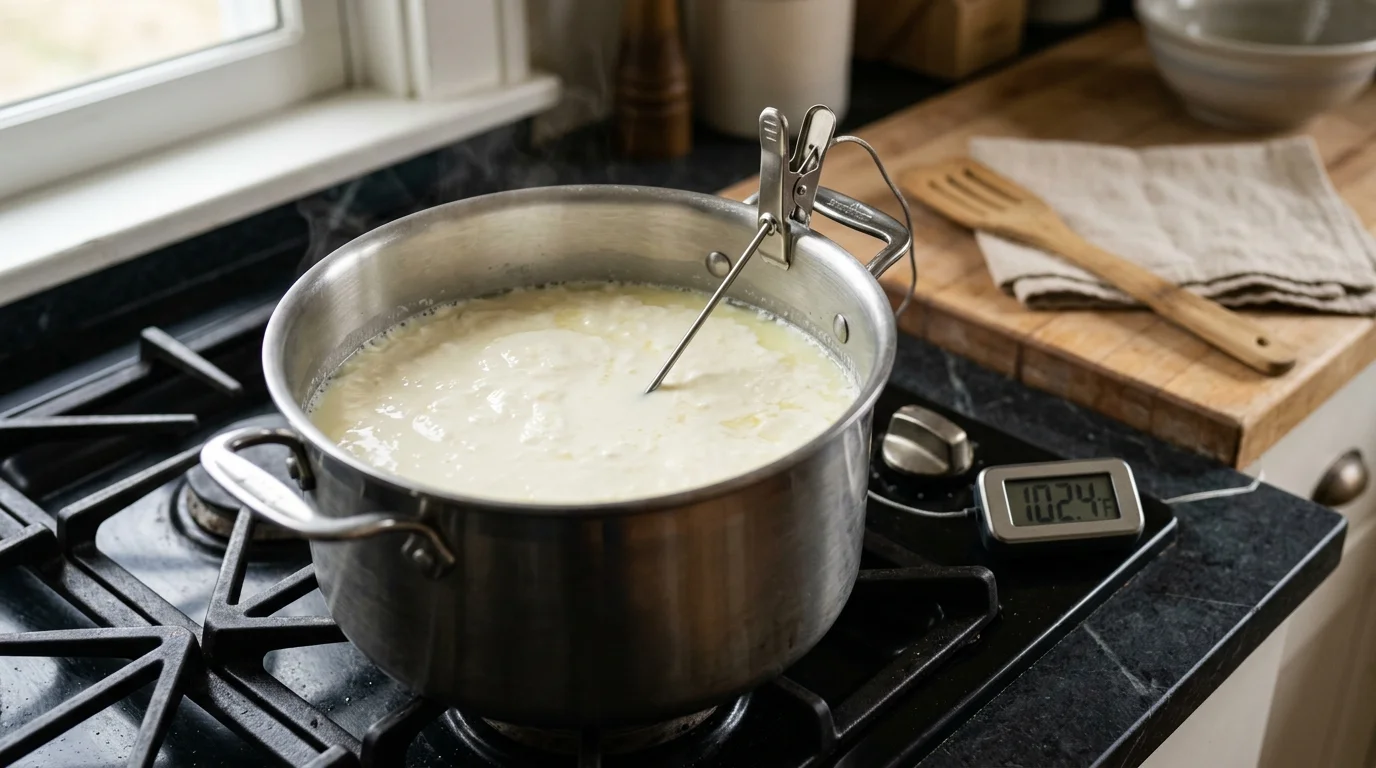
One gallon of milk responds aggressively to direct stove heat because low liquid volumes lack thermal mass. A sudden two-degree overshoot disrupts delicate bacterial acidification and compromises your finished curd texture.
While simple dial thermometers often appear on checklists of first kitchen essentials, small-batch cheesemaking requires specialized decimal precision.
Traditional analog dial gauges react far too slowly to catch rapid thermal shifts in five-quart pots. Upgrading to a sub-degree digital thermocouple displays live decimal trajectories before milk climbs past target temperatures.
This guide evaluates probe response times and clip stability on home burners. You will learn how decimal tracking protects your curds between 100°F and 115°F.
Thermal Dynamics of Small-Batch Cheesemaking
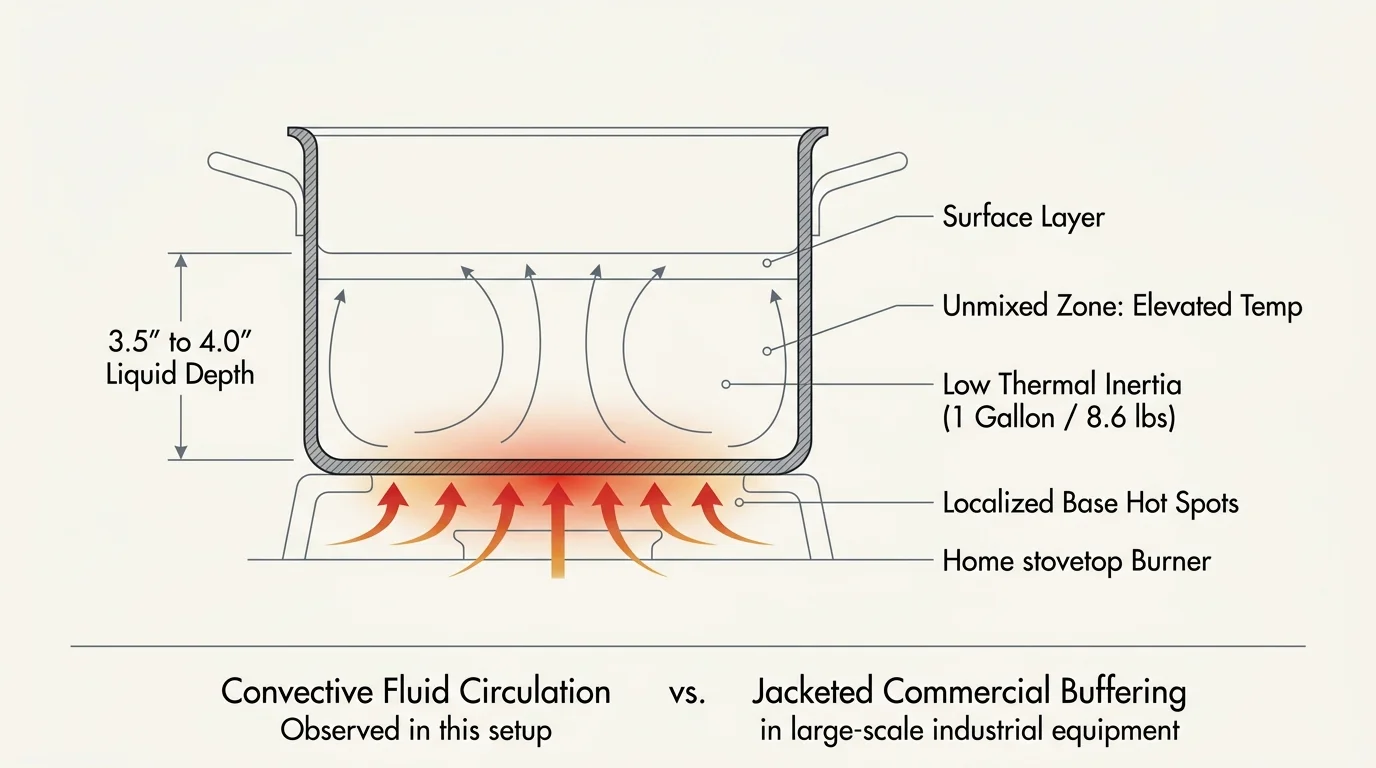
One gallon of whole cow milk weighs roughly 8.6 pounds (3.8 liters). In a standard 5-quart or 6-quart kitchen stockpot, that volume creates a shallow liquid depth of only 3.5 to 4 inches.
Portioning your milk and curd additives by weight using reliable kitchen scales ensures far greater batch consistency than relying on rough liquid volume marks.
Some cooks eliminate stovetop hot spots entirely by using sous vide machines for precision cooking to regulate an external water bath around their stockpot.
This compact liquid volume lacks the thermal inertia found in commercial 50-gallon dairy vats. Consequently, heat from residential gas flames or electric stove coils transfers into the milk with extreme speed.
Stovetop heating creates intense localized hot spots across the pot base. Without vigorous, continuous agitation, milk resting near the bottom climbs several degrees higher than the liquid hovering near the surface.
Commercial producers rely on jacketed water vats to buffer heat transfer. Home cheesemakers, however, must manage burner output manually while stirring constantly to disperse concentrated thermal energy throughout the pot.
A single sudden thermal spike can destabilize milk proteins before rennet coagulation begins. Maintaining complete control over this volatile environment requires an instrument that detects decimal-level shifts immediately.
Analog Dial Limitations vs Digital Thermocouples
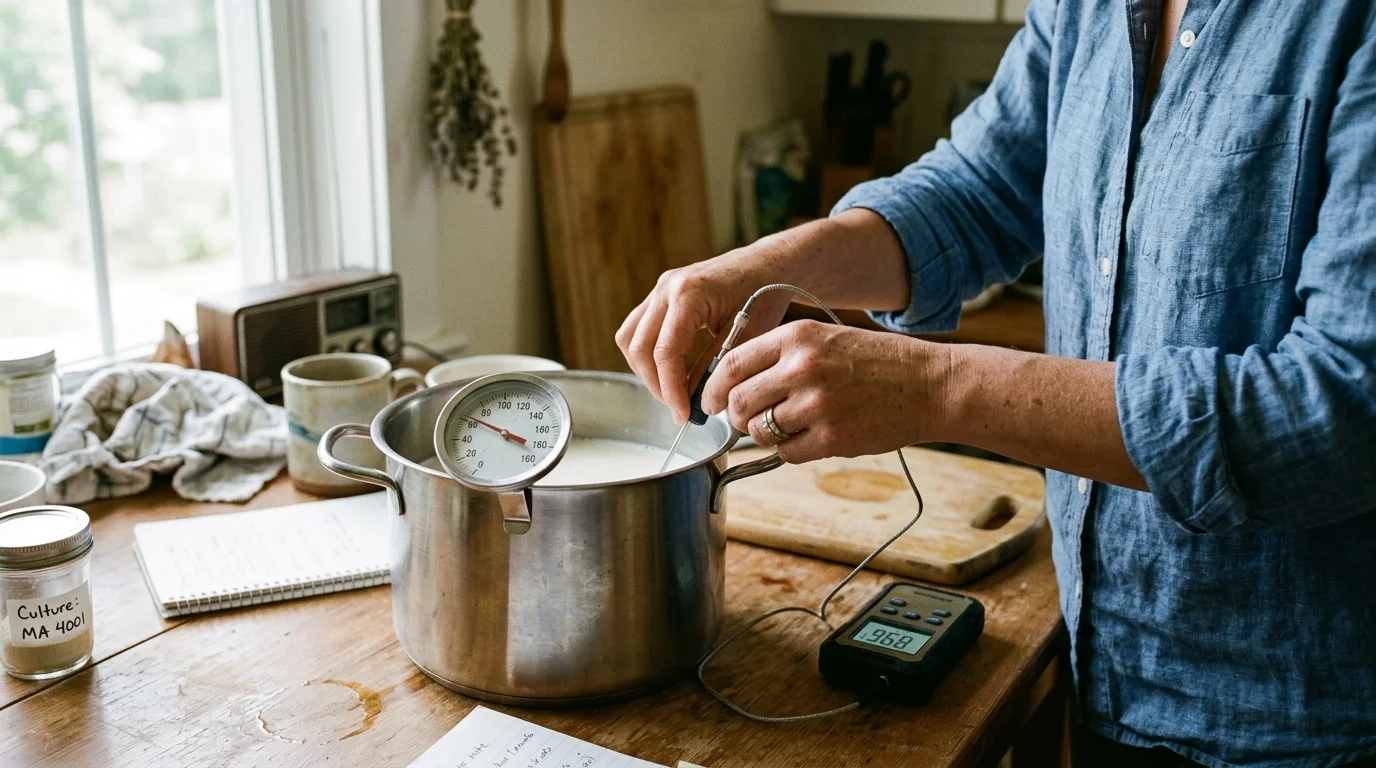
Analog candy and dairy thermometers rely on physical bi-metallic coils enclosed in heavy stainless steel stems. These mechanical coils require 10 to 30 seconds to expand and reflect true temperature changes.
Some home cheesemakers pair digital probes with enameled Dutch ovens to combine responsive temperature monitoring with the gentle heat distribution of cast iron.
In a small 1-gallon batch, milk temperature can spike 3°F during that 30-second mechanical lag. By the time a dial needle moves, your milk has already overshot its target window.
Furthermore, standard analog dial faces feature crude tick marks spaced at 1°F or 2°F increments. These dial gauges frequently carry factory error tolerances ranging from ±2°F to ±5°F.
That margin of error exceeds your entire tolerance window for culturing and cooking curds. You cannot manage artisan fermentation when your gauge allows a five-degree blind spot.
“A one-degree spike during curd cooking locks the curd surface and traps acidic whey inside, permanently ruining the cheese texture.” — Commercial Cheesemaker
Modern digital thermometers use micro-thermocouple wire junctions situated in the extreme tip of the probe. These electronic sensors register thermal fluctuations in under one second.
Digital thermocouple readouts display resolutions of 0.1°F, revealing micro-trends in real time. This rapid feedback lets you dial back burner heat long before the milk overshoots your recipe target.
Critical Temperature Windows in Curd Development
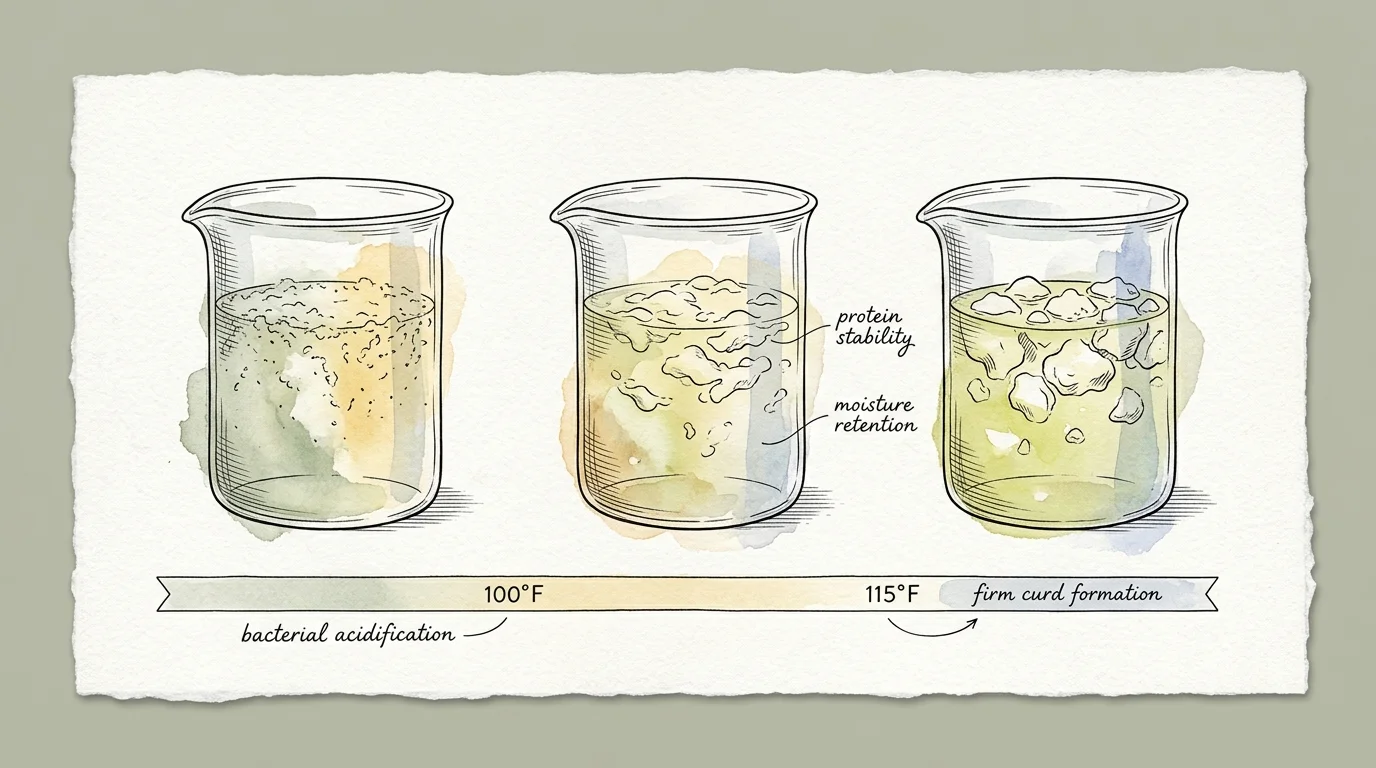
Cheesemaking relies on two primary categories of starter bacteria, each operating within narrow thermal parameters. Mesophilic cultures, used for Cheddar, Gouda, and Chevre, operate between 86°F and 90°F (30°C to 32°C).
Pairing tight heat management with accurate measuring spoons prevents accidentally overdosing potent diluted rennet or calcium chloride solutions.
Pairing your temperature readings with accurate kitchen timers helps you strictly pace curd cooking intervals and avoid sudden thermal spikes.
Thermophilic cultures, utilized for Alpine styles, Parmesan, and Mozzarella, activate between 102°F and 108°F (38.8°C to 42.2°C). Temperature drifts as narrow as 2°F disrupt bacterial acidification rates significantly.
If your milk runs too cool, starter cultures stall; if it runs too warm, bacteria acidify too fast. Rapid acidification expels calcium prematurely, creating crumbly, dry curds that refuse to knit properly.
During the curd cooking phase, recipes demand a gentle, deliberate heat increase. Artisan guidelines specify raising curd temperatures at a rate no faster than 1°F to 2°F every 5 minutes.
Sub-degree displays allow you to verify this gradual climb every sixty seconds. Without tenth-of-a-degree resolution, you cannot calculate whether your curds are heating at the correct rate.
Rapid heating triggers a devastating structural defect called case hardening. The exterior of each curd cube cooks into a tough skin, trapping liquid whey inside and causing sour, uneven aging.
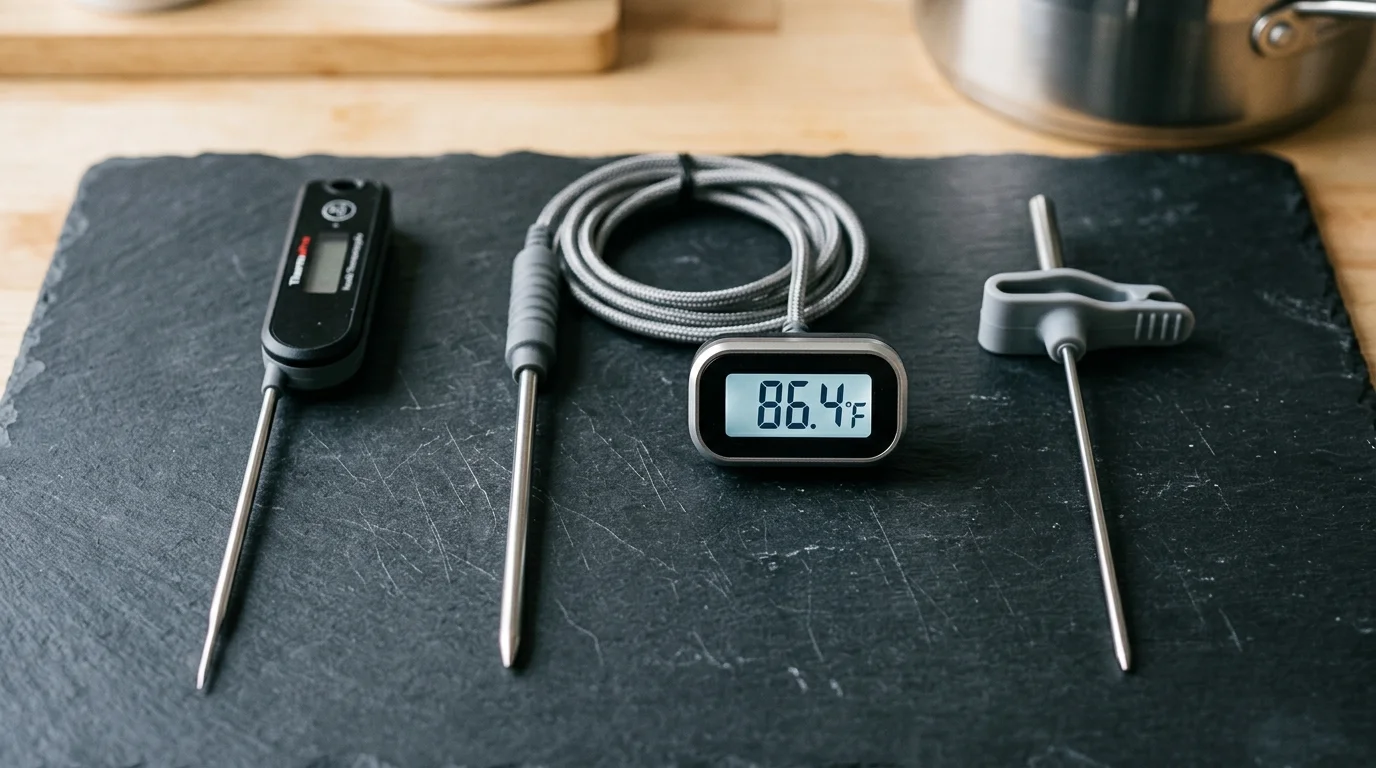
Top Precision Thermometers for Curd Monitoring
Selecting the right digital probe depends on whether you require instant spot checks or continuous hands-free pot monitoring. We evaluated the leading digital instruments against the demands of 1-gallon milk batches.
The ThermoWorks Thermapen ONE stands as our top pick for serious cooks. It delivers full temperature stabilization in under one second via an ultra-thin Type K thermocouple probe.
With an accuracy rating of ±0.5°F (±0.3°C) and 0.1° resolution, the Thermapen ONE catches micro-climbs instantly. Its IP67 waterproof construction survives accidental drops into whey and withstands heavy kitchen steam.
According to culinary equipment evaluations by Serious Eats, high-speed thermocouple sensors eliminate the dangerous measurement lag that compromises delicate recipes.
For home cheesemakers seeking an affordable alternative, the ThermoWorks ThermoPop 2 offers outstanding value at roughly $35. It stabilizes within 2 to 3 seconds while providing ±1.0°F (±0.5°C) accuracy.
The ThermoPop 2 displays 0.1° resolution below 100°F and features a compact 4.5-inch stem. That shorter stem length prevents the gauge from tipping out of shallow 1-gallon pots.
For continuous tracking during long curd stirring cycles, the ThermoWorks ChefAlarm provides hands-free security. Priced around $65 to $74, this unit features programmable high-temp and low-temp alarms.
Equipment reviews from America’s Test Kitchen highlight probe alarms as indispensable tools for monitoring liquids without hovering over burners. The ChefAlarm tracks 0.1° changes continuously.
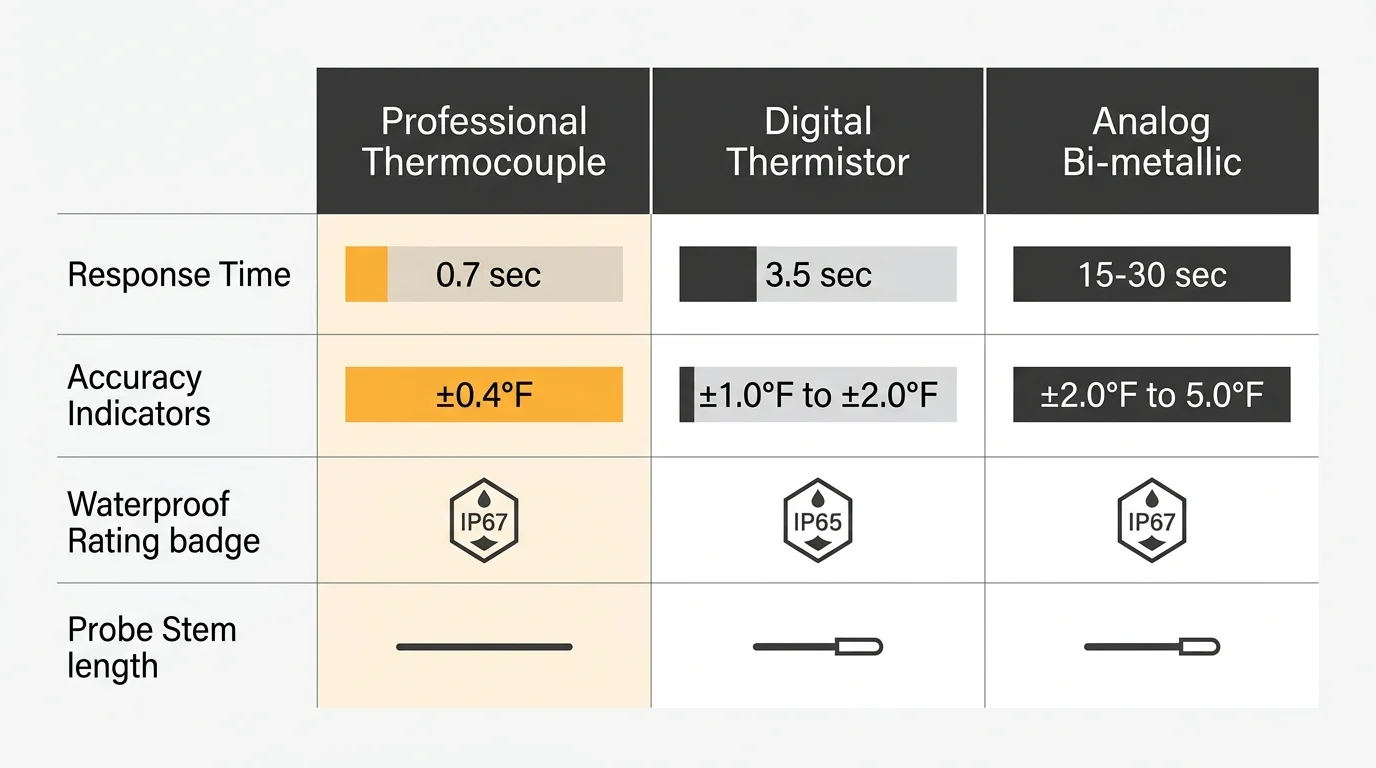
Head-to-Head Specifications Comparison
Evaluating thermometer specifications side by side clarifies why sub-degree digital probes outperform mechanical gauges. The following table compares four common tools used in home dairy processing.
In colder workspaces, cooks often utilize temperature-controlled fermentation boxes to maintain ambient stability during prolonged curd draining and acidification.
Following temperature-critical cooking steps, transferring curds into cheesecloth-lined colanders and strainers ensures rapid, gentle whey separation.
| Thermometer Model | Sensor Mechanism | Stated Accuracy | Display Resolution | Response Speed | Immersion Depth Needed | Approximate MSRP |
|---|---|---|---|---|---|---|
| ThermoWorks Thermapen ONE | Type K Thermocouple | ±0.5°F (±0.3°C) | 0.1°F or 0.1°C | Under 1.0 second | 0.125 inches (tip only) | $105 |
| ThermoWorks ThermoPop 2 (4.5″) | Precision Thermistor | ±1.0°F (±0.5°C) | 0.1°F (up to 99.9°F) | 2 to 3 seconds | 0.25 inches (tip only) | $35 |
| ThermoWorks ChefAlarm | Thermistor Cable Probe | ±0.9°F (±0.5°C) | 0.1°F or 0.1°C | 5 seconds | 0.25 inches (tip only) | $65 |
| Standard Analog Dial Gauge | Bi-Metallic Coil | ±2.0°F to ±5.0°F | 1.0°F or 2.0°F marks | 15 to 30 seconds | 2.0 to 2.5 inches | $12 |
Notice the critical difference in required immersion depths between digital and analog units. Bi-metallic stems require at least two full inches of liquid immersion to register accurate readings.
In a 1-gallon batch measuring just 3.5 inches deep, an analog probe barely clears the pot floor. Digital probes take readings entirely at their extreme tips, keeping your measurements isolated from scorching bottom metal.
Fast response times also protect you during continuous curd stirring. A tool updating every second alerts you immediately when stove output runs too hot for the current recipe phase.
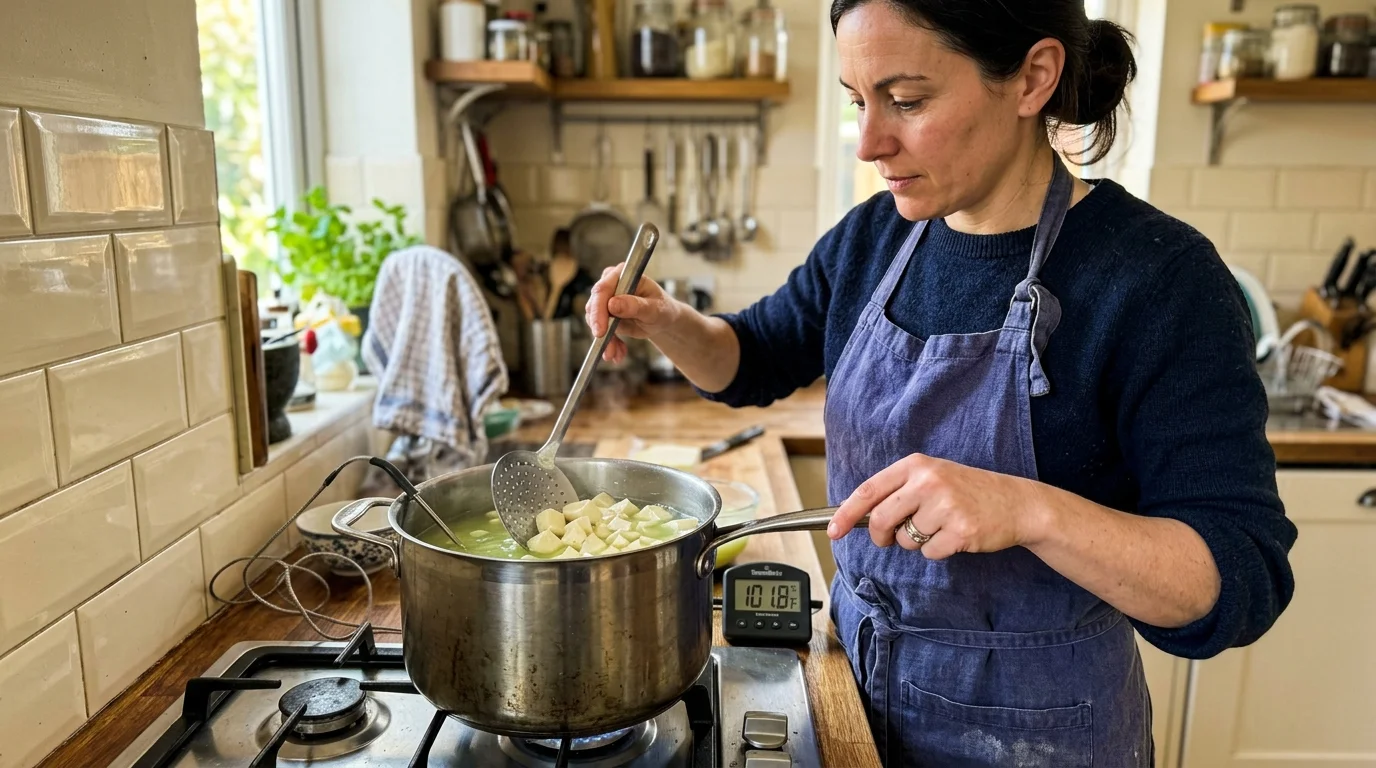
Worked Example: Heating One Gallon of Farmhouse Cheddar
Consider this concrete scenario warming one gallon (8.6 pounds) of pasteurized whole milk in an 8-inch wide, 6-quart stainless stockpot. You set your smallest gas burner to medium-low.
Once your finished cheddar wheel has matured, shaving it with a sharp microplane grater yields airy, fine curls that melt smoothly across warm dishes.
Maintaining this level of thermal control is equally vital when proofing starter cultures, where dedicated starter incubation mats can stabilize mesophilic bacteria before inoculation.
Your Cheddar recipe requires warming refrigerated milk from 64.0°F to an 86.0°F mesophilic culturing target. At minute eight, your digital display reads 82.4°F and climbs 0.2°F every 6 seconds.
Observing this rate, you cut burner heat entirely at 84.8°F. The residual thermal energy trapped inside the pot base coasts the milk smoothly to exactly 86.0°F over the next 90 seconds.
An analog dial thermometer would have lagged at 82°F while the pot base continued overheating. You would have left the burner running, causing the milk to spike past 89°F and damaging culture vigor.
Later, after cutting your curds, you begin the cooking phase. You must raise the temperature from 86.0°F to 102.0°F over 40 minutes, which demands an increase of 2.0°F every 5 minutes.
At minute five, you check the liquid; your digital screen confirms 88.0°F. At minute ten, you read 90.1°F, confirming your low flame provides the exact thermal input required for steady curd shrinkage.
If your display reads 92.4°F at minute ten, you instantly spot a rapid overshoot. You immediately pull the pot off the burner for two minutes, preventing case hardening before the curds suffer permanent damage.
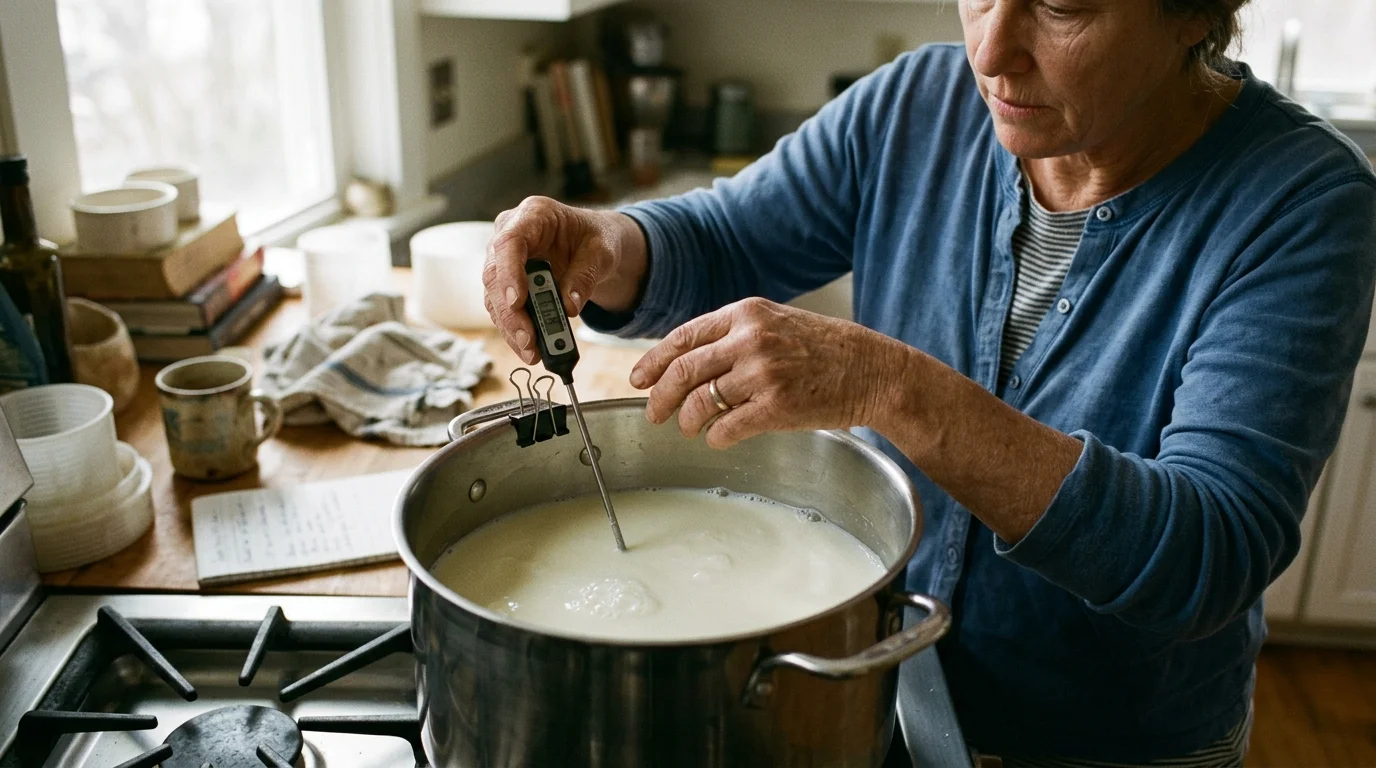
Pot Clip Stability and Sensor Depth in Shallow Milk
One gallon of milk creates an unusually shallow liquid bath inside standard kitchen cookware. Improper probe suspension causes catastrophic reading errors during extended cooking phases.
If your probe tip sinks to the bottom of the pot, it touches scorching stainless steel. That metal surface runs several degrees hotter than the milk, triggering false panic and premature burner shutdowns.
A dependable pot clip must clamp securely to curved cookware rims without wobbling. It must hold the thermometer shaft completely rigid while you stir curds continuously with a cheese ladle.
Position the clip to suspend the probe tip 1.5 inches beneath the milk surface. Ensure the tip remains at least 1.5 inches above the bottom of the stockpot to avoid heat transfer from the burner.
Using a stable pot clip also eliminates severe hand and wrist fatigue. Stirring curds gently for 45 minutes requires complete concentration without the distraction of clutching a handheld probe.
Appliance and kitchen hardware research from Consumer Reports confirms that secure mounting hardware prevents accidental container spills and equipment damage.
Curd Knives, Prep Tools, and Blade Safety
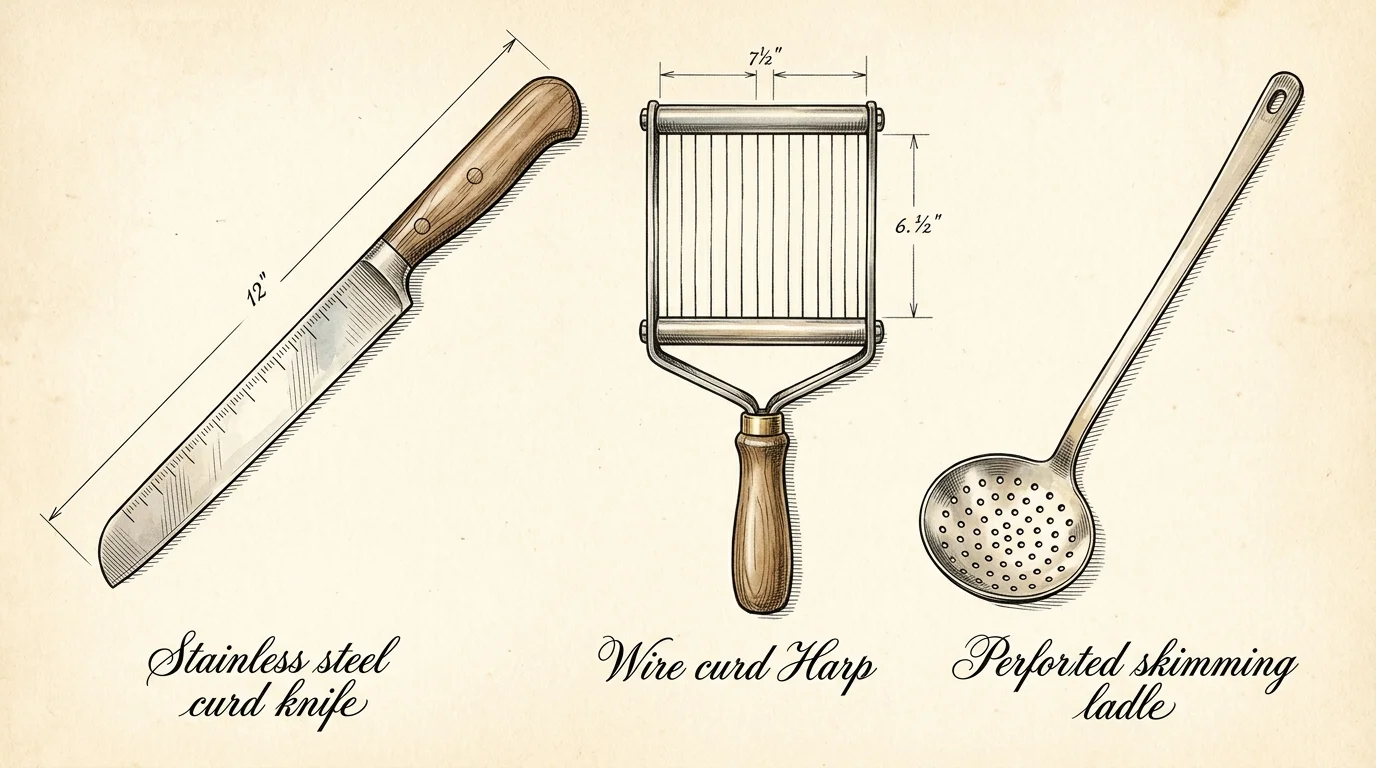
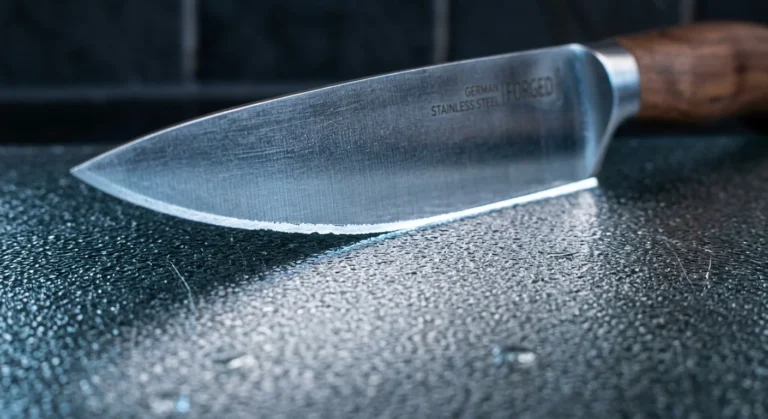
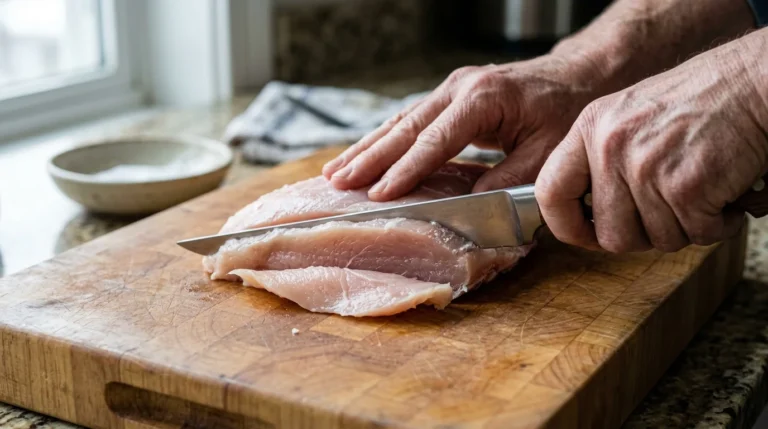
Cutting the coagulated curd into uniform cubes requires reliable food prep tools. A 10-inch slicing knife or dedicated curd knife allows you to reach the bottom of your stockpot cleanly.
Look for a knife featuring a full tang, which means the knife blade extends all the way through the handle for better balance. A balanced tool gives you greater cutting precision across fragile curd sheets.
Examine the knife bolster, which is the thick part where the blade meets the handle, provides balance and finger protection. A smooth bolster prevents hand irritation during repetitive slicing motions.
Blade material selection matters due to the acidic nature of ripening dairy. Stainless steel alloys resist lactic acid corrosion and will not discolor curds or transfer metallic off-flavors.
Avoid high-carbon steel blades for cutting curds because acidic dairy quickly oxidizes the metal. Ceramic blades offer acid resistance, but their brittle edges chip easily if they contact stainless steel pot walls.
Maintain your slicing tools regularly. Preserve your cutting edge with honing, which is realigning the blade edge without removing metal, rather than sharpening, which is actually removing metal to create a new edge.
“Clean cuts yield firm curds. Dull blades mash the curd structure, dumping fat and protein into the discarded whey.” — Culinary Instructor
Always practice strict blade safety inside deep stockpots. Keep your guiding fingers curled into a claw away from the edge, and never apply downward force if wet whey makes your handle slick.
Thorough kitchen organization requires mise en place, which means having all ingredients prepped and ready before cooking. Dissolve rennet tablets, measure calcium chloride, and prepare ice baths before heating milk.
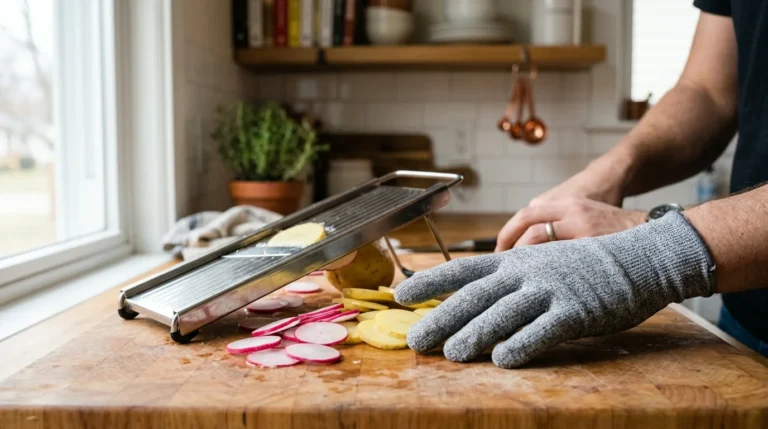
If you create specialty cheeses containing peppers or garlic, prepare your additions cleanly. Use a mandoline, which is a flat cutting tool with adjustable blades for uniform slicing, to produce even pieces.
Cut firm vegetables into a fine julienne, which means cutting vegetables into thin matchstick strips. Thin strips blend smoothly into warm curd without shearing the knit structure during pressing.
For puréeing herbs or chopping rind rub ingredients, utilize your food processor’s pulse function, which provides short bursts of power for better control. Controlled pulses prevent ingredients from turning into an oily sludge.
Cleaning, Sanitizing, and Probe Maintenance
Dairy residue provides an ideal breeding ground for spoilage bacteria and wild yeasts. You must clean and sanitize your temperature probe thoroughly before and after every cheesemaking session.
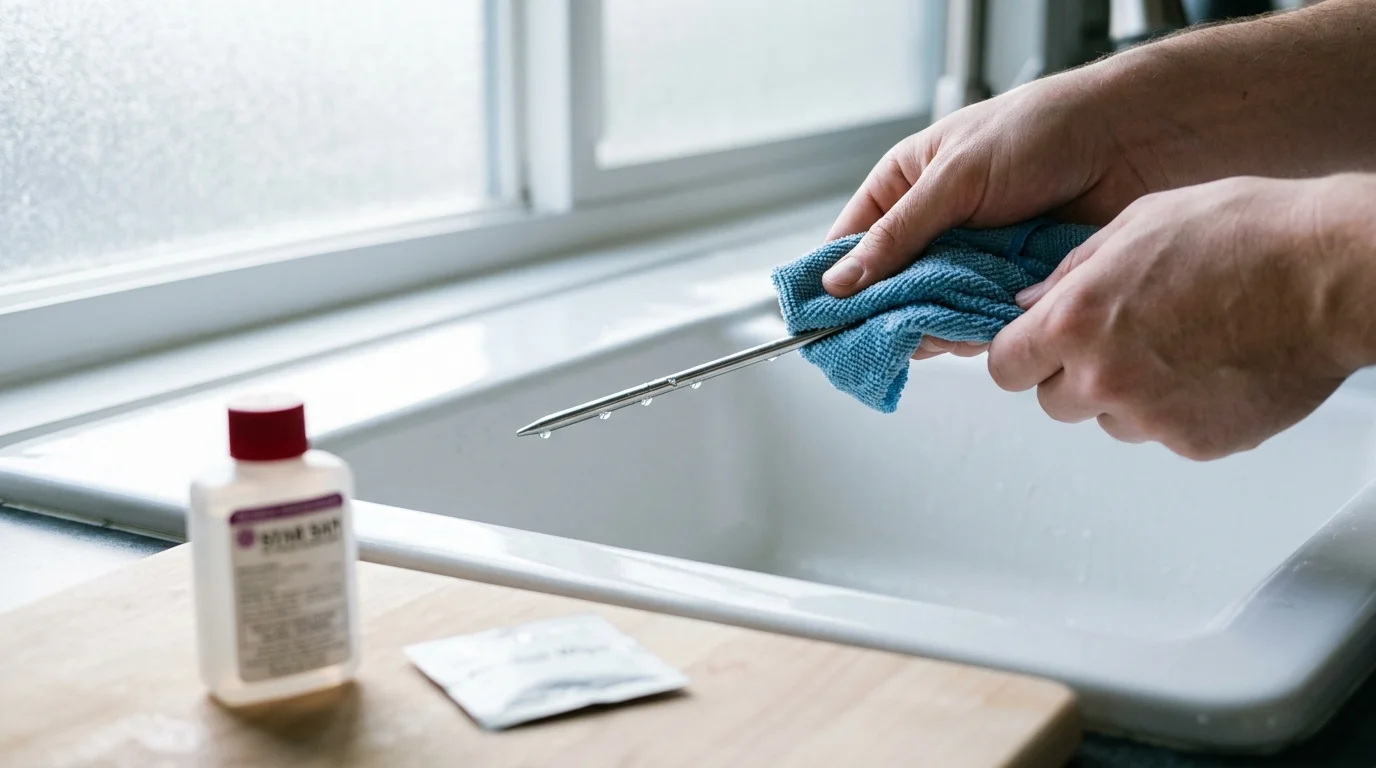
Wash your thermometer probe by hand using warm water, mild dish detergent, and a soft cloth. Never place digital thermometer displays or probe cables into a residential dishwasher, as steam destroys electronic gaskets.
Sanitize the stainless steel probe shaft with an alcohol wipe or food-safe sanitizing solution before submerging it. Allow the sanitizer to air dry completely so chemical residues do not kill your starter cultures.
Check the accuracy of your thermometer monthly using a crushed ice water bath. Pack a drinking glass with crushed ice, fill the remaining space with cold tap water, and stir vigorously for one minute.
Submerge the probe tip two inches into the ice slurry without touching the glass walls. A calibrated sub-degree instrument will read precisely 32.0°F (0.0°C), verifying its reliability for your next dairy batch.
Frequently Asked Questions
Why can I not use an analog candy thermometer for cheesemaking?
Analog candy thermometers respond too slowly to thermal changes in small 1-gallon milk volumes. Their bi-metallic coils take up to 30 seconds to equilibrate, causing severe temperature overshoots on stovetop burners.
What temperature resolution do I need to make cheese at home?
You need a thermometer with a 0.1°F sub-degree digital resolution. Tenth-of-a-degree feedback lets you verify gradual curd cooking rates of 1°F to 2°F every 5 minutes without accidentally scorching curds.
How deep must I submerge a digital probe in one gallon of milk?
Digital thermocouple and thermistor probes take temperature measurements at their extreme tips, requiring only 0.25 inches of liquid depth. Submerge the probe 1.5 inches below the surface to stay safely away from the hot pot bottom.
Are digital cheesemaking thermometers dishwasher-safe?
No, you should never clean digital food thermometers or their probe cables in a household dishwasher. High-heat wash cycles and pressurized steam degrade silicone water seals and ruin delicate internal electronic circuits.
Disclaimer: Product prices and availability change frequently. Prices shown were accurate at time of writing but may have changed. We may earn a small commission from purchases made through links on this site, at no extra cost to you. Always use cutting tools carefully and follow manufacturer safety guidelines.
3 Comments