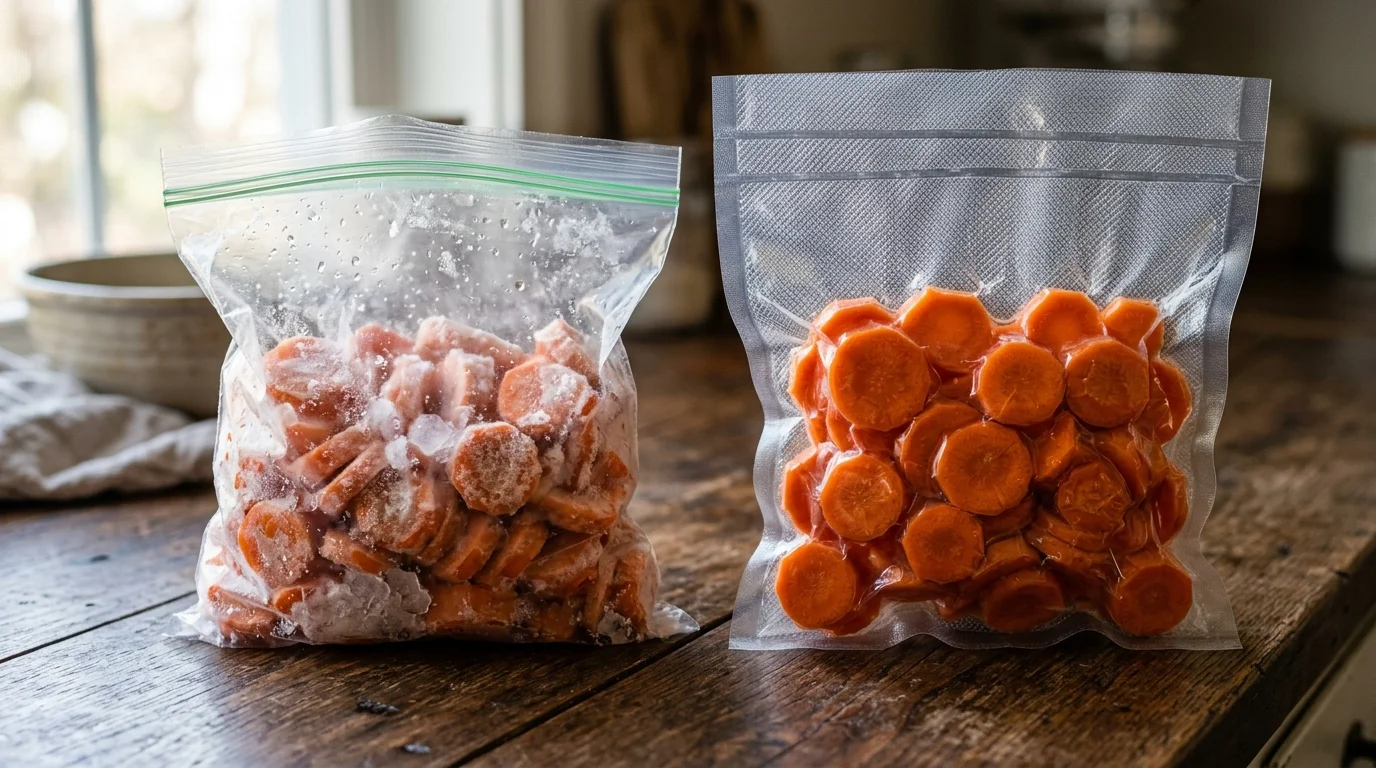
Standard grocery zipper bags ruin your 12-month garden harvest because thin polyethylene allows oxygen to seep through within four months at -5°F. Upgrading your vacuum sealer bag thickness stops ice crystal crystallization and preserves flavor.
Many preservers assume thicker plastic always provides superior protection. However, bag material composition and oxygen transmission rates protect food far better than raw plastic gauge alone during year-long storage cycles.
When comparing 3 mil vs 5 mil vacuum bags, matching film density to food geometry prevents premature seal failure and keeps your hard-earned harvest fresh until next season.
Understanding Vacuum Sealer Bag Thickness: Mils and Microns Defined
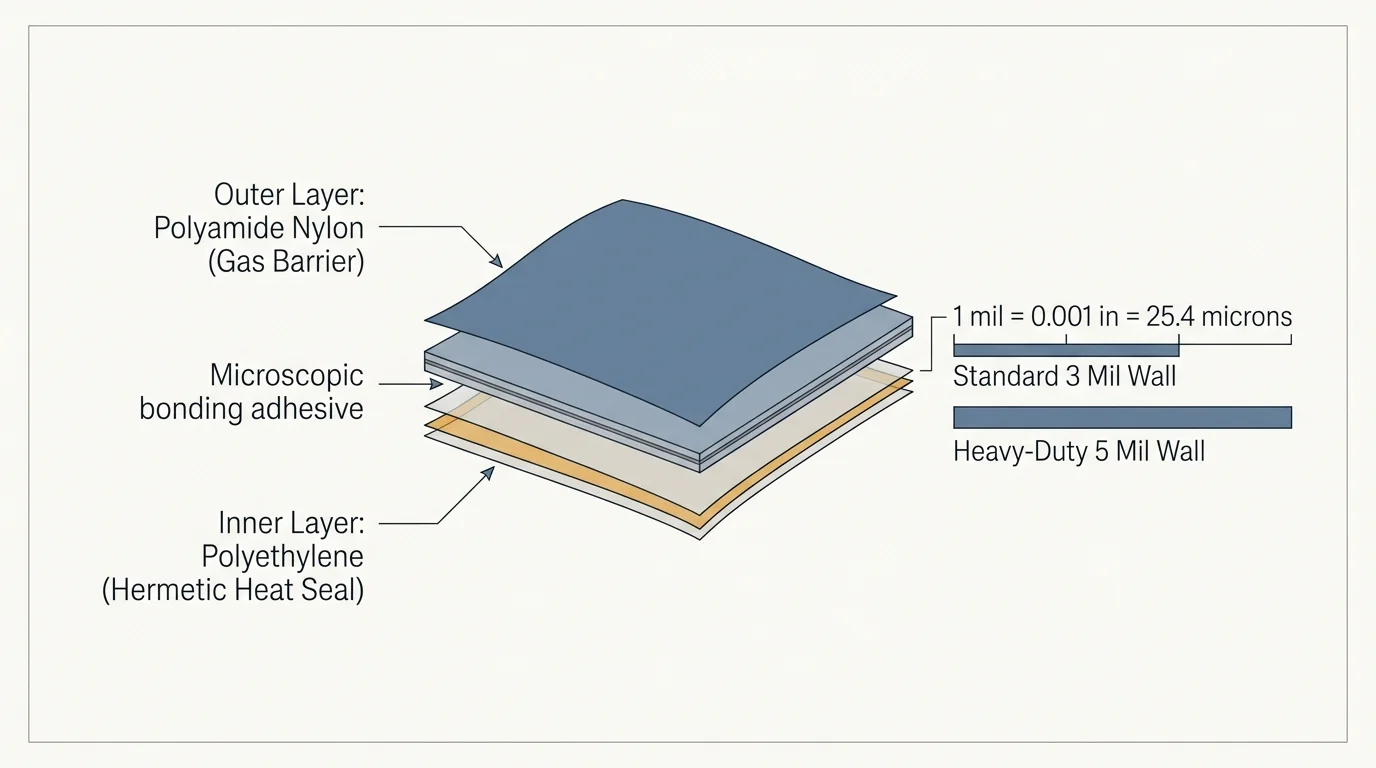
In the packaging industry, plastic film thickness is measured in mils rather than standard millimeters. One mil equals one-thousandth of an inch (0.001 inches), which corresponds to 25.4 microns.
Standard sandwich bags typically measure between 1 and 1.5 mils thick. In contrast, dedicated vacuum sealer bags start at 3 mils and reach up to 5 mils per individual wall.
Commercial bags feature multi-layer co-extrusion technology. Manufacturers laminate an exterior layer of tough polyamide nylon with an interior layer of food-grade polyethylene.
The outer nylon layer provides mechanical strength and an airtight barrier against ambient gasses. Meanwhile, the inner polyethylene layer melts smoothly under a heat bar to form a hermetic weld.
When manufacturers list a bag as 3 mil or 5 mil, that number usually denotes the single-wall thickness of the smooth side. Textured channels on the opposite wall often add another 1 to 2 mils of profile.
Understanding these measurements helps you calculate true puncture resistance. A thicker wall does not just feel sturdier; it alters the rate at which gas molecules penetrate your frozen stockpile.
Oxygen Transmission Rates and the -5°F Freezer Burn Timeline
Freezer burn occurs when sub-surface moisture sublimates from frozen food into the cold air cavity. This phase change leaves behind dry, oxidized pockets of damaged tissue.
For garden produce you prefer not to freeze, learning how to use a food dehydrator provides an effective shelf-stable preservation alternative.
Standard polyethylene bags have an Oxygen Transmission Rate (OTR) exceeding 150 cubic centimeters per square meter over 24 hours. Under those conditions, oxidation begins degrading vegetable quality in under 90 days.
According to storage evaluations from America’s Test Kitchen, removing atmospheric oxygen around food is the single most effective method to arrest textural degradation in long-term cold storage.
A certified 3 mil nylon-polyethylene vacuum bag reduces the OTR to roughly 30 to 50 cubic centimeters per square meter. That barrier expansion delays lipid oxidation for up to 18 months at -5°F.
Upgrading to a 5 mil bag suppresses the OTR even further, achieving rates below 20 cubic centimeters. This dense membrane shields your food against prolonged temperature swings during automatic defrost cycles.
To prevent freezer burn meat requires controlling both oxygen permeation and water vapor loss. When you store bone-in venison or steaks past the 200-day mark, lower OTR values preserve natural moisture.
“Freezer burn is chemical dehydration, not freezing damage. Stopping gas exchange through proper barrier gauge is the only reliable way to preserve cellar yields.” — Food Preservation Specialist
3 Mil vs 5 Mil Vacuum Bags: Performance and Durability Breakdown
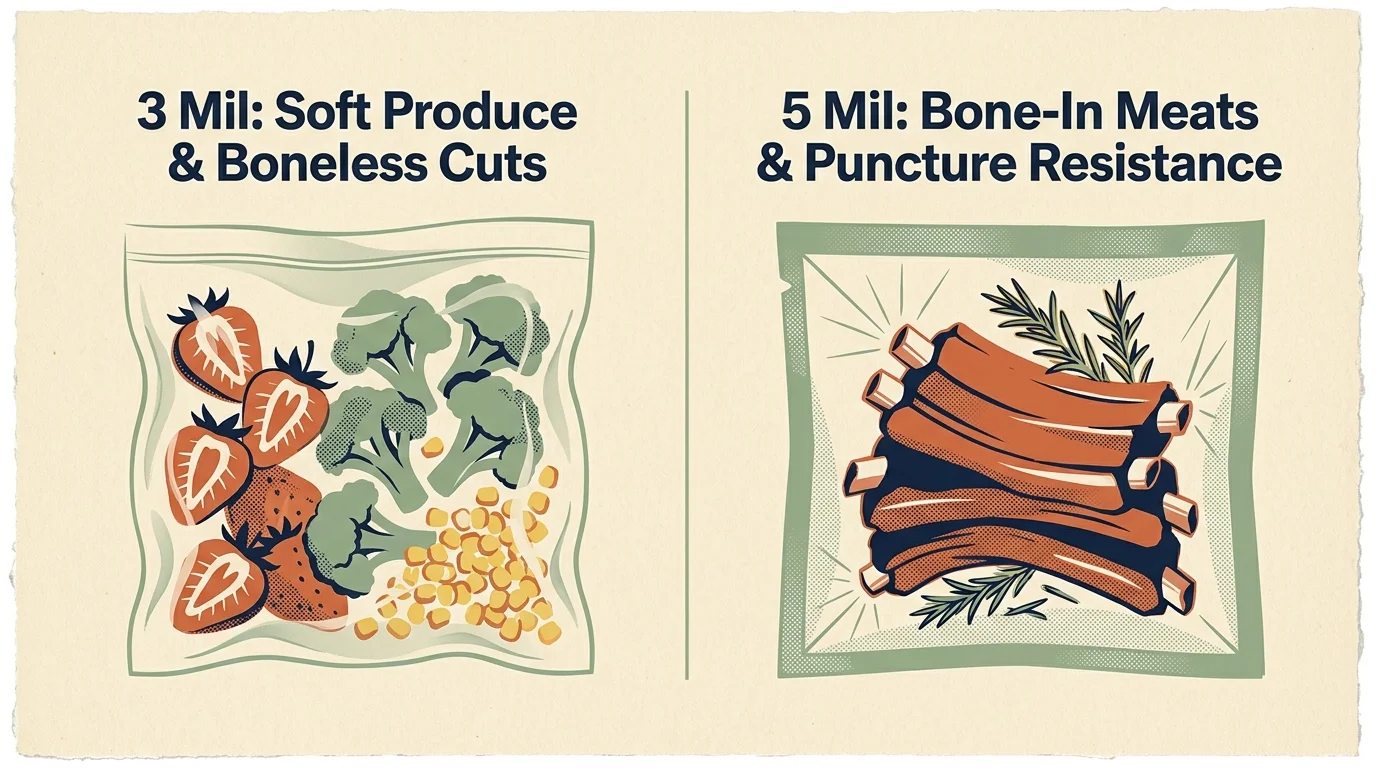
Selecting between 3 mil and 5 mil films requires balancing flexibility, machine heating requirements, and puncture hazards. A 3 mil bag conforms easily around irregular surfaces like blanched broccoli florets.
These thicker bag walls are equally beneficial when prepping portions for sous vide machines, ensuring reliable seals during extended cooking cycles.
Because 3 mil plastic is thinner, low-wattage suction sealers melt the seams rapidly without overheating the sealing strip. You can seal dozens of bags in rapid succession without thermal downtime.
However, 3 mil bags can puncture easily when exposed to sharp corners. Dried bean pods, woody vegetable stems, and rib bones can pierce the wall during vacuum compression.
The best heavy duty vacuum sealer bags feature 5 mil construction. These thick walls resist bone shards and jagged frozen ice crystals that would instantly rupture standard films.
The tradeoff with 5 mil film lies in heat demand. Entry-level vacuum sealers often struggle to transfer enough heat energy to fuse dense 5 mil layers securely.
If your machine lacks an adjustable seal time button, using 5 mil bags may produce partial or brittle welds. Those weak seals fail silently inside your deep freezer weeks later.
| Film Specification | 3 Mil Standard | 4 Mil Commercial | 5 Mil Heavy-Duty |
|---|---|---|---|
| Wall Thickness (Inches / Microns) | 0.003 in / 76.2 µm | 0.004 in / 101.6 µm | 0.005 in / 127 µm |
| OTR (cc/m²/24hr at 73°F) | 35–50 | 22–32 | 12–18 |
| Puncture Resistance (ASTM D1709) | 320 Grams | 460 Grams | 650 Grams |
| Best Food Applications | Berries, corn, soft squash | Root crops, poultry cuts | Bone-in roasts, ribs, shells |
| Freezer Longevity at -5°F | 12 to 18 Months | 18 to 24 Months | 24 to 36 Months |
| Machine Sealing Requirements | Standard heat bar (100–120W) | Medium heat bar (130–160W) | Extended heat cycle (>180W) |
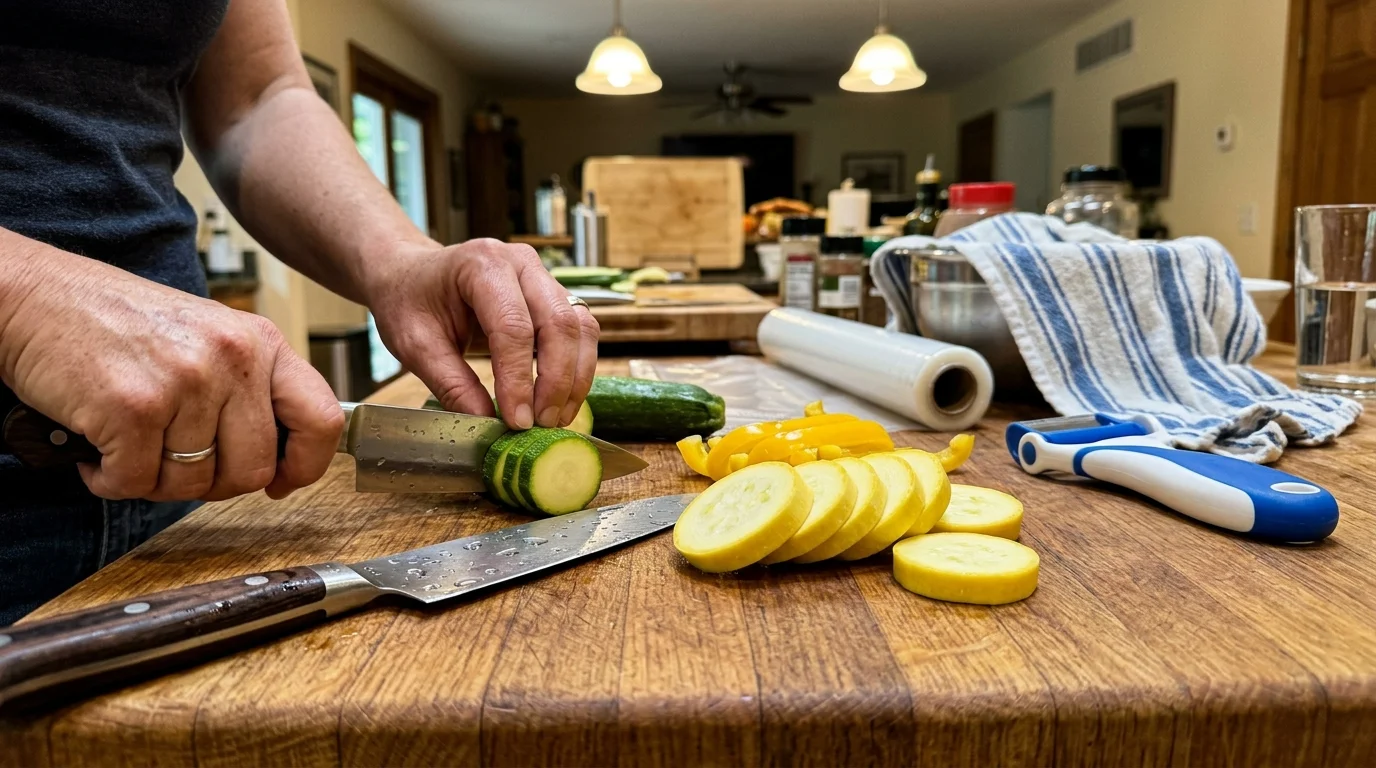
Pre-Seal Prep: Cutting Tools, Blade Selection, and Harvest Slicing Safety
High-volume freezing starts with proper vegetable and meat prep. Practicing good mise en place—having all ingredients prepped and ready before cooking—keeps your processing line sanitary and organized.
Before cutting, prepping your harvest with one of the best vegetable peelers will save significant time and reduce hand strain on tough winter squash.
Uniform cuts ensure bags lay flat in the freezer and freeze evenly. Dense root vegetables or winter squash require high-quality cutlery to prevent hand strain during large processing runs.
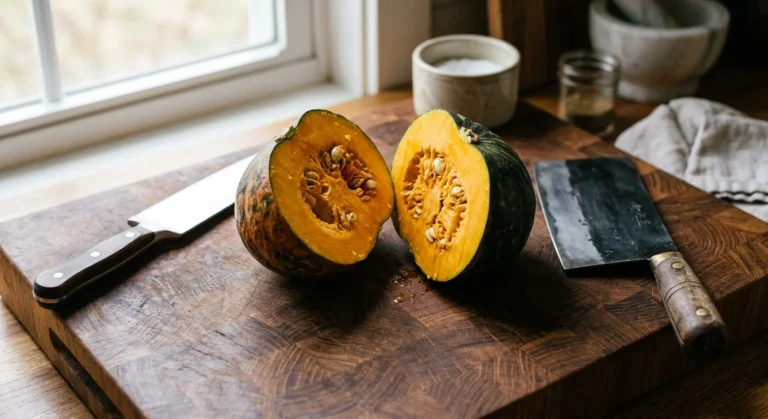
A chef knife featuring a full tang—the knife blade extends all the way through the handle for better balance—gives you the leverage needed to halve dense squash safely.
Look for a blade with a forged bolster—the thick part where the blade meets the handle, provides balance and finger protection. This feature stabilizes your grip during repetitive downward cuts.
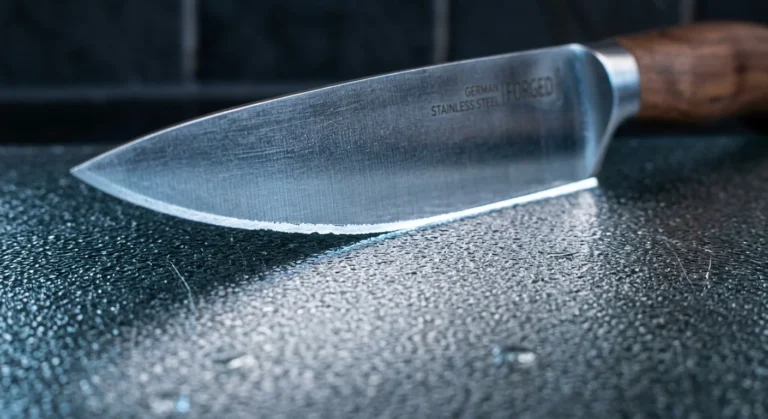
When cutting dozens of squash, steel composition matters. High-carbon stainless steel (like German 1.4116 or Japanese VG-10) offers high stain resistance and excellent edge retention during acidic prep work.
Pure carbon steel blades take an exceptionally keen edge, but they oxidize quickly when slicing wet garden produce. Ceramic blades stay sharp for months, but they can chip if you hit frozen squash cores or bones.
Maintain your cutting edge with regular honing—realigning the blade edge (doesn’t remove metal, just straightens it). Run the blade down a ceramic honing rod every 30 pounds of sliced produce.
When the edge rolls completely, perform true sharpening—actually removing metal to create a new edge—using a 1000/6000 grit waterstone. A dull knife slips off waxy squash rinds and causes severe lacerations.
Always hand-wash fine kitchen knives with warm soapy water and dry them immediately. Never place quality prep knives in the dishwasher; harsh detergents dull the edge and degrade handle scales.
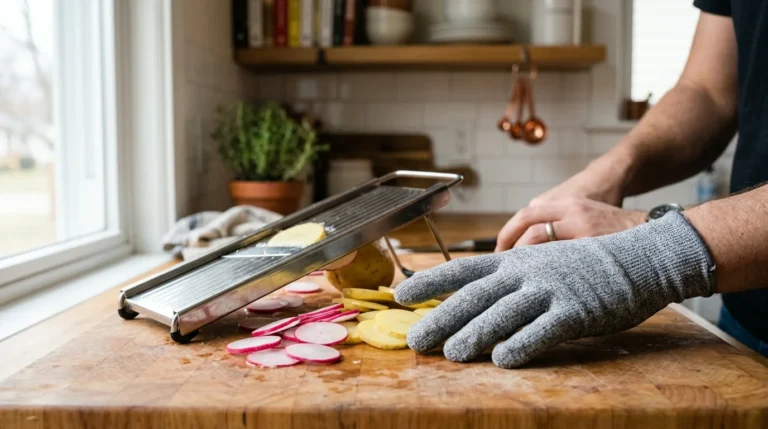
For large batches of carrots or zucchini, use a mandoline—a flat cutting tool with adjustable blades for uniform slicing. Always secure the produce with the included safety guard to protect your fingertips.
If you prefer fine matchsticks for stir-fry mixes, cut a julienne—cutting vegetables into thin matchstick strips—using either the mandoline’s integrated teeth or a sharp utility knife.
For purees or minced aromatics, load your food processor and use the pulse function—short bursts of power on a food processor for better control—to avoid pulverizing delicate ingredients into mush.
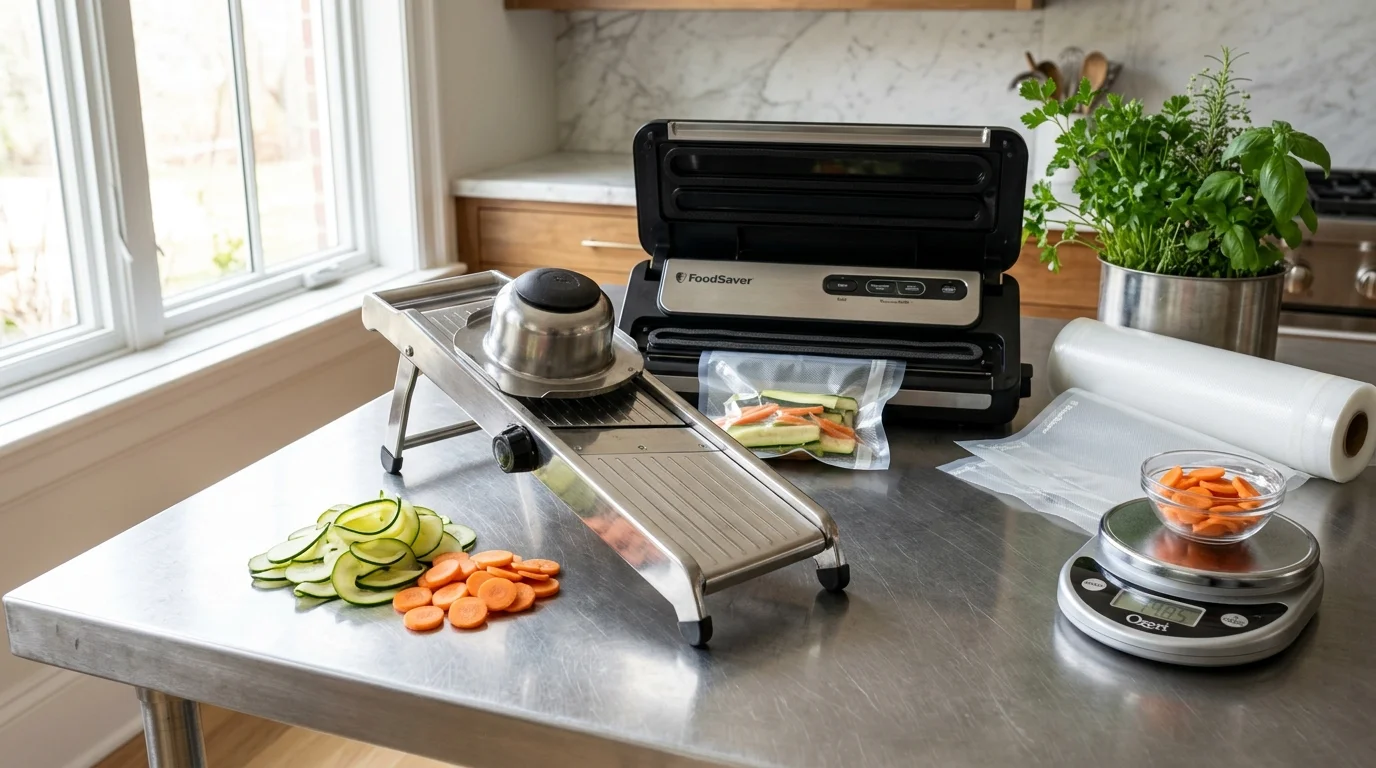
Best Prep Tool Picks for High-Volume Freezing Prep
Equipping your workstation with the right tools eliminates wrist fatigue during weekend harvest sessions. According to evaluations published by Wirecutter’s kitchen knife reviews, balanced ergonomics are crucial when processing high-volume produce.
Best for beginners: The Victorinox Fibrox 8-inch Chef Knife. Its textured thermoplastic elastomer handle resists slipping when wet, and its stamped high-carbon blade offers low maintenance at an accessible price point.
Best for serious cooks: The Wüsthof Classic 8-inch Chef Knife. This fully forged German workhorse features a full tang, substantial bolster, and rock-solid balance that drives effortlessly through dense butternut squash.
Best value: The Mercer Culinary Genesis 8-inch Short Bolster Chef Knife. It delivers forged German steel, balanced weight, and an ergonomic santoprene grip for a fraction of premium European brand prices.
When slicing high volumes of zucchini and potatoes, an adjustable Japanese mandoline like the Benriner Super Mandoline delivers speed. Its razor-sharp reversible blade minimizes cell wall damage before freezing.
As noted in Serious Eats’ equipment reviews, maintaining precise thickness during vegetable prep ensures uniform blanching times across every single piece.
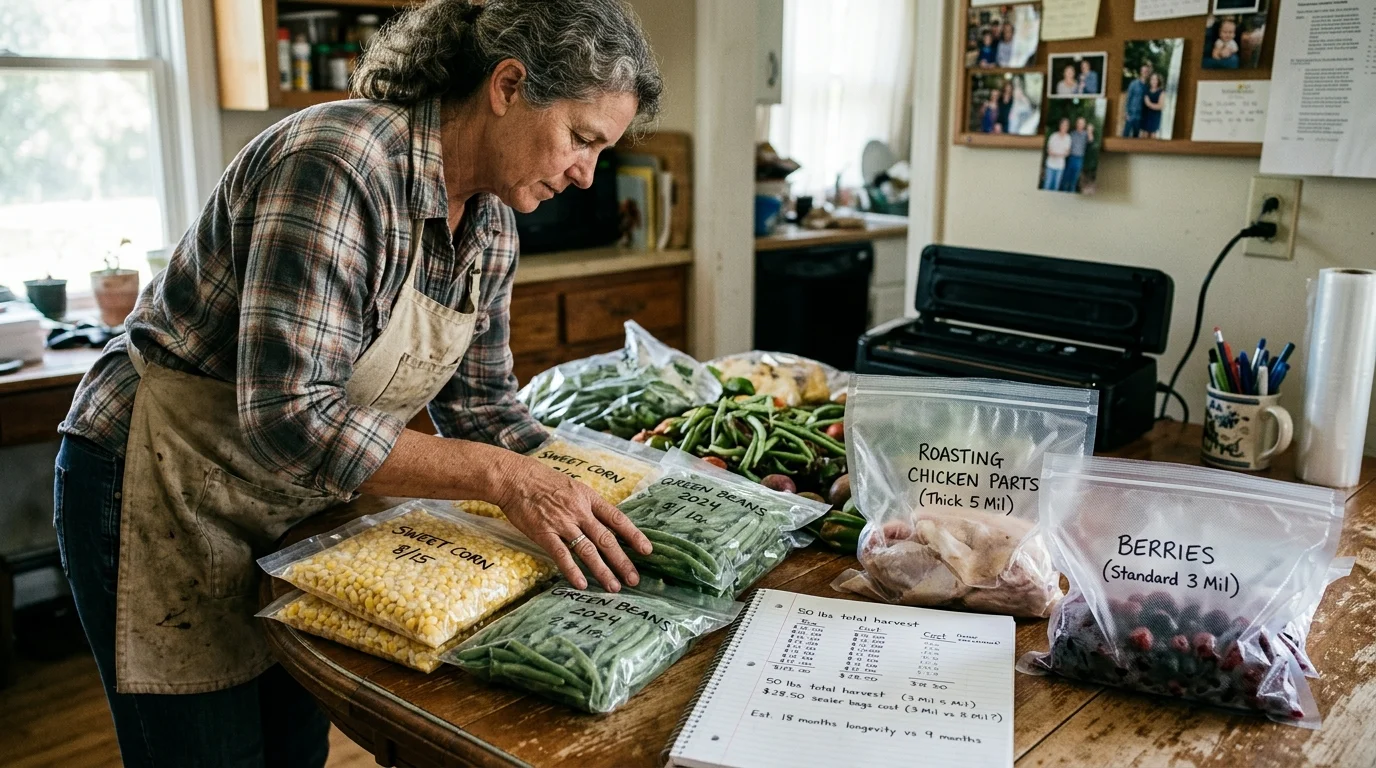
Cost and Longevity Worked Scenario: 50 Pounds of Garden Harvest
Consider a realistic scenario involving 50 pounds of homegrown food destined for deep freezing at -5°F. The batch includes 20 pounds of sweet corn, 15 pounds of diced squash, and 15 pounds of bone-in pork chops.
If your preservation batch includes fragile greens, using dedicated herb freezing hacks avoids crushing delicate leaves under strong suction pressure.
Packaging 20 pounds of blanched sweet corn kernels requires roughly 20 quart-sized bags (8×12 inches). Because corn has soft, rounded edges, standard 3 mil bags provide optimal sealing and gas barrier performance.
At $0.18 per 3 mil quart bag, wrapping your sweet corn inventory costs $3.60. These bags seal quickly and lay completely flat in your chest freezer bins.
Packaging 15 pounds of cubed squash requires 10 two-pound gallon bags (11×16 inches). Standard 3 mil bags handle blanched squash easily, costing $0.26 per bag for an additional $2.60.
The 15 pounds of bone-in pork chops present a severe puncture hazard. Sharp bone spurs press hard against the plastic film during deep vacuum extraction.
Packaging those chops in standard 3 mil bags leads to an average 30% puncture failure rate within 6 months. That translates to 3 lost bags of meat worth roughly $45.00 in spoiled protein.
Investing in 5 mil heavy-duty gallon bags for the pork chops costs $0.44 per bag across 8 bags, totaling $3.52. The thicker 5 mil wall absorbs bone impacts and reduces the seal failure rate to 0%.
Your total bag investment across the entire 50-pound batch totals $9.72 ($3.60 + $2.60 + $3.52). By selectively assigning 5 mil bags exclusively to puncture-prone items, you protect $220.00 worth of food for under ten dollars.
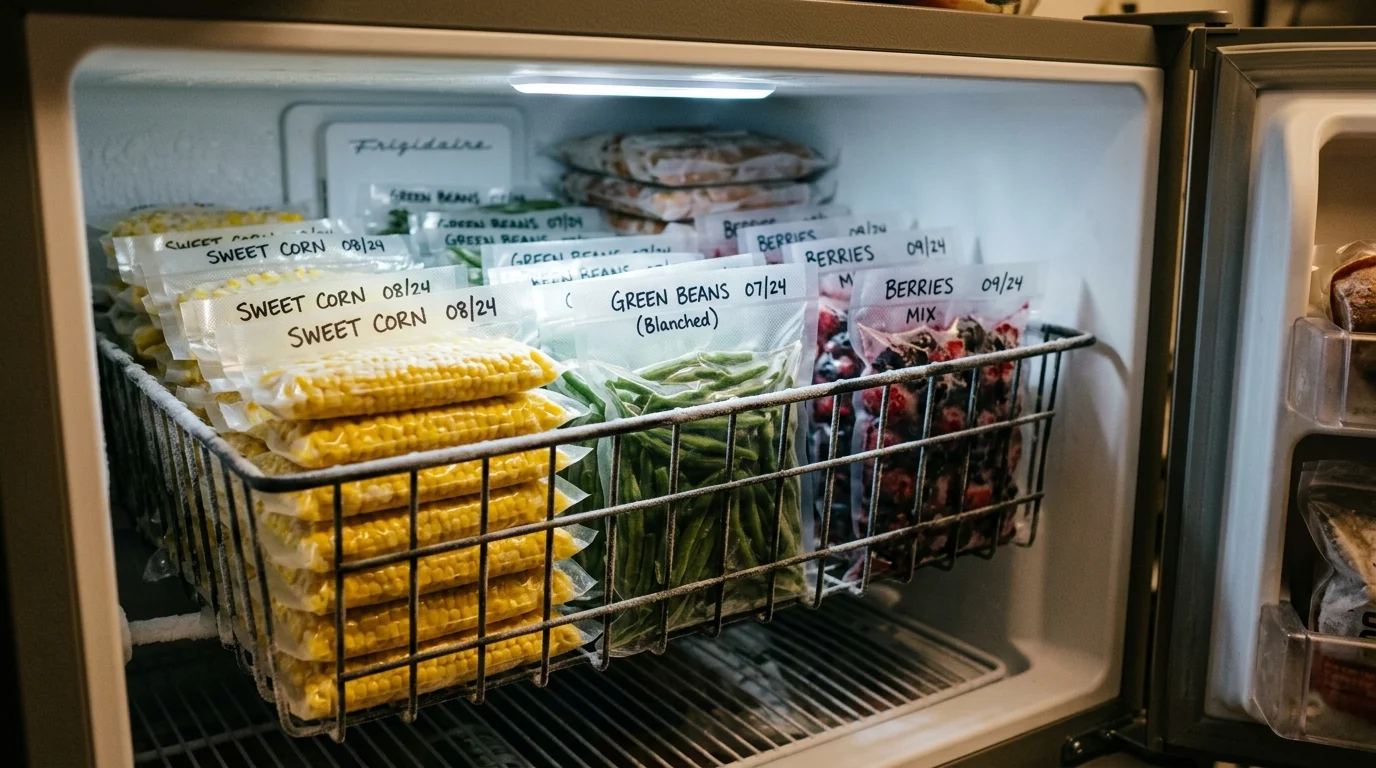
Sealing Technique and Freezer Management for Long-Term Storage
Proper vacuum sealer bag thickness cannot compensate for poor sealing hygiene. Liquid drawn into the sealing channel cools the heat strip prematurely and ruins the thermoplastic bond.
Always pat blanched vegetables dry with clean kitchen towels before loading them into bags. Leave at least three full inches of headspace between the food line and the bag rim.
For bone-in cuts or wet meats, place a folded paper towel strip just inside the top of the bag. This barrier absorbs escaping juices before they reach the sealing bar.
When operating your machine, inspect the finished weld through the clear film. A proper seal looks transparent, uniform, and entirely free of wrinkles or trapped moisture bubbles.
If you observe cloudy spots across the seal track, your machine’s heat cycle was insufficient. Run a second sealing cycle directly adjacent to the first to create a dependable double barrier.
Store sealed packages flat until solid, maintaining your chest freezer at a steady -5°F (-20.5°C). Avoid storing fresh vacuum-sealed pouches on door shelves, which experience frequent warm temperature swings.
“Always double-seal heavy 5 mil bags. The extra five seconds of machine time guarantees insurance against pinhole leaks over a twelve-month freezing cycle.” — Kitchen Preservation Lead
Frequently Asked Questions
Can standard vacuum sealers melt 5 mil bags?
Most mid-range and premium vacuum sealers can melt 5 mil bags, but entry-level models may require an extended heat setting. If your unit lacks variable heat control, run two consecutive seal cycles on the same strip.
Are 3 mil bags thick enough to prevent freezer burn?
Yes, 3 mil bags prevent freezer burn on boneless meats, fruits, and blanched vegetables for 12 to 18 months. Their multi-layer nylon barrier blocks oxygen transfer far better than standard zipper storage bags.
Can you wash and reuse 5 mil vacuum bags?
You can wash and reuse heavy 5 mil bags if they previously held dry goods, bread, or blanched vegetables. Never reuse bags that contained raw meat, poultry, or oily fish due to bacterial contamination risks.
Why do bone-in meats puncture vacuum bags in the freezer?
As food freezes solid, plastic shrinks tight around sharp bone protrusions. Moving bags inside the freezer creates mechanical friction, causing brittle frozen bone edges to puncture thin 3 mil plastic walls.
Disclaimer: Product prices and availability change frequently. Prices shown were accurate at time of writing but may have changed. We may earn a small commission from purchases made through links on this site, at no extra cost to you. Always use cutting tools carefully and follow manufacturer safety guidelines.