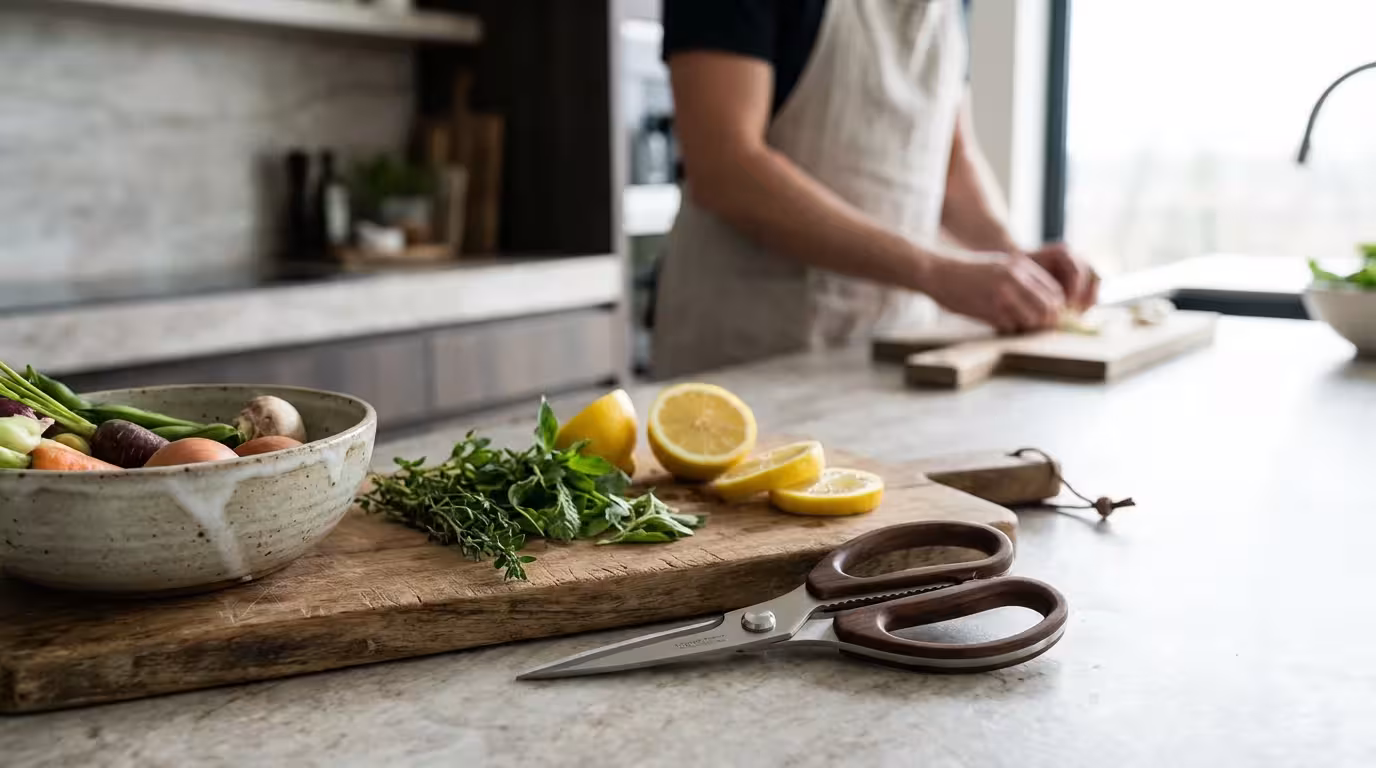
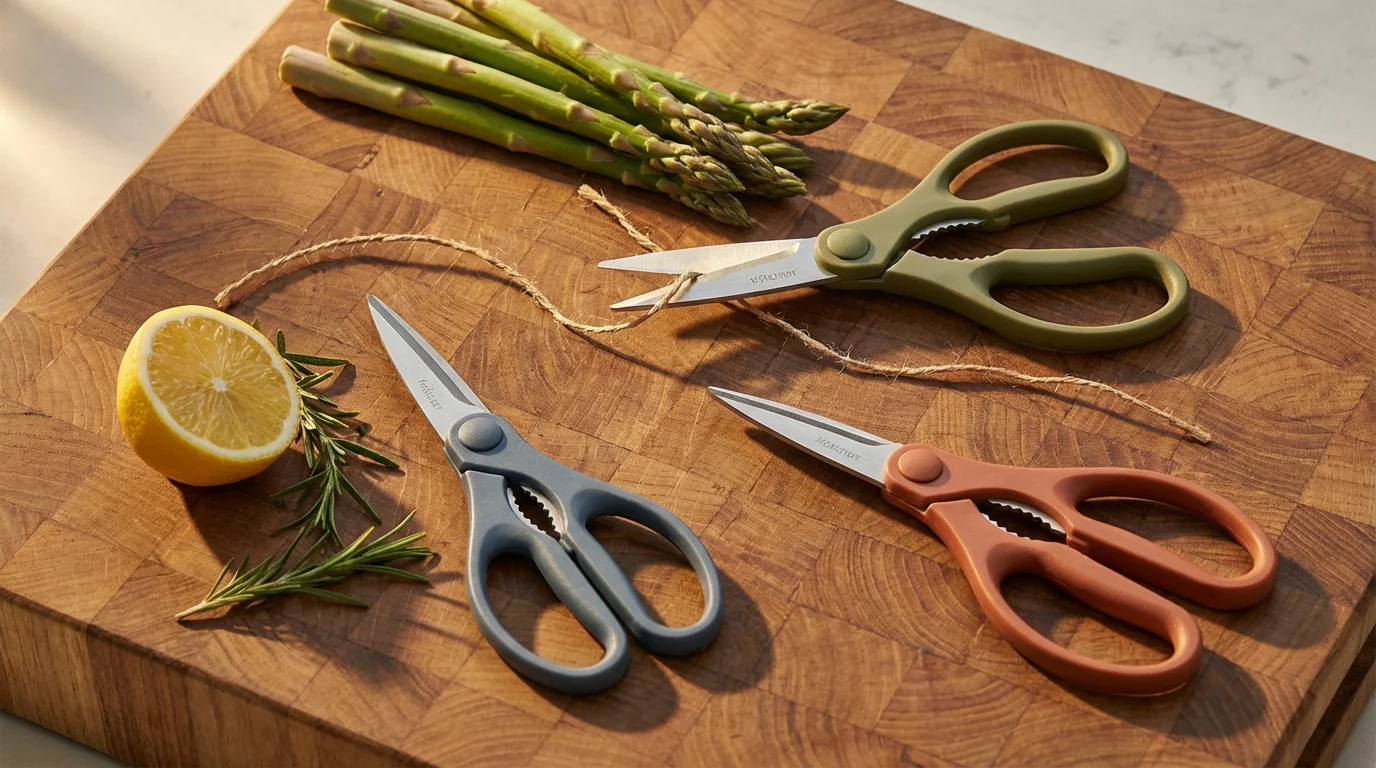
Most home cooks have a block full of knives, yet they frequently reach for the dull, flimsy scissors stashed in their “junk drawer” to open food packaging. If this sounds like you, you are missing out on one of the most versatile tools in the culinary arsenal: dedicated kitchen shears.
Complement your shears with efficient vegetable peelers to further streamline your prep work.
Unlike standard office scissors, high-quality kitchen shears are designed to generate immense leverage. They can snip through tough clam shells, glide through parchment paper, and cut through chicken bone with surprising ease. When you incorporate the right pair of shears into your workflow, you save your chef’s knife from unnecessary wear and speed up your “mise en place”—the French term for having all your ingredients prepped and ready before you start cooking.
Whether you are breaking down a whole bird or simply snipping chives for a garnish, the right tool makes the job safer and cleaner. This guide will walk you through exactly what to look for, which models stand up to daily abuse, and how to maintain them for a lifetime of use.

Why You Need Dedicated Kitchen Shears
You might wonder why you cannot simply use a heavy-duty pair of craft scissors in the kitchen. The answer lies in torque, sanitation, and blade geometry. Kitchen shears differ from standard scissors in several critical ways that affect both performance and safety.
These tiny teeth function similarly to the larger scalloped edges found on quality bread knives, ensuring the blade doesn’t skip on tough surfaces.
While shears are perfect for plastic, you will still want one of the best can openers for metal tins and canned ingredients.
For lefties, it is important to seek out specialized left-handed kitchen tools because standard shears are often ground specifically for right-handed use.
First, the pivot point (the fulcrum) on kitchen shears is located closer to the blades than the handles. This design increases the force you can apply to the cut without straining your hand. When cutting through dense materials like cartilage or thick plastic packaging, this mechanical advantage prevents the blades from twisting or separating.
Second, kitchen shears often feature micro-serrations on one or both blades. These tiny teeth grip slippery foods—like raw chicken skin or fish—holding them in place while the other blade slices through. Smooth blades, common on office scissors, will simply push slippery food away, leading to jagged cuts and potential slips that could injure your fingers.
Finally, sanitation is paramount. Dedicated kitchen shears are often designed to be taken apart. This allows you to clean the pivot area where raw meat juices and bacteria can hide. Standard scissors are permanent fixtures; if you use them on raw poultry, you can never truly sanitize the hinge, creating a cross-contamination risk.
Key Features to Look For
Before you invest in a new pair, evaluate these four critical specifications. Prioritizing these features ensures you buy a tool that lasts rather than a gadget that breaks after a few months.
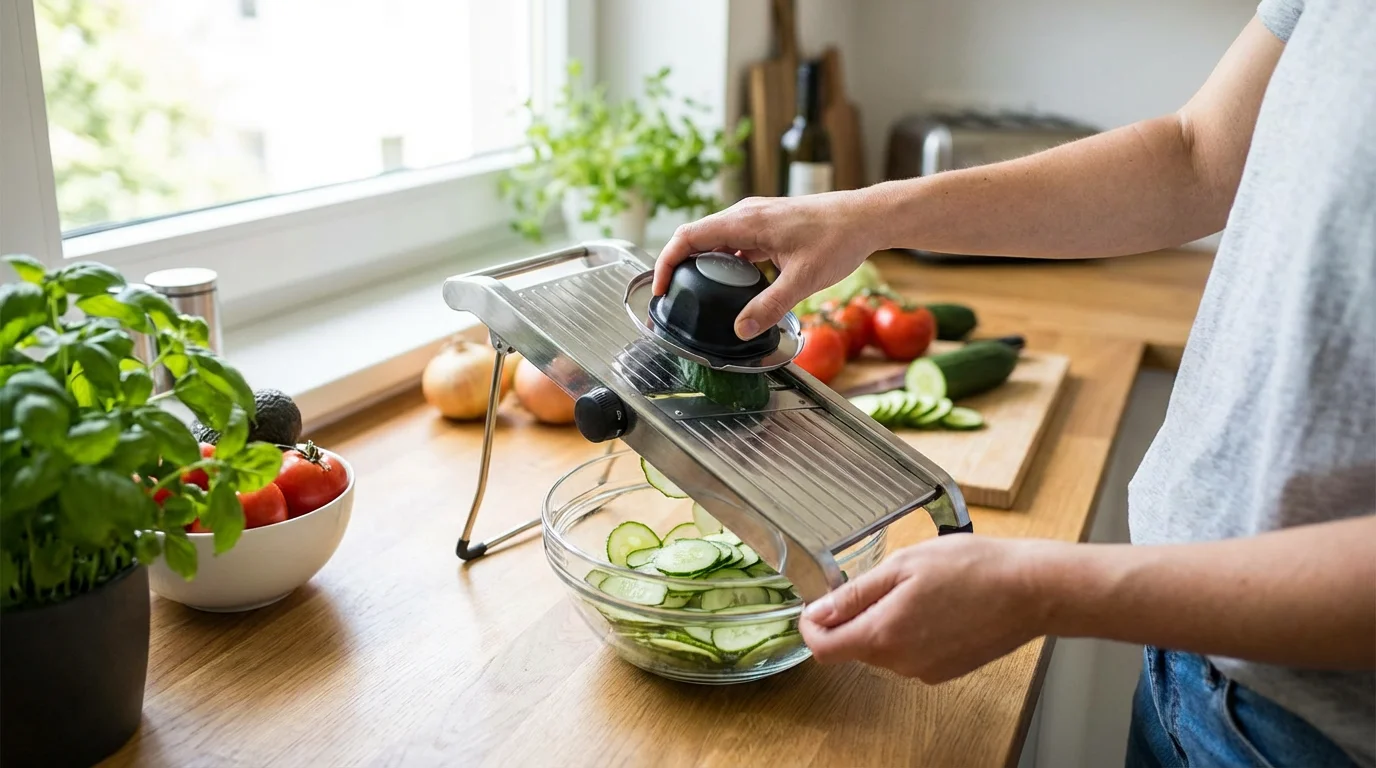
While shears work for rough cuts, consider using a mandoline slicer when you need perfectly uniform vegetable slices.
1. Separable Blades (Take-Apart Mechanism)
This is the single most important feature for food safety. Look for shears where the two halves unlock and separate when opened beyond 90 degrees. This allows you to wash every surface of the blade and hinge. If you plan to cut raw proteins, separable blades are non-negotiable. Serious Eats frequently highlights this feature in their equipment reviews, noting that fixed-hinge shears inevitably trap debris and rust over time.
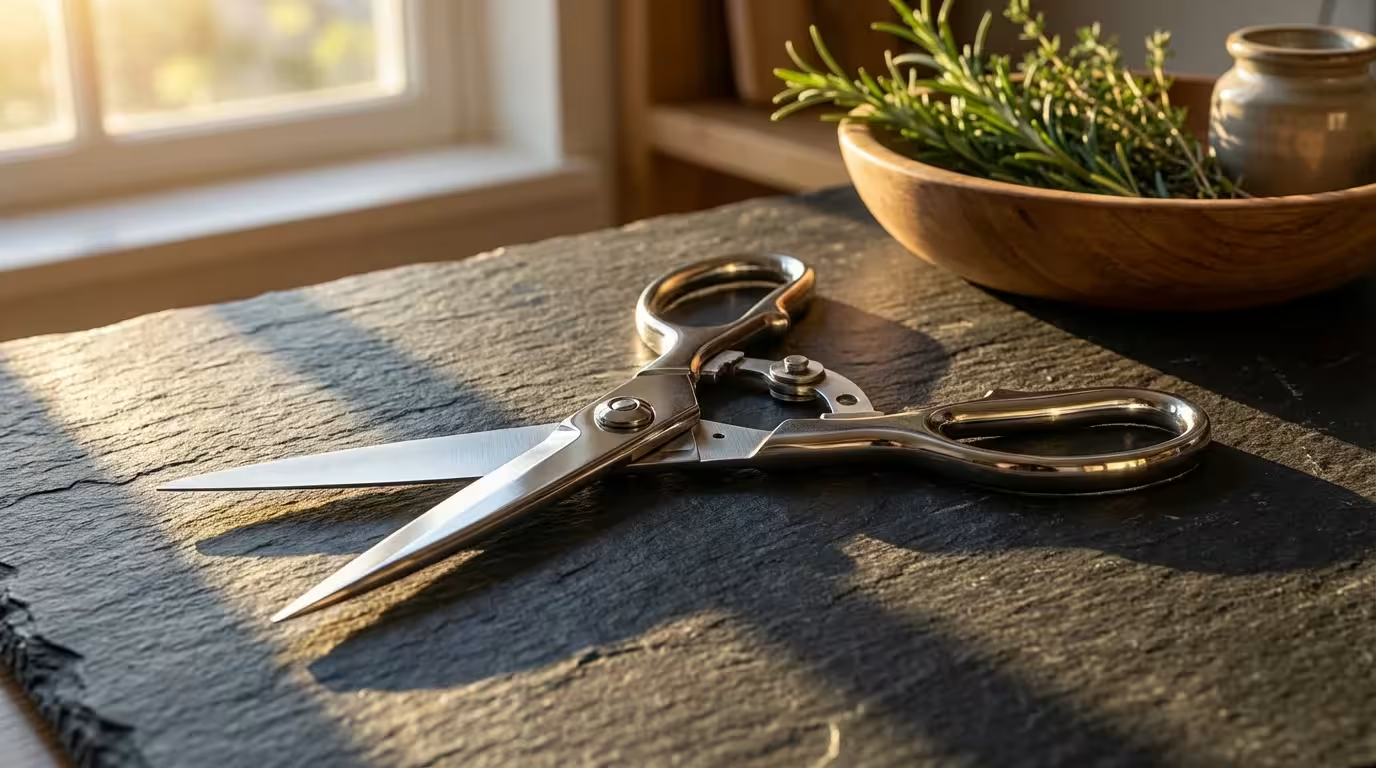
2. Blade Material: High-Carbon Stainless Steel
Just like your chef’s knife, the steel matters. You want high-carbon stainless steel. The “stainless” component prevents rust when exposed to acidic foods (like tomatoes or citrus), while the “high-carbon” element ensures the steel is hard enough to hold a sharp edge. Avoid cheap stamped metal, which bends under pressure.
3. Handle Ergonomics and Size
Kitchen shears are often used with wet or greasy hands. Look for handles lined with a rubberized or textured grip (often called Santoprene). The loop size also matters. If the loops are identical in size, they may cramp your hand during tough cuts. An asymmetrical design—with one loop for the thumb and a larger loop for multiple fingers—allows you to apply more power comfortably.
4. Blade Length and Shape
Longer blades provide a longer cutting stroke, which is excellent for slicing pizza or quesadillas. Shorter, stubbier snips offer more power and control for detailed work like trimming fat from meat or cutting through lobster shells. For a general-purpose tool, a blade length between 3 to 4 inches is the sweet spot.
Top Picks: Best All-Purpose Shears
For 90% of home cooks, a multi-purpose set is the right choice. These shears are the “jack of all trades,” capable of snipping herbs, cutting parchment, opening boxes, and breaking down a chicken. They balance finesse with power.
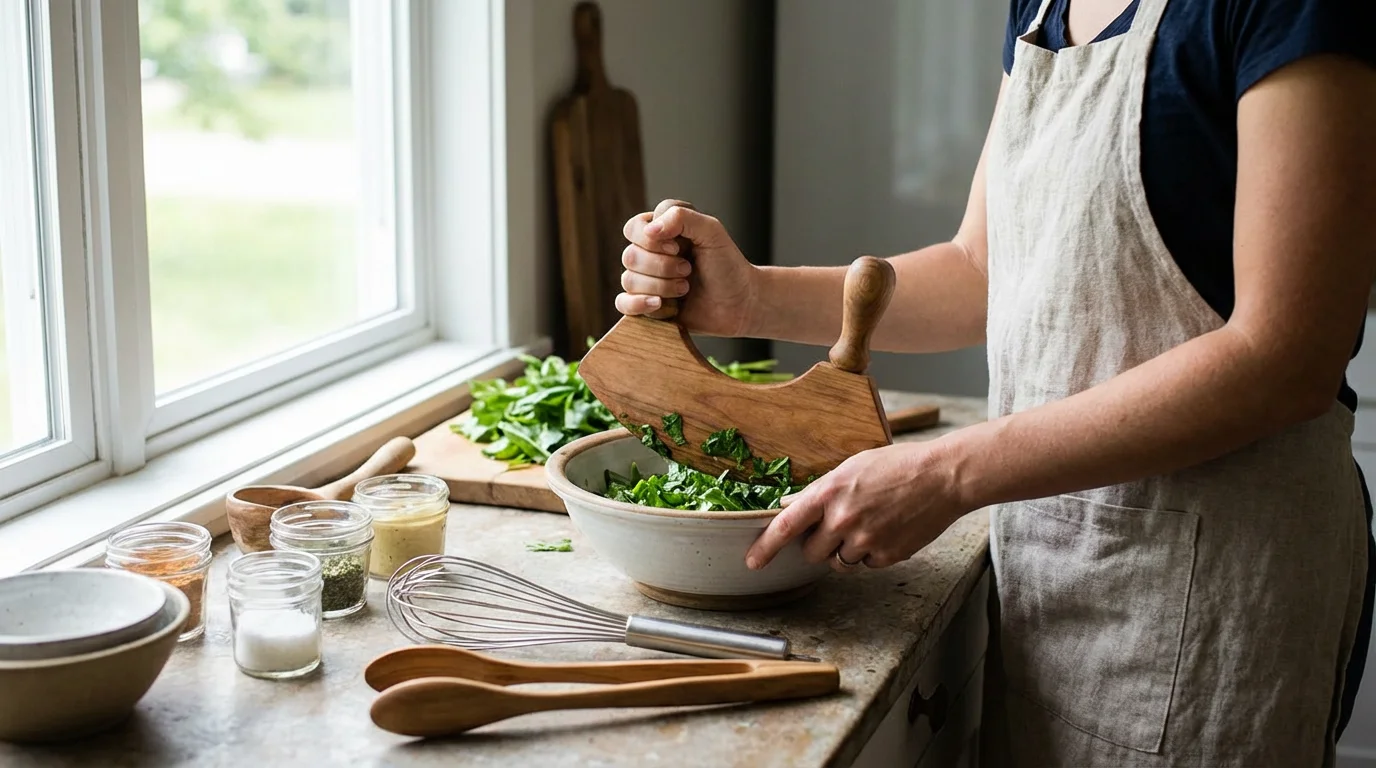
For those who prepare large amounts of greens, dedicated salad choppers can be an even more efficient alternative to multi-purpose shears.
Just as shears simplify poultry prep, using specialized garlic mincing tools can save significant time during intensive cooking sessions.
The Gold Standard: Look for models like the Wüsthof Come-Apart Kitchen Shears or the Shun Multi-Purpose Shears. These models represent the pinnacle of all-purpose design. They feature micro-serrated edges that grip food aggressively. The handles are typically made of durable, rigid plastic that withstands high pressure without flexing. Most importantly, the take-apart mechanism is smooth and reliable.
A key feature often found in this category is the “bone notch.” This is a semi-circular cutout near the base of the blade (closest to the handle). You place small poultry bones in this notch to snap them before cutting, protecting the main cutting edge from damage. While useful, it isn’t strictly necessary if the steel is high quality.
“A sharp knife is a safe knife, but a sharp pair of shears is a fast knife. For tasks like trimming green beans or segmenting grapes, shears are infinitely faster than a board and blade.”
Another strong contender in this space is the OXO Good Grips Multi-Purpose Kitchen and Herb Scissors. Known for their focus on ergonomics, OXO shears feature soft, cushioned handles that absorb pressure. As Wirecutter has noted in their kitchen testing, comfortable handles are vital when you are using shears for repetitive tasks like snipping a pound of bacon or trimming a large batch of kale.
Top Picks: Heavy-Duty Poultry Shears
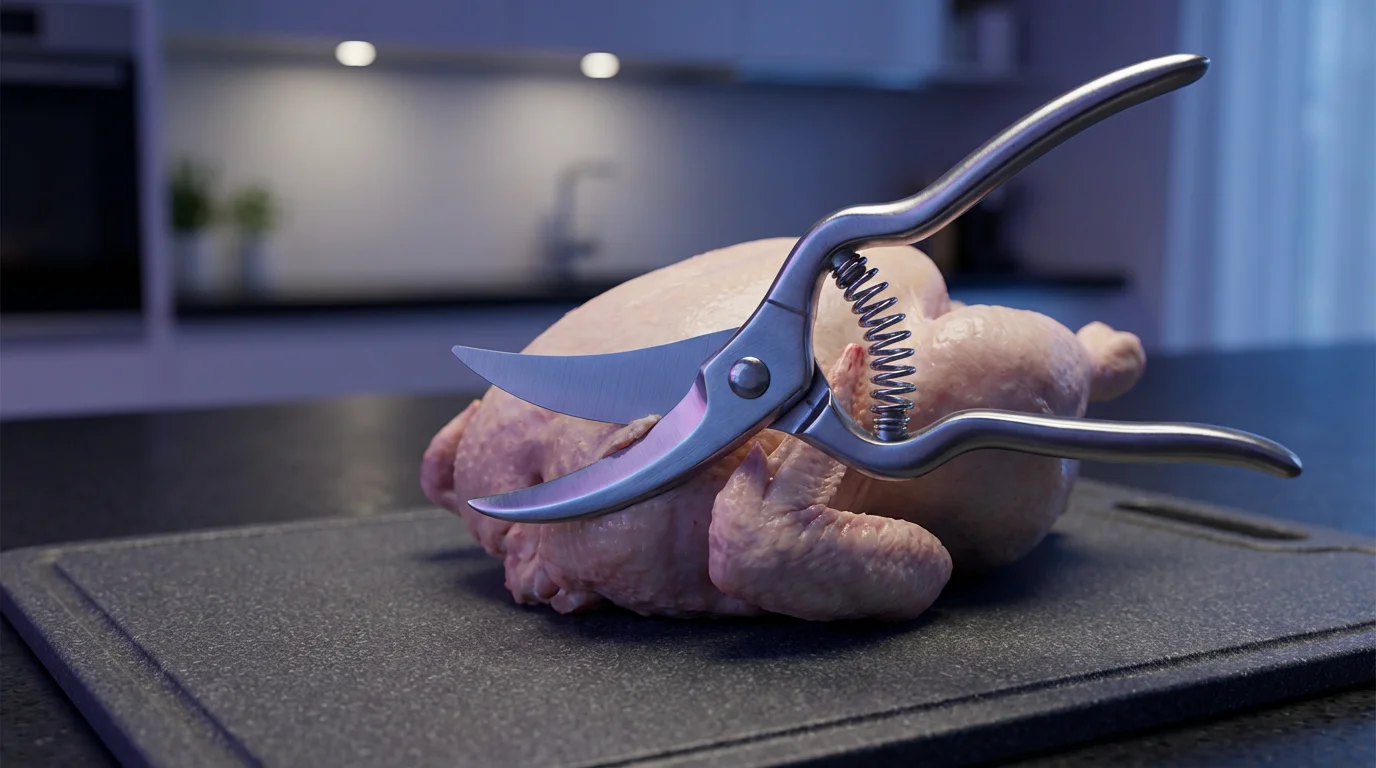
If you roast chicken, turkey, or duck weekly, or if you regularly break down game, standard shears may not provide enough torque. This is where dedicated poultry shears come in. These look distinctly different from scissors; they often resemble garden pruners.
Design Characteristics: Poultry shears usually feature curved blades that help you get under the skin and around joints. They almost always include a spring-loaded mechanism. This spring opens the blades automatically after each cut, significantly reducing hand fatigue. Because you don’t have to use muscle power to open the shears, your hand strength is reserved entirely for the cutting motion.
Look for models with a “full tang” construction. In knife terminology, a full tang means the metal of the blade extends all the way through the handle. This provides superior durability and balance. Since you will be cutting through rib cages and joints, you need a tool that won’t snap at the handle junction.
Safety Note: Because these are spring-loaded, they must have a locking mechanism to keep the blades closed when stored. Ensure the lock is sturdy and positioned so you don’t accidentally engage it while cutting.
Top Picks: Best Value Options
You do not always need to spend a fortune to get a functional tool. Several brands offer excellent performance at a lower price point, usually by using slightly softer steel or simpler handle materials.
Performance on a Budget: Brands like KitchenAid and Messermeister offer shears that are sharp and durable for everyday tasks. The trade-off is often edge retention. A value pair may need honing or sharpening more frequently than a premium forged pair. However, for opening packaging, cutting pizza, or snipping herbs, they perform admirably.
When buying value shears, double-check the pivot screw. Cheaper models use a rivet that cannot be tightened. If the blades become loose over time, they will splay apart and fold paper (or chicken skin) rather than cutting it. Ideally, look for a model with an adjustable screw, even at a lower price point.
Comparison: Specs at a Glance
Use this table to quickly identify which type of tool suits your cooking style best.
To ensure your shears stay as effective as the day you bought them, consider learning professional knife sharpening methods to maintain their high-carbon steel blades.
| Shear Type | Blade Features | Separable? | Best For | Maintenance |
|---|---|---|---|---|
| All-Purpose | Straight or slight curve, micro-serrated | Yes (Recommended) | Packaging, herbs, trimming meat, pizza | Hand wash, dry immediately |
| Poultry Shears | Curved, spring-loaded, bone notch | Sometimes | Spatchcocking, breaking down whole birds | Hand wash, oil hinge regularly |
| Herb Scissors | Multi-blade (3-5 blades) | No | Garnishes (Chives, scallions) | Difficult to clean; use cleaning comb |
| Seafood Snips | Short, curved, narrow | No | Lobster tails, shrimp shells, crab legs | Dishwasher safe (usually) |

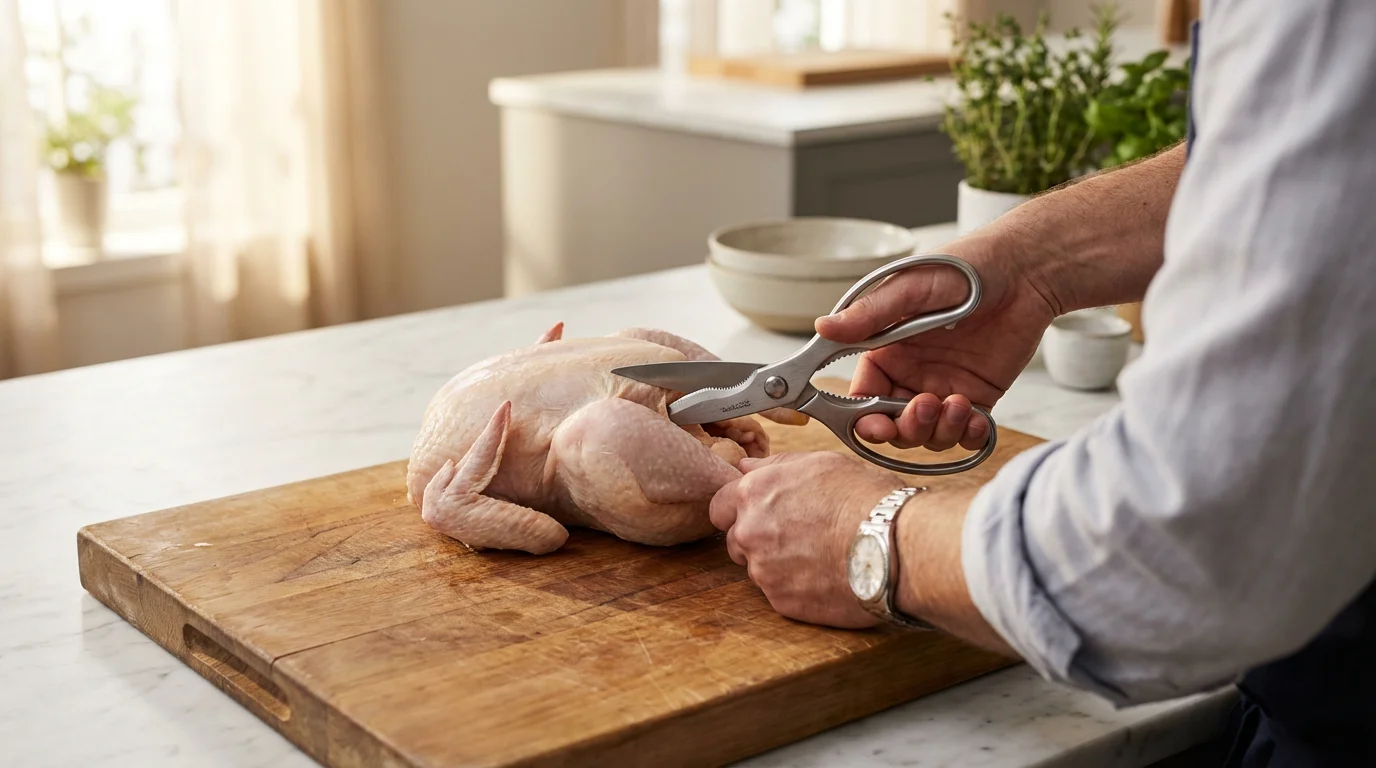
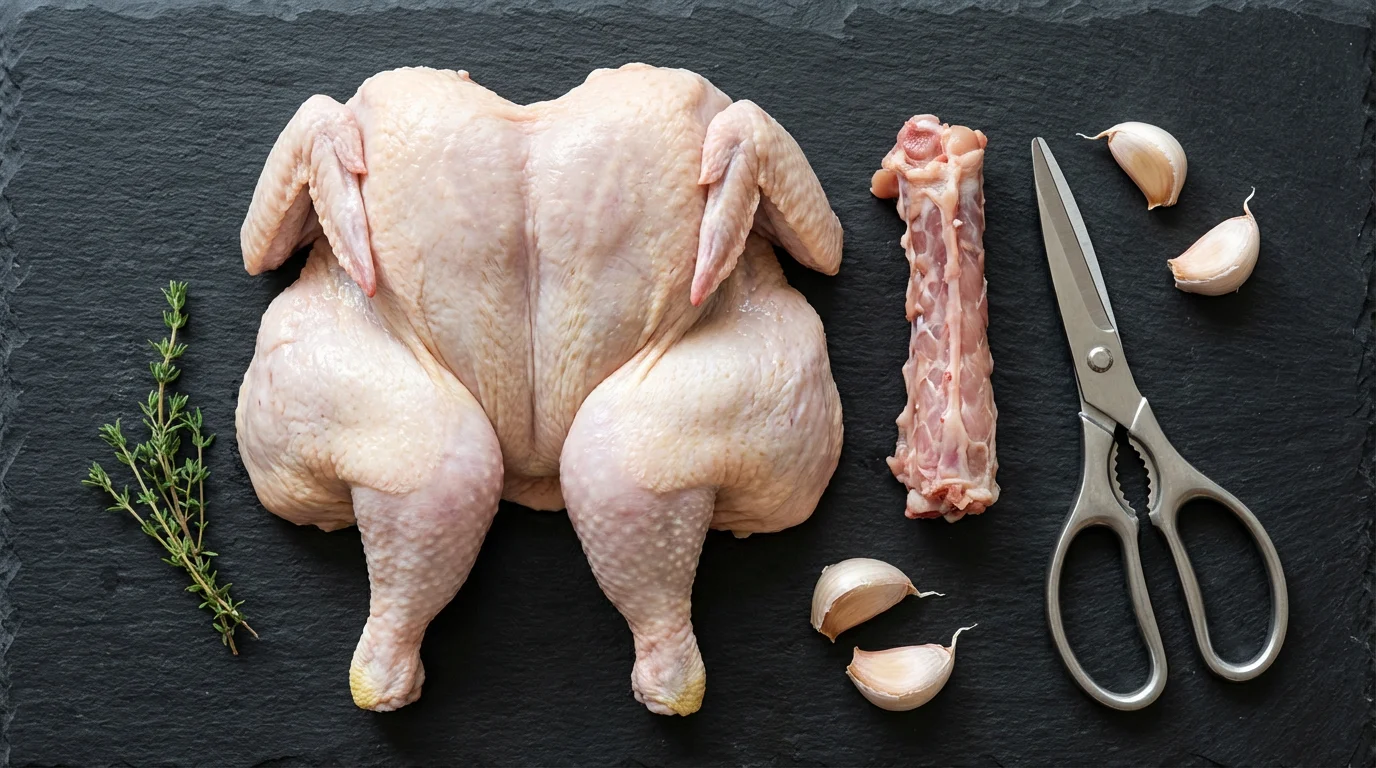
Proper Technique: How to Spatchcock a Chicken
One of the most practical skills you can master with your new kitchen shears is spatchcocking (or butterfly) a chicken. This technique involves removing the backbone so the bird lies flat, resulting in faster cooking and crispier skin. Here is how to do it safely:
- Prep the Bird: Place the whole chicken breast-side down on a stable cutting board. Pat it dry with paper towels; a slippery bird is dangerous.
- Locate the Spine: Feel for the backbone running down the center of the bird. You will be cutting along both sides of this bone.
- First Cut: Starting at the tail end (the parson’s nose), cut along one side of the spine. Use the base of the shear blades—closest to the pivot—for maximum leverage. Cut all the way through to the neck.
- Second Cut: Repeat the process on the other side of the spine. Remove the backbone completely (save this for stock!).
- Flatten: Flip the bird over so the breast side is up. Place the heel of your hand on the center of the breastbone and press down firmly until you hear a crack. The bird should now lie flat.
Safety Tip: If you encounter resistance while cutting bone, do not force the blades by twisting your wrist. Instead, back the shears out slightly and reposition the bone closer to the pivot point of the shears. Twisting can chip the blade edge.

Maintenance, Cleaning, and Sharpening
Even the best shears will fail if neglected. Because shears have moving parts and often contact raw proteins, maintenance is a mix of hygiene and mechanics.
Cleaning: The Dishwasher Debate
Many manufacturers label their plastic-handled shears as “dishwasher safe.” While this may be true for the plastic, the dishwasher is the enemy of sharp edges. The high heat, harsh detergents, and potential for clattering against other utensils can dull the steel and promote rust in the pivot screw. Consumer Reports generally advises hand washing for all premium cutlery to extend its lifespan.
The Protocol: Separate the blades (if possible). Wash with hot, soapy water. Dry them immediately with a towel. Do not let them air dry, as water trapped in the hinge is the primary cause of rust.
Sharpening Your Shears
Shears are sharpened differently than knives. A knife has a tapered edge on both sides (usually), while shear blades are chisel-ground—flat on one side and beveled on the other. You only sharpen the beveled edge.
You can use a standard ceramic honing rod for touch-ups. Hold the rod steady and glide the beveled edge of the shear blade along it, maintaining the factory angle. Do this for both blades. Never sharpen the flat side that faces the other blade; this surface must remain perfectly flat to create the shearing action.
The Foil Myth: You may have heard that cutting through aluminum foil sharpens scissors. This is largely a myth. While it might clean minor burrs off the edge, it does not actually remove metal to create a new sharp edge. For real sharpening, use a whetstone or a dedicated scissor sharpener.
Frequently Asked Questions
What is the difference between honing and sharpening shears?
Honing realigns the microscopic teeth of the blade edge that get bent during use, maintaining sharpness between deeper maintenance sessions. Sharpening actually removes a small amount of metal to create a brand-new edge. You should hone your shears occasionally, but they will likely only need professional sharpening once every year or two depending on usage.
Can I use kitchen shears for gardening?
Technically, yes, but it is not recommended. Gardening involves cutting woody stems and potentially wire, which can nick the fine edge of kitchen shears intended for meat and vegetables. Furthermore, bringing soil and fertilizers into contact with a food preparation tool introduces unnecessary contamination risks.
Are there shears specifically for left-handed cooks?
Yes. While many kitchen shears claim to be “ambidextrous” because the handle loops are symmetrical, the blade orientation matters. True left-handed shears reverse the blade overlap so the left-hander can see the cut line clearly. If you are left-handed, look for models specifically labeled as such for the best ergonomic experience.
Why do my shears rust even though they are stainless steel?
“Stainless” means the metal stains less, not that it is impossible to stain. If shears are left wet, or if acidic lemon juice is left on the blades overnight, corrosion can occur. The pivot point is the most common rust spot. A drop of food-safe mineral oil in the hinge once a month will prevent this.
Disclaimer: Product prices and availability change frequently. Prices shown were accurate at time of writing but may have changed. We may earn a small commission from purchases made through links on this site, at no extra cost to you. Always use cutting tools carefully and follow manufacturer safety guidelines.


Leave a Reply