You open your pantry door, and for a split second, you brace yourself. Will a box of pasta tumble off the shelf? Will you have to move five cans of beans just to find the tomato sauce hiding in the back? If this sounds familiar, your pantry isn’t working for you. The kitchen is the heart of the home, but a disorganized pantry can quickly become the source of daily stress.
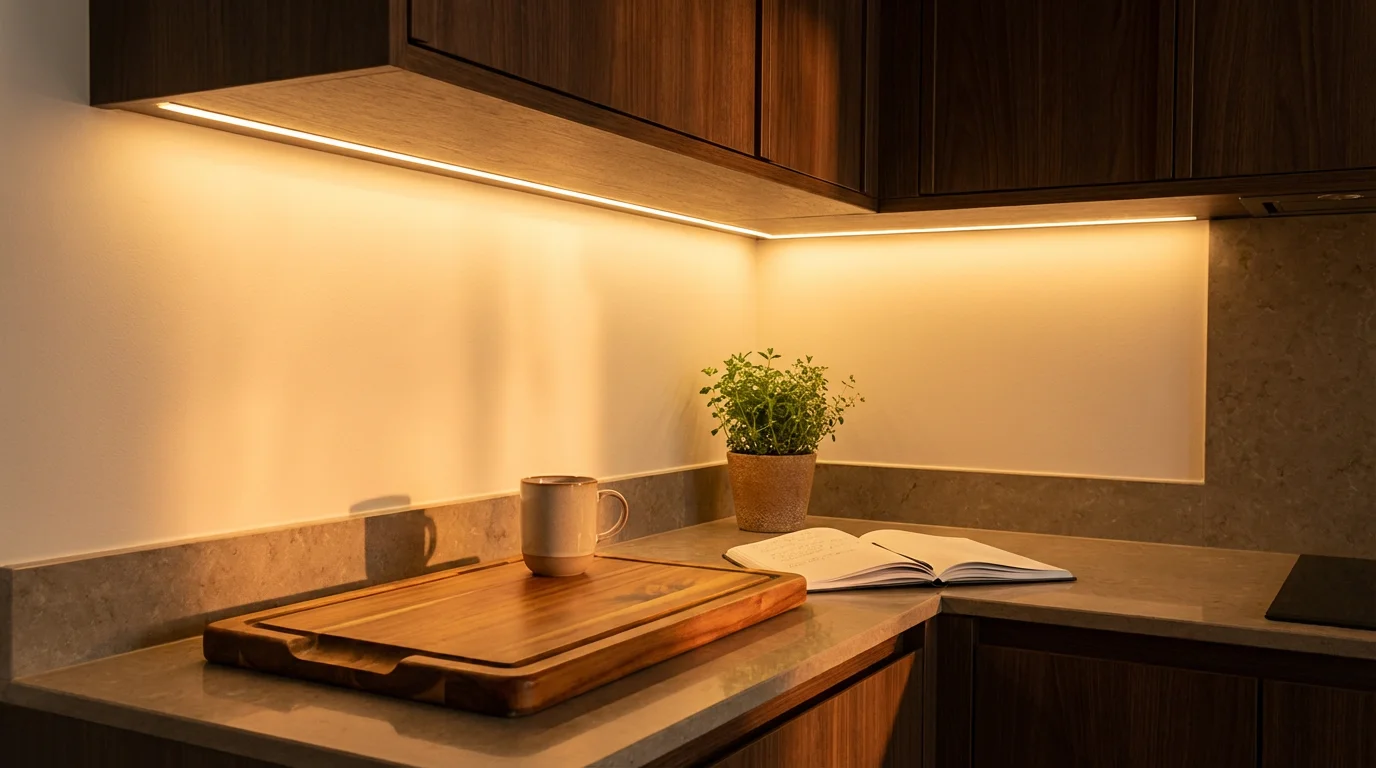
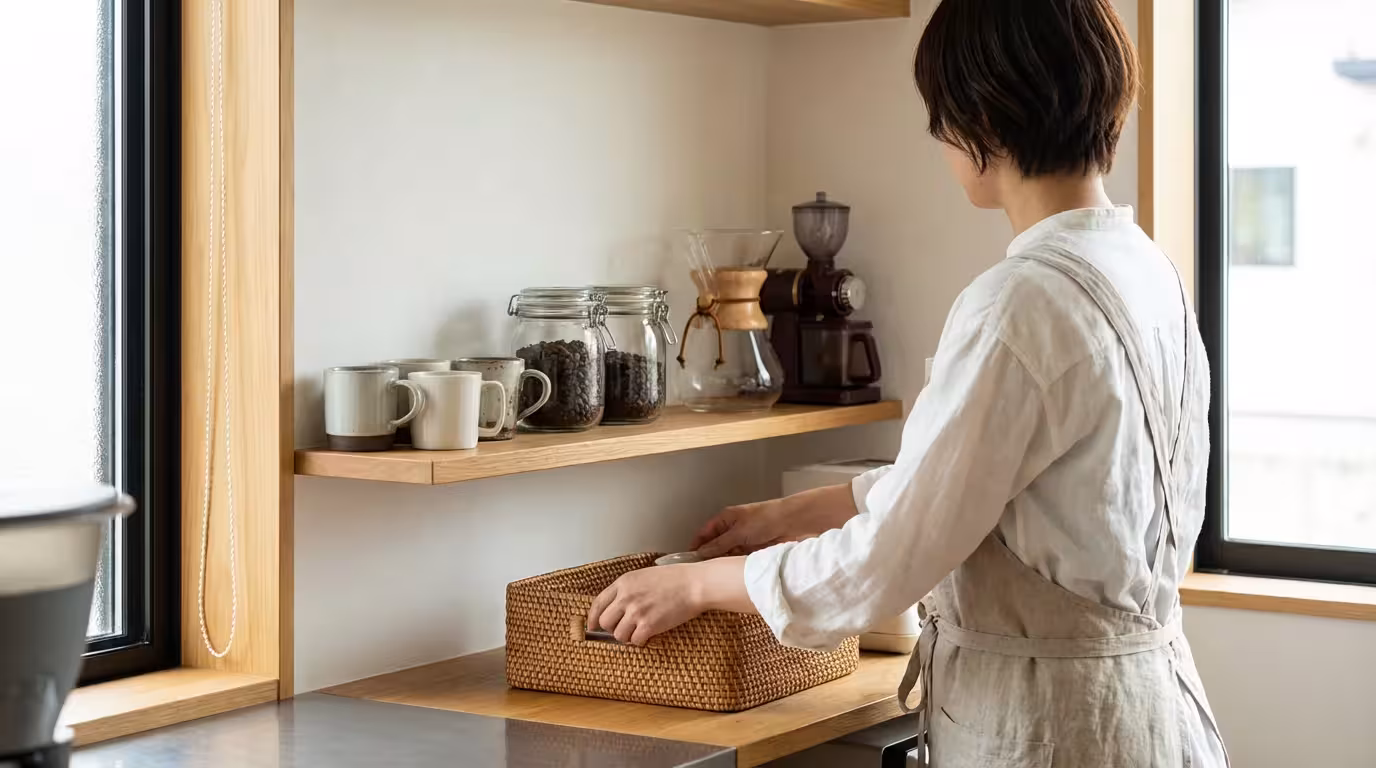
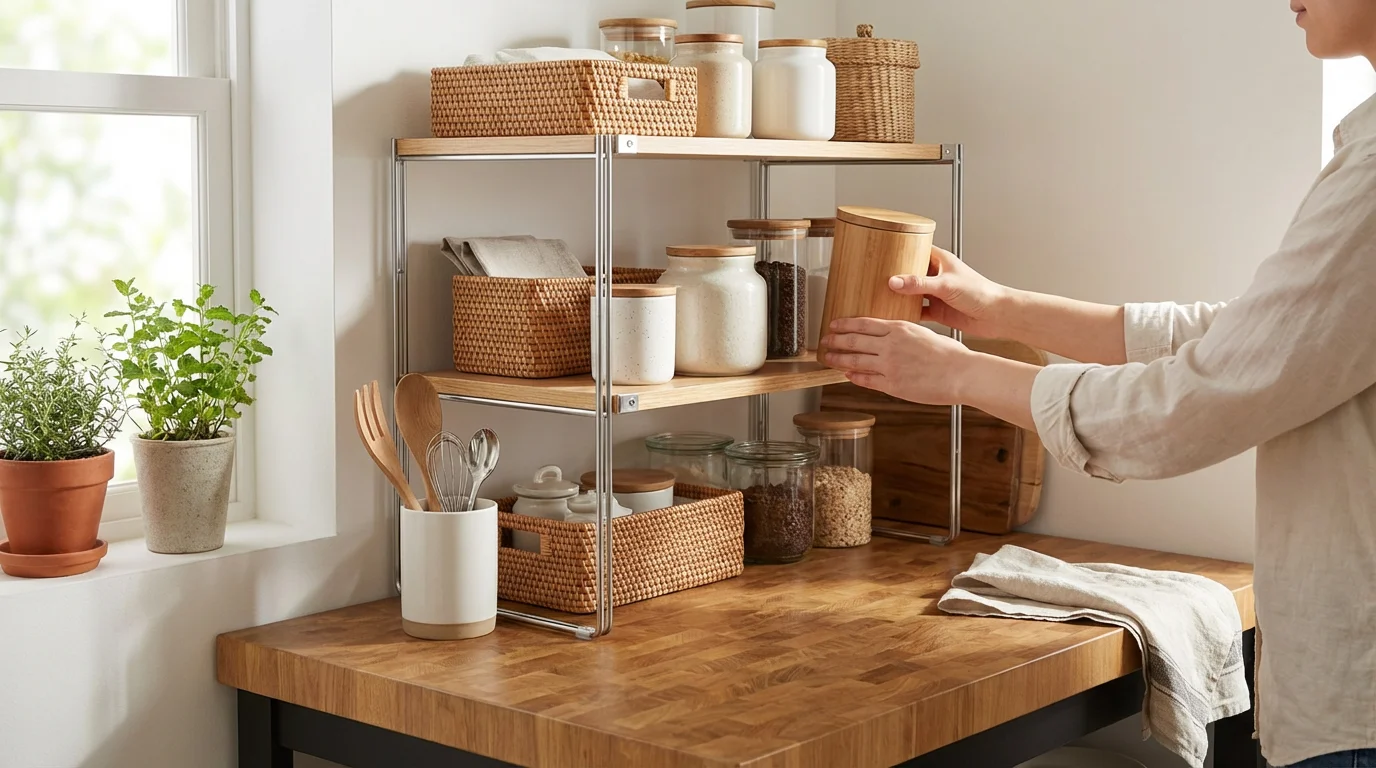
If you find your pantry overflowing, exploring countertop storage solutions for small kitchens can help move daily-use items out of your crowded cabinets.
Before you begin your organizational overhaul, it is helpful to follow a step-by-step guide to decluttering your kitchen to ensure you are only storing what you truly use.
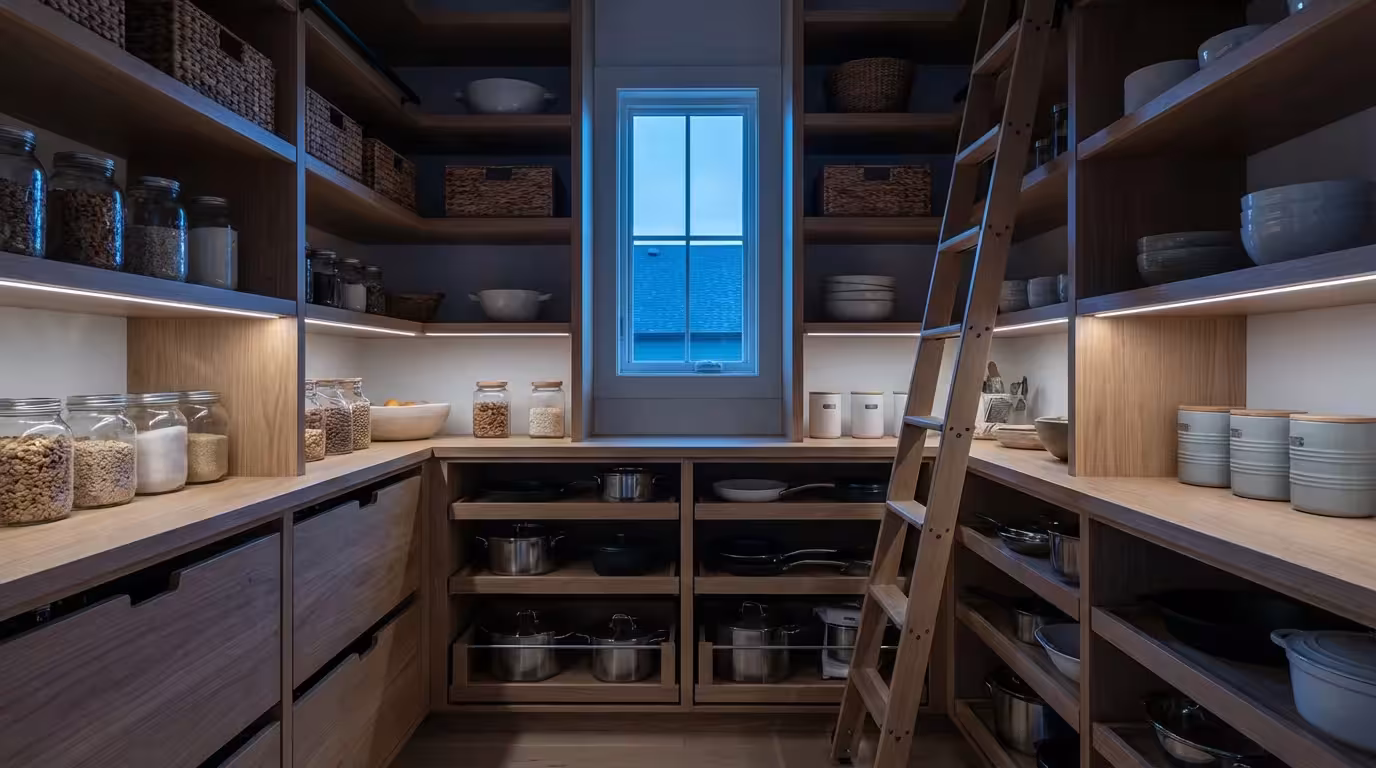
Creating a functional pantry isn’t just about buying expensive containers or tearing out your walls; it is about maximizing the vertical and horizontal space you already have. Whether you are working with a spacious walk-in or a tiny cabinet in a rental apartment, the right shelving strategy transforms chaos into calm. By implementing smart zoning, utilizing “dead space,” and selecting the right organizers, you can create a system that looks beautiful and functions perfectly.
Assessing Your Space and Measurements
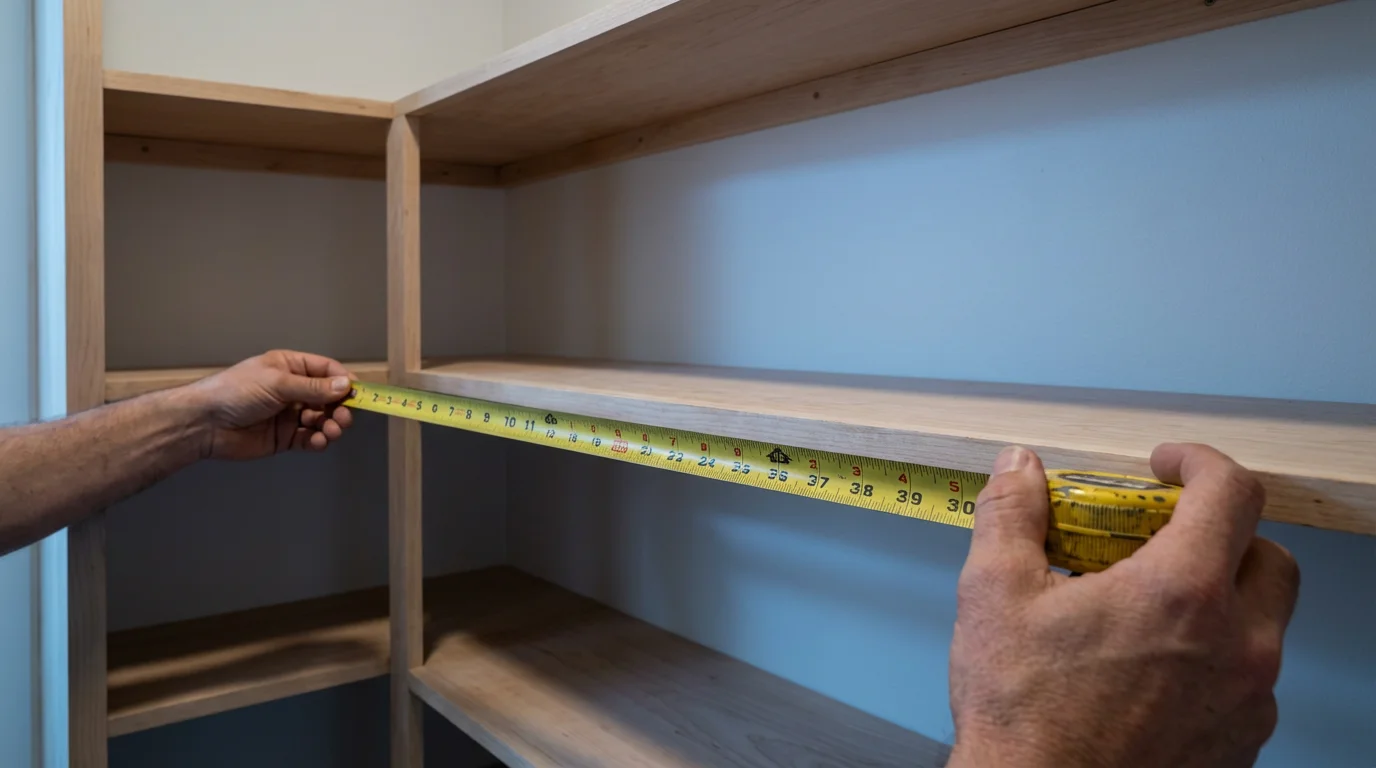
Before you purchase a single bin or install a new bracket, you must understand the geography of your pantry. Most storage failures happen because we guess at dimensions. A “standard” cereal box is roughly 12 inches tall, but family-size boxes can reach 15 inches. If your shelves are fixed at 10-inch intervals, you have a structural problem that no amount of organizing bins can fix.
If you want to customize your shelves without a full renovation, consider these DIY kitchen organization projects on a budget.
Once you have your measurements ready, you can look for pantry organization ideas that match your specific dimensions and needs.
Grab a tape measure and record the three critical dimensions of your current setup:
- Depth: Deep shelves (over 16 inches) are notorious for hiding food. Shallow shelves (10–12 inches) are generally preferred for visibility.
- Width: This determines how many “zones” or bins can fit side-by-side.
- Height: Measure the gap between shelves. This is where most space is wasted.
If you have adjustable shelving systems—tracks with brackets that allow you to move shelves up and down—you are already ahead of the game. If you have fixed wood shelves, don’t worry; we will discuss solutions like shelf risers and under-shelf baskets that act as artificial adjustments.
The Zoning Strategy: A Place for Everything
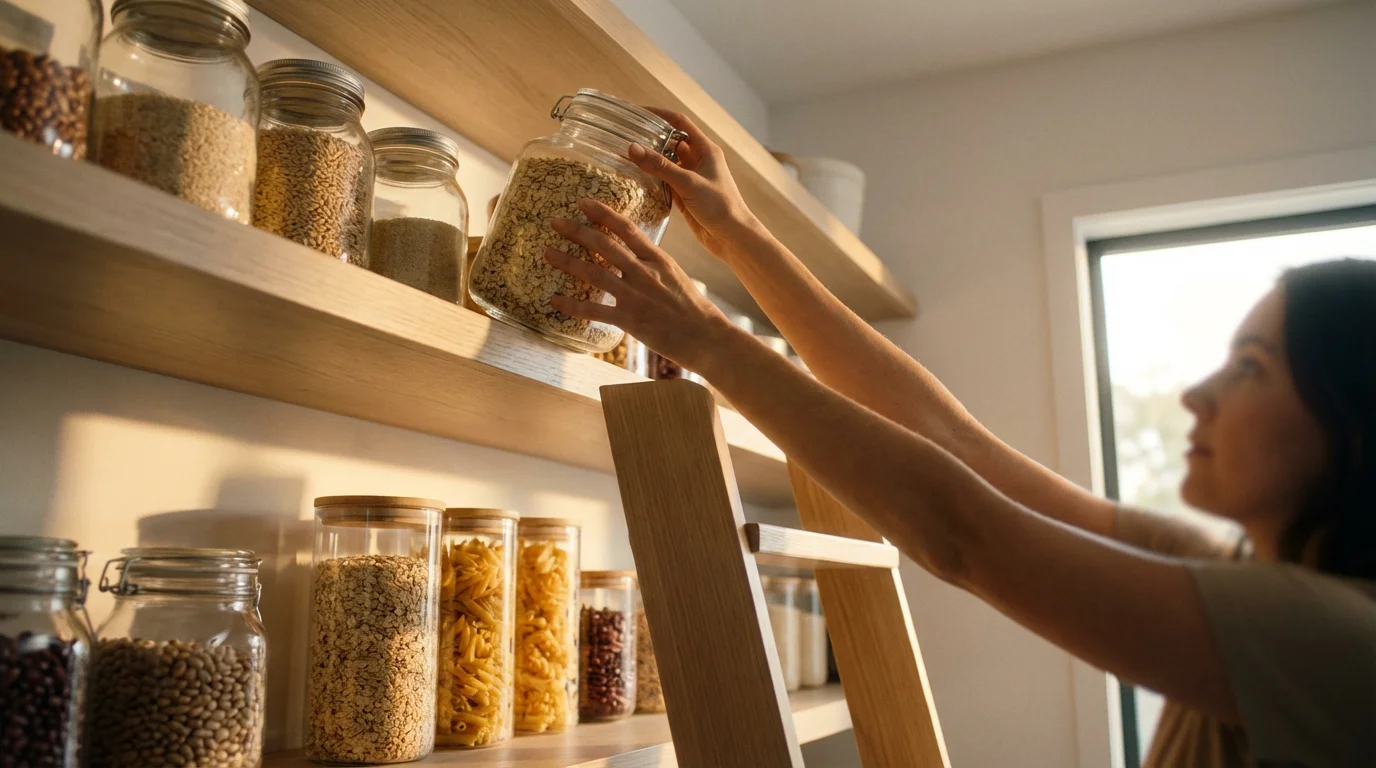
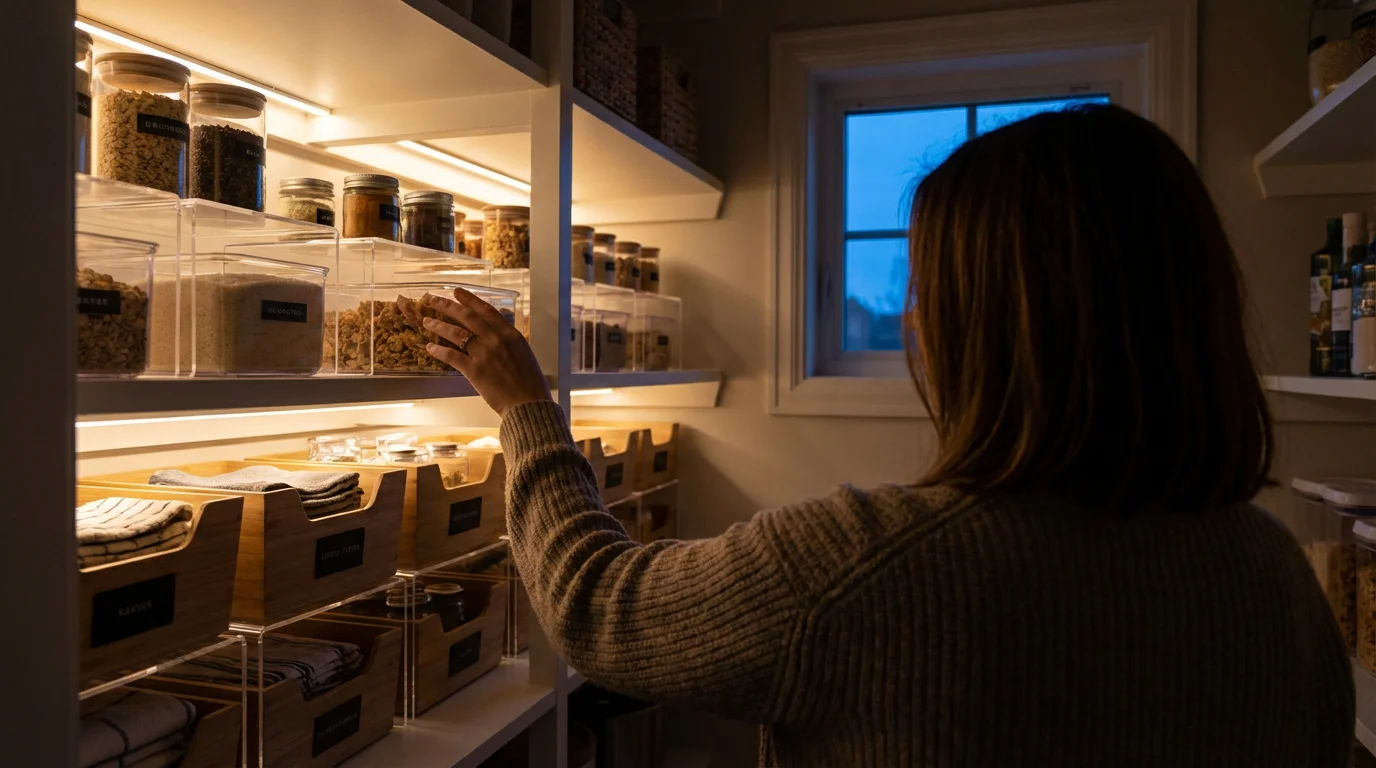
The most visually appealing pantries on Pinterest all share one secret: logical zoning. You should organize your pantry based on how you cook and eat, not just by what fits where. Think of your pantry shelves as real estate; the shelves at eye level are “prime real estate,” while the floor and the highest shelves are “suburbs”—harder to reach but useful for bulk storage.
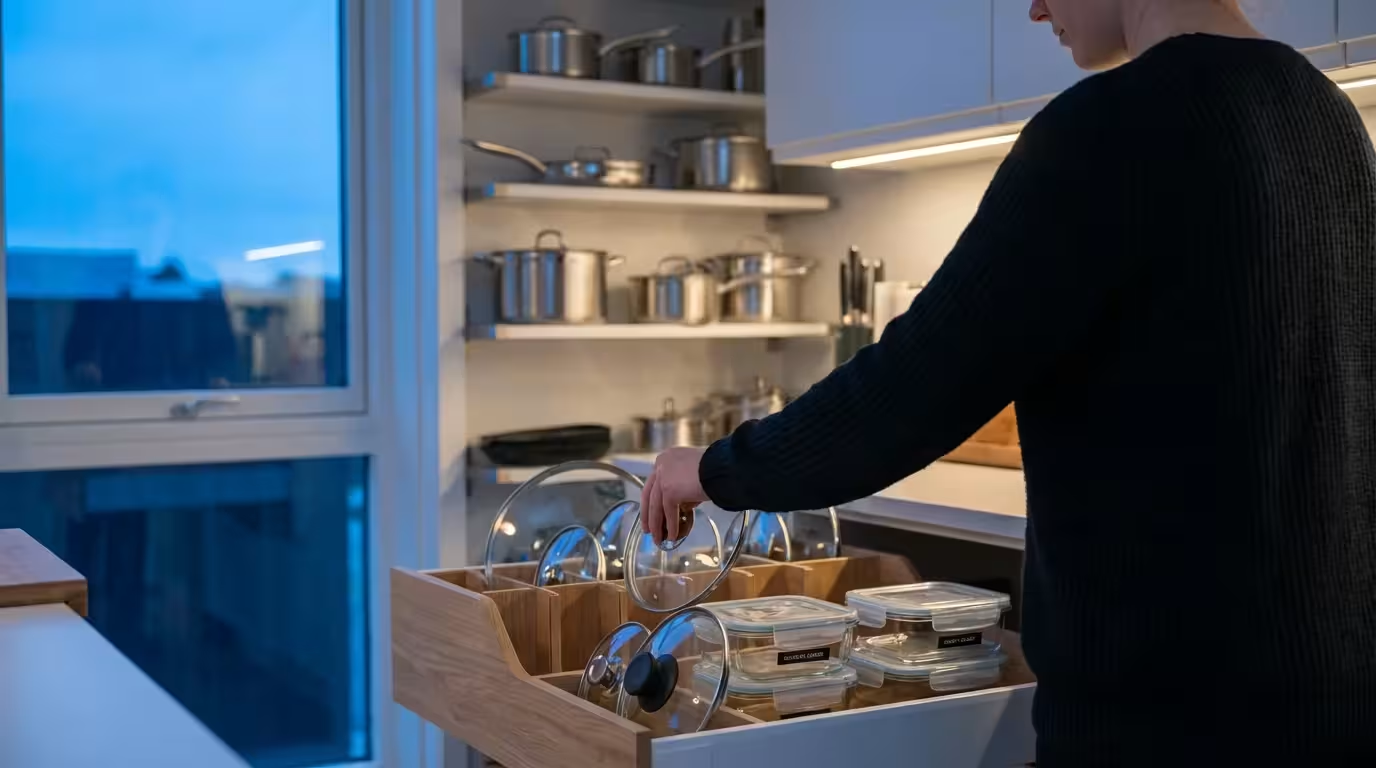
For heavier items like Dutch ovens, using dedicated cabinet organizers for pots and pans in lower cabinets is often safer than high-shelf storage.
Zone 1: The Top Shelf (Rarely Used)
This area is difficult to access without a step stool. Reserve this for kitchen appliances you only use occasionally—like that bread maker or turkey roaster—and backup stock of paper towels. Lightweight items are safer here; you don’t want to struggle with a heavy box of cast iron cookware while balancing on a stool.
Zone 2: Eye Level (Daily Essentials)
This is your high-traffic zone. Place breakfast items, snacks, and dinner staples here. If you have children, consider their eye level as well; create a self-serve snack station on a lower shelf so they aren’t climbing the cabinetry to get a granola bar.
Zone 3: Waist to Knee (Cooking Staples)
This is the workhorse area. It is perfect for canned goods, baking supplies (flour, sugar), and dinner kits. Heavy items like glass jars of pasta sauce belong here rather than higher up to prevent injury if they fall.
Zone 4: The Bottom (Bulk and Heavy)
The floor or bottom shelf is for heavy items that you lift with your legs, not your back. Think cases of water, 20-pound bags of rice, or pet food containers.
Choosing the Right Shelving Systems
The material of your shelves dictates what storage solutions you can use. According to The Spruce, choosing the right infrastructure is as critical as the organization itself.
Wire Shelving
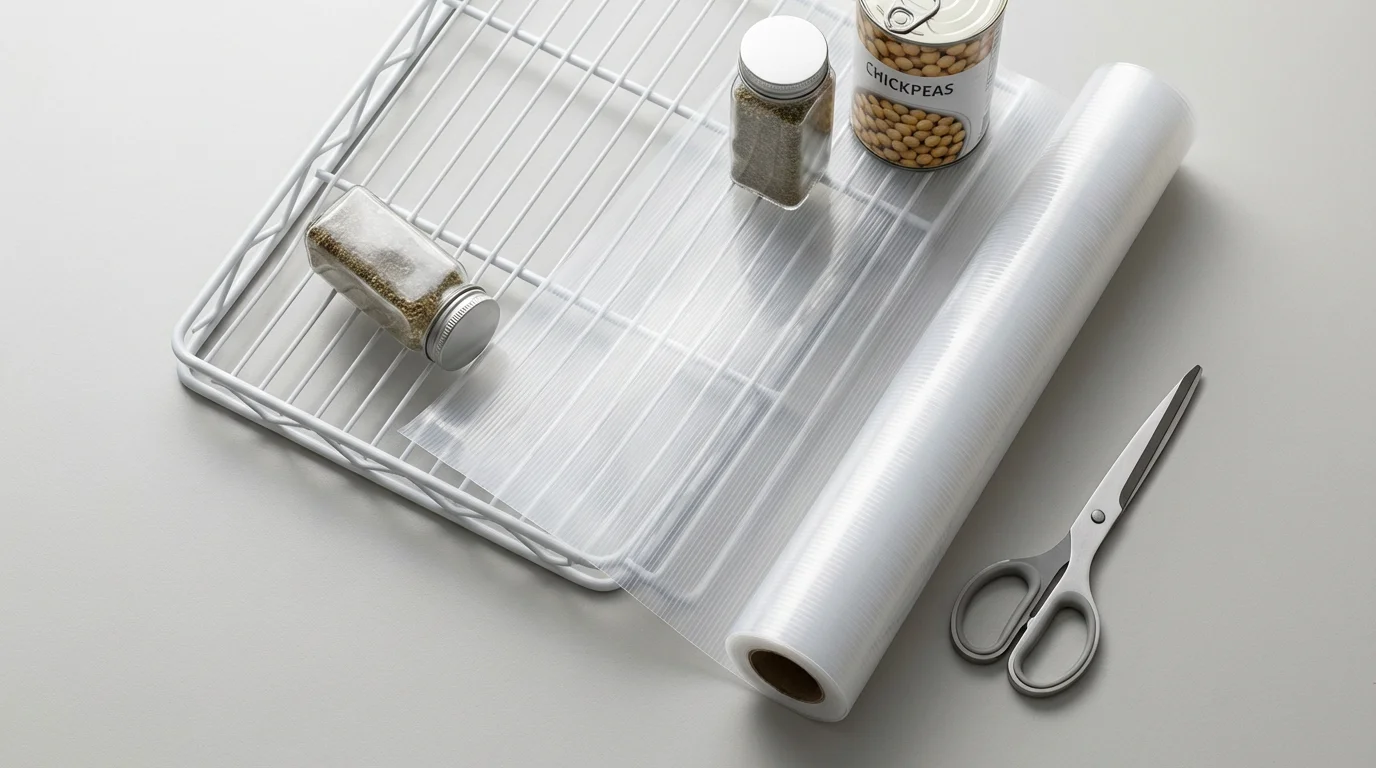
Wire shelving is common in builder-grade homes. It is durable and affordable, but it has two major flaws: small items tip over easily, and crumbs fall through to the shelf below.
The Fix: Use plastic shelf liners. These create a solid surface that prevents items from wobbling and makes cleaning spills significantly easier.
Solid Wood or Melamine
Solid shelves offer stability and a cleaner look. However, deep solid shelves can create dark corners. If you are renovating, opt for white melamine; it reflects light, making it easier to see items in the back of the pantry.
Pull-Out Shelves (The Game Changer)
If you can retrofit your pantry, pull-out organizers (shelves on drawer slides) are the ultimate upgrade. They bring the back of the shelf to you, eliminating the need to dig through clutter. For deep cabinets (24 inches or more), pull-outs are practically mandatory for maintaining sanity.
Maximizing Vertical Space with Risers and Stackables
One of the most common mistakes is leaving “dead air” between stored items and the shelf above them. If you have a 12-inch gap between shelves but are only storing 4-inch tall soup cans, you are wasting 66% of that space. You cannot simply stack cans five high—that creates a Jenga tower waiting to collapse.
Using risers works well for cans, but you should look into vertical vs horizontal bakeware organization for thin items like baking sheets.
This is where shelf risers come in. A shelf riser is essentially a mini-table that sits on your shelf, creating a second level. You can place cans underneath and on top of the riser, doubling your capacity without dangerous stacking. They are particularly effective for canned goods, mugs, and small jars.
“The goal isn’t just to fit more stuff; it’s to see what you have so you don’t buy a sixth bottle of ketchup.” — Professional Organizer
Another option is under-shelf baskets. These slide onto the existing shelf and hang below it, utilizing that empty air space. They are excellent for lightweight items like tortillas, boxes of foil, or sandwich bags.
Conquering Deep Shelves and Corners
Deep shelves and corners are where food goes to expire. The solution is to stop treating shelves like shelves and start treating them like drawers.
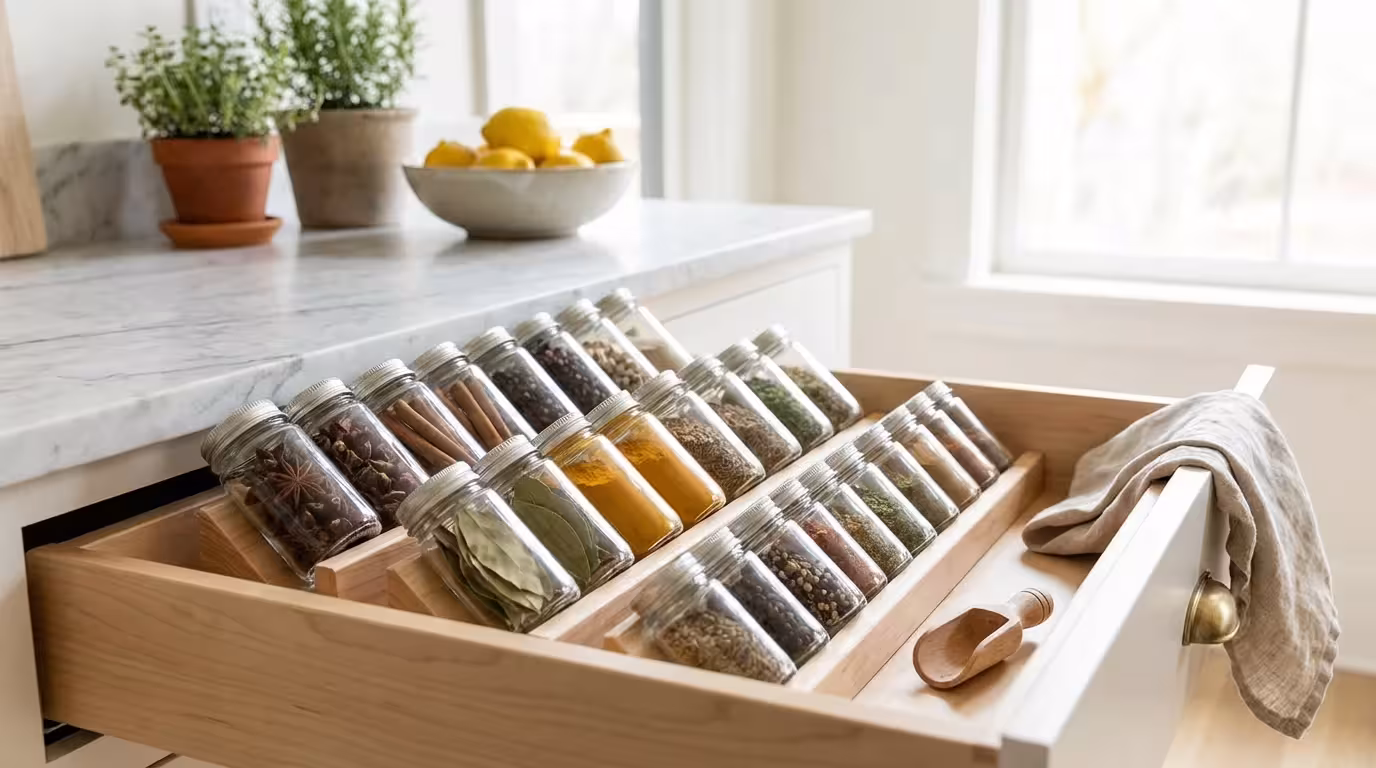
Beyond rotating trays, there are many other spice rack options for every kitchen size that can save you even more shelf space.
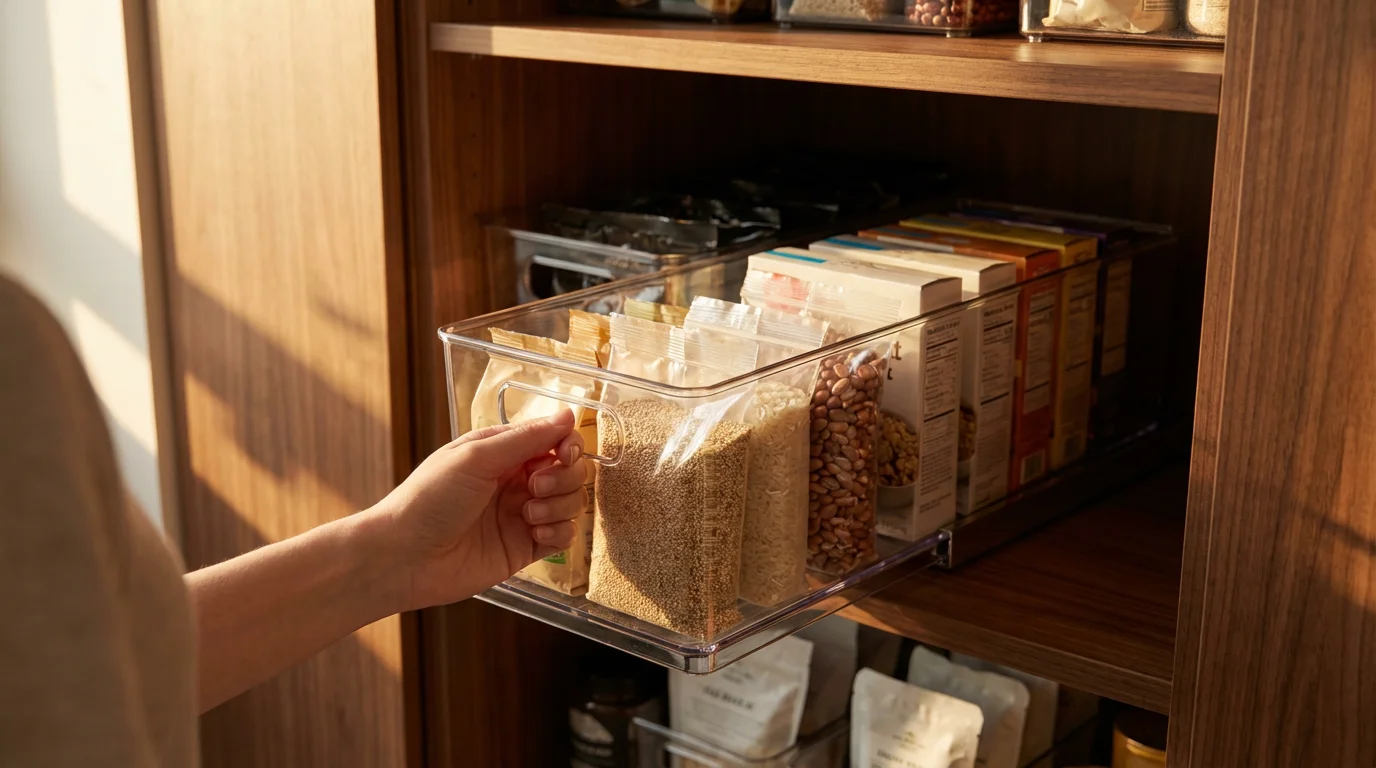
The “Bin as Drawer” Technique
If your shelves are 18 inches deep, place items in long, clear plastic bins that act as pull-out drawers. When you need a snack, you pull the whole bin out, make your selection, and slide it back. This prevents items from getting lost in the “abyss” at the back of the pantry.
The Magic of the Lazy Susan
A lazy susan is a rotating tray that makes corner storage accessible. Square corners on shelves are typically “dead space” because anything placed there becomes unreachable once other items are in front of it. By placing a lazy susan in the corner, you can spin oils, vinegars, and spices into view with a flick of the wrist. For optimal use, choose a turntable with a raised edge to keep bottles from flying off.
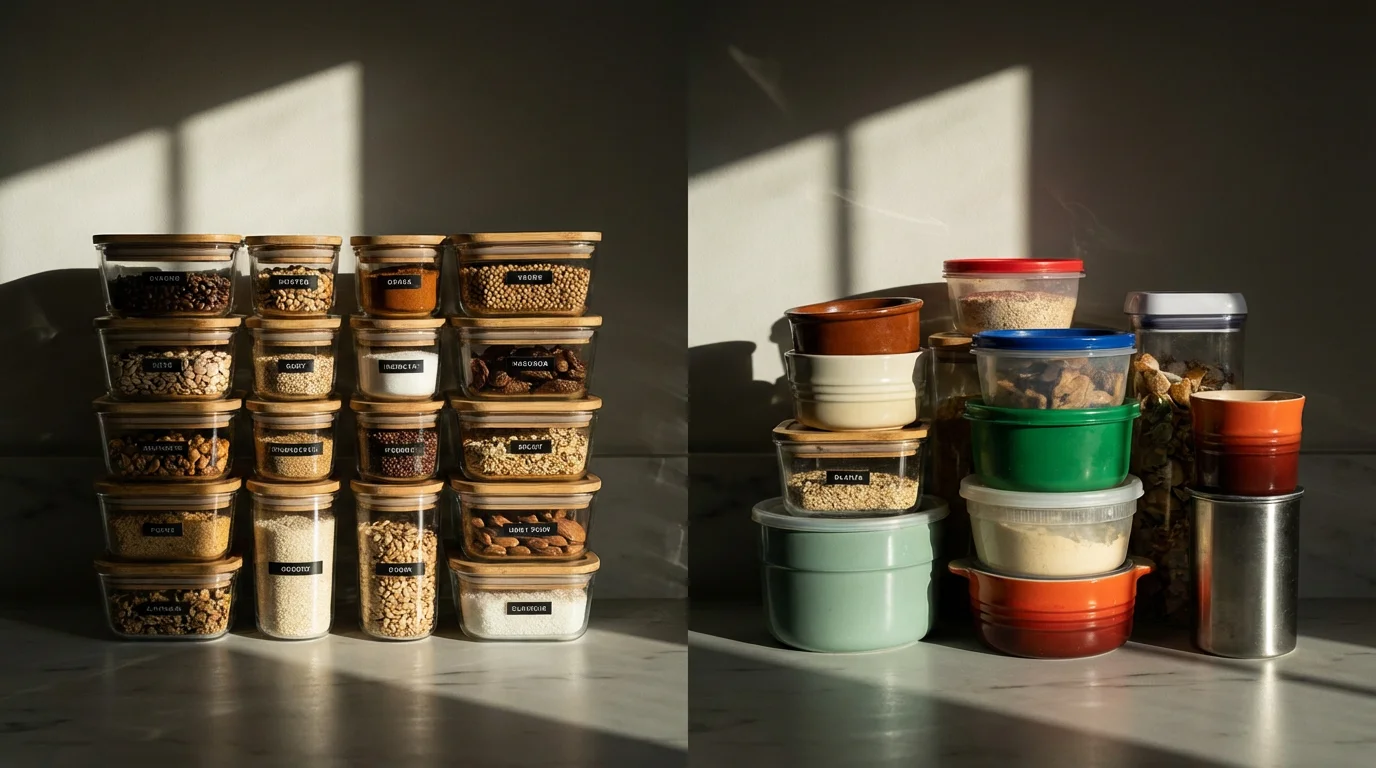
To Decant or Not: Bins, Baskets, and Canisters
Social media often portrays pantries filled with matching glass jars. Decanting—the process of removing food from original packaging and putting it into matching containers—looks beautiful, but is it practical for you?
While you are organizing your canisters, don’t forget that lid organizers for pots and containers can prevent your cabinet from becoming a jumble of mismatched parts.
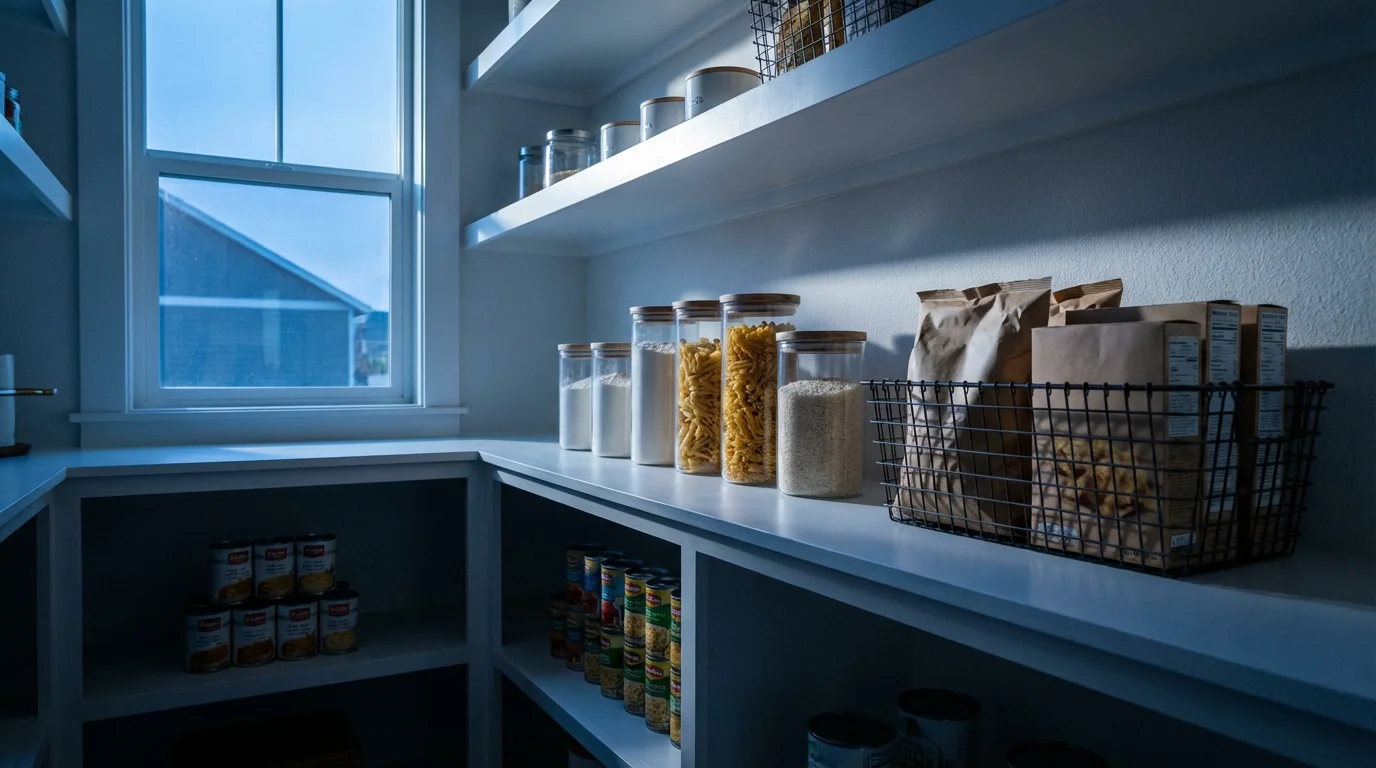
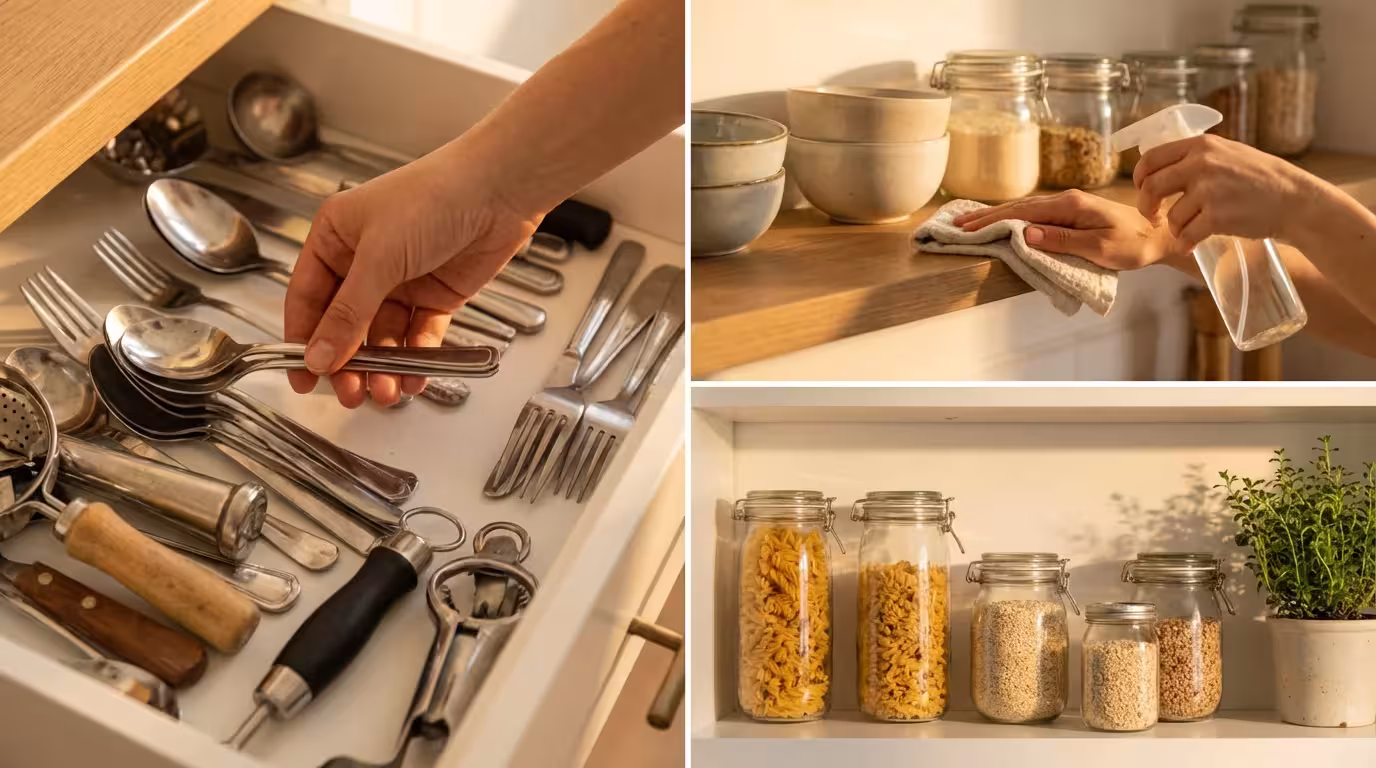
Experts at Real Simple suggest a balanced approach. You should decant staples that you buy in bulk or that come in flimsy packaging (like flour, sugar, and rice) because airtight containers keep pests out and extend shelf life. However, decanting everything (like a box of crackers you will eat in three days) is often unnecessary work.
| Container Type | Best Used For | Pros | Cons |
|---|---|---|---|
| Clear Acrylic/Plastic | Snacks, cereal, pasta, kids’ items | Lightweight, shatterproof, high visibility. | Can scratch over time; some are not dishwasher safe. |
| Glass Jars | Baking staples (flour, sugar), nuts, dried beans | Airtight, no chemical leaching, looks premium. | Heavy, breakable, more expensive. |
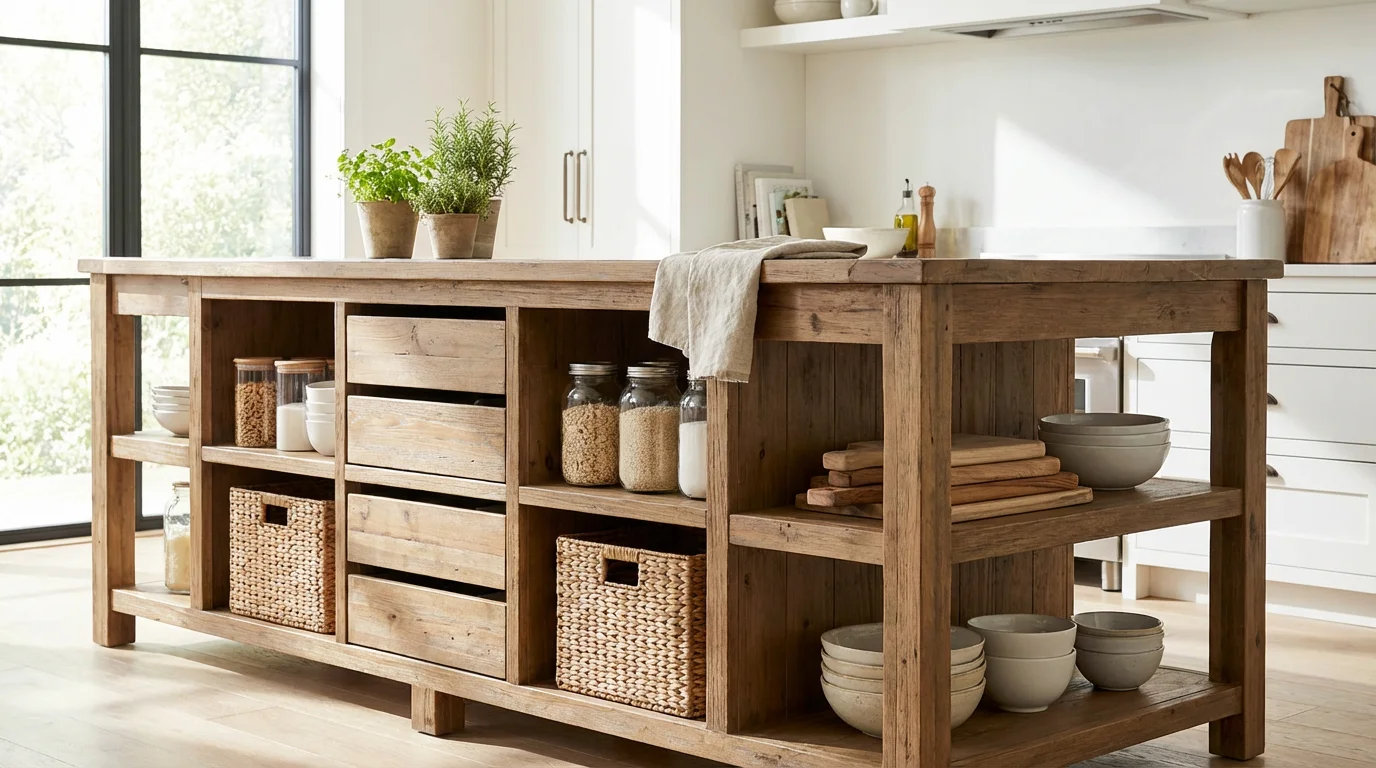
| Woven/Wire Baskets | Produce (onions/potatoes), bagged snacks, linens | Breathable, hides unsightly packaging (“visual noise”). | Harder to clean; dust can accumulate in weave. |
| Original Packaging | Fast-moving goods, specific dietary info needs | Zero effort, cooking instructions remain attached. | Visually cluttered, attracts pests, difficult to stack. |
If you choose to use opaque bins (like woven baskets) to hide clutter, always label them. Chalkboard labels or clip-on tags ensure that “Chips” don’t end up in the “Baking” bin.
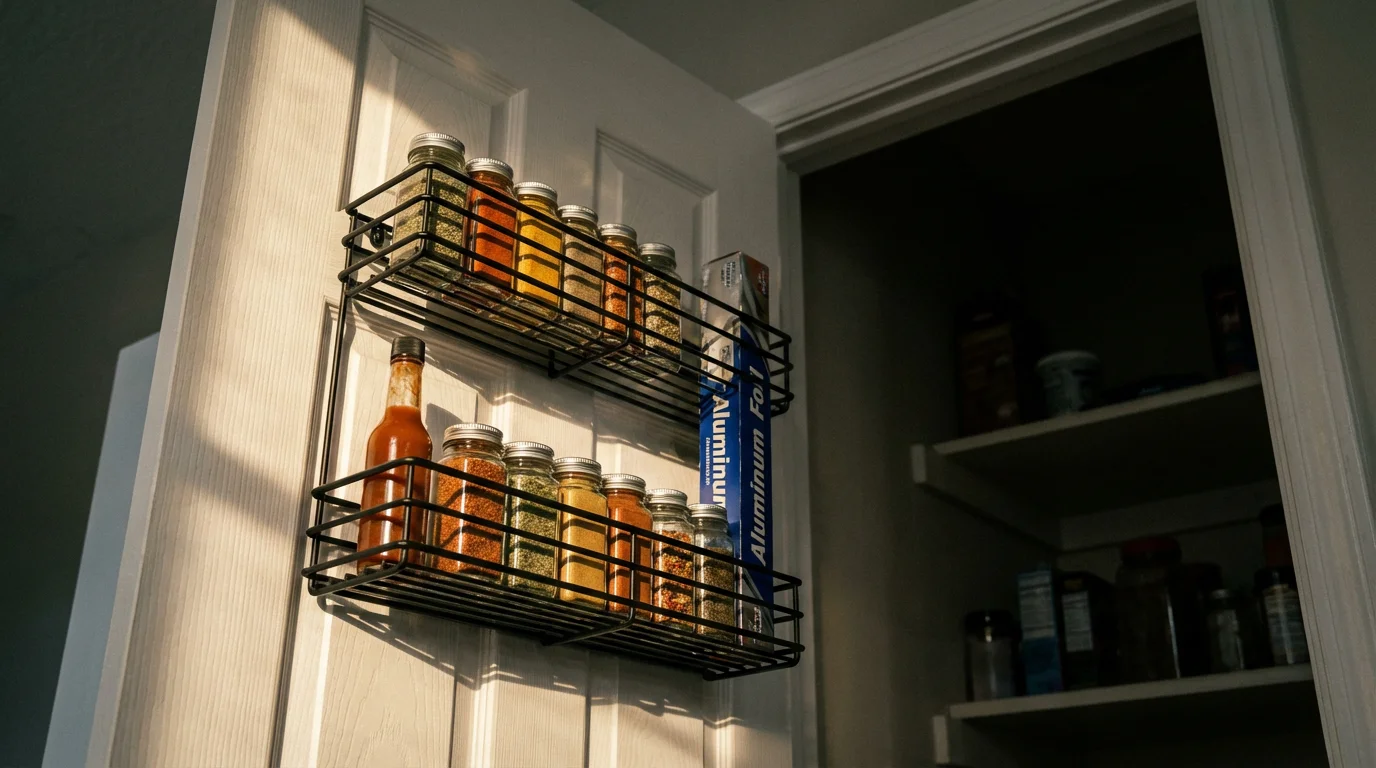
Utilizing Door and Floor Real Estate
If you have a standard door on your pantry, you have a vertical goldmine. Door-mounted racks are incredibly efficient for storing small items that otherwise clutter shelves. This is the ideal home for spices, hot sauce bottles, baking sprinkles, and aluminum foil boxes.
For renters who cannot screw racks into the door, over-the-door organizers with pockets or wire baskets work perfectly. Just ensure the organizer doesn’t hit your interior shelving when the door closes; you may need to recess your main shelves slightly to accommodate the door storage.
For the floor, avoid piling bags directly on the ground. Use large rolling bins or crates on casters. This allows you to roll out heavy items (like bulk pet food or recycling) easily for cleaning, ensuring your pantry floor doesn’t become a dust trap.
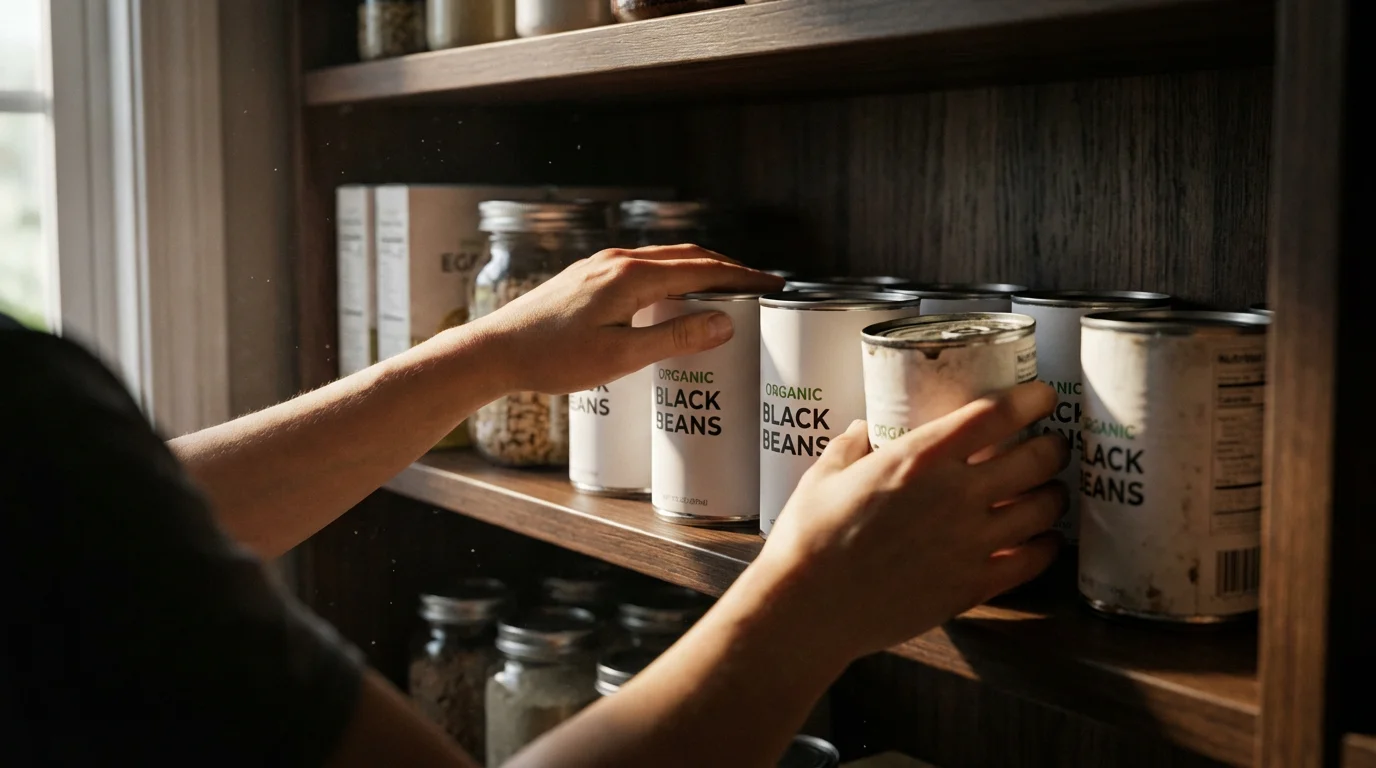
Maintenance: The FIFO Method
Organization is not a one-time event; it is a habit. To keep your pantry functional, adopt the restaurant industry standard: FIFO (First In, First Out). When you buy a new box of pasta, place it behind the open box or the older box already on the shelf. This rotation ensures you use up older stock before it expires, reducing food waste and saving money.
Conduct a “pantry audit” once a month. Check for expiration dates, wipe down shelves, and consolidate half-empty boxes. If you find an organization system isn’t working—perhaps the pasta bin is always overflowing—don’t force it. Adjust the system to match your reality.
Frequently Asked Questions
How deep should pantry shelves be?
The ideal depth for most pantry shelves is between 12 and 14 inches. This depth allows you to store cereal boxes and large canisters without items getting lost in the back. If you are building deep storage for bulk items or appliances, 16 to 24 inches is acceptable, but these deeper shelves should ideally be equipped with pull-out drawers to maintain accessibility.
What is the best way to organize a small pantry cabinet?
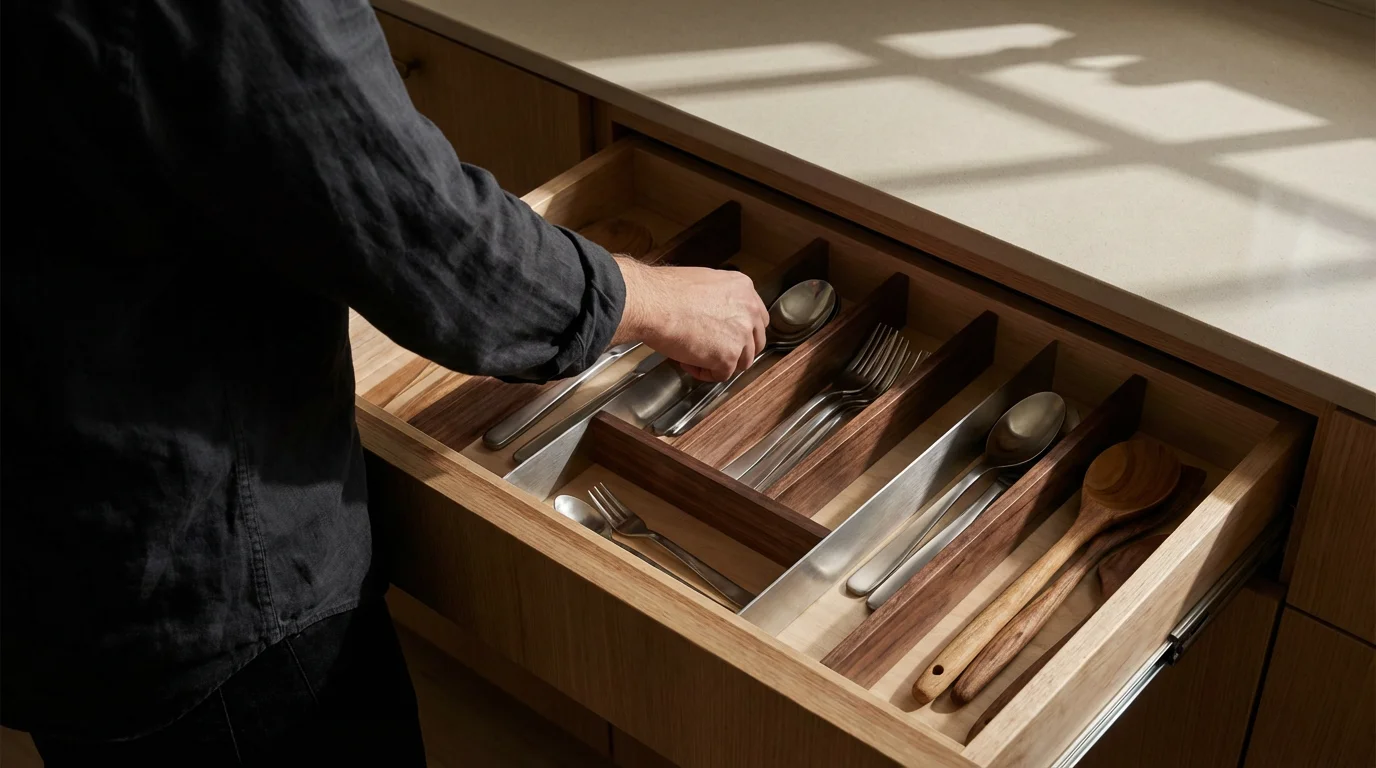
In a small cabinet, verticality is your best friend. Use stackable bins to use the full height of the shelf. Install a door-mounted rack to hold spices and small jars. Use square or rectangular containers rather than round ones, as round containers waste space in the corners. Tension rods can also be installed vertically to create dividers for cutting boards or baking sheets.
How do I stop my wire pantry shelves from tipping items over?
The most effective solution is to purchase plastic shelf liners specifically designed for wire shelving. You can also cut stiff cardboard, thin plywood, or acrylic sheets to size. Placing items in bins or baskets rather than directly on the wire rack also solves stability issues and keeps the shelves cleaner.
Should I organize by food type or meal type?
This depends on your lifestyle. Most people benefit from organizing by food type (e.g., all grains together, all canned goods together). However, if you are busy during the week, creating a “Dinner Kit” zone or “Breakfast” zone can streamline your morning and evening routines. You might have a bin containing oatmeal, syrup, and pancake mix all in one place for rapid access.
Disclaimer: Product prices and availability change frequently. Prices shown were accurate at time of writing but may have changed. We may earn a small commission from purchases made through links on this site, at no extra cost to you. Always measure your space before purchasing organizers to ensure proper fit.
Leave a Reply