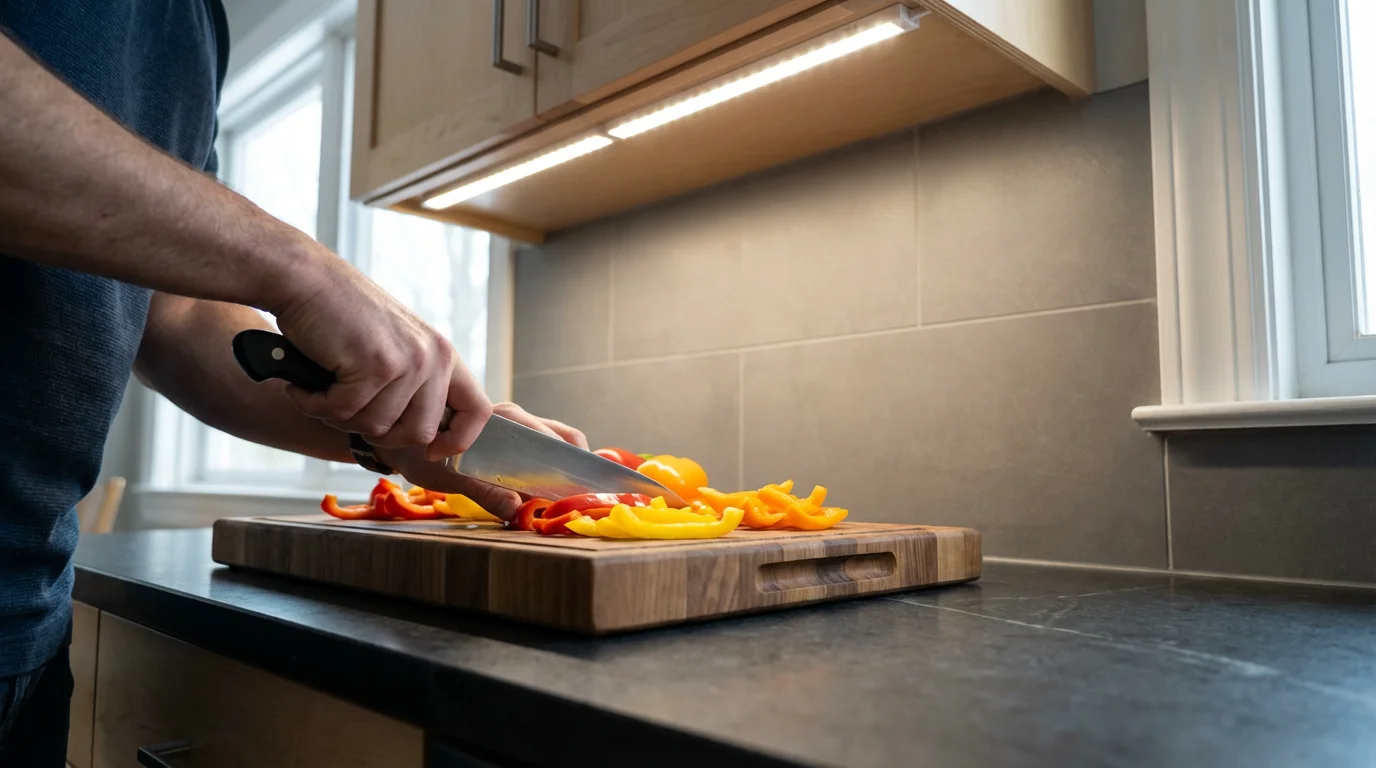
You have organized your spice rack, decluttered your drawers, and cleared your countertops. Yet, when you step into the kitchen to prepare dinner, the space still feels cramped and gloomy. The culprit often isn’t the physical clutter—it is the lighting. Overhead fixtures cast shadows exactly where you need visibility most: directly under your upper cabinets where you chop, mix, and measure.
Before you start installing lights, it is often helpful to follow a step-by-step decluttering guide to ensure your surfaces are ready for an improved workspace layout.
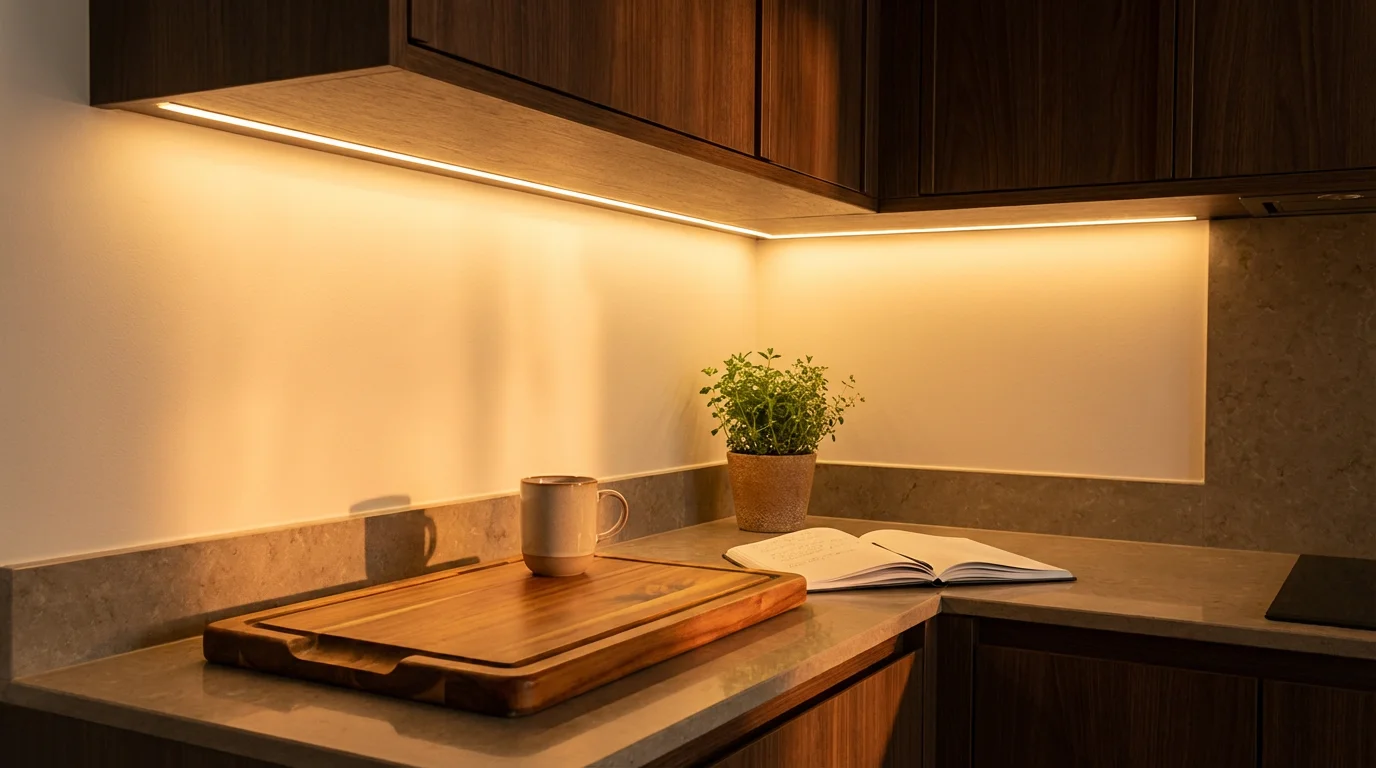
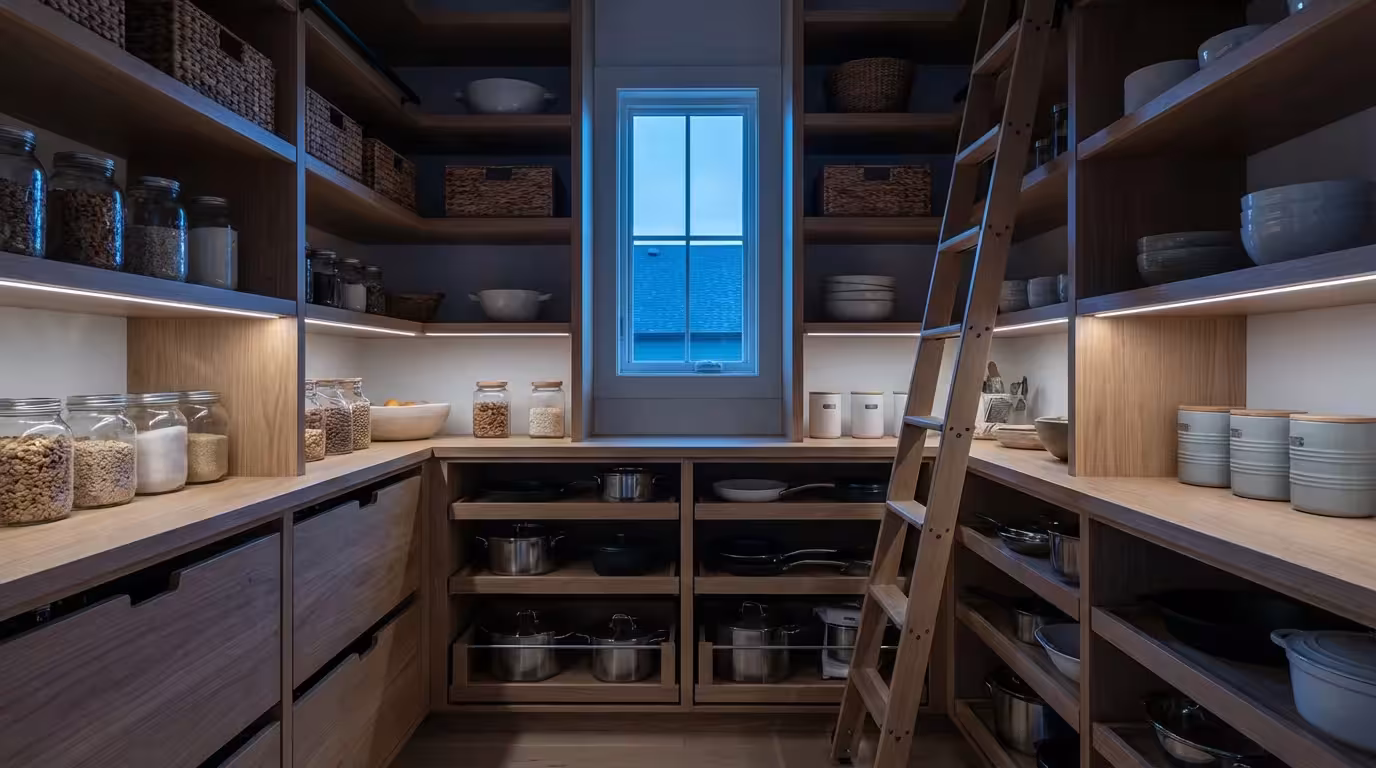
Under cabinet lighting acts as the unsung hero of kitchen functionality. It transforms dark corners into usable “task zones,” effectively expanding your workspace without requiring a remodel. Whether you own your home or rent an apartment, adding focused illumination improves safety, reduces eye strain, and makes your organizational systems shine.
Why Lighting Is a Critical Organizational Tool
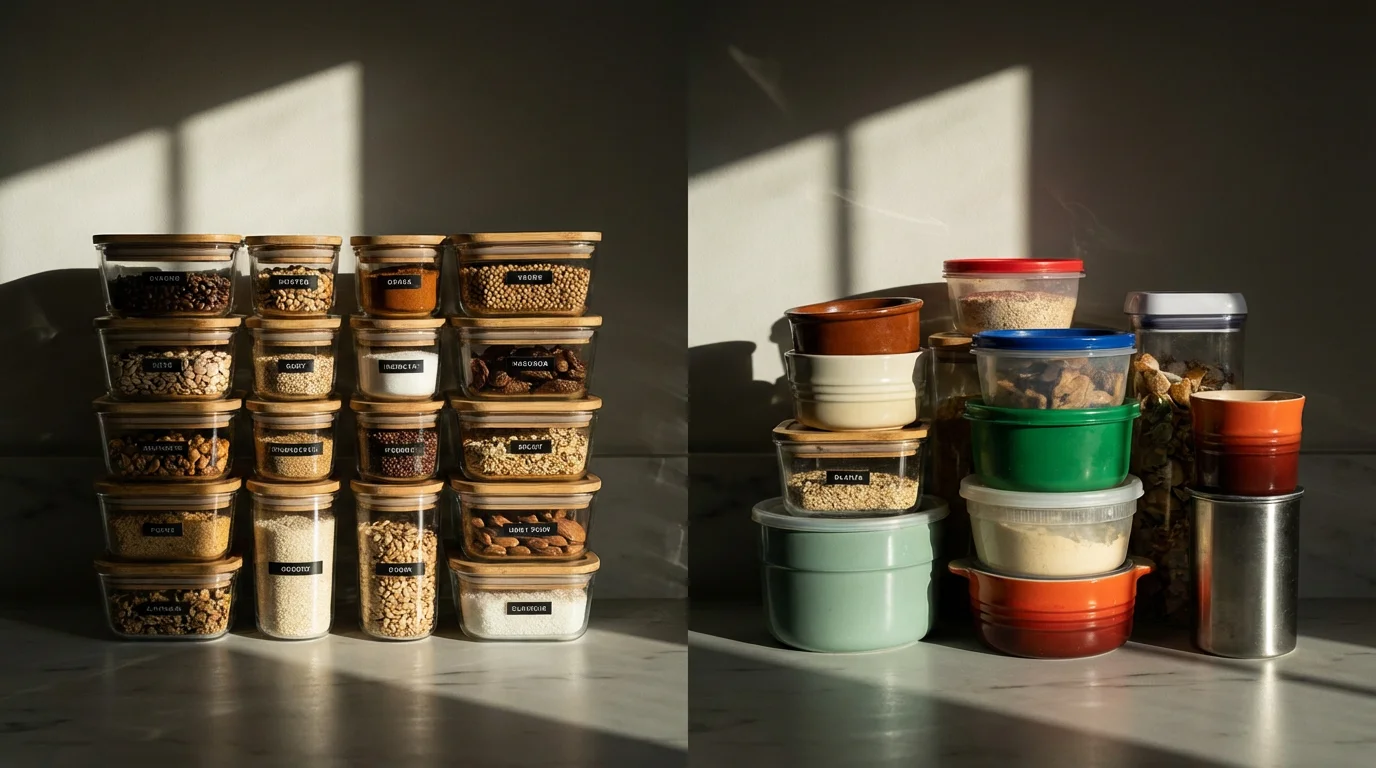
We often think of organization strictly as bins, baskets, and dividers. However, visibility is the prerequisite for organization. If you cannot clearly see the back of your counter or the labels on your spice jars because they are shrouded in shadow, your organizational system fails.
While lighting clears the shadows on top of your counters, using efficient cabinet organizers helps manage the dark storage areas below.
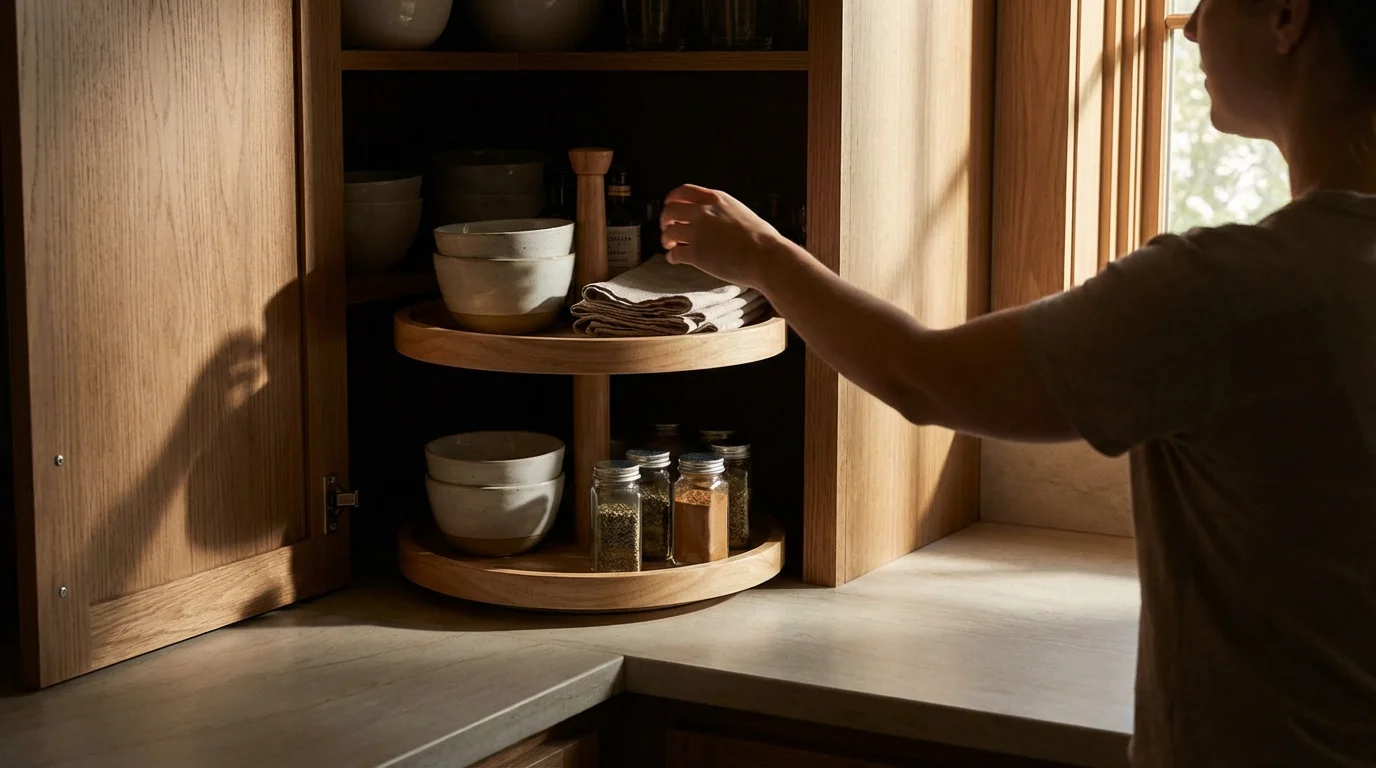
Proper task lighting is especially beneficial when trying to find items stored on deep lazy susans for corner cabinets that are otherwise obscured by cabinet shadows.
Kitchen designers refer to “task lighting” as illumination directed at a specific activity. By installing lights beneath your cabinets, you eliminate the shadows cast by your body when you stand at the counter. This visual clarity allows you to utilize the full depth of your countertops. Without it, you likely subconsciously crowd your work toward the front edge of the counter to catch the overhead light, wasting valuable square footage behind your cutting board.
“Proper lighting creates the illusion of space. A well-lit backsplash pushes the walls back visually, making a small galley kitchen feel significantly larger.” — Kitchen Design Specialist
Furthermore, lighting enhances safety. Sharp knives and hot appliances require focus. According to The Spruce, an organized kitchen is a safe kitchen, and adequate lighting is the first step in ensuring you can safely navigate your culinary workflow.
Comparing Fixture Types: Pucks, Bars, and Tape
Before you purchase lighting, you must understand the form factor that fits your cabinetry. Most under cabinet solutions fall into three main categories: puck lights, light bars, and tape lights.
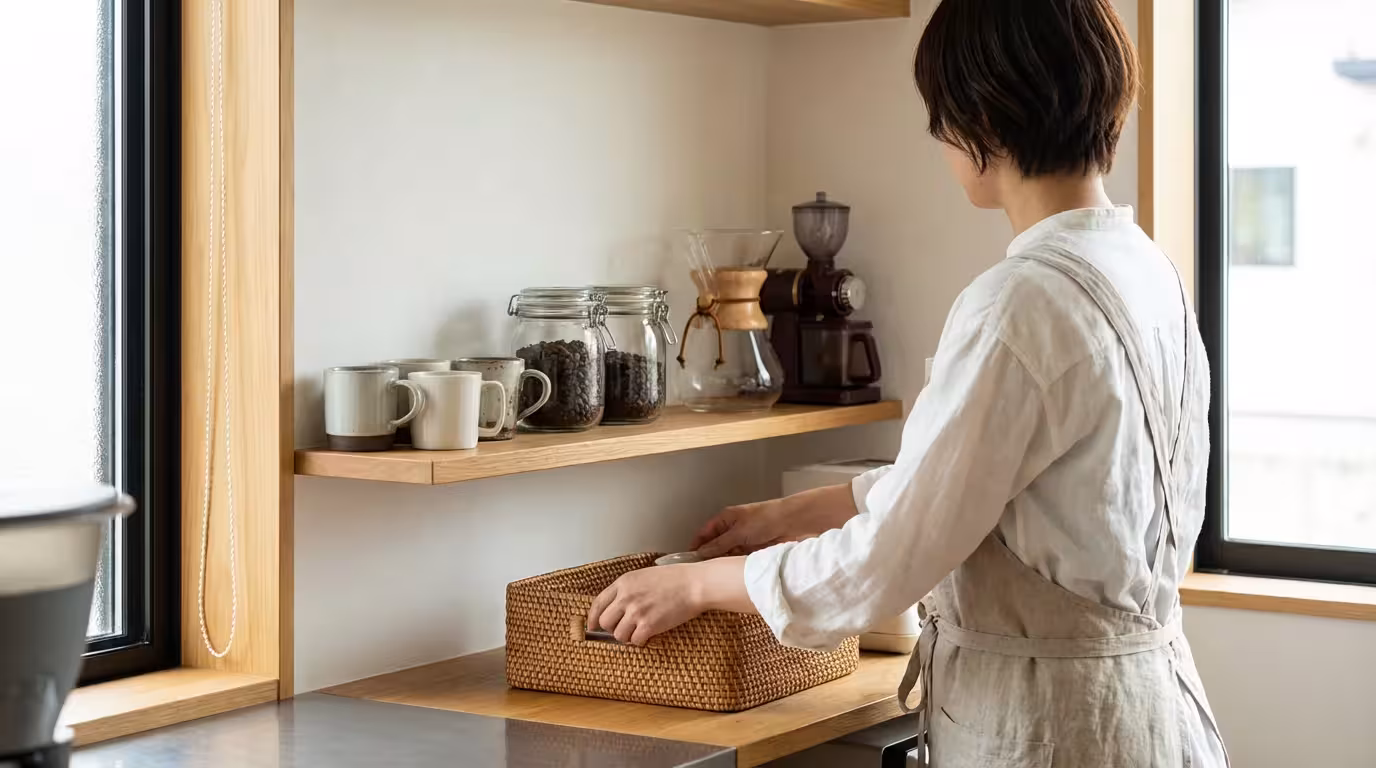
Low-profile LED strips are also a favorite for pantry organization as they can be tucked under shelves to eliminate dark corners.
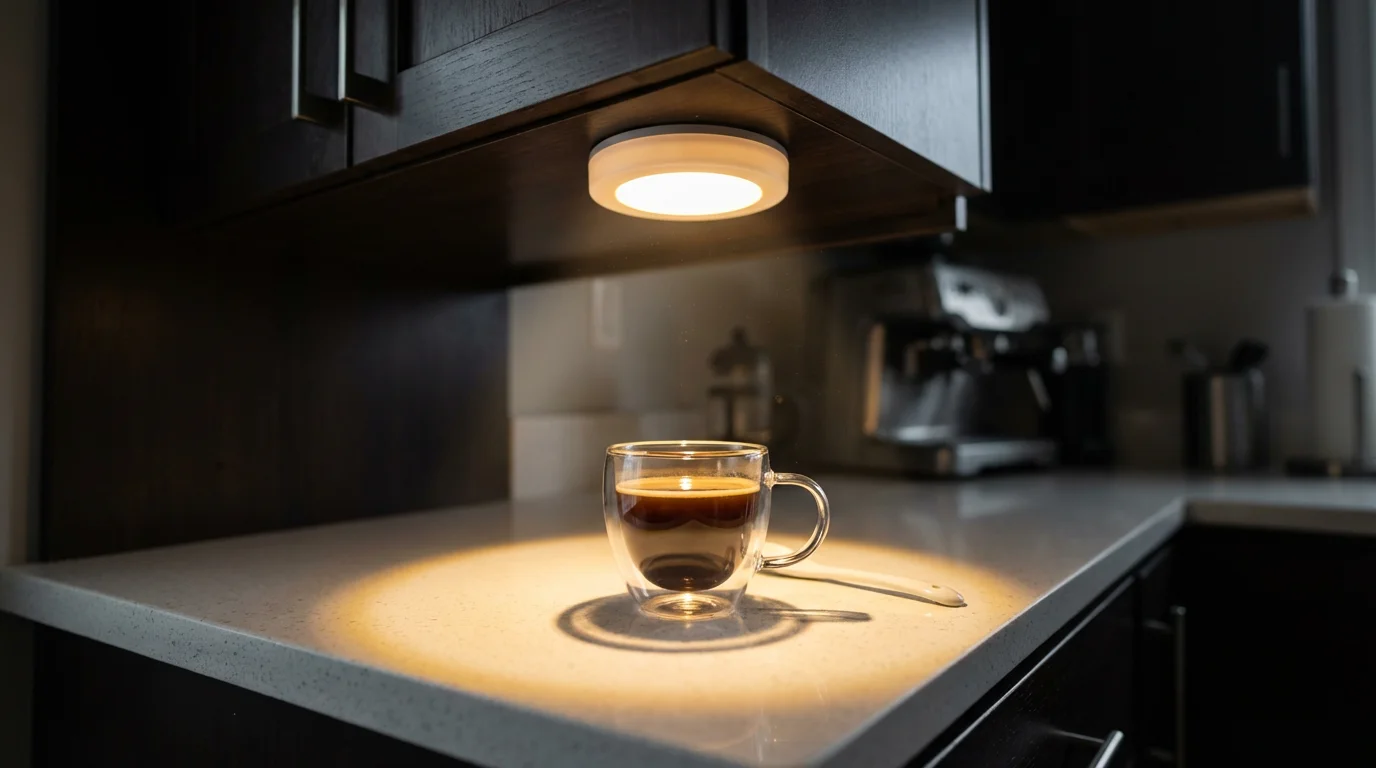
Puck Lights
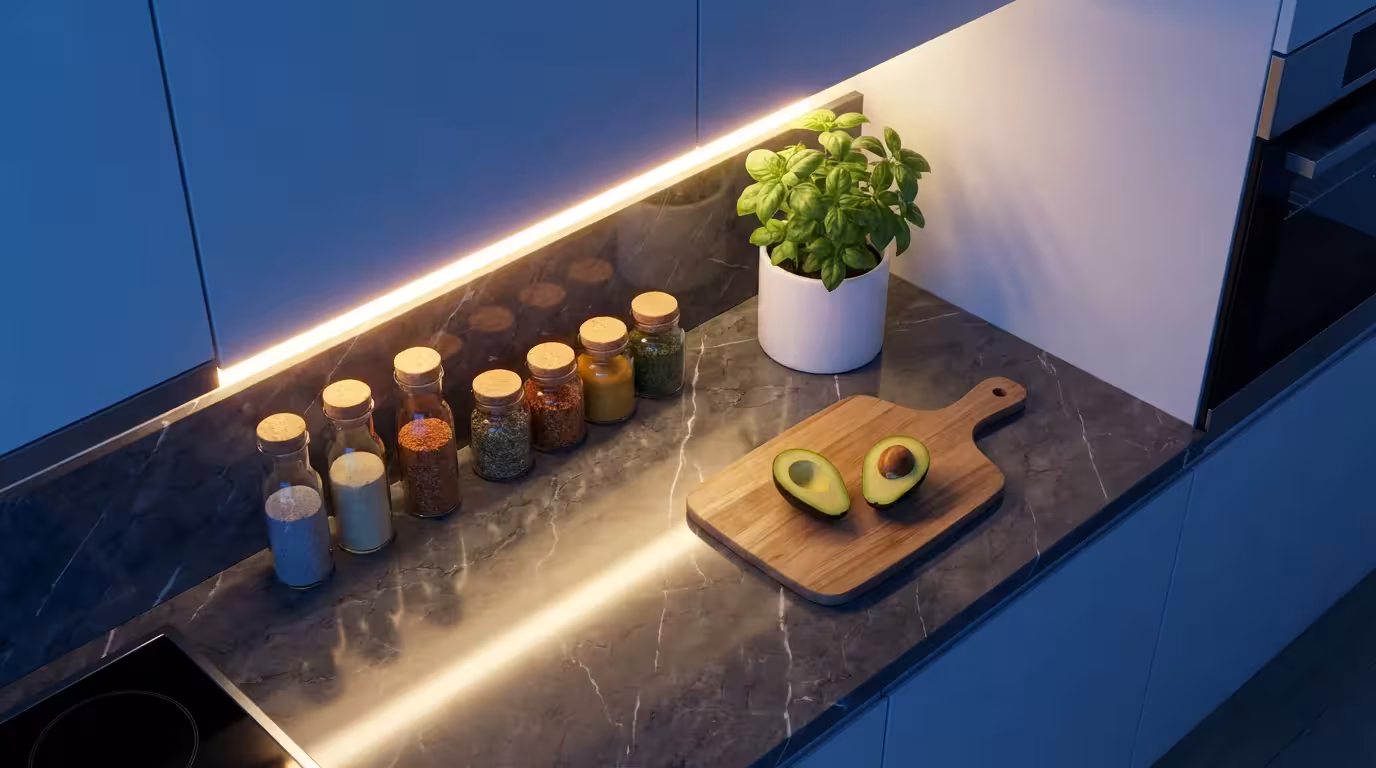
Puck lights are round, hockey-puck-shaped fixtures. They create pools of light rather than a continuous wash. They are excellent for highlighting specific areas, like a coffee station or a display shelf, but they can create “scalloping” (dramatic arches of light and shadow) on the backsplash. If your goal is even task lighting for chopping vegetables, pucks may leave dark spots between fixtures.
Light Bars (Linear Lights)
Light bars are rigid strips ranging from 8 inches to 30 inches or more. They provide a professional, diffused look with substantial brightness. These are often “linkable,” meaning you can daisy-chain several bars together using a single power source. They are ideal for standard cabinets with a flat bottom.
Tape Lights (Strip Lights)
Tape lights are flexible, adhesive-backed strips of LEDs (Light Emitting Diodes). They are incredibly low-profile, making them perfect for cabinets with a very shallow recessed lip. You can cut them to size, allowing for a fully custom fit. While they used to be dim, modern high-density LED strips offer powerful illumination.
| Type | Best For | Pros | Cons |
|---|---|---|---|
| Puck Lights | Accent lighting, small zones | Easy to install, focused beam | Creates uneven pools of light (scalloping) |
| Light Bars | Heavy-duty task work | Even light distribution, durable, bright | Thicker profile (harder to hide) |
| Tape Lights | Full kitchen runs, tight spaces | Invisible profile, customizable length | Can look “dotted” on shiny counters |

Power Sources: Hardwired, Plug-In, or Battery
Your living situation dictates your power source. This decision affects the installation difficulty and the final aesthetic.
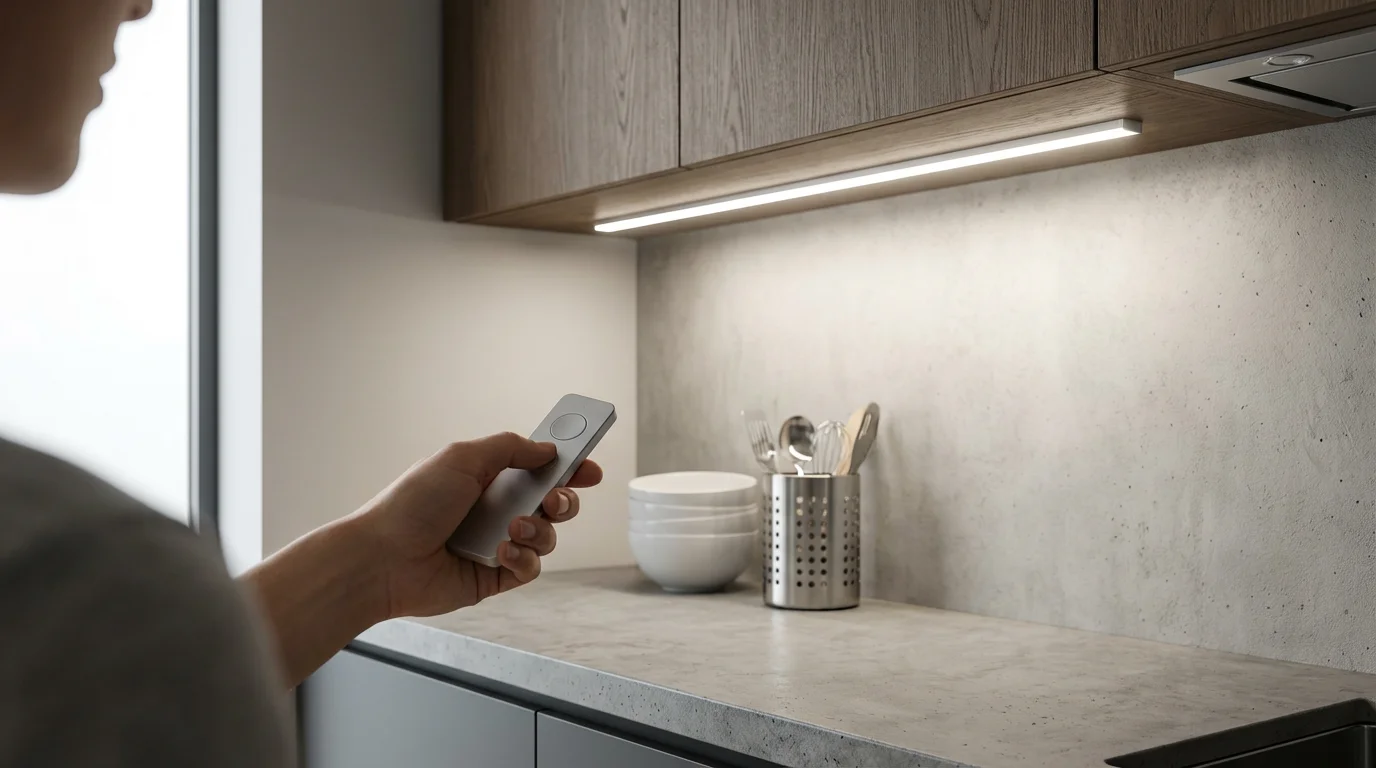
Hardwired (Direct Wire)
This is the cleanest, most permanent option. The lights connect directly to your home’s electrical circuit, usually controlled by a wall switch or a dimmer. There are no visible cords hanging down. This requires an electrician or advanced DIY electrical skills and is typically reserved for homeowners planning a minor renovation.
Plug-In
Plug-in lights are the most common DIY choice. You mount the light and plug the cord into a standard backsplash outlet. The downside is cord management. You will need to use cable clips or plastic channels to hide the wire running from the light to the outlet. If you have appliances on the counter (like a toaster or coffee maker), you can often hide the cord behind them.
Battery Operated
For renters or areas without outlets, battery-operated lights are a lifesaver. These are almost exclusively puck lights or short bars. They attach via adhesive command strips or magnets. While convenient, the maintenance is high; you will need to recharge or replace batteries frequently if you cook often. Look for lights with motion sensors to conserve battery life.
Decoding Color Temperature and Brightness
Buying the wrong color light can make your kitchen look like a hospital operating room or a dim campfire. Lighting color is measured in Kelvin (K). Understanding this scale is vital for cohesive kitchen aesthetics.
- Warm White (2700K – 3000K): This casts a yellowish, cozy glow. It matches traditional incandescent bulbs. Use this if your kitchen has earth tones, wood cabinets, or if you want a relaxing evening ambiance.
- Soft White/Neutral (3000K – 3500K): This is the sweet spot for kitchen task lighting. It is crisp enough to see true colors of food but not harsh.
- Cool White/Daylight (4000K – 5000K): This light appears blue-white. It is excellent for high-contrast visibility but can feel sterile. Wirecutter reviews often suggest staying under 4000K for residential spaces to avoid the “commercial kitchen” feel unless you have a very modern, all-white aesthetic.
Brightness (Lumens): Do not confuse watts with brightness. Look for lumens. For effective task lighting, aim for 250 to 400 lumens per linear foot of counter space.
Strategic Placement for Maximum Efficiency
Where you stick the light matters just as much as the light itself. A common mistake is mounting the light against the backsplash (the back wall). This creates glare on the wall and leaves the front of your counter—where you actually work—in shadow.
These placement strategies also apply when you are optimizing kitchen island storage to create a balanced lighting scheme throughout the room.
The Golden Rule: Mount the fixture as close to the front face of the cabinet as possible.
By placing the light behind the front face frame (the “lip” of the cabinet), you hide the fixture from view while projecting light downward and backward across the entire counter. This placement ensures the light hits the center of your cutting board rather than just the wall behind it.
Handling Glossy Countertops
If you have polished granite or quartz countertops, you face a unique challenge: reflection. You will see the individual LED dots reflected in the stone like a mirror. To mitigate this:
- Choose a light bar with a “diffuser” (a frosted plastic cover).
- If using tape lights, install them inside an aluminum channel with a milky diffuser lens.
- Angle the light slightly toward the backsplash to reduce direct reflection.
Installation Basics for Homeowners and Renters
You have selected your lights; now you must install them. Follow this workflow to ensure they stay put and look professional.
If your kitchen upgrade involves electrical changes, it is a great time to check your under sink organization for any leaks or mess before mounting components nearby.
Installing these fixtures is one of the most impactful DIY kitchen organization projects on a budget for improving both form and function.
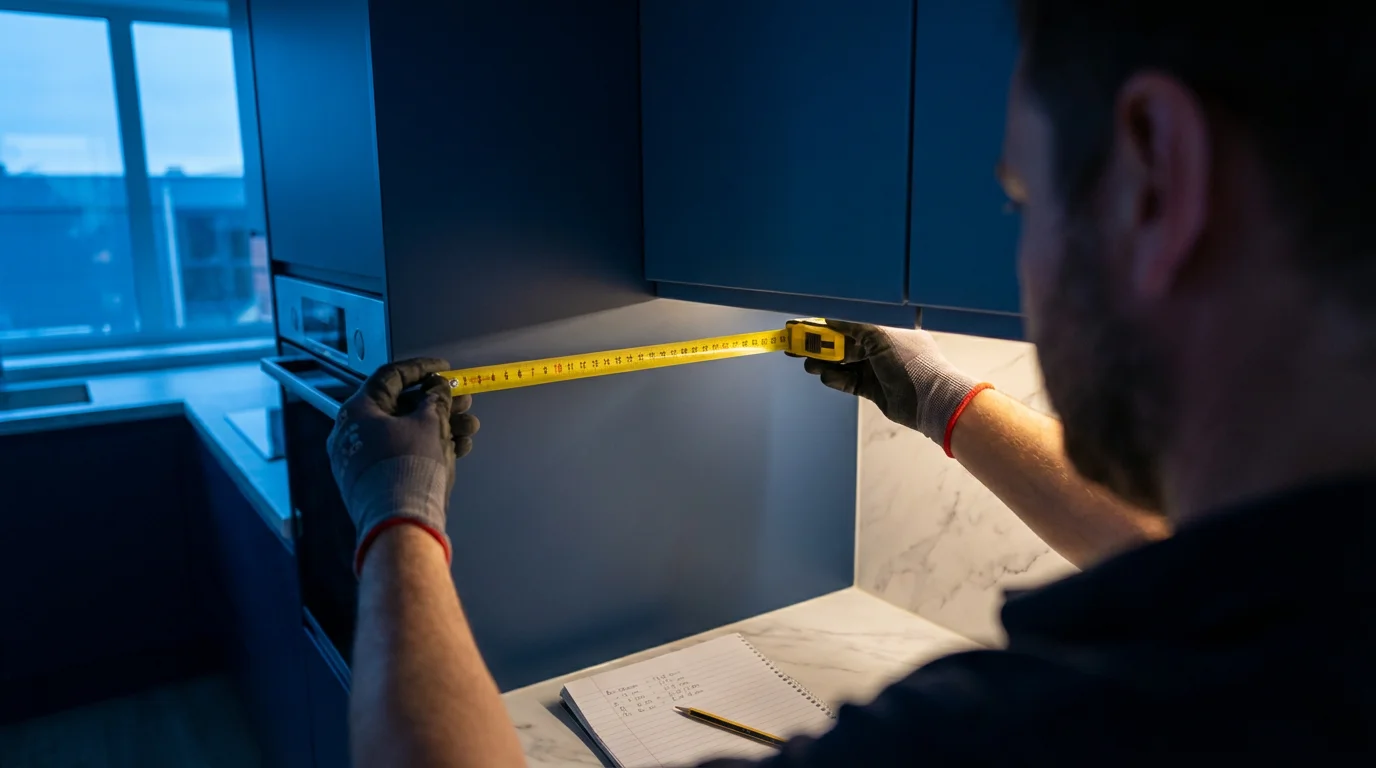
1. Measure and Plan
Measure the flat recessed bottom of each cabinet. Deduct about 2–3 inches from the total length to ensure the fixture doesn’t poke out the sides. If you have a 24-inch cabinet, a 22-inch or 18-inch light bar is ideal.
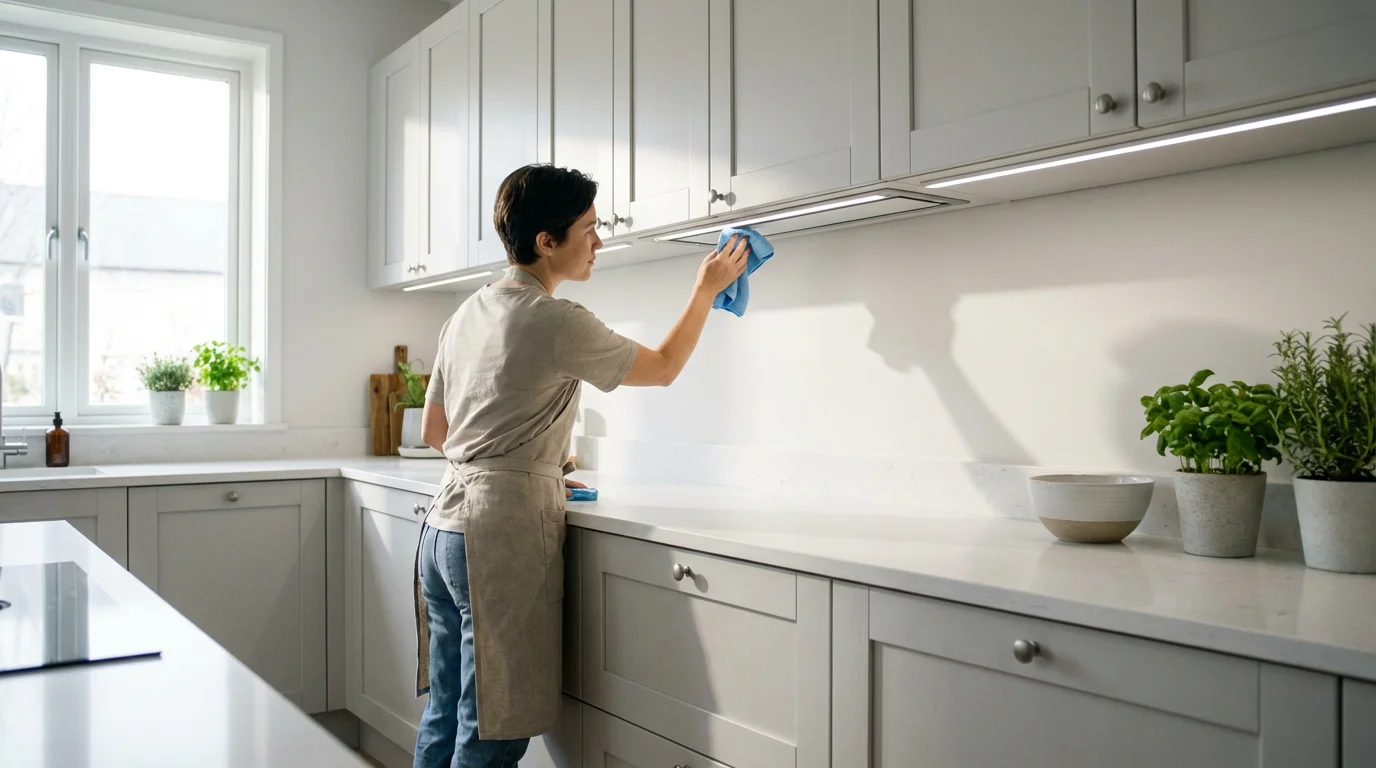
2. Clean the Surface (Critical Step)
Kitchen cabinets are covered in an invisible layer of grease and cooking oil. Adhesives will fail if you skip this step. Wipe the underside of the cabinet with a 50/50 mixture of water and rubbing alcohol or a degreaser. Let it dry completely.
3. Mounting
For Renters: Use heavy-duty double-sided mounting tape (like 3M Command Strips). Ensure the strip is rated for the weight of the light bar (and batteries, if applicable). Press firmly for 30 seconds.
For Homeowners: Use the small screws provided with the fixture. Pilot holes are essential. Use a drill bit slightly smaller than the screw shank to drill a shallow hole. Warning: Mark your drill bit with tape at 1/2 inch depth so you do not drill all the way through the cabinet floor and ruin the shelf inside.
4. Cable Management
Loose wires make a kitchen look messy. Use small adhesive cable clips to pin the wires tight against the underside of the cabinet or along the frame. If you have a gap between cabinets (over a sink or range), you may need to drill a small hole through the cabinet side frame to feed the wire through, keeping it hidden.
Maintenance and Long-Term Care
Under cabinet lighting is low maintenance, but it is not “set it and forget it” if you want optimal performance. The kitchen environment is humid and oily.
Every three months, wipe the lens of the light fixture with a damp microfiber cloth. Grease buildup on the lens can dim the light output by up to 30% over time. If you use battery-powered lights, establish a charging routine. Do not wait for them to die completely; recharge them during a time you aren’t cooking, such as overnight.
For LED fixtures, heat is the enemy. While LEDs run cool compared to incandescent bulbs, they do generate heat that must dissipate. Ensure you do not stack tall items on the counter that touch the lights, as this traps heat and shortens the lifespan of the diodes.
Frequently Asked Questions
Do LED under cabinet lights get hot?
High-quality LEDs produce very little heat compared to halogens or incandescents. They may feel warm to the touch after hours of use, but they should not be hot enough to melt plastic or burn skin. This makes them safe to use near food items like chocolate or produce stored on the counter.
Can I install hardwired lights without an electrician?
If you are simply replacing an existing fixture, you might be able to do it yourself with basic electrical safety knowledge (turning off the breaker). However, running new wire behind drywalls or connecting to a circuit requires a licensed electrician to ensure code compliance and safety. Insurance policies may not cover electrical fires caused by unpermitted DIY work.
How do I hide the wires for plug-in lights?
The best method is to secure the excess cord to the underside of the cabinet using adhesive cable clips. Run the cord down to the outlet along the corner of the backsplash or behind a heavy appliance like a coffee maker. You can also purchase paintable plastic cord covers (raceways) that stick to the wall and conceal the cord.
Disclaimer: Product prices and availability change frequently. Prices shown were accurate at time of writing but may have changed. We may earn a small commission from purchases made through links on this site, at no extra cost to you. Always measure your space before purchasing organizers to ensure proper fit.
Leave a Reply