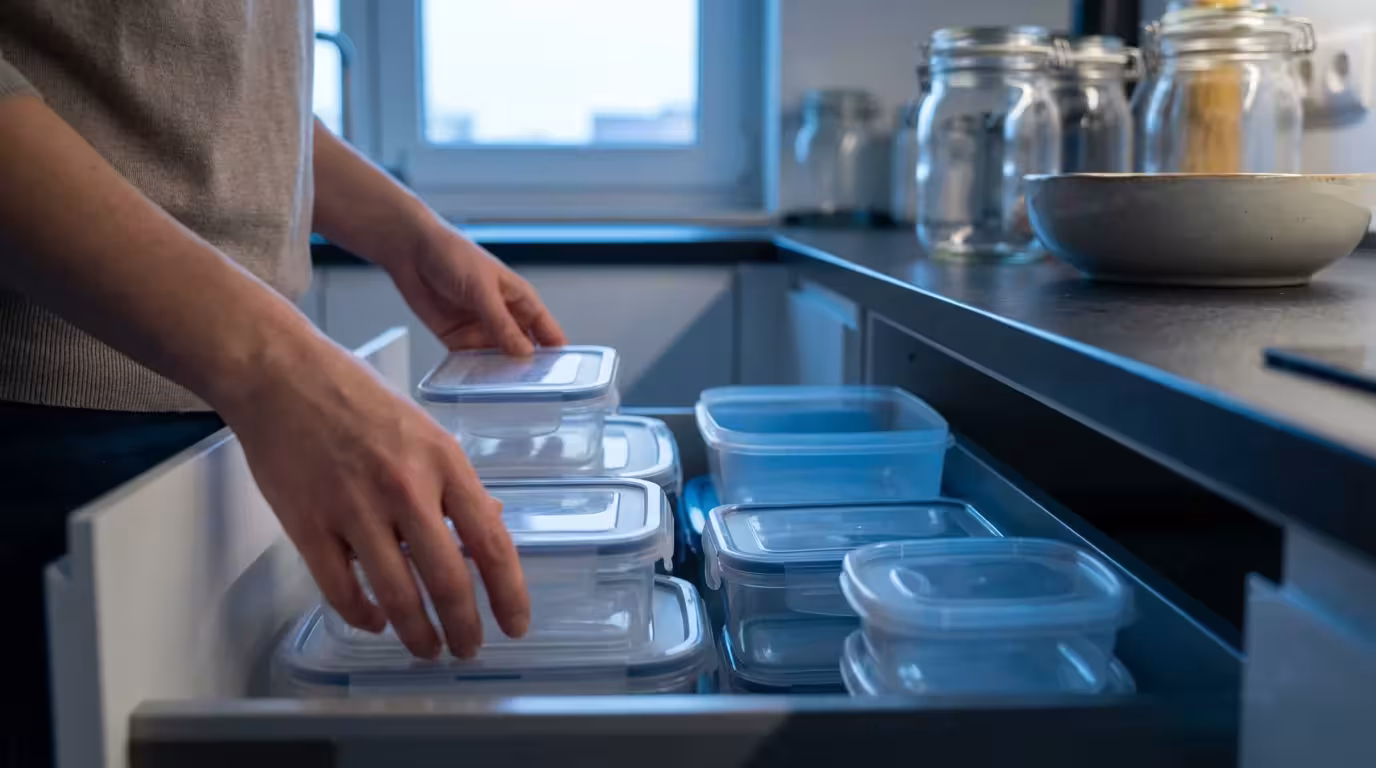
There is a specific sound every home cook dreads: the plastic avalanche. You open a cabinet door to grab a sandwich-sized tub, and suddenly, a cascade of mismatched lids and stained bowls tumbles out onto the floor. If this sounds familiar, you are struggling with one of the most notoriously difficult areas of kitchen organization.
Managing these items is often as challenging as finding space for cabinet organizers for pots and pans, as both require a strategy for nesting diverse shapes.
Plastic food storage containers are essential for leftovers, meal prep, and pantry staples, but they are also shape-shifters that refuse to stack neatly unless tamed. Whether you have a sprawling kitchen or a compact apartmentette, reclaiming this space is not just about aesthetics; it is about preserving your sanity and saving time during dinner prep.
This guide will walk you through a practical, step-by-step system to sort, match, and store your containers efficiently. We will look at real-world solutions that fit standard American cabinets and drawers, helping you turn that chaotic “Tupperware cabinet” into a streamlined storage zone.
The Great Purge: Sorting and Decluttering
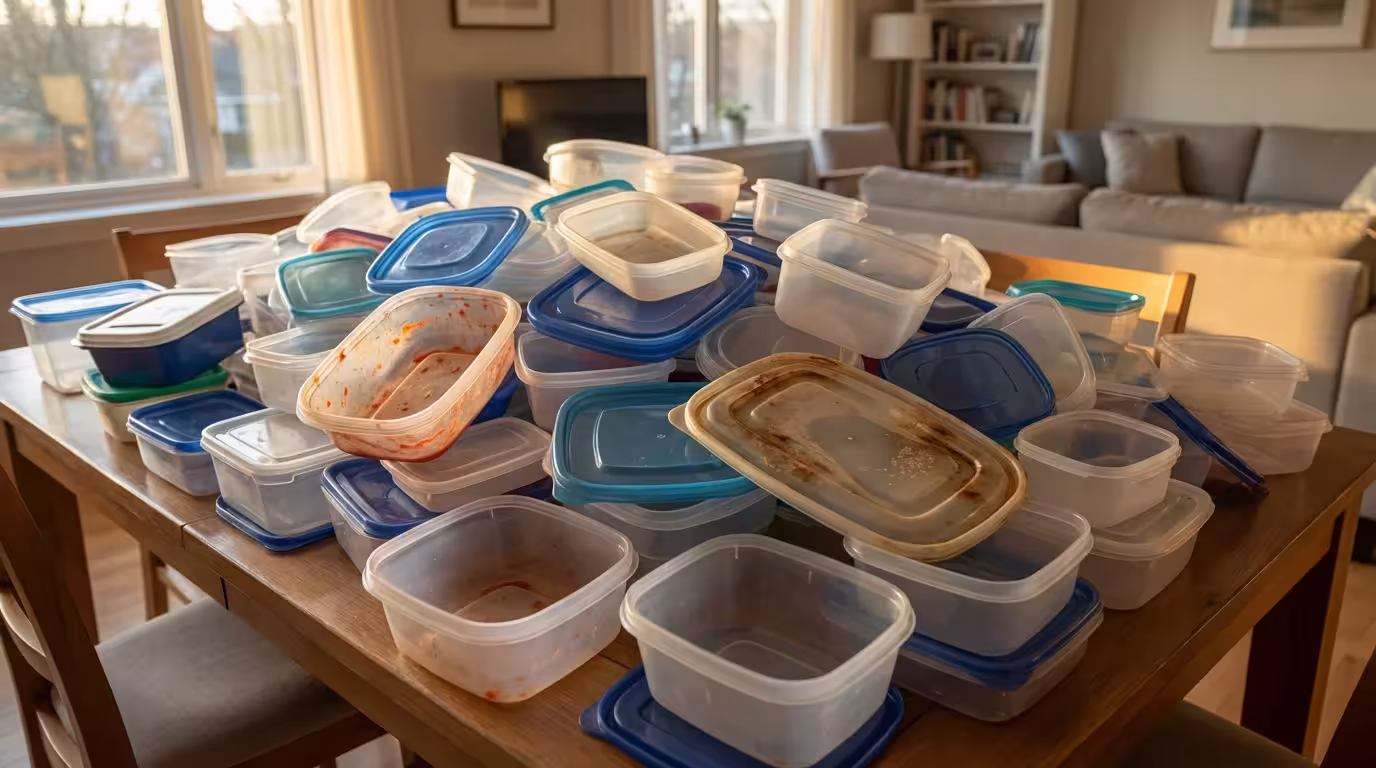
You cannot organize clutter. Before you buy a single bin or divider, you must reduce your inventory. Pull every single plastic food storage container and lid out of your cabinets, dishwasher, and fridge. Lay them all out on a large table or countertop.
Starting with a comprehensive kitchen decluttering guide can help you clear out unnecessary items before you focus specifically on your plastic storage.
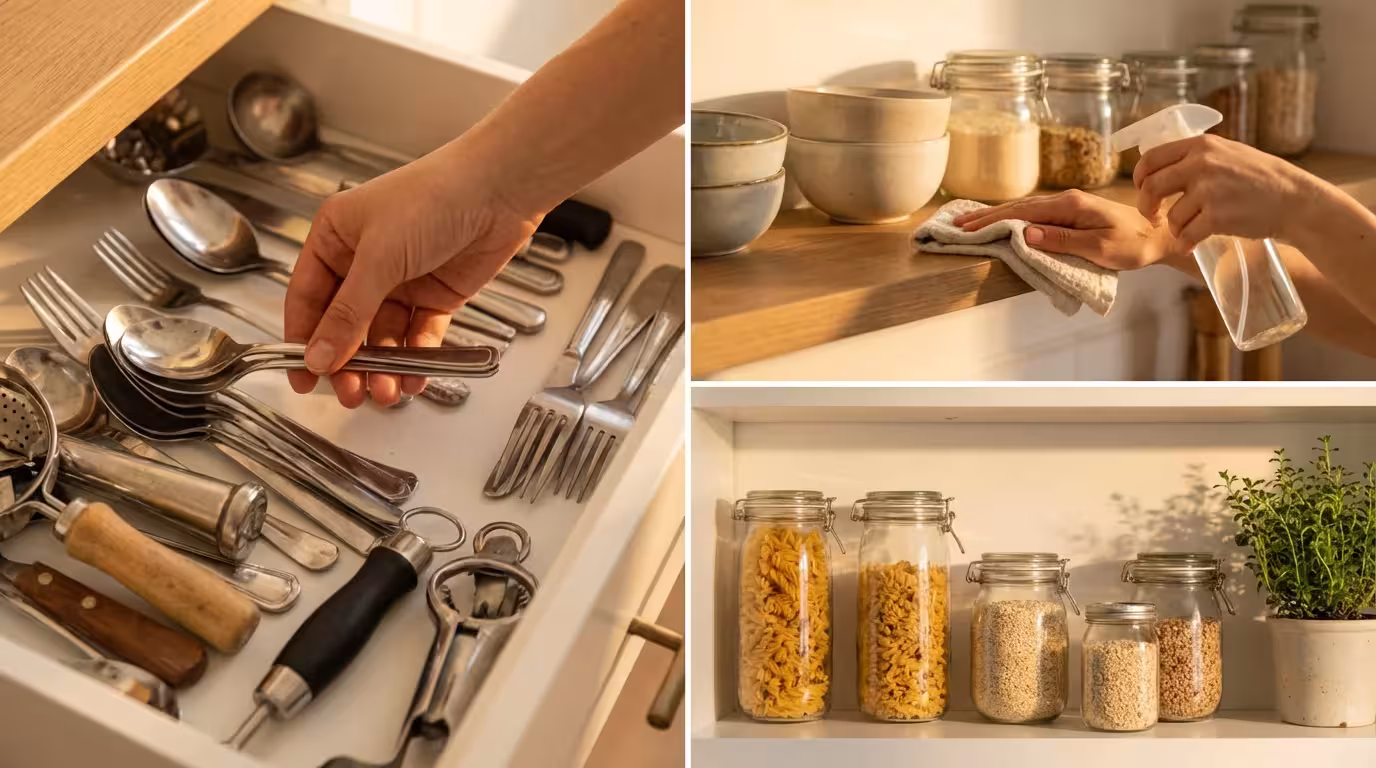
Inspect for Quality
Plastic degrades over time. Be ruthless. If a container is warped from the dishwasher, stained red from spaghetti sauce beyond repair, or has a texture that feels sticky (a sign the plastic is breaking down), toss or recycle it. Check the recycling codes on the bottom; most rigid plastics are recyclable, but thin takeout containers often are not.
The Marriage Game
Attempt to match every lid to a base. If a bowl does not have a lid, it is no longer a storage container; it is just a bowl. If you have plenty of mixing bowls already, move these orphans to the donation pile or repurpose them as drawer organizers for junk drawers. Conversely, a lid without a base is useless clutter. Throw it out.
“The goal isn’t a Pinterest-perfect pantry. It’s being able to find what you need in 10 seconds or less.” — Professional Organizer
According to Good Housekeeping, holding onto unmatched items is the number one cause of cabinet overflow. If you haven’t used a specific size in the last six months (like that massive cupcake carrier), store it in a less accessible area, such as a garage shelf or high cabinet, or let it go entirely.
Strategic Categorization
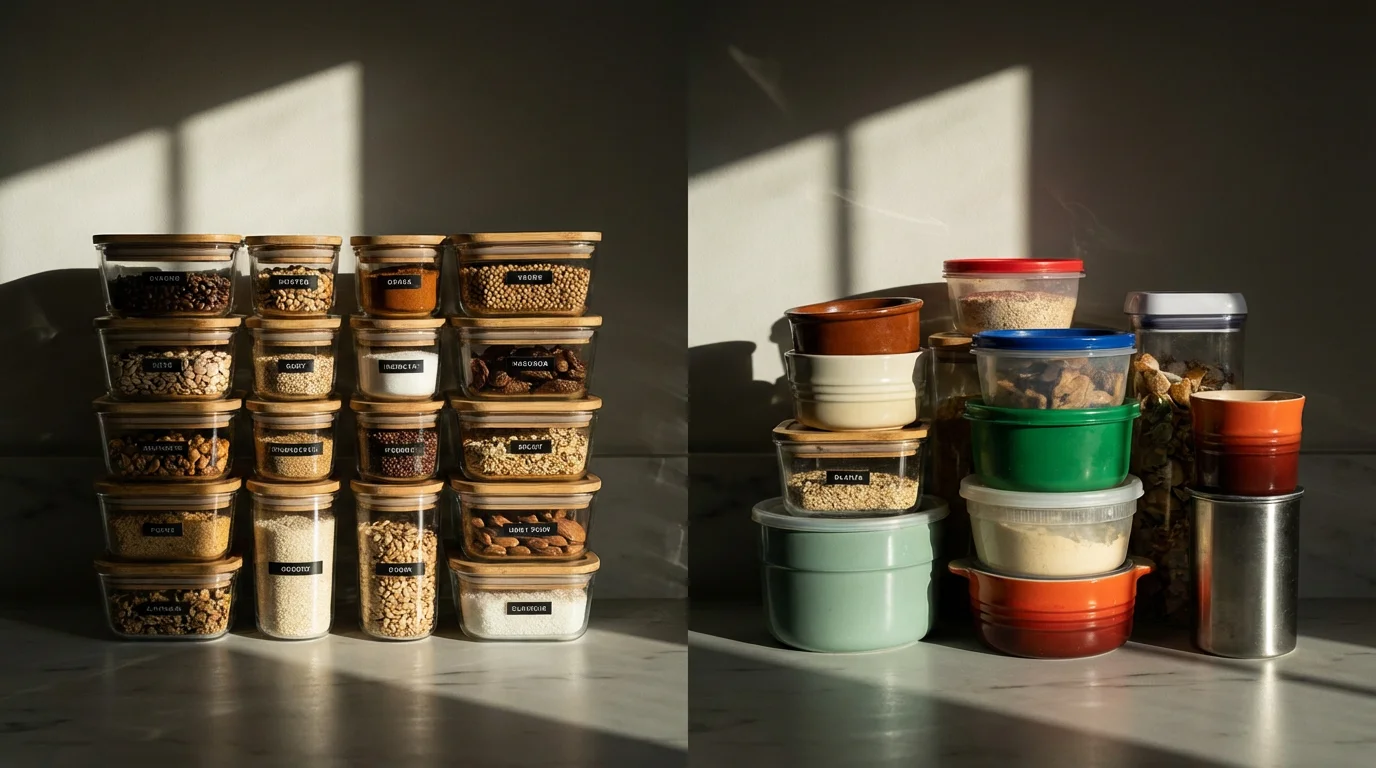
Once you have stripped your collection down to functional pairs, you need to group them. Avoid throwing everything into one pile. Instead, sort by shape and brand.
This grouping strategy is similar to spice jar organization, where keeping like-sized items together maximizes shelf efficiency and visibility.
Once everything is sorted, using labels and label makers can ensure that every container and lid is returned to its designated spot by every member of the household.
- Square and Rectangular: These are the most space-efficient shapes. They fit flush against corners and each other, maximizing every inch of shelf space.
- Round: While excellent for soups and liquids, round containers waste space. The gaps between them are “dead space”—areas where nothing else fits.
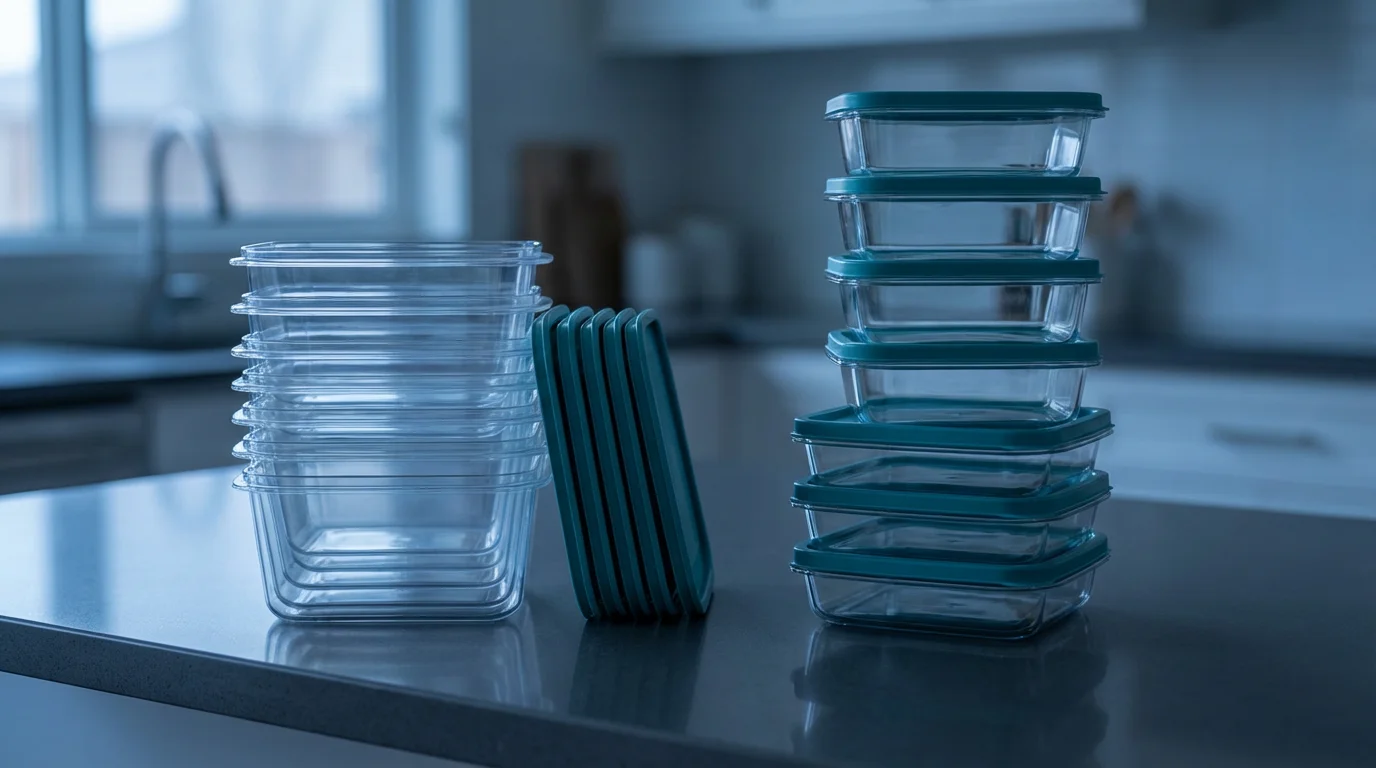
- Glass vs. Plastic: If you use glass for reheating (to avoid plastic chemicals) and plastic for cold storage, keep these categories separate. They stack differently and have different weight requirements.
Storage Methods: Stacking vs. Nesting
How you arrange your containers depends entirely on how much space you have. There are two primary schools of thought: nesting bodies with separate lids, or stacking with lids attached.
You might also consider whether matching sets vs. mixed containers work best for your lifestyle and current storage capacity.
| Method | Pros | Cons | Best For |
|---|---|---|---|
| Nesting (Lids Separate) | Maximizes vertical space; fits 3x more containers in the same footprint. | Requires a separate system for lids; takes time to find the matching top. | Small kitchens, large collections, or deep drawers. |
| Stacking (Lids On) | Zero search time for lids; keeps interior of containers clean. | Requires significantly more shelf space; towers can become unstable. | Large pantries, minimalists with few containers, or uniform modular sets. |
If you have a modular set (where containers of different volumes share the same footprint), stacking is often easier. However, for the average mix-and-match collection, nesting is the only way to prevent overflow.
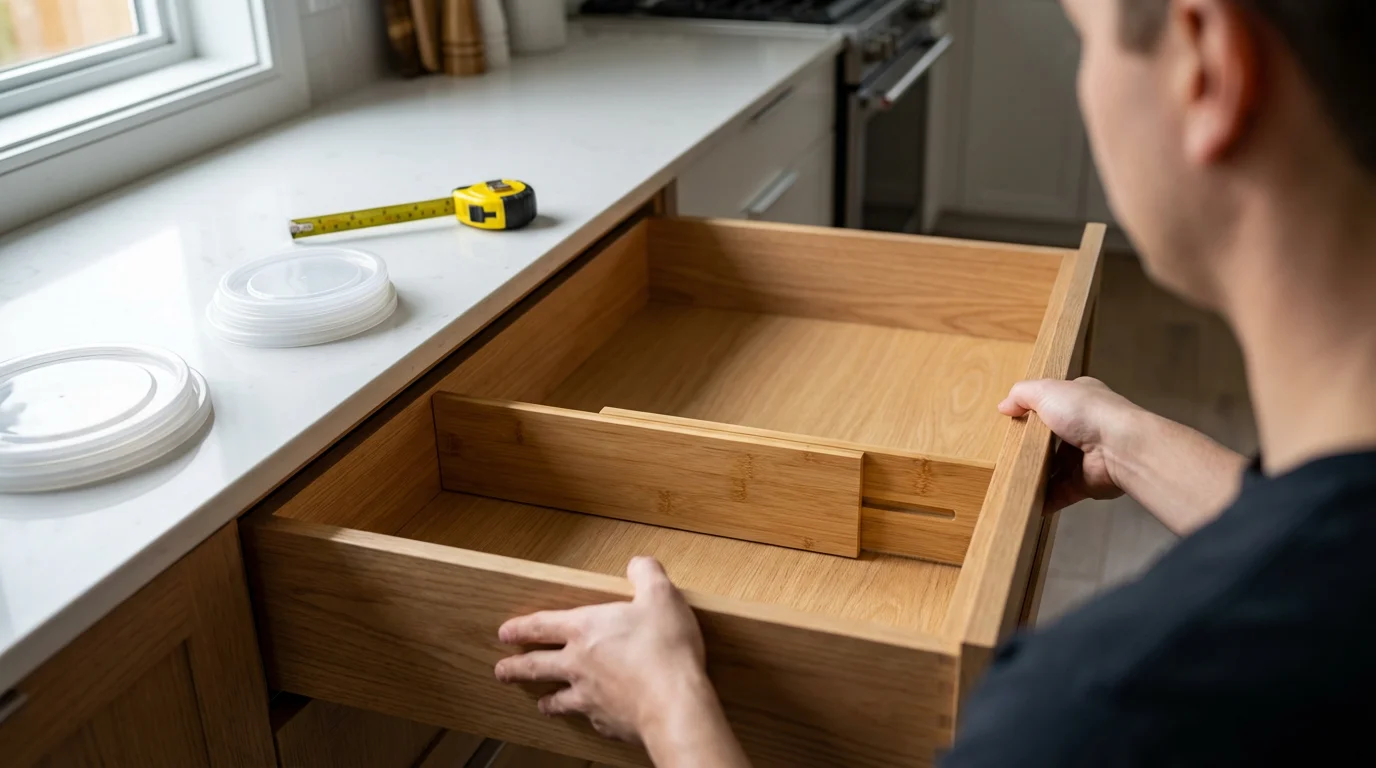
Essential Organizer Tools and Products
Investing in the right infrastructure turns a pile of plastic into a functional system. You do not need to spend a fortune, but you do need to measure your space first. Measure the width, depth, and height of your cabinet or drawer before purchasing.
If you are on a tight budget, explore DIY kitchen organization projects for creative ways to repurpose household items into custom dividers.
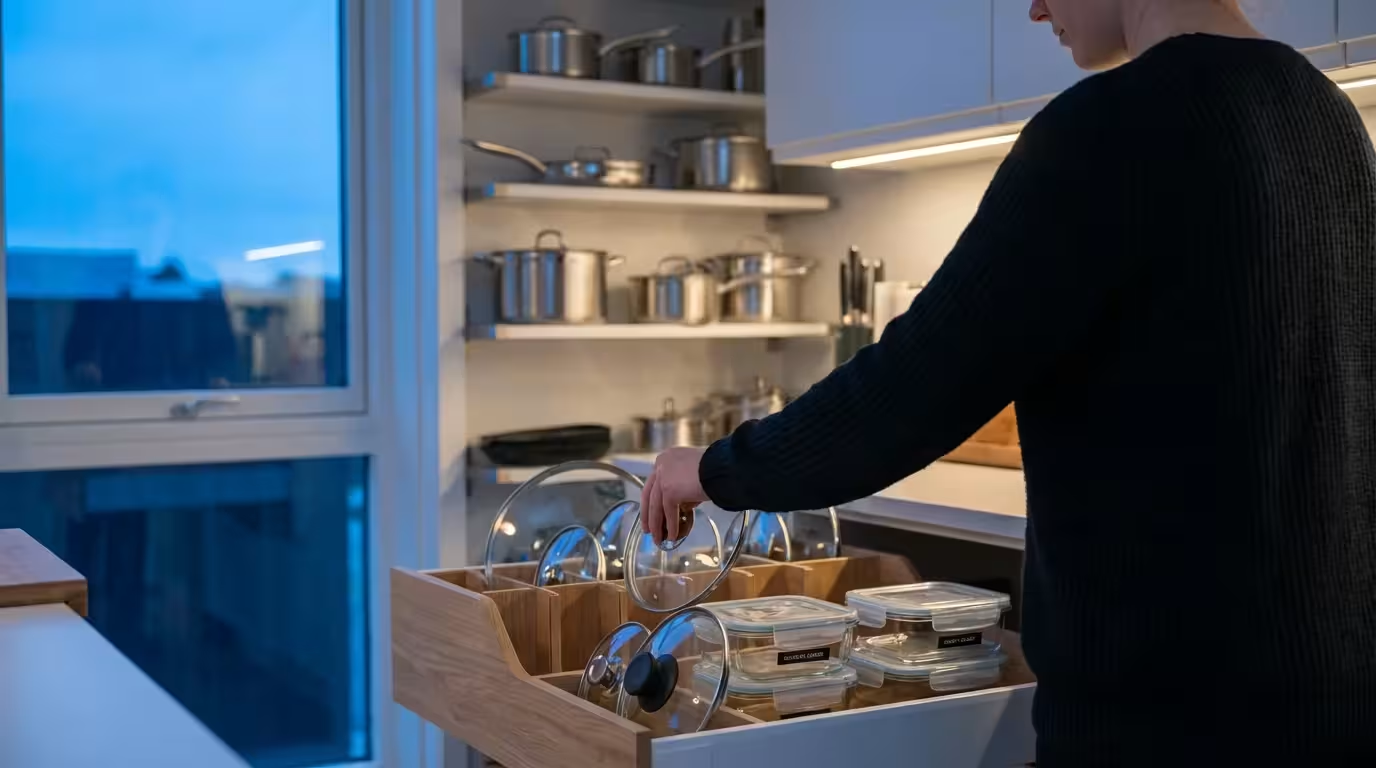
Adding specialized lid organizers for containers is one of the most effective ways to stop the dreaded ‘plastic avalanche’ in your cabinets.
For Lids: The Chaos Killers
Lids are the primary source of disorganization. Because they are flat and slippery, they slide everywhere. Use these tools to contain them:
- Tension Rods: In a drawer, place a tension rod 3 to 4 inches from the front or back. Stack lids vertically in this created slot.
- CD Racks or Plate Drying Racks: These repurposed items are perfect for filing lids vertically like books on a shelf.
- Large Clear Bins: If you use a high cabinet, a single large, clear bin for all lids allows you to pull the whole bin down, find your match, and replace it easily.
For Bases: Defining Boundaries
Without boundaries, nested stacks will eventually topple.
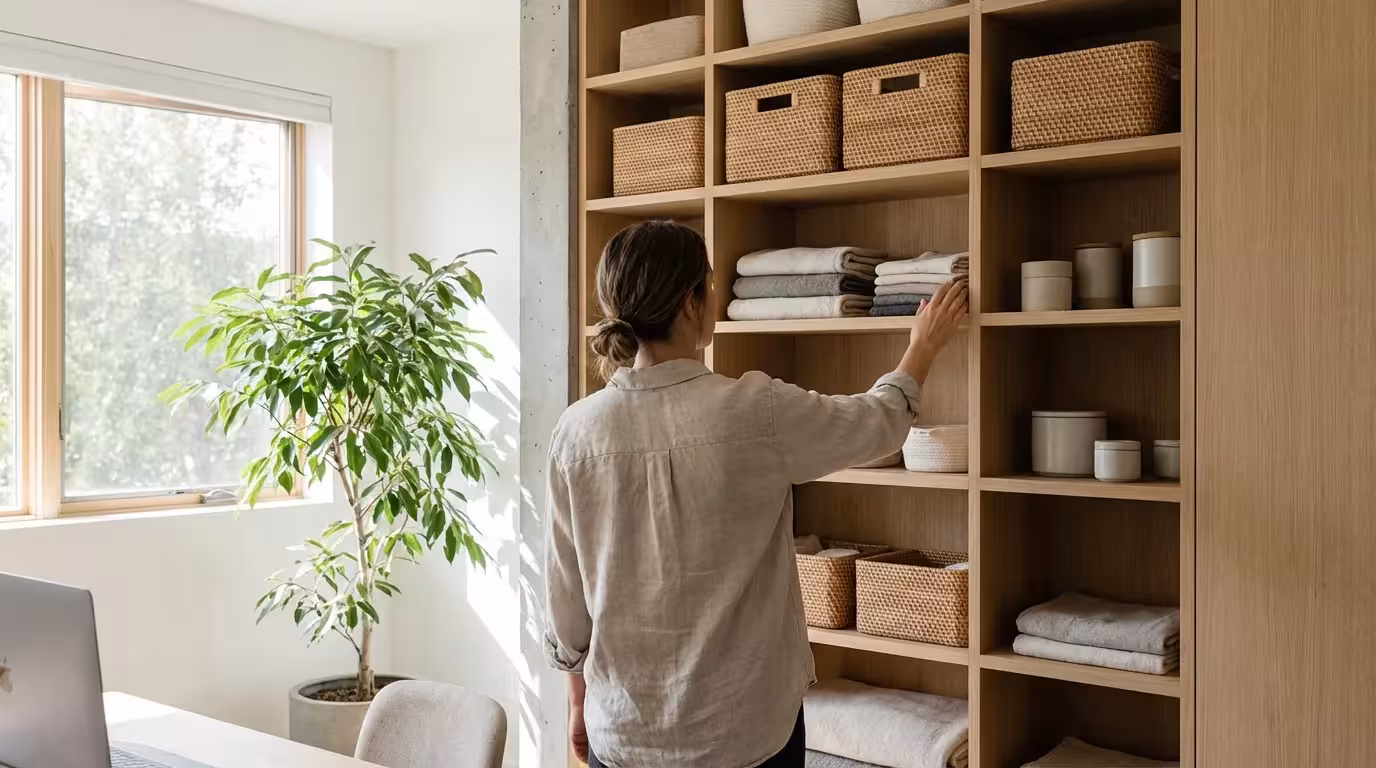
- Shelf Risers: A shelf riser is a mini-shelf that sits on your existing shelf. It doubles your surface area. Place large glass containers under the riser and smaller plastic ones on top.
- Pull-Out Organizers: These represent a significant upgrade. A pull-out organizer is a rolling drawer track you install on a cabinet shelf. It brings the back of the cabinet to you, eliminating the need to dig through dark corners.
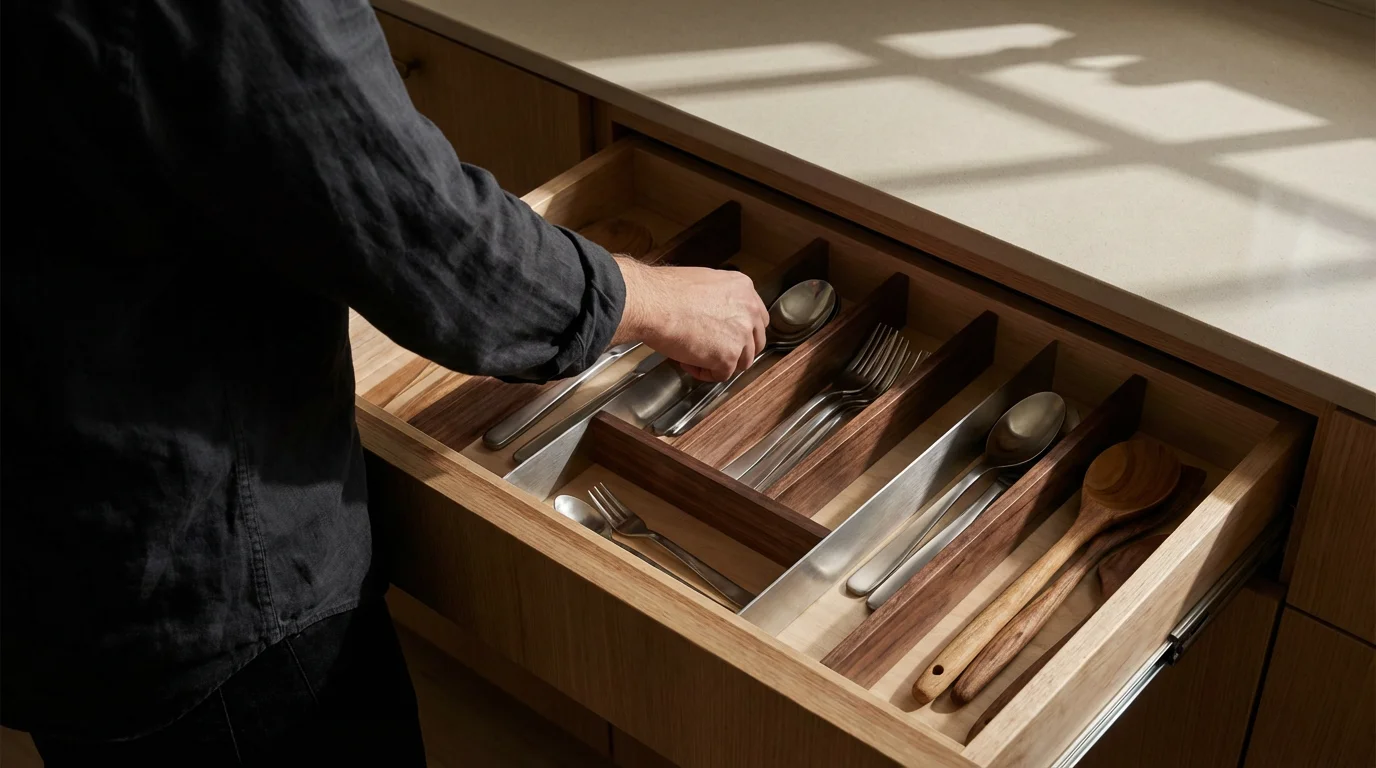
Optimizing Drawer Storage
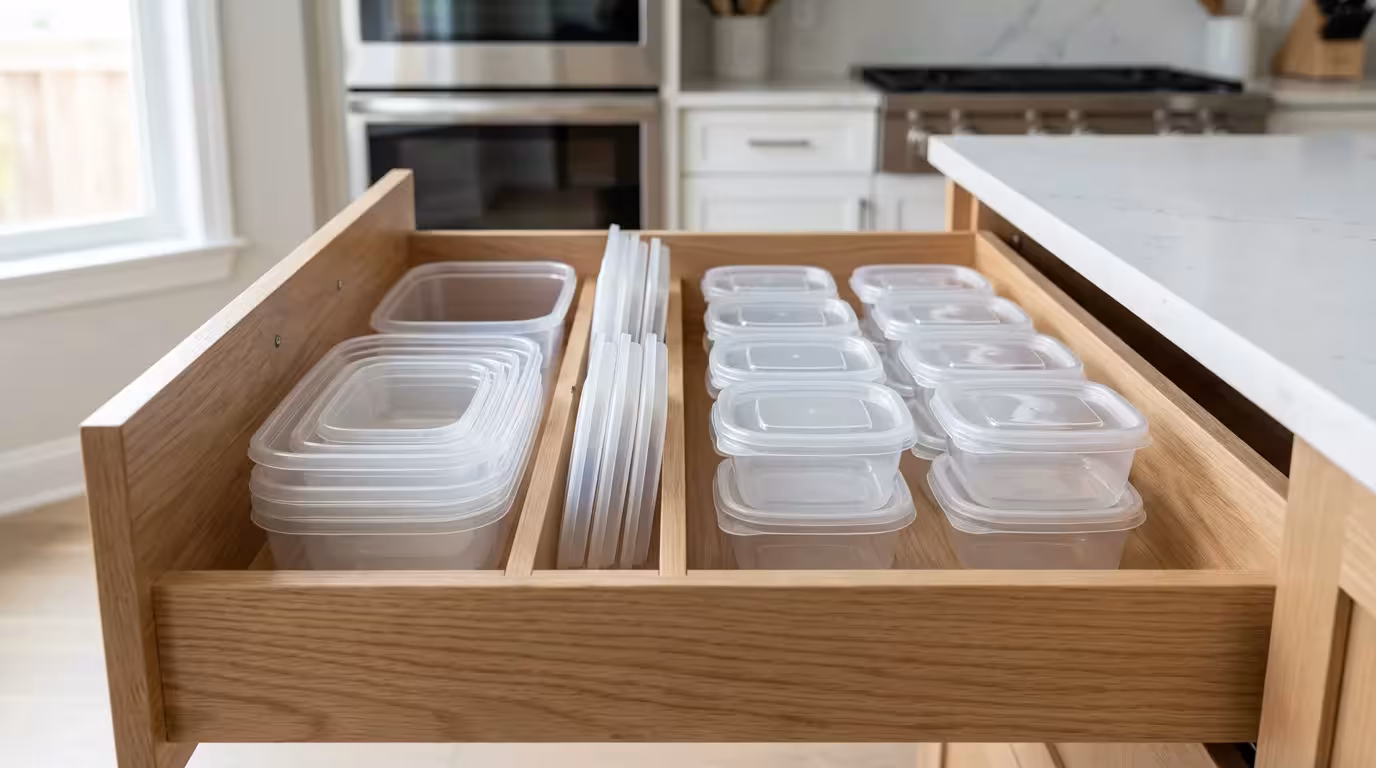
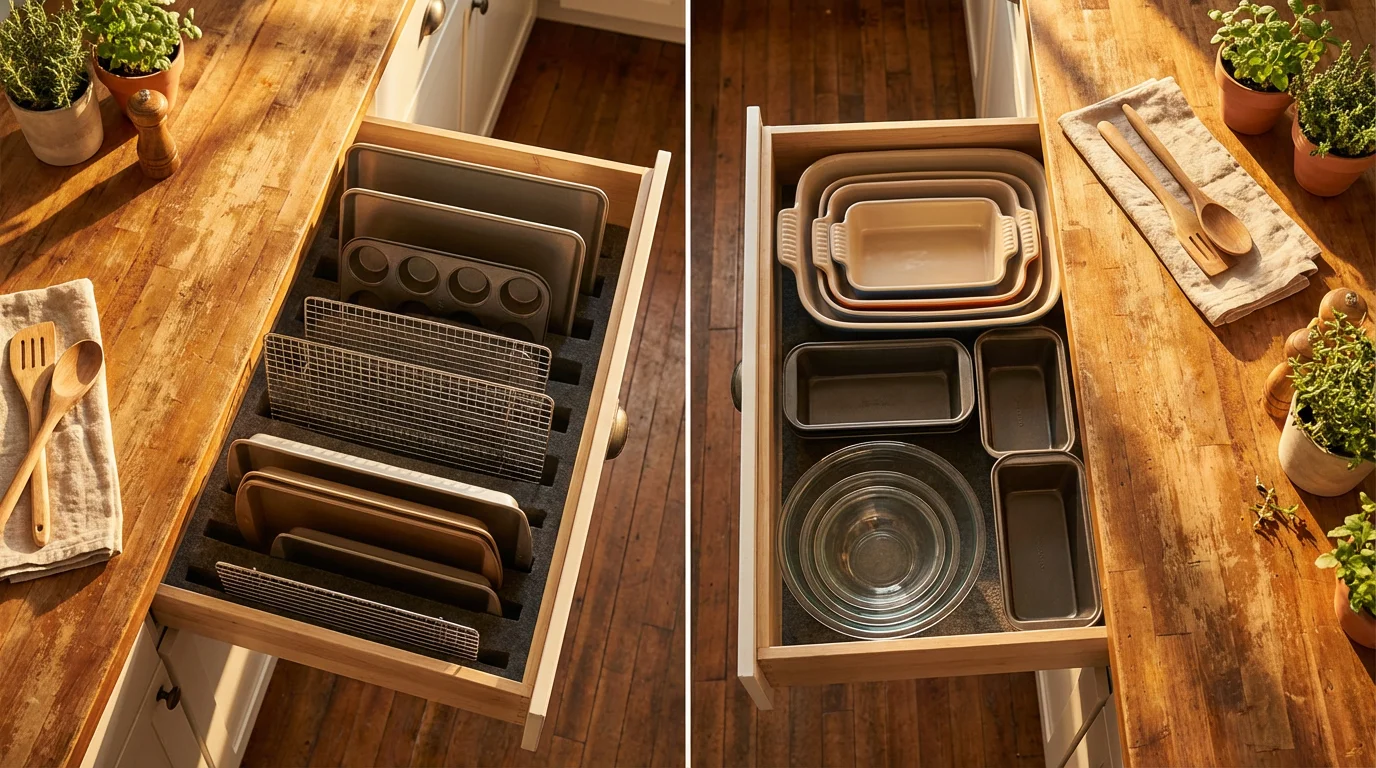
If you are lucky enough to have a deep drawer available, this is often the best place for plastic food storage containers. Drawers offer a top-down view, so you can see your entire inventory at a glance.
Create Zones with Dividers:
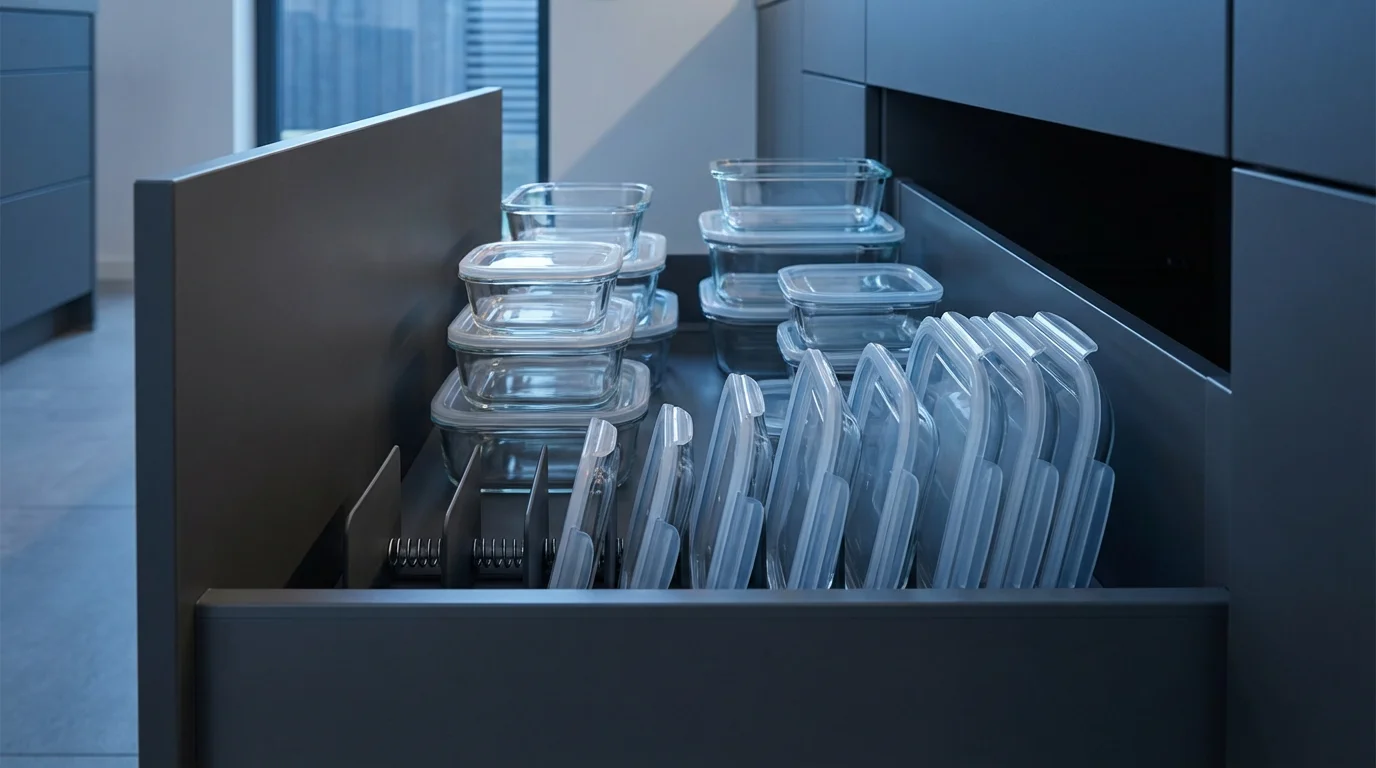
Do not let items float freely. Use spring-loaded drawer dividers to create channels. Create a narrow channel (about 4–6 inches wide) specifically for lids. Store lids vertically on their sides. This prevents the “pancake stack” of lids where you always need the one at the bottom.
The Pegboard System:
For a highly customizable solution, install a drawer pegboard system. These feature a grid of holes on the drawer bottom and moveable dowels. You can position the dowels to hold stacks of bowls snugly in place, preventing them from sliding when you slam the drawer shut.
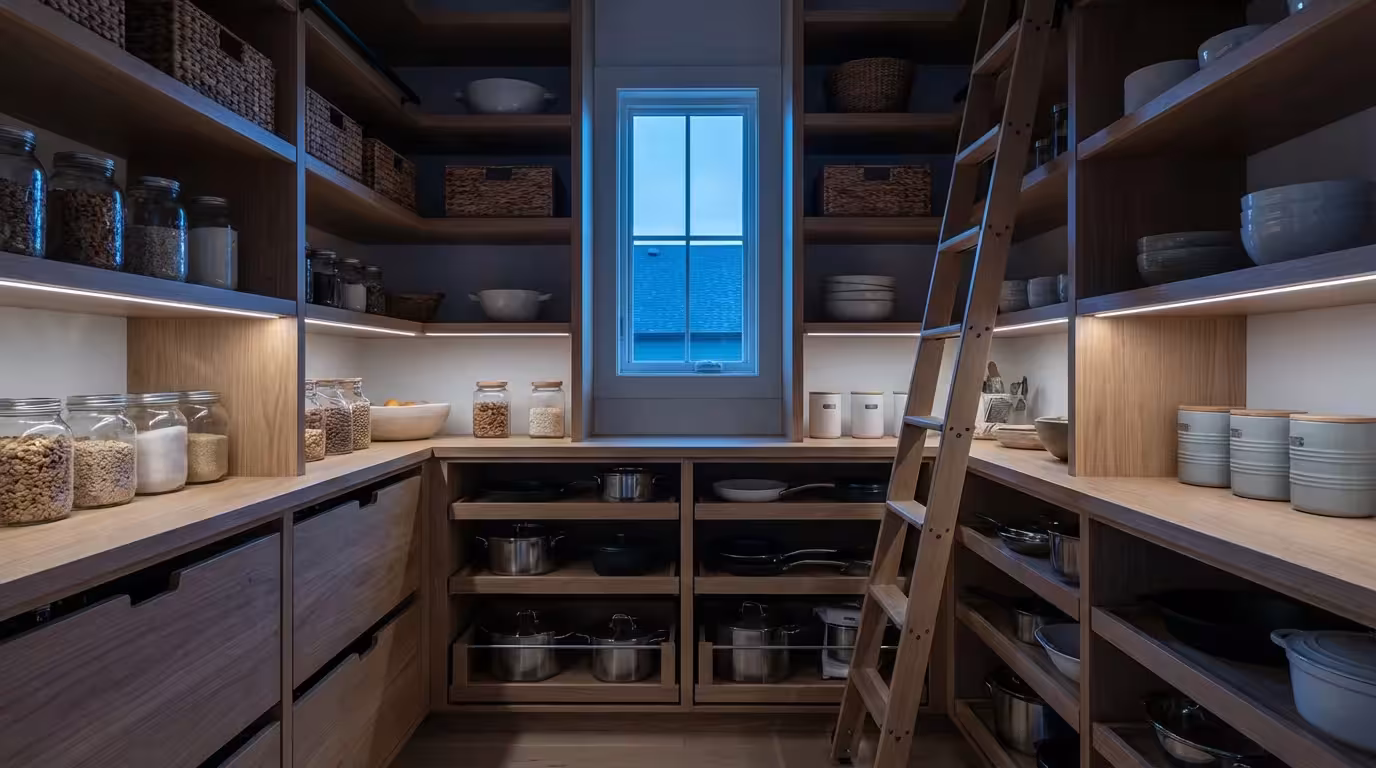
Conquering Deep Cabinets
Deep lower cabinets are notorious “black holes” for kitchen tips and tools. Items pushed to the back are rarely seen again. To combat this, you need to simulate the functionality of a drawer.
Use Bins as Drawers:
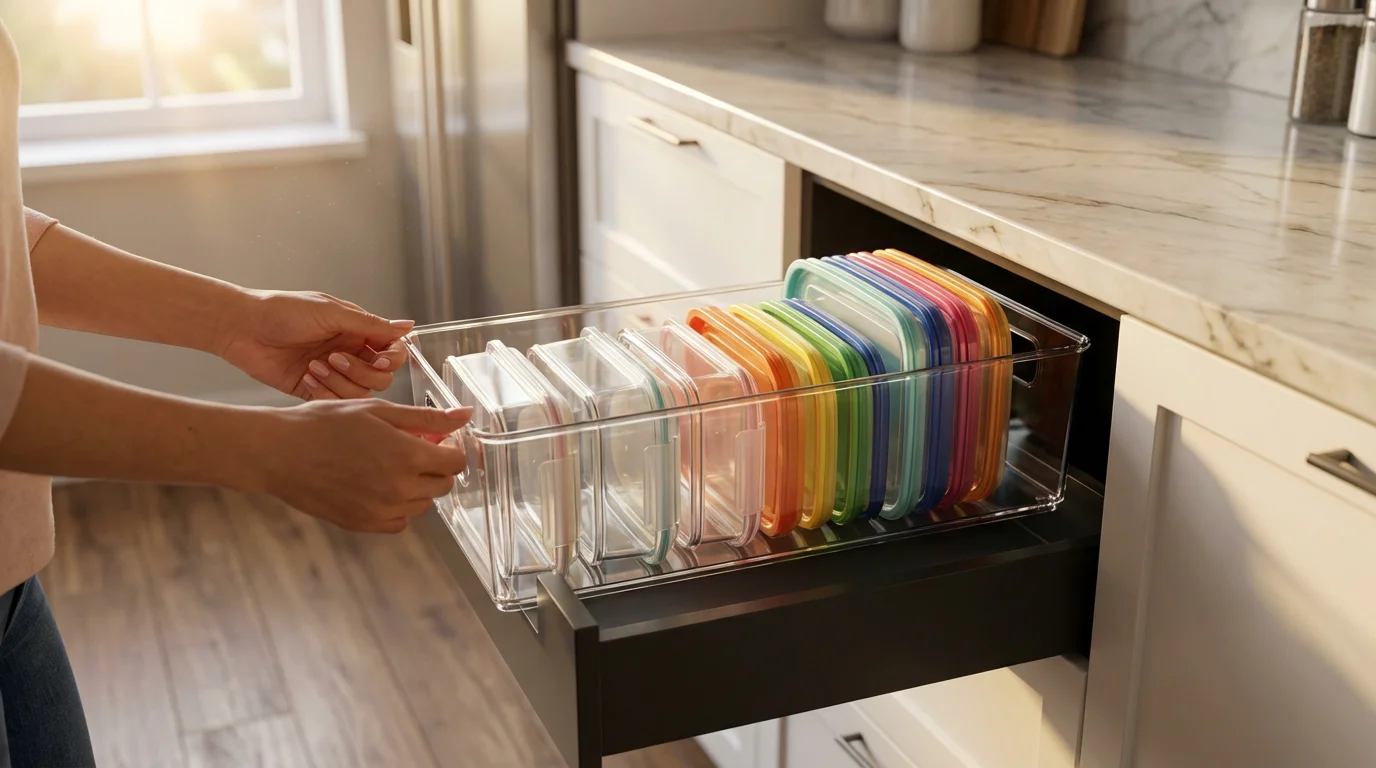
Purchase long, clear acrylic or plastic bins that extend to the full depth of your cabinet (usually 24 inches). Treat these bins like drawers. Pull the whole bin out onto the counter, select your container, and slide it back. This prevents you from knocking over front items to reach back items.
Turntables for Corners:
If your food storage containers live in a corner cabinet, a lazy susan (a rotating tray) is indispensable. It brings items from the back to the front with a simple spin. However, use lazy susans only for round containers or small items; square containers on a round tray waste the corners of the tray itself.
As The Spruce suggests, keeping your most frequently used sizes at eye level or in the most accessible top drawer ensures that your daily workflow remains smooth, while holiday-sized containers can reside on higher shelves.

Space-Saving Solutions for Small Kitchens
When you lack drawer space and cabinet real estate is tight, you have to get creative with “dead space”—the areas you typically ignore.
Utilize the Cabinet Door
The inside of your cabinet door is prime real estate. Install a door-mounted rack or a simple adhesive magazine file holder. These are the perfect width for holding a stack of medium-sized lids. By moving lids to the door, you free up the shelf entirely for nesting bowls.
Go Under the Shelf
Undershelf baskets slide onto an existing shelf and hang below it. This utilizes the air gap between shelves that is usually wasted. Use an undershelf basket to hold sandwich bags, wraps, or flat, low-profile lids.

Maintenance: The “One In, One Out” Rule
The best organization system in the world will fail without maintenance. Plastic containers seem to multiply. To keep your system working, adopt the “One In, One Out” rule.
Before restocking, decide whether matching sets or a mix of brands works best for your cooking habits and available space.
If you buy a new set of containers, the old ones must leave. Do not demote them to a “backup” pile unless you truly have the space. Additionally, stick to one or two brands. Manufacturers design their lines to stack securely with one another. Mixing Brand A with Brand B usually results in unstable stacks because the footprints rarely align perfectly.
The Quarterly Check-up:
Once every three months, do a quick “lid check.” If a container cracks or breaks and you toss it, find its lid immediately and toss that too. Keeping the orphan lid “just in case” is how the clutter starts all over again.
Frequently Asked Questions
How do I stop plastic containers from flipping over in the dishwasher?
Lightweight plastic containers often flip during the wash cycle, filling with dirty water. To prevent this, use a dishwasher net or a “bungee” strap designed for dishwashers to hold them down. Alternatively, place a heavier, dishwasher-safe item (like a small ceramic bowl or a metal utensil caddy) lightly over them on the top rack to weigh them down.
What is the best way to store large, awkward containers?
Large items like cake carriers or oversized party platters should not occupy prime real estate. Store these in “deep storage” areas, such as the cabinet above the refrigerator or even in a pantry bin in the garage. Only keep items you use weekly in your main “working triangle” (the area between your sink, stove, and fridge).
Should I switch to square containers if I currently have round ones?
If you are struggling with limited space, yes. Square or rectangular containers utilize corners and sit flush against each other, maximizing volume. Round containers leave gaps between them. Switching to square containers can increase your storage density by up to 25%.
Disclaimer: Product prices and availability change frequently. Prices shown were accurate at time of writing but may have changed. We may earn a small commission from purchases made through links on this site, at no extra cost to you. Always measure your space before purchasing organizers to ensure proper fit.

Leave a Reply