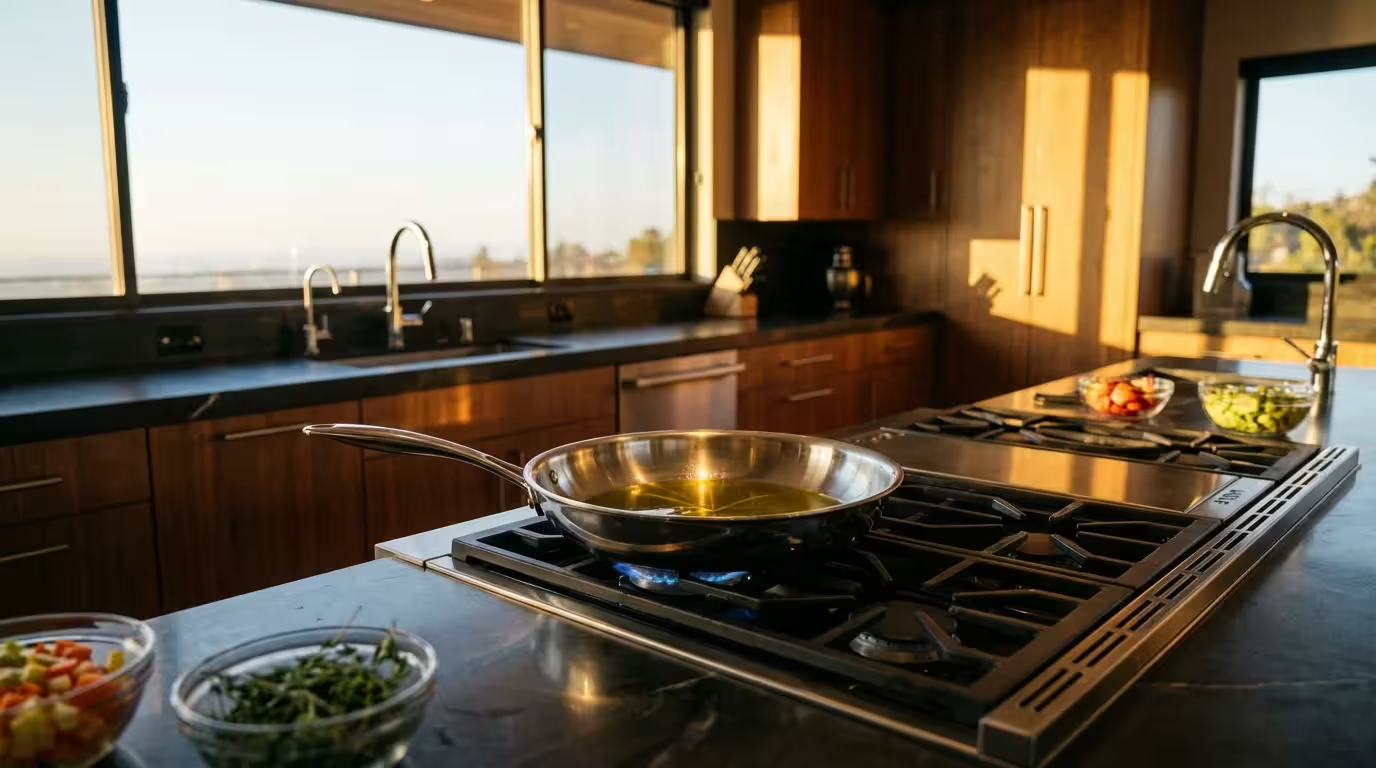
You have likely experienced the frustration: you buy a shiny, high-quality stainless steel skillet, eager to sear a steak or sauté vegetables like a professional chef. But five minutes later, your expensive protein is hopelessly fused to the bottom of the pan, tearing apart as you frantically scrape it with a spatula. The result is a ruined meal and a sink full of cookware that requires serious elbow grease to clean.
Choosing the best saucepans for your kitchen will allow you to deglaze and simmer these pan sauces to perfection.
Many home cooks abandon stainless steel for non-stick pans after this experience. However, stainless steel is the workhorse of professional kitchens for a reason. It is durable, non-reactive, and capable of producing a superior sear and fond—the flavorful browned bits left in the pan that form the base of incredible pan sauces. The problem isn’t the material; it is the technique.
Cooking on stainless steel requires a specific understanding of thermodynamics and surface tension. Once you master the “hot pan, cold oil” method and understand how to manage heat, your stainless steel cookware will become nearly as non-stick as Teflon, but with far better searing capabilities and longevity.
Why Food Sticks: The Science of Microscopic Pores
To prevent sticking, you must first understand why it happens. To the naked eye, the surface of a stainless steel pan looks perfectly smooth. If you were to look at it under a microscope, however, you would see a landscape of peaks, valleys, and pores. It is a porous material.
When you heat a stainless steel pan, the metal expands. If the pan is not heated correctly or if you add food too early, the proteins in your meat, fish, or eggs settle into these microscopic crevices. As the proteins cook, they bond with the metal atoms in the pan. This creates a physical and chemical fuse between your food and the cooking surface.
The goal of stick-free cooking is to create a barrier between the food and these pores. You achieve this through two mechanisms:
- Thermal Expansion: Properly heating the pan closes up many of these microscopic fissures before the oil is even added.
- Lubrication barrier: Oil fills the remaining gaps, creating a slick surface that food can glide over.
“Understanding the physics of your cookware turns a frustrating chore into a culinary advantage. Heat management is the most critical skill a cook can learn.”
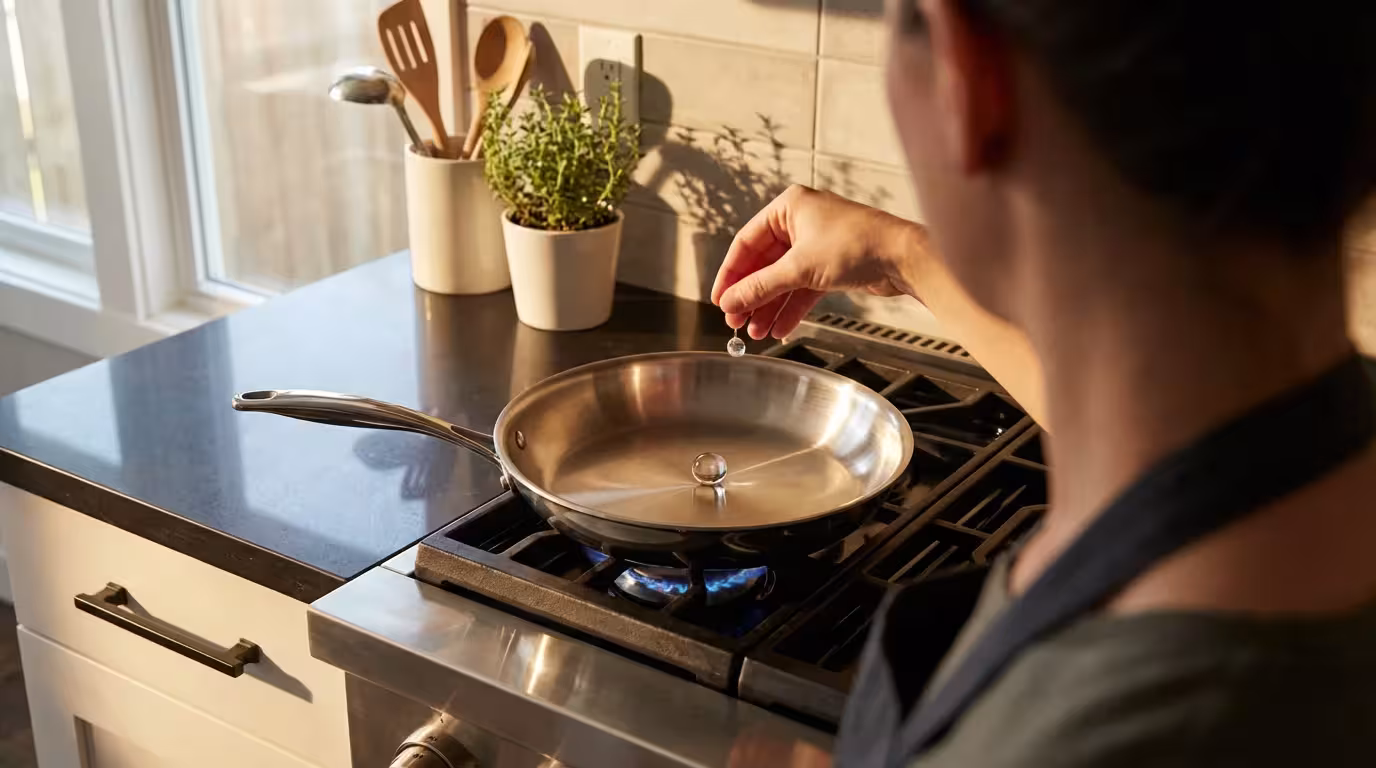
The Golden Rule: Mastering the Water Test
The most reliable way to know if your stainless steel pan is ready to cook is by utilizing the Leidenfrost effect. This physical phenomenon occurs when a liquid comes into contact with a surface significantly hotter than the liquid’s boiling point.
If your pan is too cool (under roughly 320°F or 160°C), water dropped onto the surface will simply sizzle and evaporate. This indicates the pores are still open and the metal hasn’t expanded sufficiently. If you add oil and food now, sticking is almost guaranteed.
However, when the pan reaches the correct temperature (usually medium-high), a drop of water will instantly vaporize at the point of contact, creating a cushion of steam underneath the droplet. The water droplet will form a perfect bead and skid across the surface of the pan like a ball of mercury or a hockey puck on ice. This is the visual signal that your pan is preheated and ready for oil.
According to Serious Eats, mastering preheating techniques is essential for maximizing the performance of tri-ply stainless steel cookware. Without this step, you are essentially cooking on a surface designed to grab onto food.
Step-by-Step Guide to Stick-Free Cooking
Follow this exact workflow to ensure your food releases easily every time.
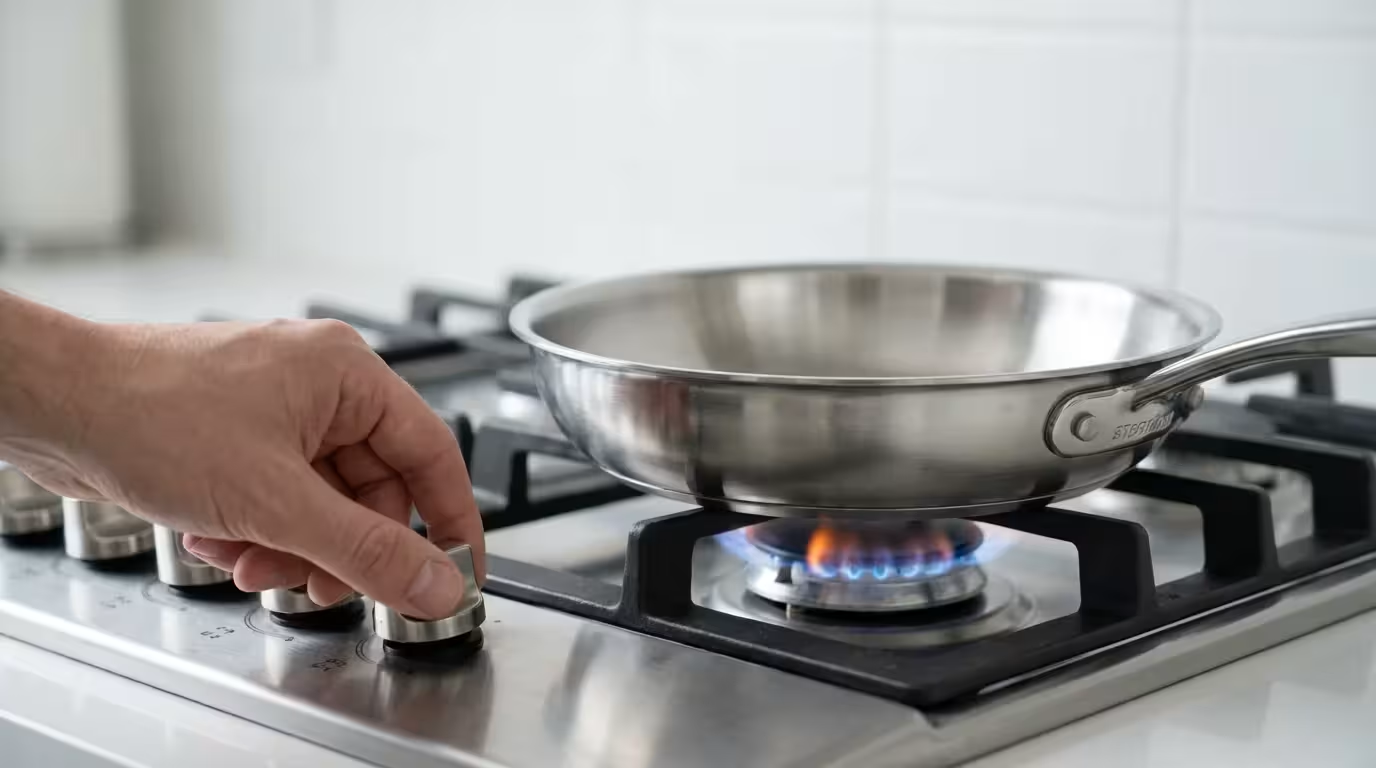
1. Preheat the Dry Pan
Place your clean, dry stainless steel pan on the burner. Turn the heat to medium. Do not crank the heat to high; quality cookware conducts heat efficiently and overheating can cause oil to burn instantly.
2. Perform the Water Test
After 2–3 minutes, dip your fingers in water and flick a few drops onto the pan.
If it sizzles: It is not hot enough. Wait another minute.
If it glides: You have achieved the Leidenfrost effect. The pan is ready.
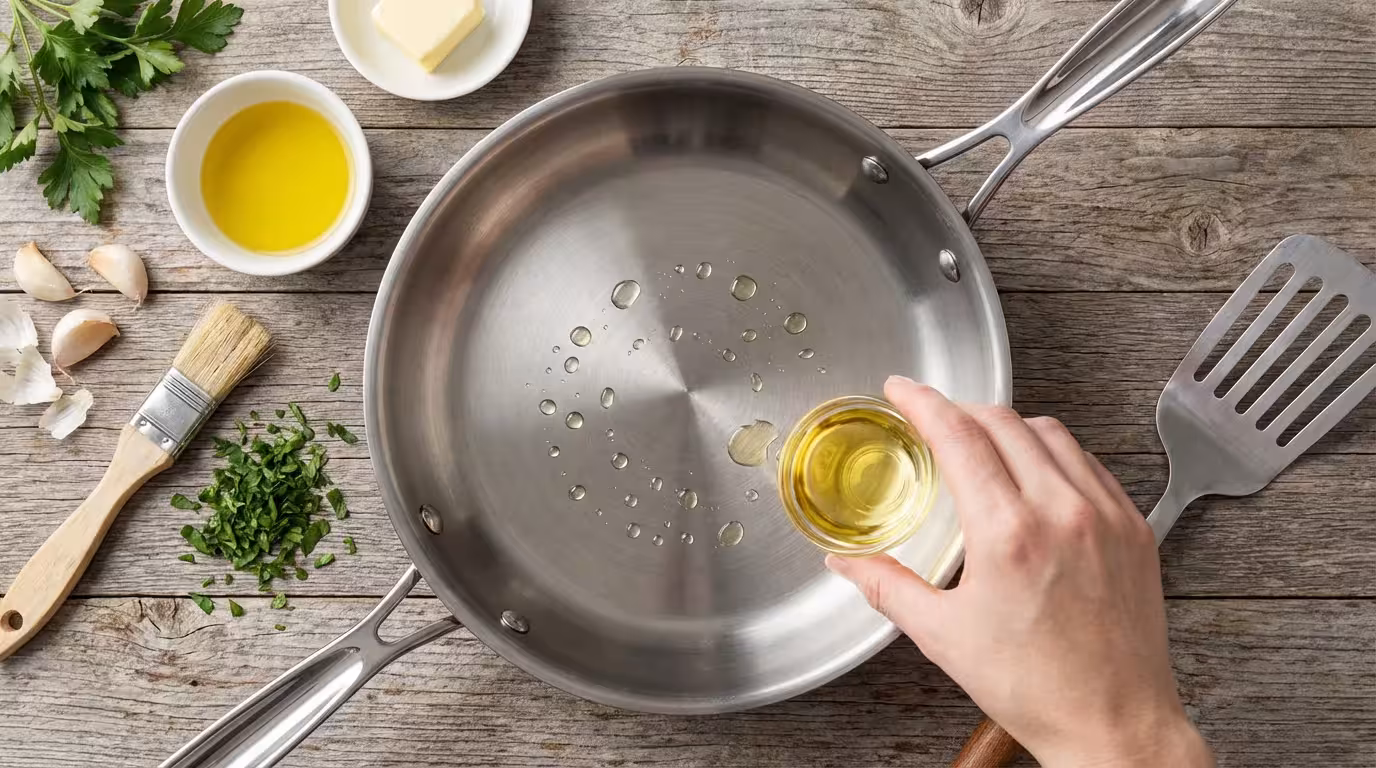
3. Add the Fat
Pour in your oil or clarified butter. You want enough to coat the bottom of the pan. Swirl it around. The oil should “shimmer” and move rapidly across the surface like water. If the oil smokes immediately, your pan is too hot—remove it from the heat for a moment.
4. Let the Oil Heat
This is a step many skip. Once the oil is in the pan, give it 10–15 seconds to come up to temperature. You are looking for the point just before the smoke point.
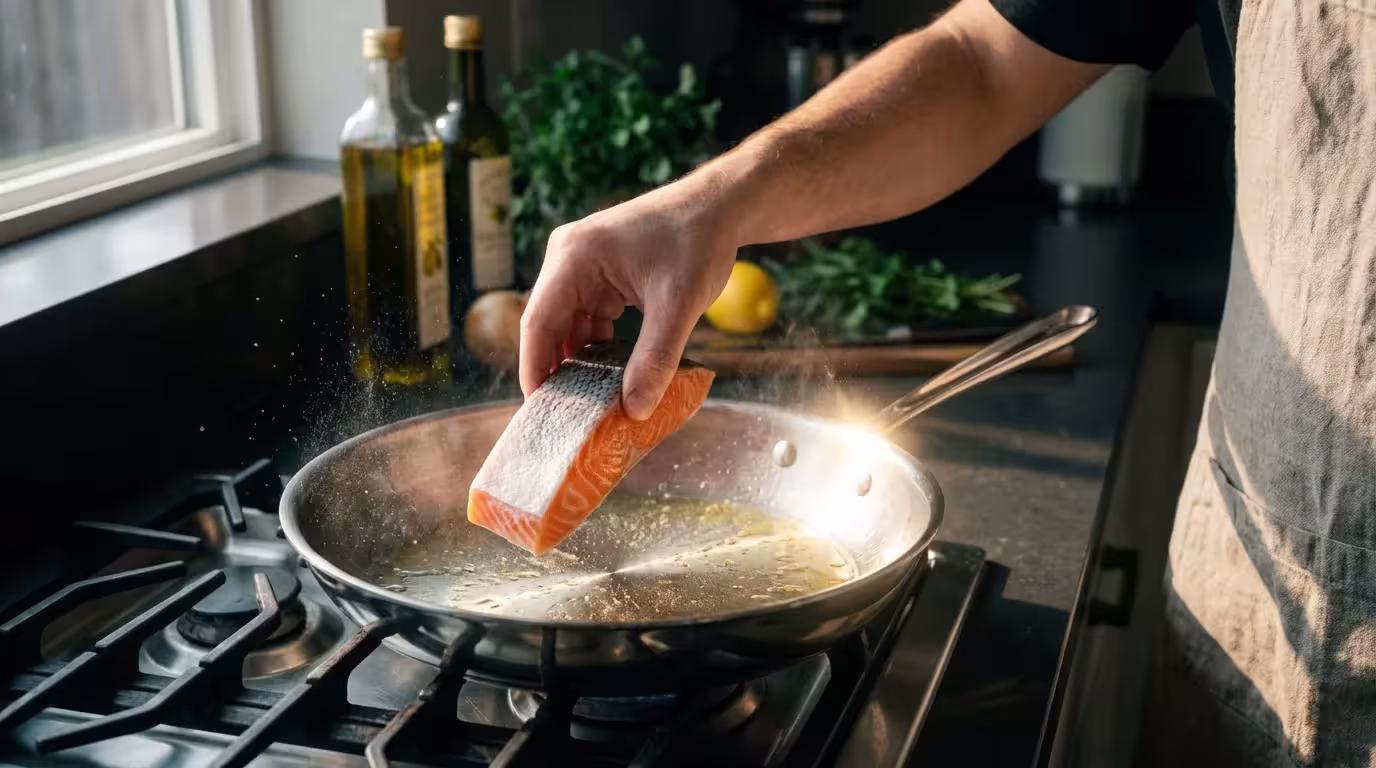
5. Add Room Temperature Food
Cold food lowers the pan temperature drastically, potentially closing the “steam barrier” and causing sticking. Take your proteins out of the fridge 20 minutes before cooking. Pat them dry with a paper towel—moisture is the enemy of the sear.
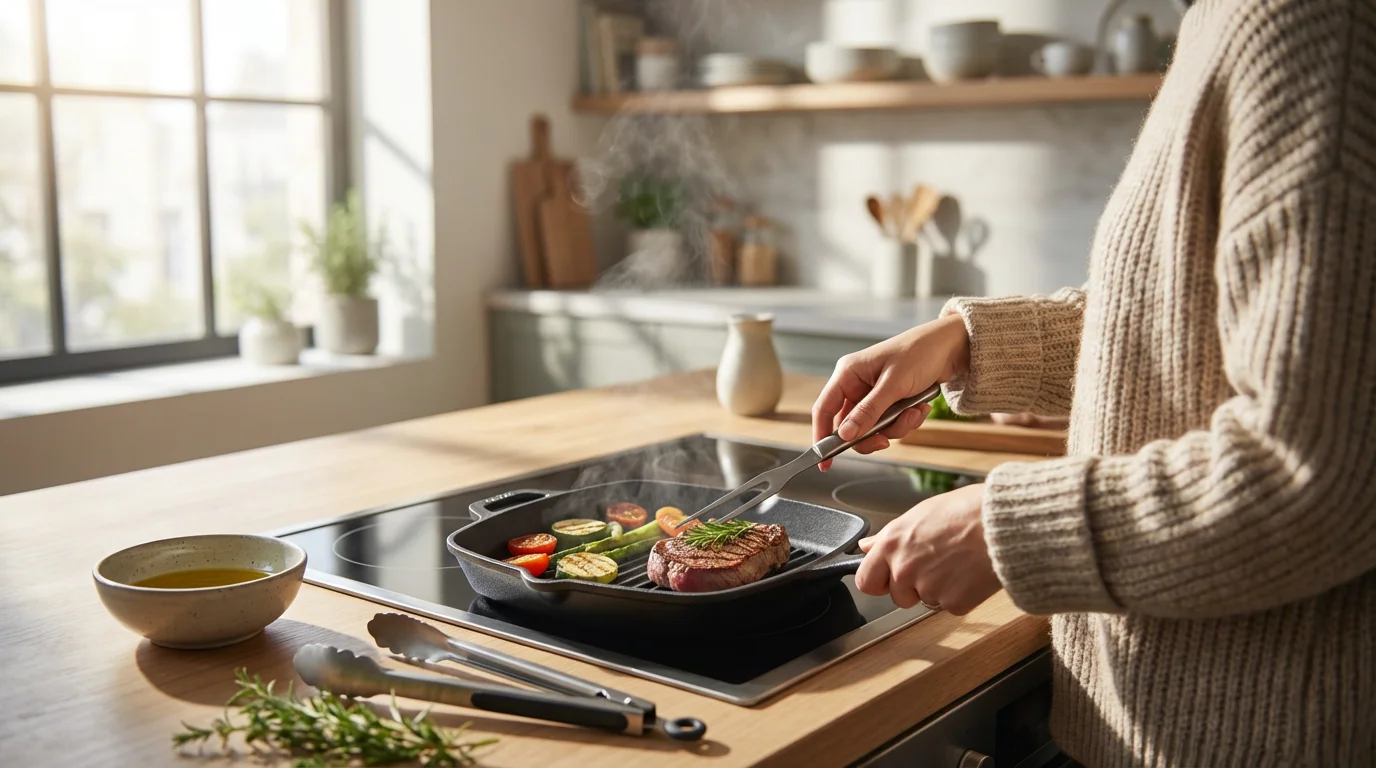
6. The “Do Not Touch” Rule
Once you place a chicken breast or steak in the pan, do not touch it. Initially, the food will stick. This is normal. As the crust forms and the Maillard reaction (browning) occurs, the food will naturally release from the metal. If you try to flip it and it feels stuck, it simply isn’t done cooking on that side yet. Give it another minute.
Temperature Control: Why Medium is the New High
A common misconception is that searing requires maximum heat. With high-quality stainless steel, specifically “tri-ply” or “multi-clad” cookware (which consists of an aluminum core sandwiched between layers of steel), heat conductivity is high.
This technique is also vital when using copper cookware, as it responds even more rapidly to temperature changes than steel.
On most modern gas or induction stovetops, the “High” setting is for boiling water, not for sautéing. Using maximum heat will cause your oil to degrade and polymerize into a sticky, gummy mess, or worse, burn your food before the inside is cooked.
The Ideal Strategy:
Preheat on medium-high to reach the Leidenfrost point, add your oil, and then reduce the heat to medium or even medium-low depending on what you are cooking. The heavy bottom of a quality pan retains heat well, maintaining the sear without scorching the food.
Handling Eggs and Fish on Stainless Steel
Searing a steak is one thing; cooking delicate proteins like white fish or scrambled eggs is the ultimate test for stainless steel. While many experts, including those at Wirecutter, suggest keeping a non-stick pan around specifically for eggs, you can cook them on stainless steel if you are diligent.
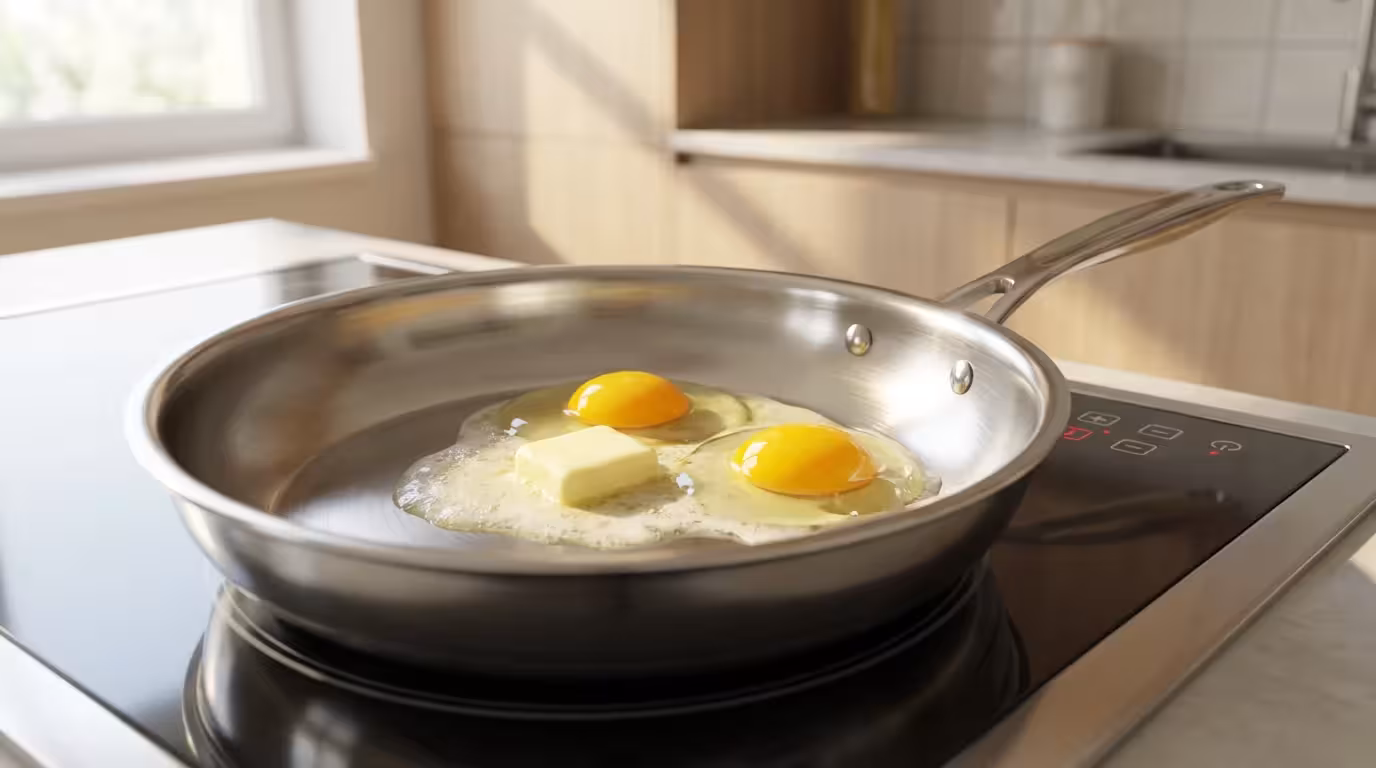
The Butter Buffer
For eggs, oil alone is often insufficient. The solids in butter emulsify and create a better release layer for eggs.
Technique: Heat the pan, add oil, and then add a knob of butter. As soon as the butter foams and stops sputtering (indicating the water has evaporated), add your eggs. The temperature needs to be lower than for meat—eggs burn easily.
The Fish Spatula
Fish skin is notorious for sticking. Ensure the fish is bone-dry before it hits the pan. Use more oil than you think you need. Most importantly, use a thin, flexible metal fish spatula. Its sharp edge allows you to slide under the fillet and separate the skin from the pan with precision, preserving the crispy texture.

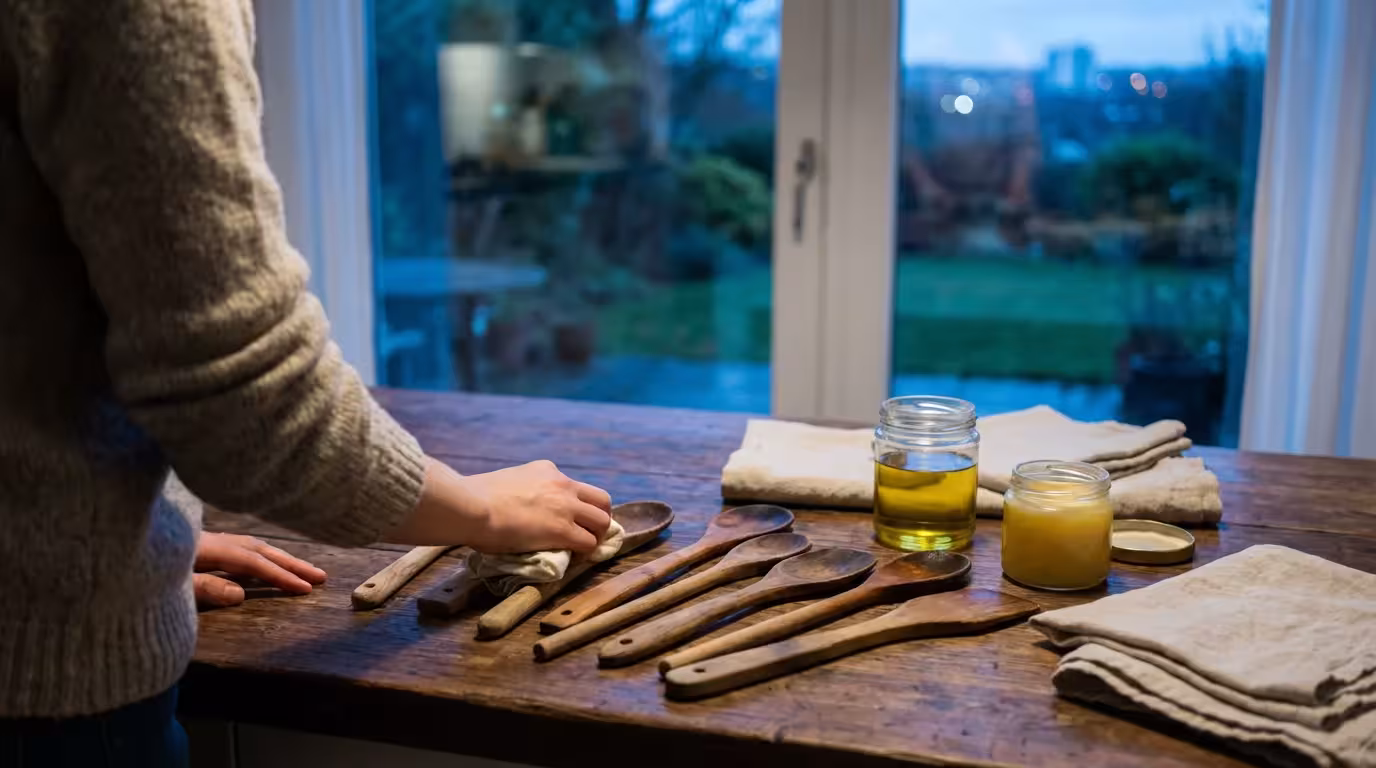
Cleaning and Maintenance for Peak Performance
Even with perfect technique, you will occasionally get stuck-on bits. Or, you might overheat oil, leaving brown, gummy residue. A dirty pan is a sticky pan; you must remove all polymerized oil and carbon buildup to restore the pan’s smooth surface.
Just as you maintain your pans, learning chef’s knife basics ensures all your primary kitchen tools stay in top condition.
Deglazing: The Immediate Solution
If you have finished cooking and there is “fond” (browned bits) stuck to the bottom, pour in a half-cup of wine, broth, or water while the pan is still hot. Scrape the bottom with a wooden spoon. The liquid will lift the stuck bits instantly. This not only cleans the pan but creates a delicious pan sauce.
Deep Cleaning with Bar Keepers Friend
For burnt-on oil or rainbow discoloration (heat tint), standard dish soap may not work. A powdered oxalic acid cleaner, such as Bar Keepers Friend, is the industry standard for stainless steel care. It breaks down carbon bonds at a molecular level without scratching the finish. Make a paste with water, scrub gently with a non-abrasive sponge, and rinse.
“Never put a hot stainless steel pan directly under cold water. This thermal shock can warp the metal, creating an uneven cooking surface that makes oil pool to the sides, leading to more sticking in the center.”

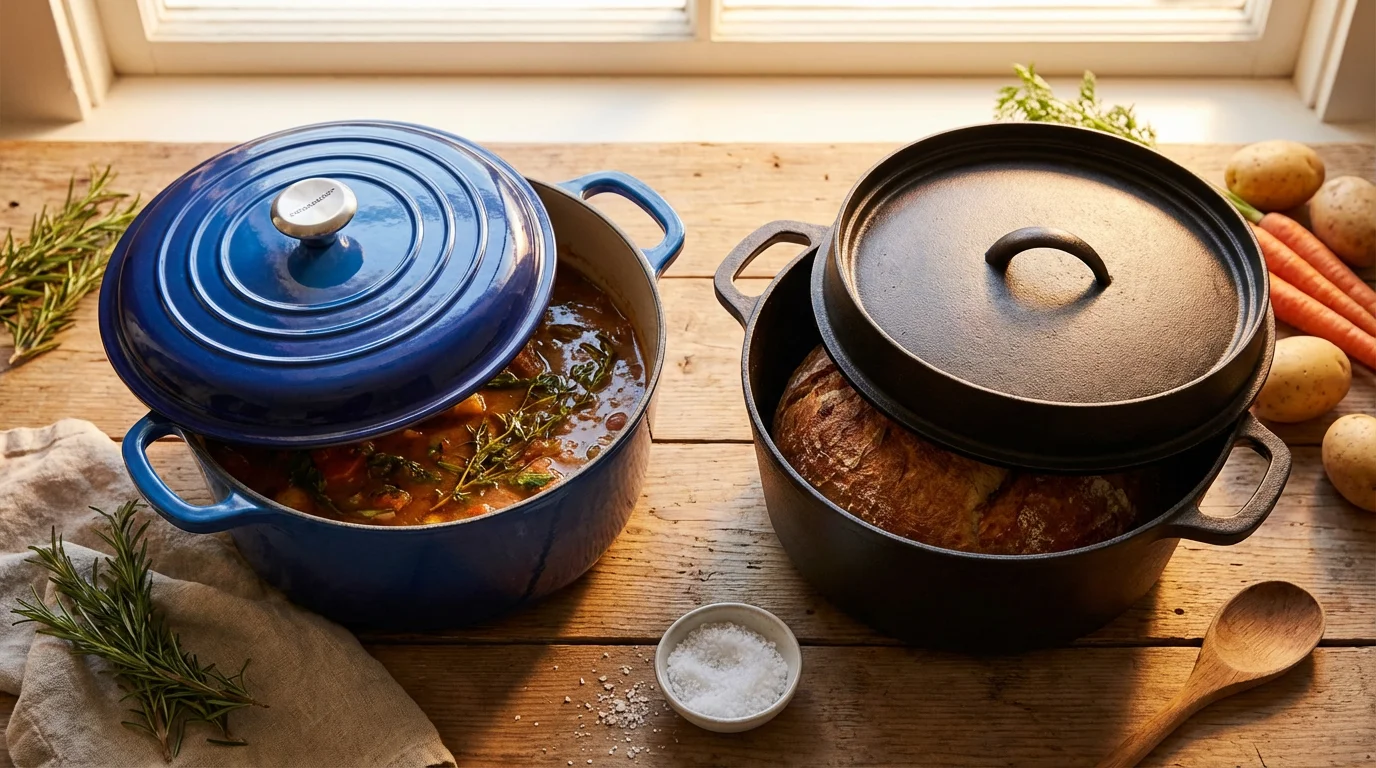
Comparison: Stainless Steel vs. Non-Stick vs. Cast Iron
Understanding where stainless steel fits in your kitchen arsenal helps you decide when to use it.
| Feature | Stainless Steel | Non-Stick (PTFE/Ceramic) | Cast Iron / Carbon Steel |
|---|---|---|---|
| Stick Resistance | Moderate (Requires technique) | High (Effortless) | High (Requires seasoning) |
| Durability | Lifetime | 2–5 Years | Lifetime |
| Heat Tolerance | High (Good for searing) | Low (Damage > 500°F) | Very High |
| Maintenance | Dishwasher safe (mostly) | Hand wash only | Hand wash, keep dry |
| Best Use | Searing, sauces, acidic foods | Eggs, delicate fish | Steaks, baking, frying |

Choosing the Right Stainless Steel Cookware
Not all stainless steel is created equal. Cheap pans often feature a thin disc of aluminum only at the bottom, leading to hot spots and scorched food on the sides.
While high-end pans are nice, you can still build a cookware set on a budget by focusing on a few essential shapes.
You should look for “fully clad” or “tri-ply” construction. This means the heat-conductive core (usually aluminum) runs all the way up the sides of the pan. This ensures even heating, which is critical for preventing sticking.
- The Gold Standard: All-Clad D3 Stainless. Widely considered the benchmark for performance and durability. It heats evenly and cleans up beautifully.
- The Best Value: Tramontina Tri-Ply Clad. Often cited by test kitchens as offering performance nearly identical to All-Clad for a fraction of the price.
- The Budget Pick: Cuisinart Multi-Clad Pro. An excellent entry point into high-quality stainless cooking.
As Consumer Reports notes in their rigorous testing, investing in fully clad cookware provides a significant improvement in cooking evenness over disc-bottomed alternatives, directly impacting how easily food releases from the pan.
Frequently Asked Questions
Why does everything stick to my stainless steel pan even with oil?
If you are using oil and food is still sticking, you likely added the food before the pan was hot enough, or the oil wasn’t hot enough. Remember the water test (Leidenfrost effect). Also, ensure your food is dry and not ice-cold from the fridge. Excess moisture lowers the pan temperature immediately, causing the proteins to bond to the metal.
Can I season a stainless steel pan like cast iron?
Technically, yes, you can temporarily season a stainless pan by heating oil to the smoke point and wiping it out. However, stainless steel is not designed to hold a seasoning layer permanently like cast iron. The “seasoning” will wash off with soap and water. It is better to rely on the preheating technique described above rather than trying to maintain a seasoning layer on stainless steel.
How do I remove burnt food without scratching the pan?
Boil water in the pan with a little baking soda for 10 minutes. This will loosen the burnt residue. For stubborn spots, use a non-abrasive scrubber and a specialized cleaner like Bar Keepers Friend. Avoid steel wool, which can leave deep scratches that actually make food stick more in the future.
Is olive oil safe for stainless steel cooking?
Yes, but be careful with Extra Virgin Olive Oil (EVOO). It has a low smoke point (around 375°F). For high-heat searing on stainless steel, it is better to use refined olive oil, avocado oil, or grapeseed oil, which have higher smoke points. If you overheat EVOO, it breaks down and creates a sticky, bitter residue on the pan.
Disclaimer: Product prices and availability change frequently. Prices shown were accurate at time of writing but may have changed. We may earn a small commission from purchases made through links on this site, at no extra cost to you. Always verify current pricing on the retailer’s website before purchasing.


Leave a Reply