You open a drawer to grab a spatula, but the drawer jams. You reach for the cinnamon, and three other spice jars tumble off the shelf. If this sounds familiar, your kitchen likely suffers from inefficient space usage rather than a lack of space. The good news is that you do not need a contractor or a distinct line of credit to fix it. With a few strategic adjustments and some creative DIY kitchen organization ideas, you can reclaim your counters and cabinets.
Organization is not just about aesthetics; it is about flow. When you group items by function and utilize “dead space”—areas like the backs of doors or the gap between shelves that usually go unused—you drastically improve your cooking experience. This guide focuses on practical, budget-friendly projects you can tackle this weekend.
Step 1: Analyze and Purge Before You Buy
Before you purchase a single bin or basket, you must assess what you actually own. Organization is impossible if you are hoarding broken gadgets or spices that expired three years ago. Begin by emptying one area at a time—do not empty the whole kitchen at once, or you will quickly feel overwhelmed.
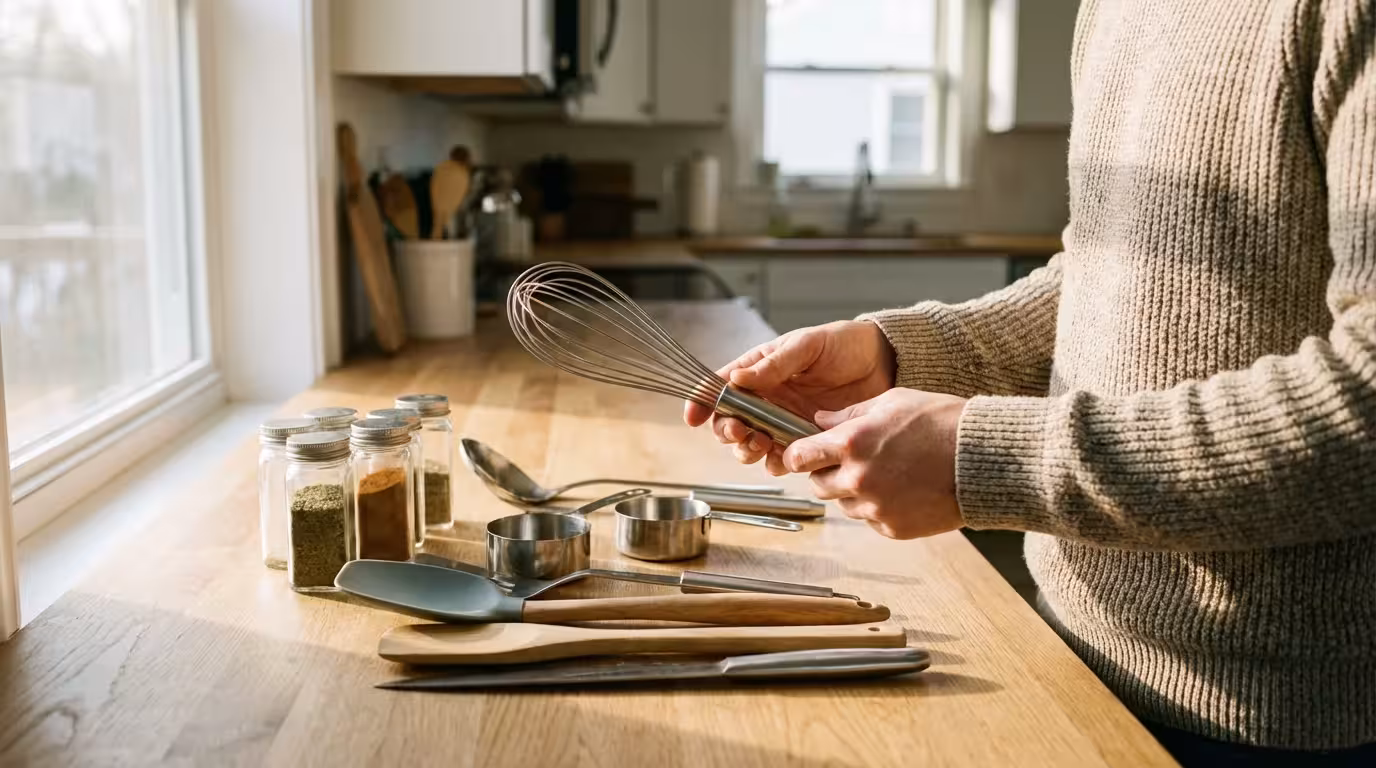
Group your items into categories: “Daily Use,” “Occasional Use,” and “Holiday/Seasonal.” Be ruthless with duplicates. Do you truly need four whisks? Keep the best one and donate the rest. This process clears the physical volume required for storage.
“The goal isn’t a Pinterest-perfect pantry. It’s being able to find what you need in 10 seconds or less.” — Professional Organizer
Once you have decluttered, measure your spaces. Use a tape measure to get the exact width, depth, and height of your cabinet interiors and drawer boxes. Standard upper cabinets are usually 12 inches deep, while lower cabinets are often 24 inches deep. Knowing these dimensions prevents the frustration of buying organizers that prevent your doors from closing.
Pantry Optimization: Bins, Risers, and Zones
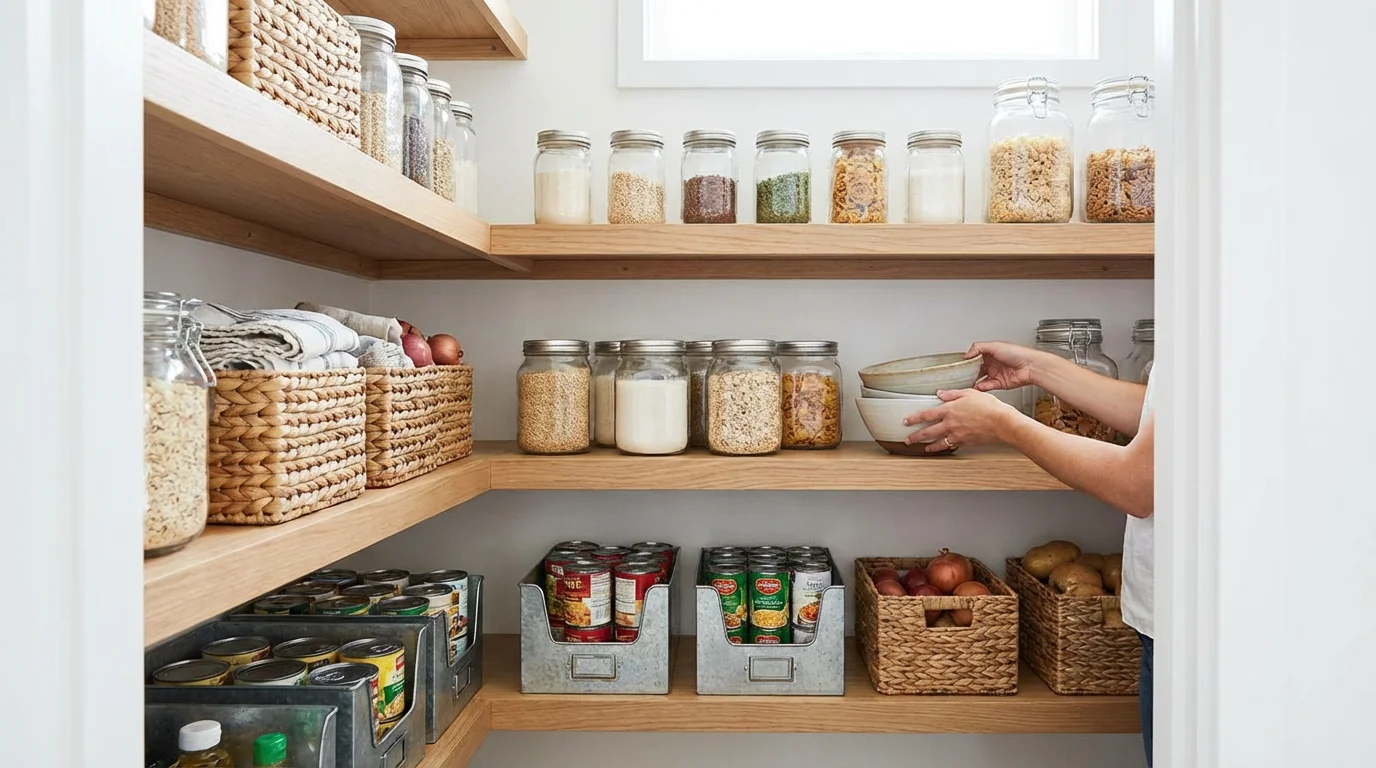
The pantry is often the biggest source of kitchen chaos. Bags of chips crumble behind boxes of pasta, and canned goods get lost in the back. To solve this, you need to establish zones and improve visibility.
Creating Zones
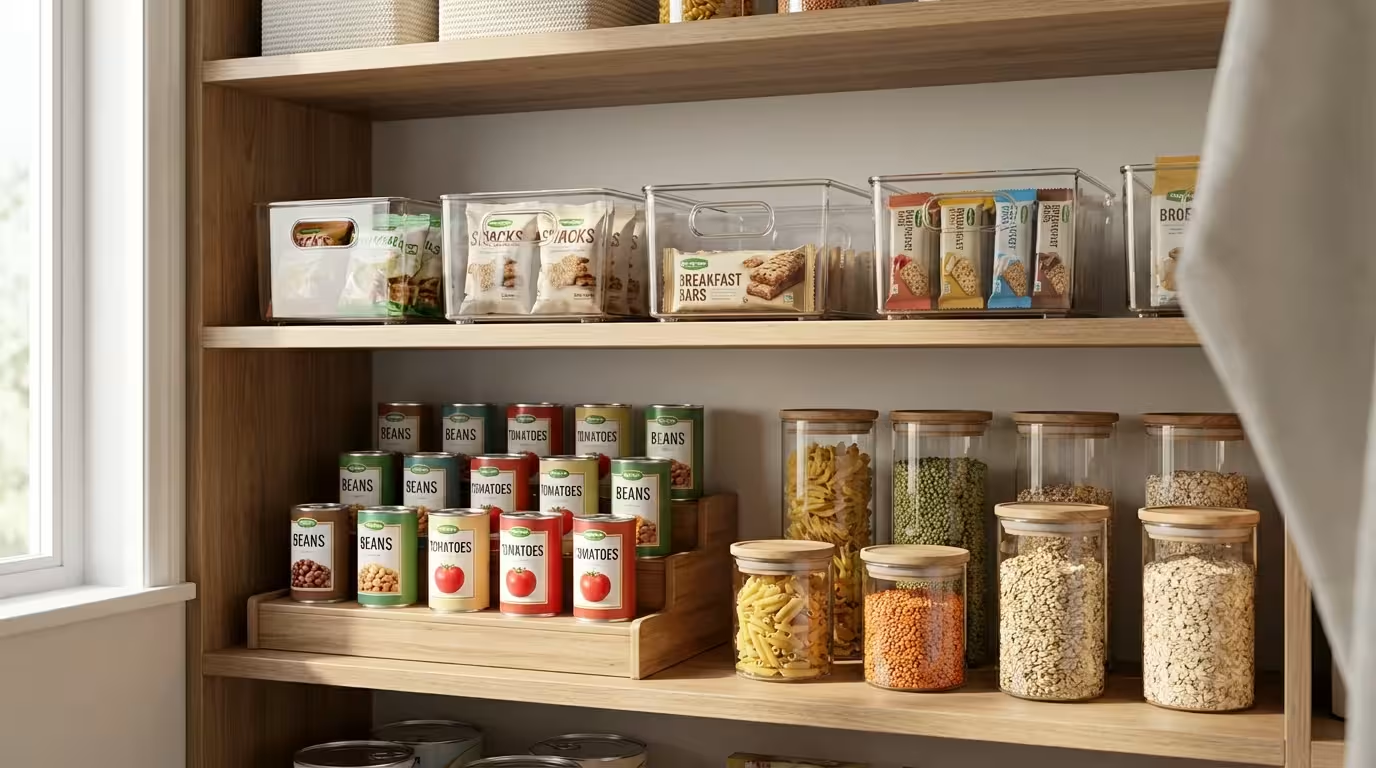
Group food by category: baking supplies, breakfast items, snacks, and dinner prep. Real Simple suggests that dedicating specific shelves to specific meal types streamlines your morning and evening routines significantly. Place heavy items like bulk rice or sodas on the floor or bottom shelf. Place your most-used items at eye level.
Budget-Friendly Hardware
You don’t need custom carpentry to double your shelf space. Utilize these tools:
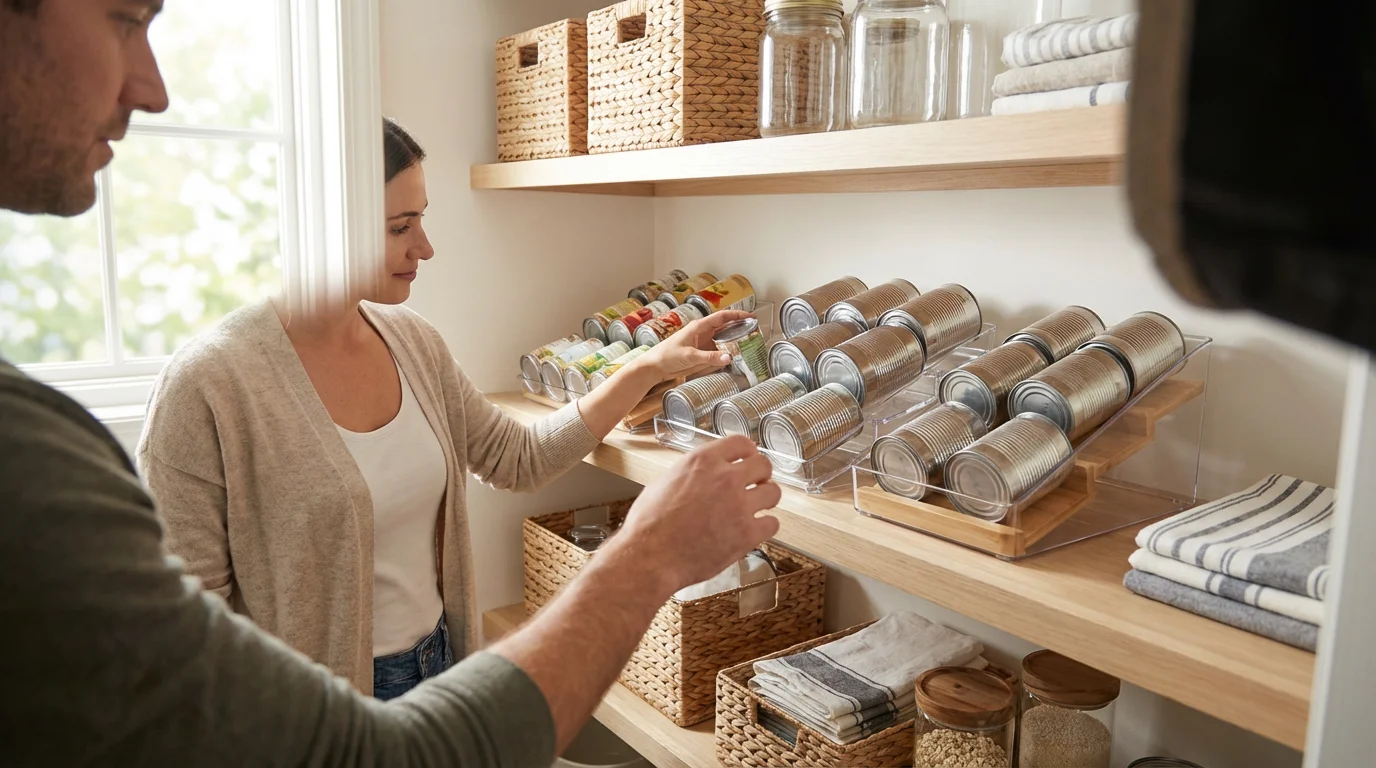
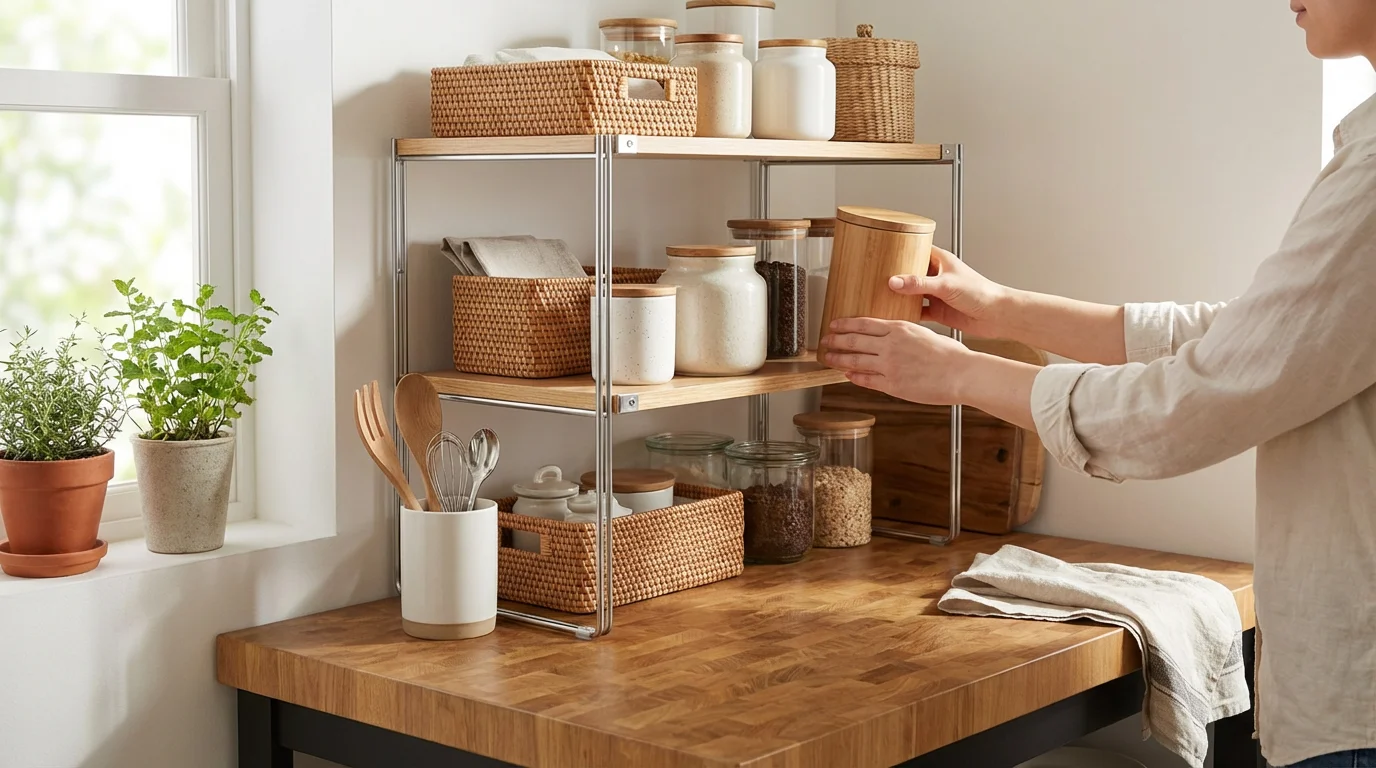
- Shelf Risers: A shelf riser is a freestanding mini-shelf that sits on your existing shelf. It allows you to stack items safely without them toppling over. Use these for canned goods or dishes.
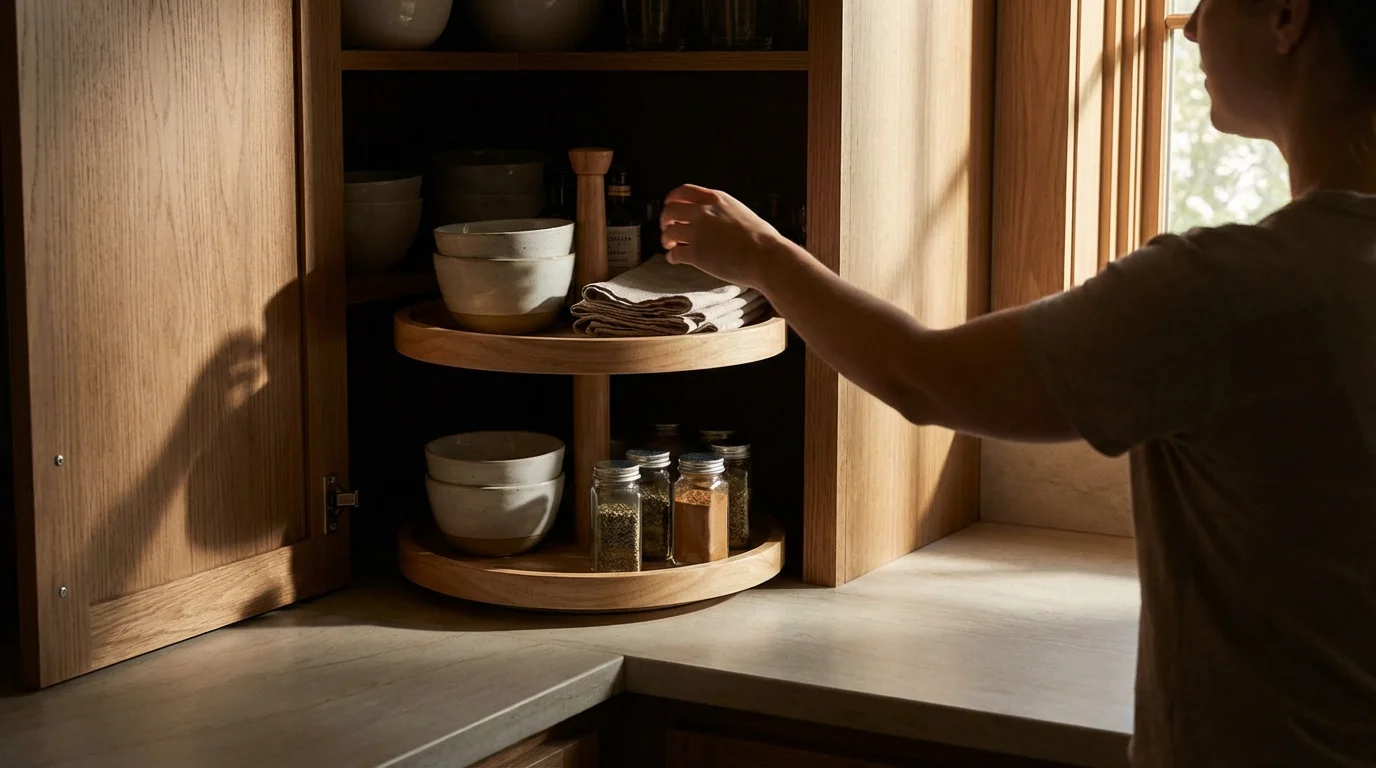
- Lazy Susans: This is a rotating tray that makes items in corner cabinets or deep shelves accessible with a spin. Place oils, vinegars, or spices on a lazy susan so you never have to reach blindly into the back.
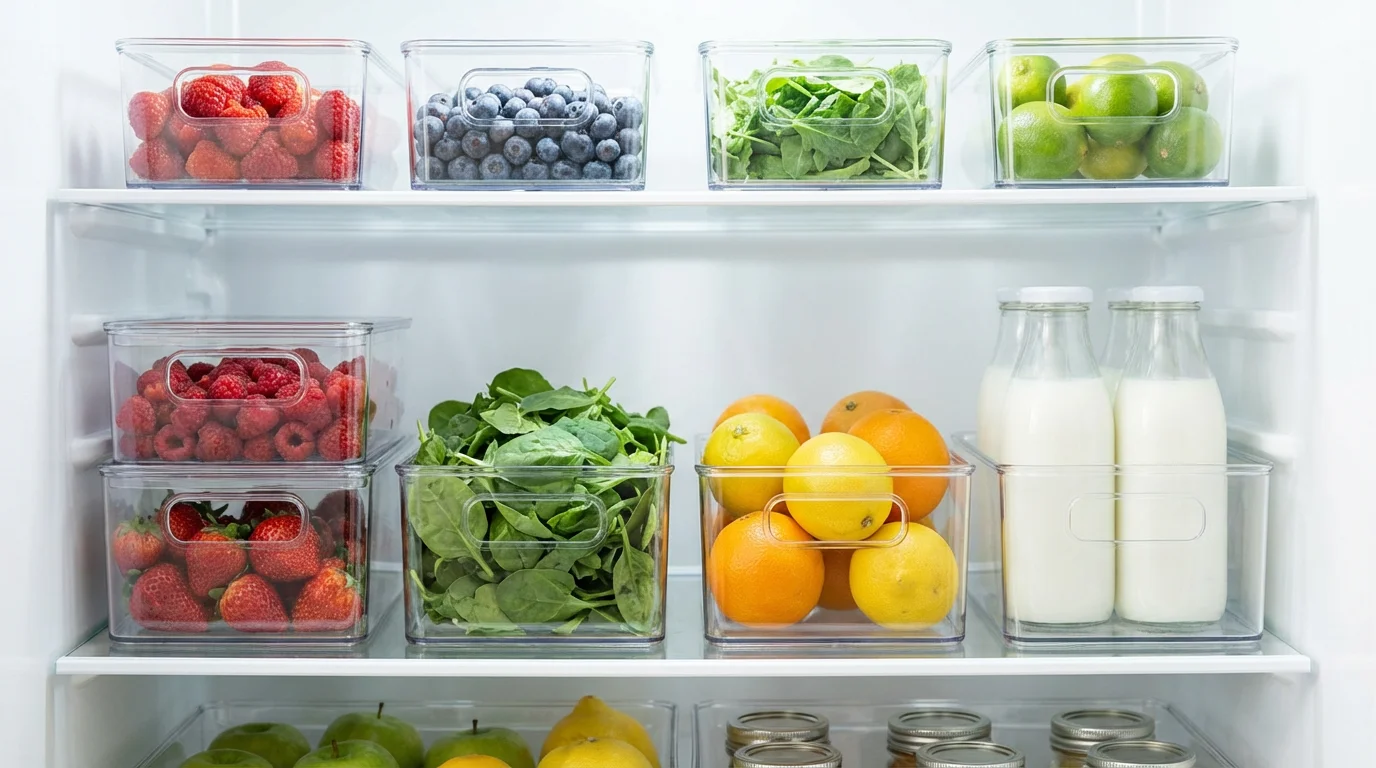
- Clear Bins: Dollar stores often carry clear plastic bins. Remove snack bars, packets, and pouches from their bulky cardboard boxes and place them in these bins. This saves space and lets you see exactly how much you have left.
The FIFO Method
Adopt the “FIFO” method—First In, First Out. When you buy new groceries, place the new items behind the old ones. This ensures you use the older stock before it expires, reducing food waste and saving money.
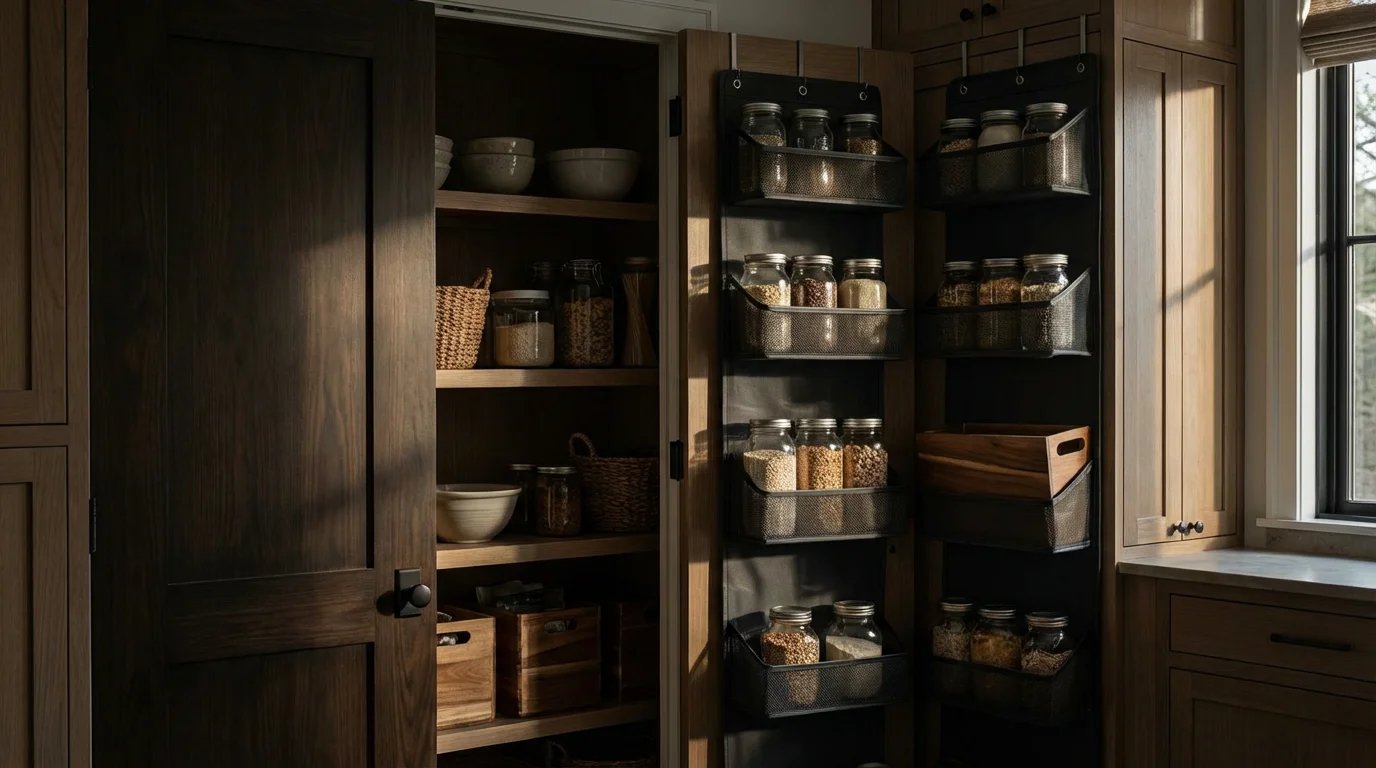
Unlocking Potential: Cabinet Door Hacks
The inside of your cabinet door is one of the most underutilized spaces in the kitchen. With the right hardware, this vertical surface becomes a powerhouse of storage, particularly for flat or awkward items.
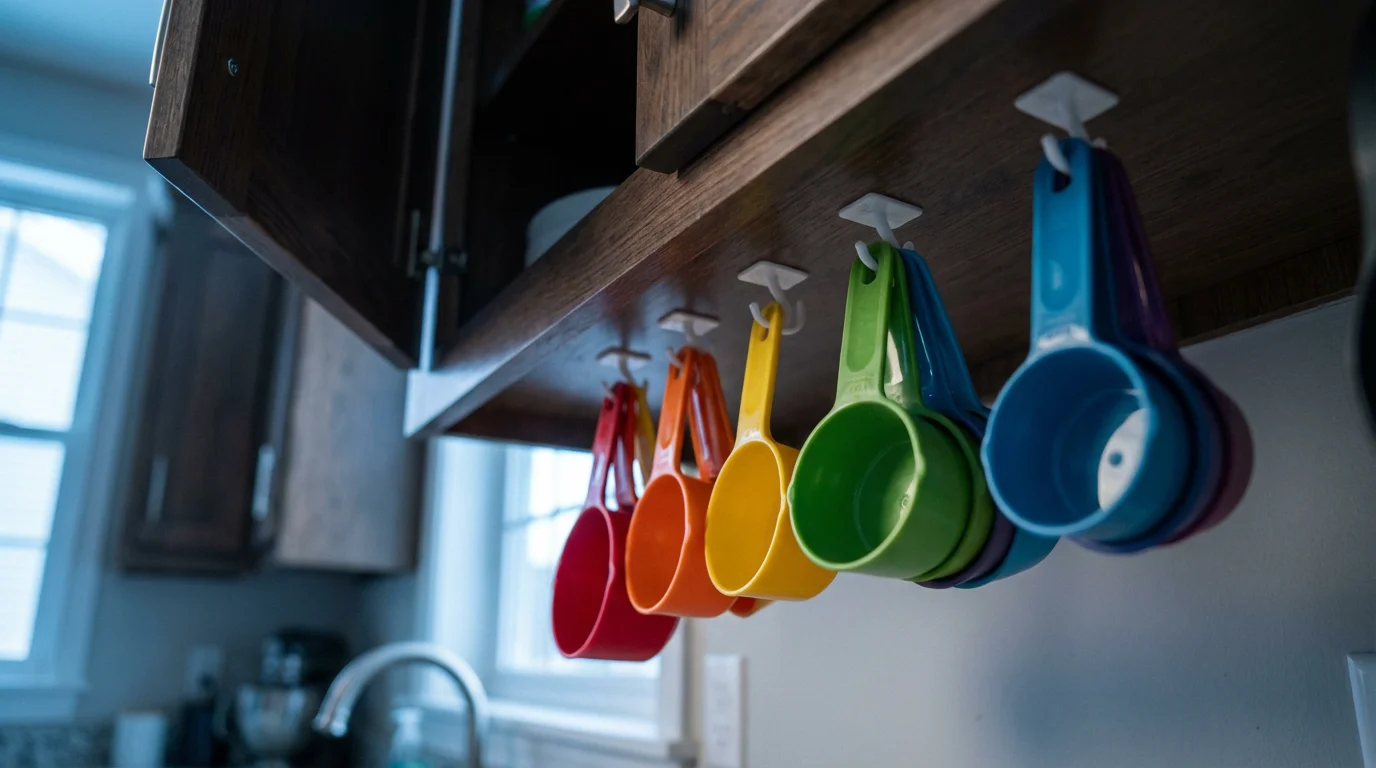
For a renter-friendly option, adhesive hooks (like Command hooks) are invaluable. You can create a custom measuring cup station by adhering hooks to the inside of an upper cabinet door. Hang cups by their handles, nesting them if necessary. This frees up drawer space and keeps the cups easy to grab during baking.
You can also mount a magazine holder to the inside of a sink cabinet door. This perfectly holds rolls of aluminum foil, plastic wrap, and parchment paper. Alternatively, use a “door-mounted rack”—a wire basket structure designed to screw into or hang over the door—to hold cutting boards or baking sheets. Always measure the clearance between the door and the interior shelves before installing; you may need to adjust the interior shelf depth to allow the door to close fully.
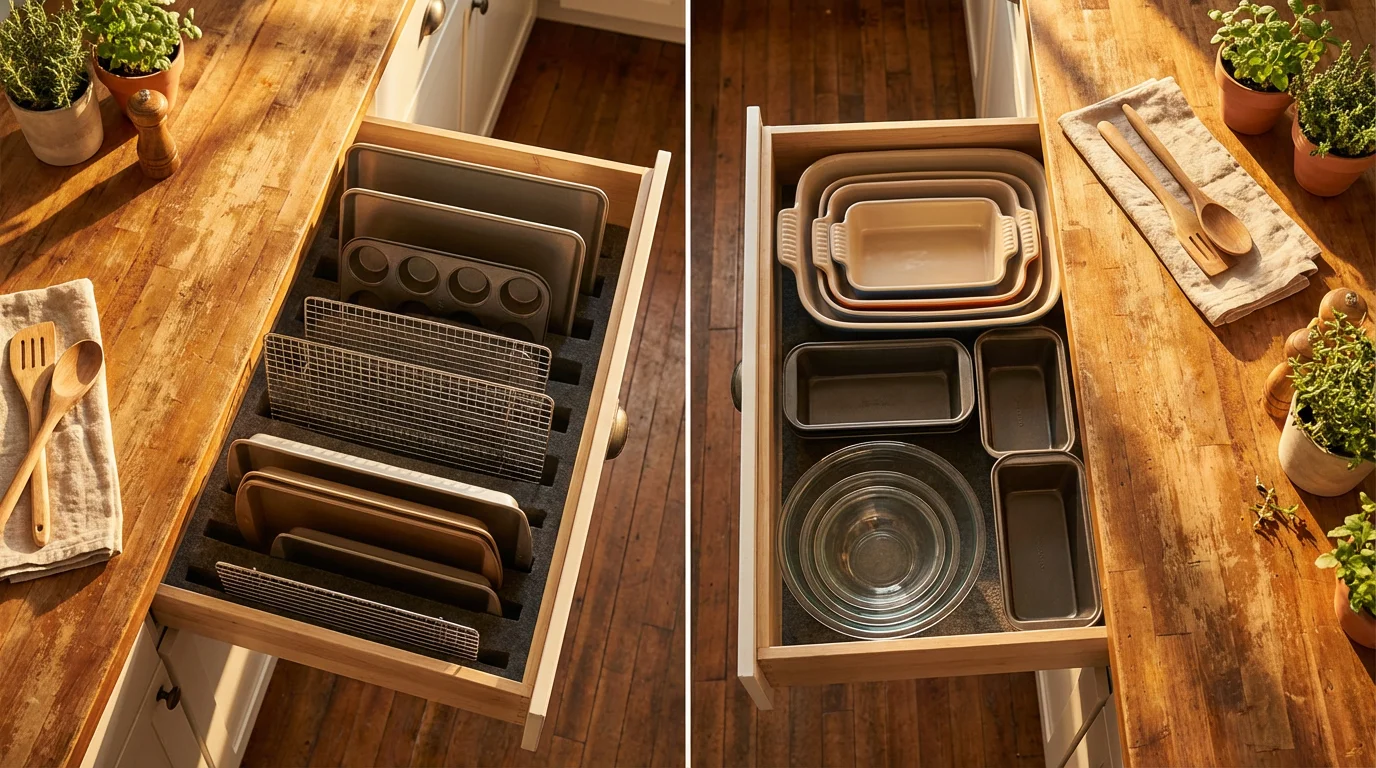
DIY Drawer Dividers and Layouts
Throwing utensils into a drawer creates a tangled mess. While expandable inserts are great, they can be pricey. You can create custom dividers for a fraction of the cost.
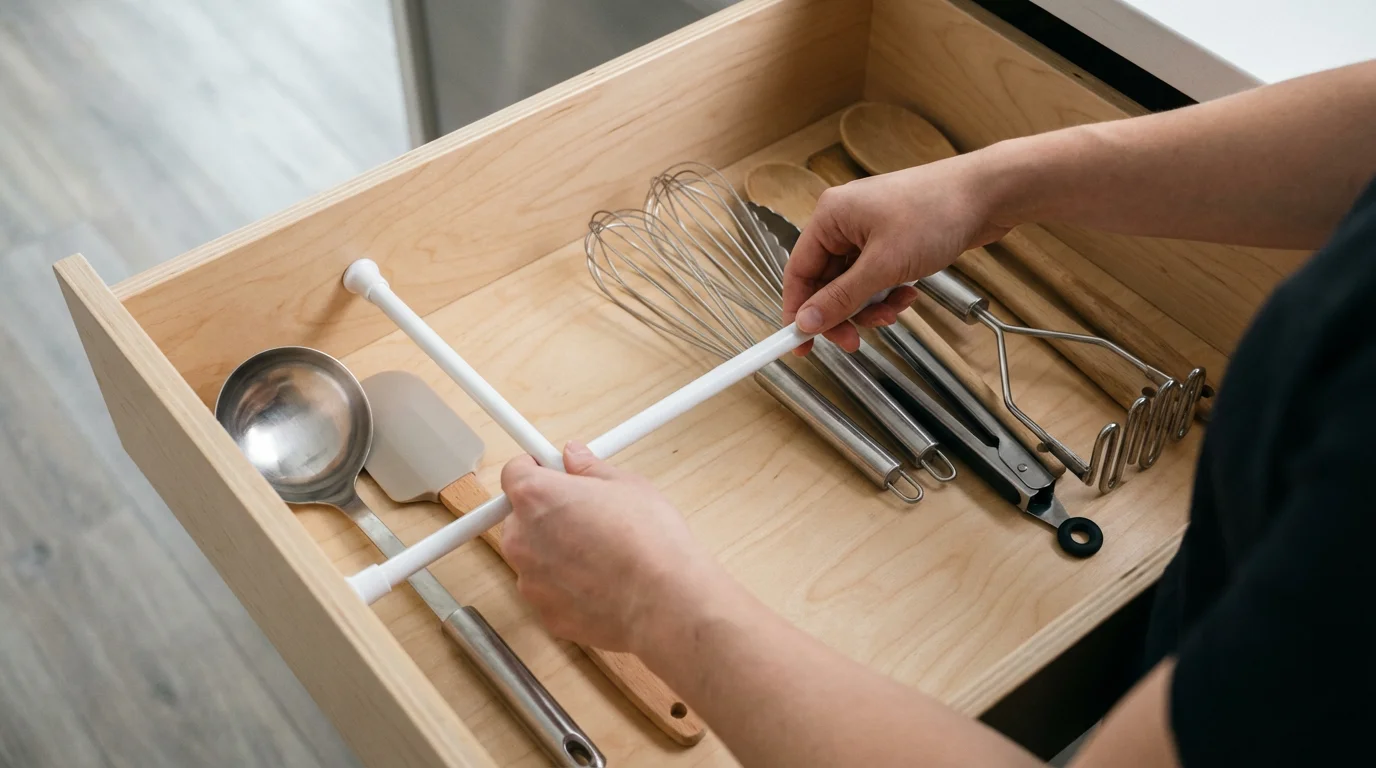
The Tension Rod Hack
Spring-loaded drawer dividers are effective but can cost upwards of $20 each. For a cheaper alternative, look for short tension rods (often used for small curtains). Place them inside the drawer from front to back to create long channels. This is excellent for separating long-handled tools like ladles, spatulas, and rolling pins. It also works well for organizing Tupperware lids vertically.
Cardboard and Contact Paper
For a zero-cost solution, repurpose cereal boxes. Cut the bottoms off the boxes to the height of your drawer. Arrange these boxes inside the drawer like a puzzle to create compartments for small items like corn cob holders, twist ties, or tea bags. To make it look intentional and stylish, wrap the boxes in patterned contact paper or shelf liner before placing them in the drawer.
Comparison: Store-Bought vs. DIY Dividers
| Method | Cost Estimate | Durability | Best Used For |
|---|---|---|---|
| Expandable Bamboo Tray | $25 – $40 | High | Silverware, standard layouts, high-visibility drawers. |
| Spring-Loaded Dividers | $15 – $25 (per set) | Medium-High | Large utensils, separating clothing or towels, deep drawers. |
| DIY Tension Rods | $5 – $10 | Medium | Lid storage, vertical separation, lightweight items. |
| Repurposed Boxes | $0 – $5 | Low-Medium | Junk drawers, office supplies, tea bags, small loose items. |
Countertop Strategies and Vertical Storage
Counter space is premium real estate. If you have appliances you only use once a month sitting on your counter, move them to a lower cabinet or the top of the fridge. Keep only daily essentials out.
The Appliance Garage
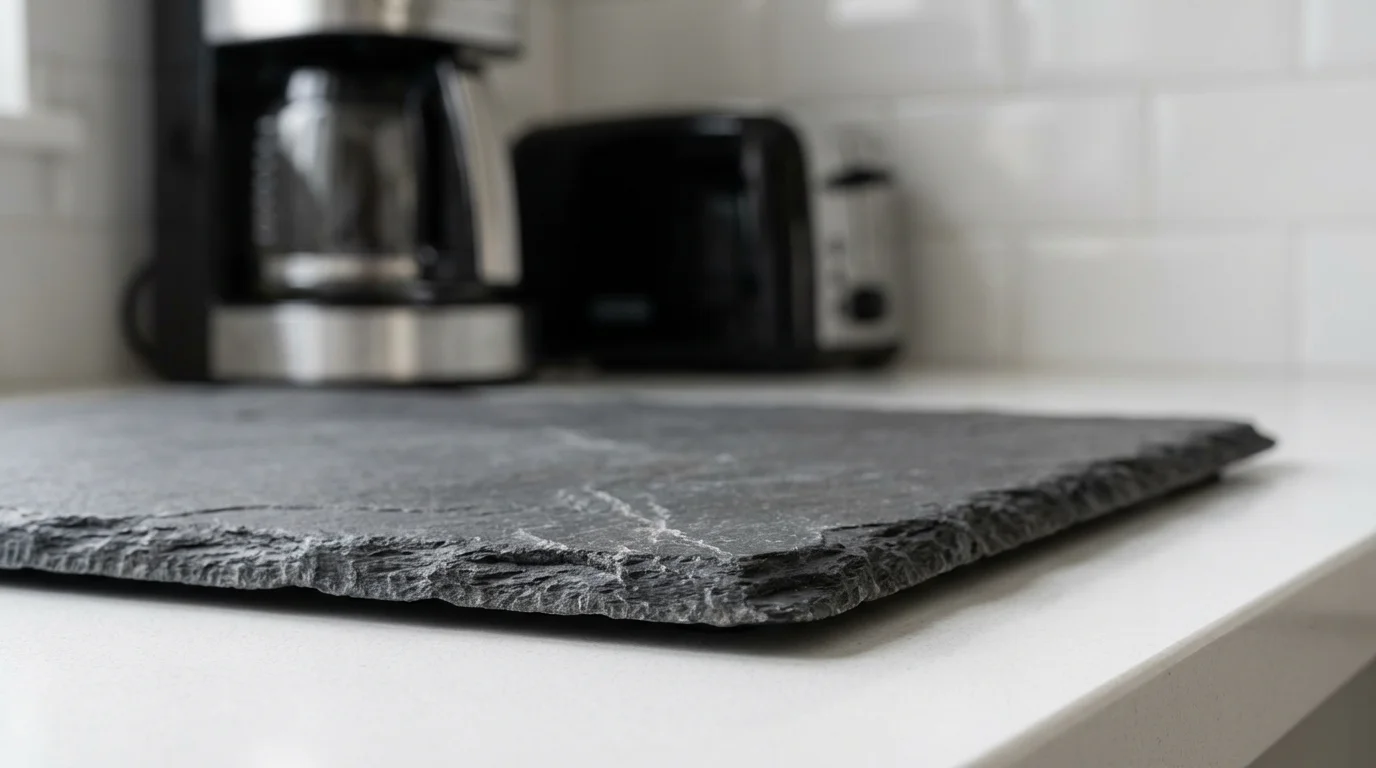
An “appliance garage” refers to a designated cabinet or corner where countertop appliances live, hidden behind a door. If you don’t have a built-in garage, you can create a visual equivalent by grouping your coffee maker, toaster, and grinder on a nice tray in the corner. This contains the clutter visually and makes cleaning the counter easier—you just lift the tray to wipe underneath.
Go Vertical
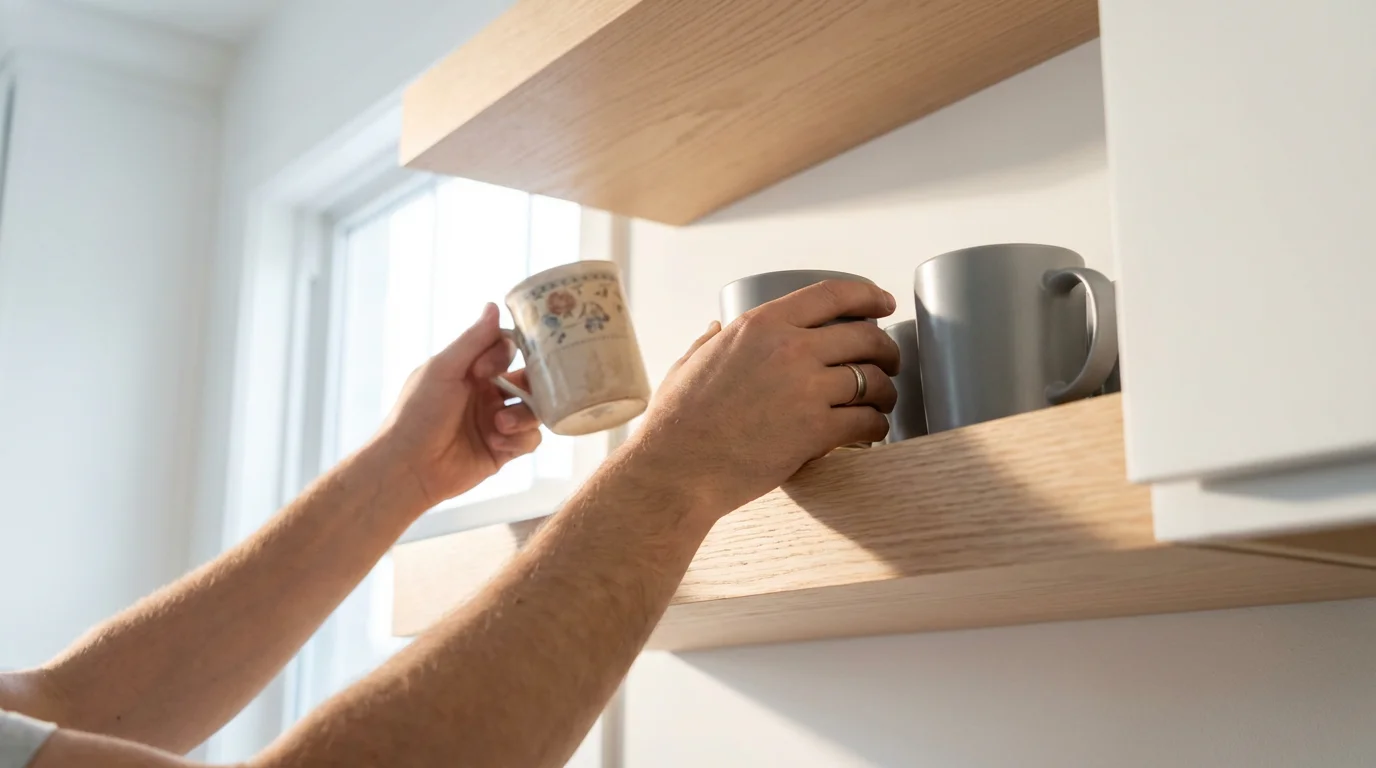
When you run out of horizontal space, look up. According to The Spruce, utilizing wall space is essential for small kitchens. Install a magnetic knife strip to get your knife block off the counter. This is more sanitary and safer for the blades. You can also install a rail system with S-hooks under your upper cabinets to hang mugs or measuring spoons.

Renter-Friendly vs. Permanent Solutions
If you rent your home, drilling holes into cabinets might cost you your security deposit. However, that does not mean you have to live with clutter. You just need to select “modular” or removable solutions.
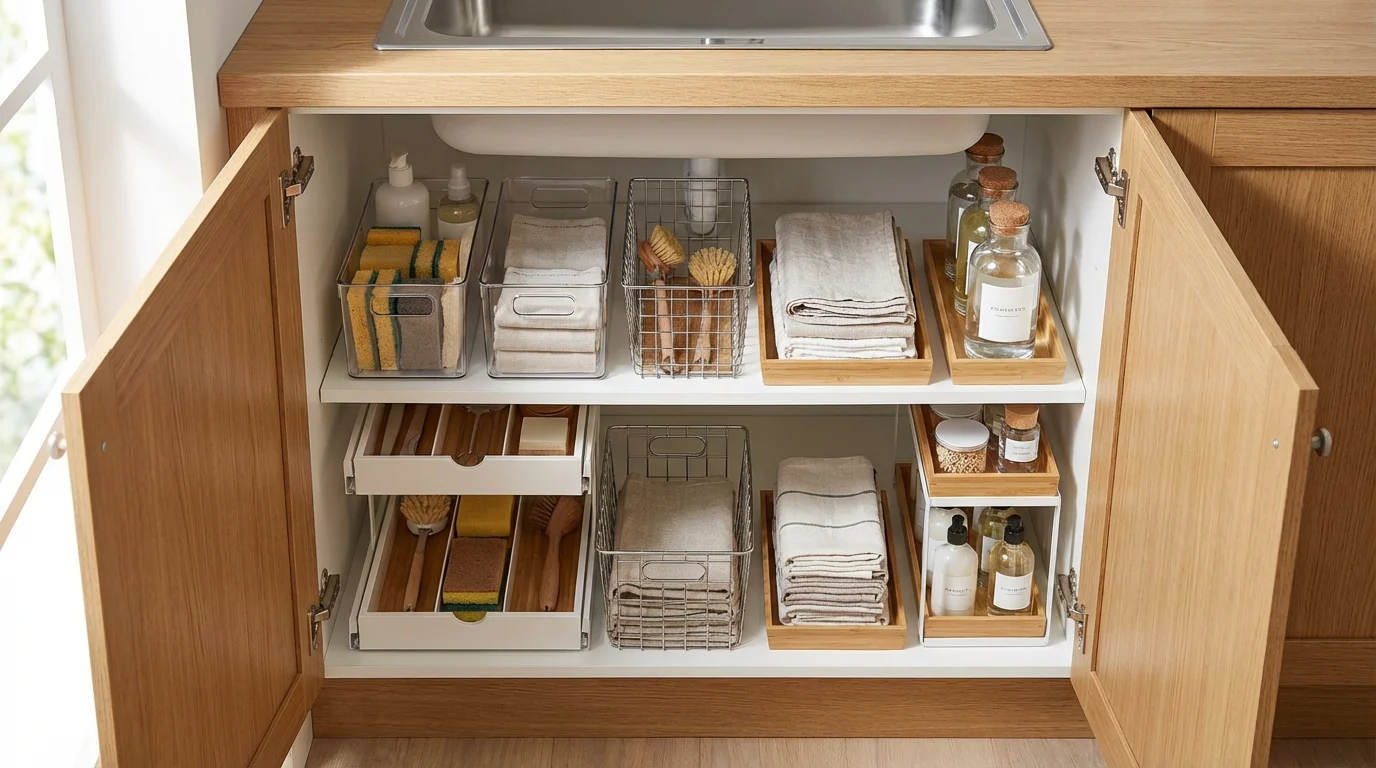
Under the Sink: This area is notoriously difficult due to plumbing pipes. A tension rod is your best friend here. Install a tension rod across the width of the cabinet, near the top. You can hang spray bottles by their triggers on this rod, leaving the floor of the cabinet free for sponges and scrubbers.
Over-the-Door Organizers: Use organizers that hook over the top of the cabinet door rather than screwing into the wood. These often have foam padding to protect the finish. They are perfect for holding dishtowels or trash bags.
Stackable Shelves: Use metal or plastic “stackable” shelves inside cabinets. These stand on their own legs and require no installation, instantly doubling your shelf surface area for plates and bowls.
Maintenance: Keeping the System Alive
Organization is not a one-time event; it is a habit. Even the best system will fail if you don’t maintain it. Set a schedule to refresh your organization.
The “One In, One Out” Rule: When you buy a new kitchen gadget or a new set of mugs, you must remove an old one. This prevents inventory creep. If you bring in a new blender, the old one must be donated or recycled immediately.
The 15-Minute Reset: Every Sunday, spend 15 minutes tidying the pantry and fridge. Check for expired items, move older produce to the front, and straighten up the bins. This small investment of time prevents the need for a massive overhaul six months later.
Frequently Asked Questions
How do I organize a small kitchen with no pantry?
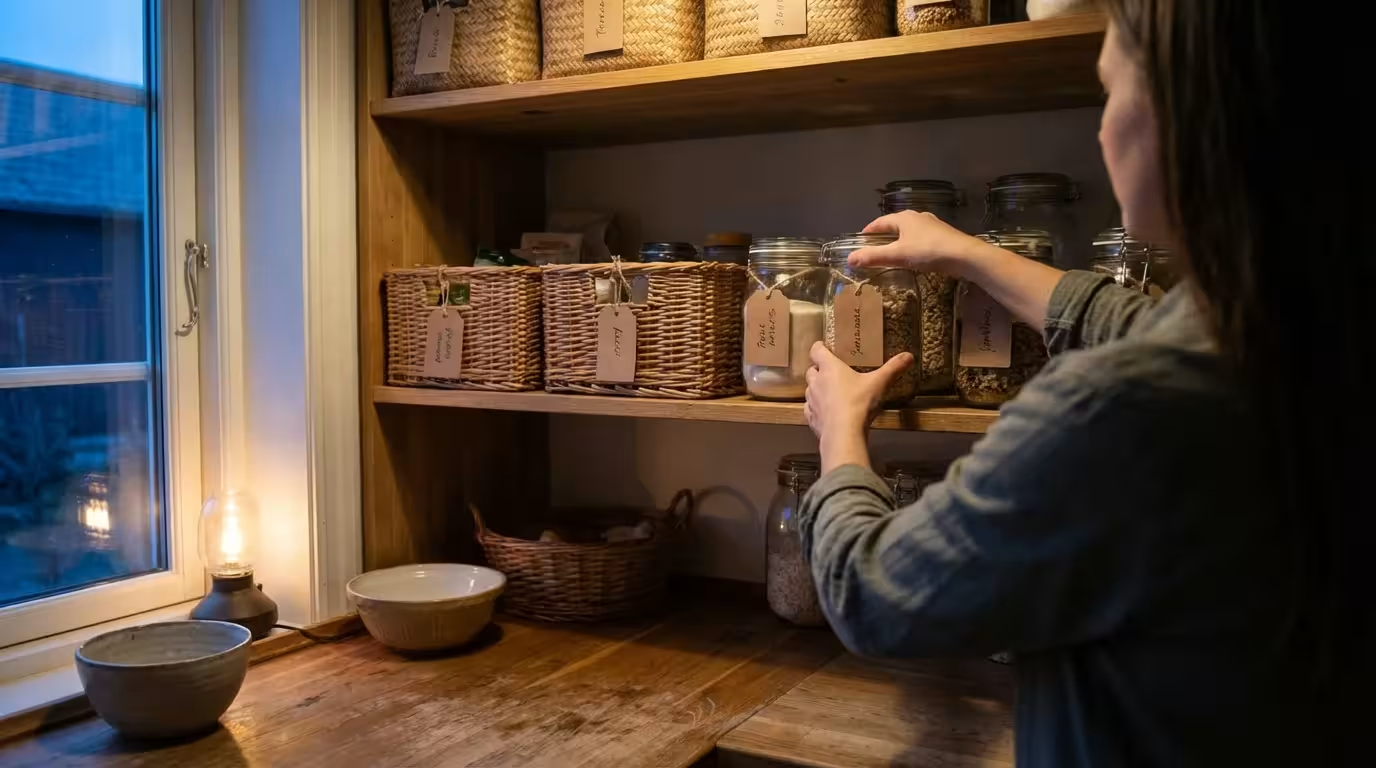
If you lack a dedicated pantry, you must get creative with freestanding furniture or wall space. Consider buying a dedicated rolling cart or a bookshelf to serve as an open pantry. Use uniform jars or baskets to store food on these open shelves to keep it looking tidy rather than cluttered. You can also utilize the space above your kitchen cabinets for bins containing less-frequently used items.
What are the best containers for dry goods?
Square or rectangular clear containers are superior to round ones because they maximize space—round jars leave empty “dead space” in the corners. Look for containers with airtight seals to keep food fresh. Experts at Wirecutter often recommend modular systems that stack securely, ensuring you can use the full height of your shelf.
Is it worth decanting groceries into matching jars?
Decanting—pouring food from original packaging into jars—is worth it for items you buy in bulk or use daily (like flour, sugar, rice, and pasta). It keeps pests out and makes seeing inventory levels easy. However, for items with detailed cooking instructions or expiration dates you need to reference often, you might prefer keeping the original packaging inside a bin.
Disclaimer: Product prices and availability change frequently. Prices shown were accurate at time of writing but may have changed. We may earn a small commission from purchases made through links on this site, at no extra cost to you. Always measure your space before purchasing organizers to ensure proper fit.

Leave a Reply