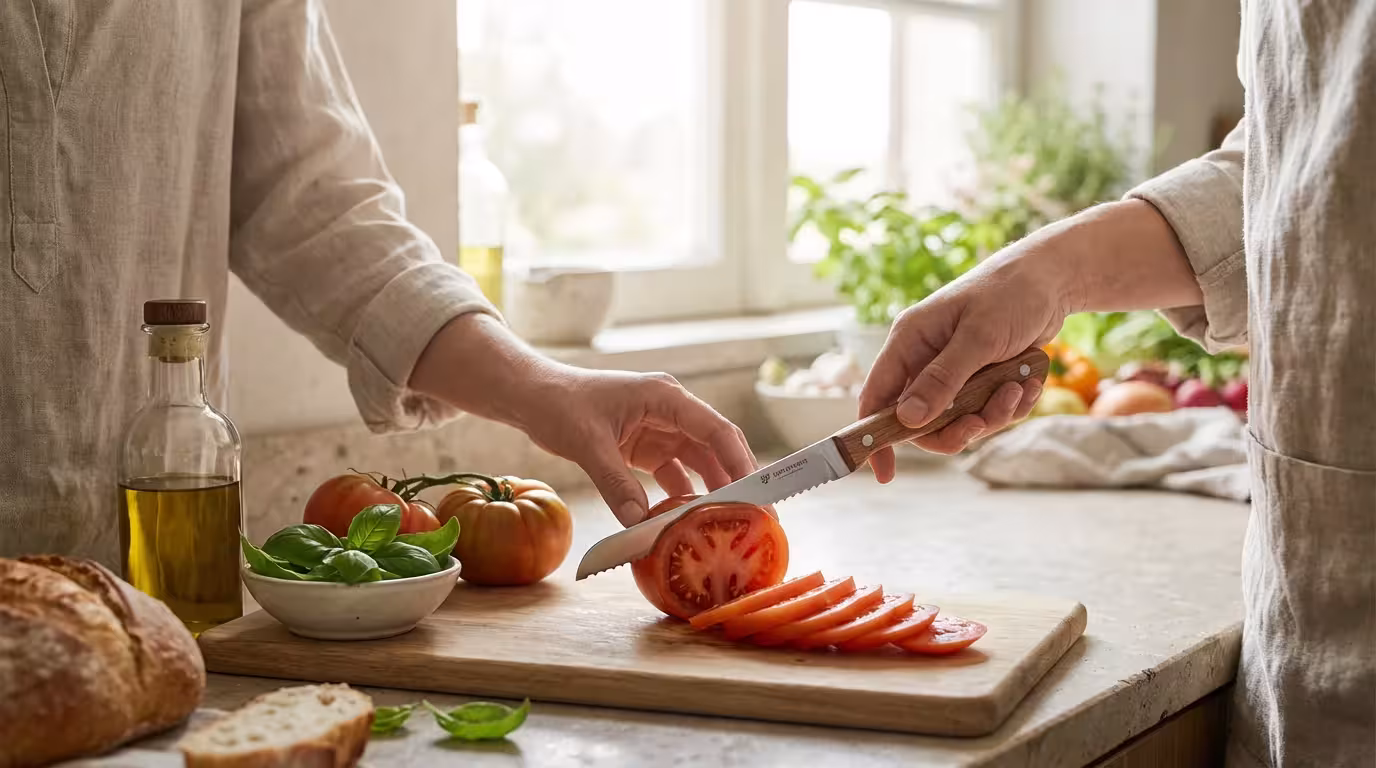
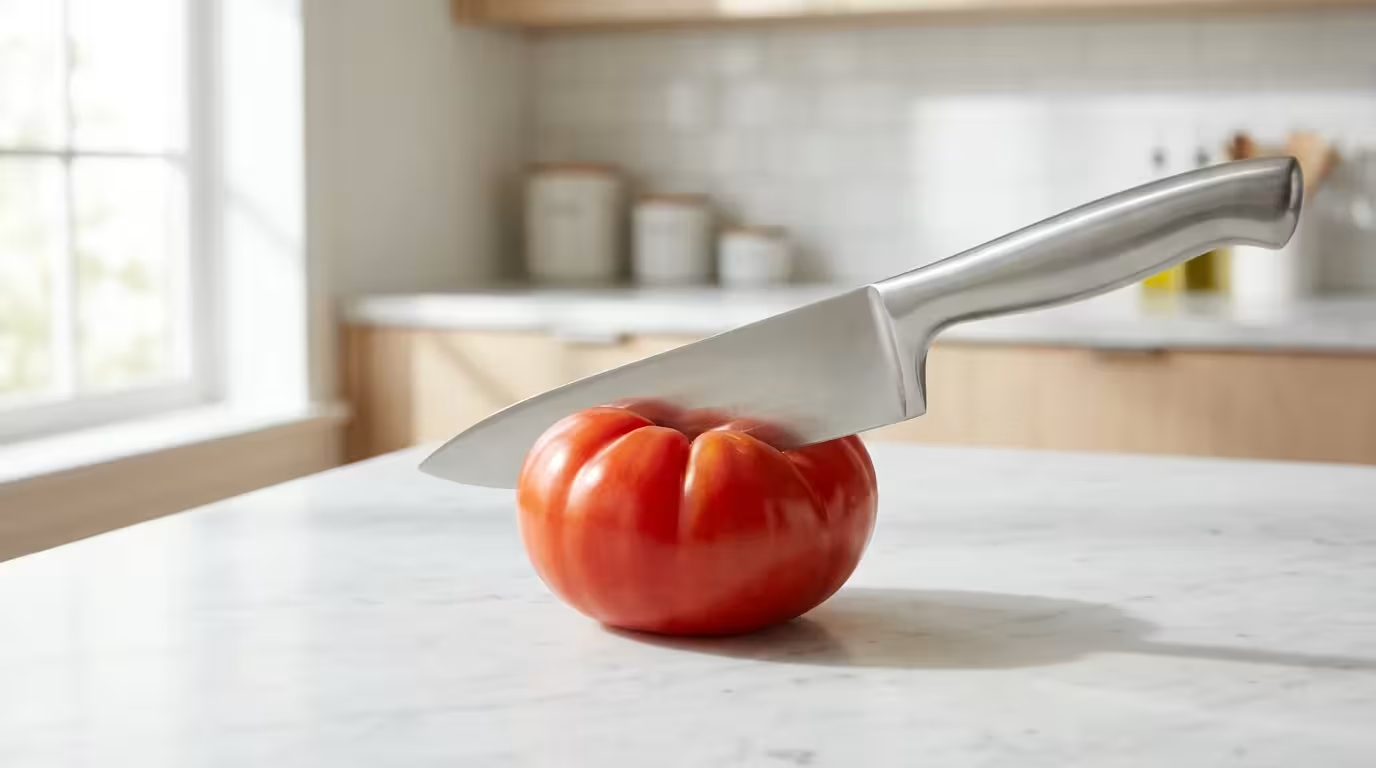
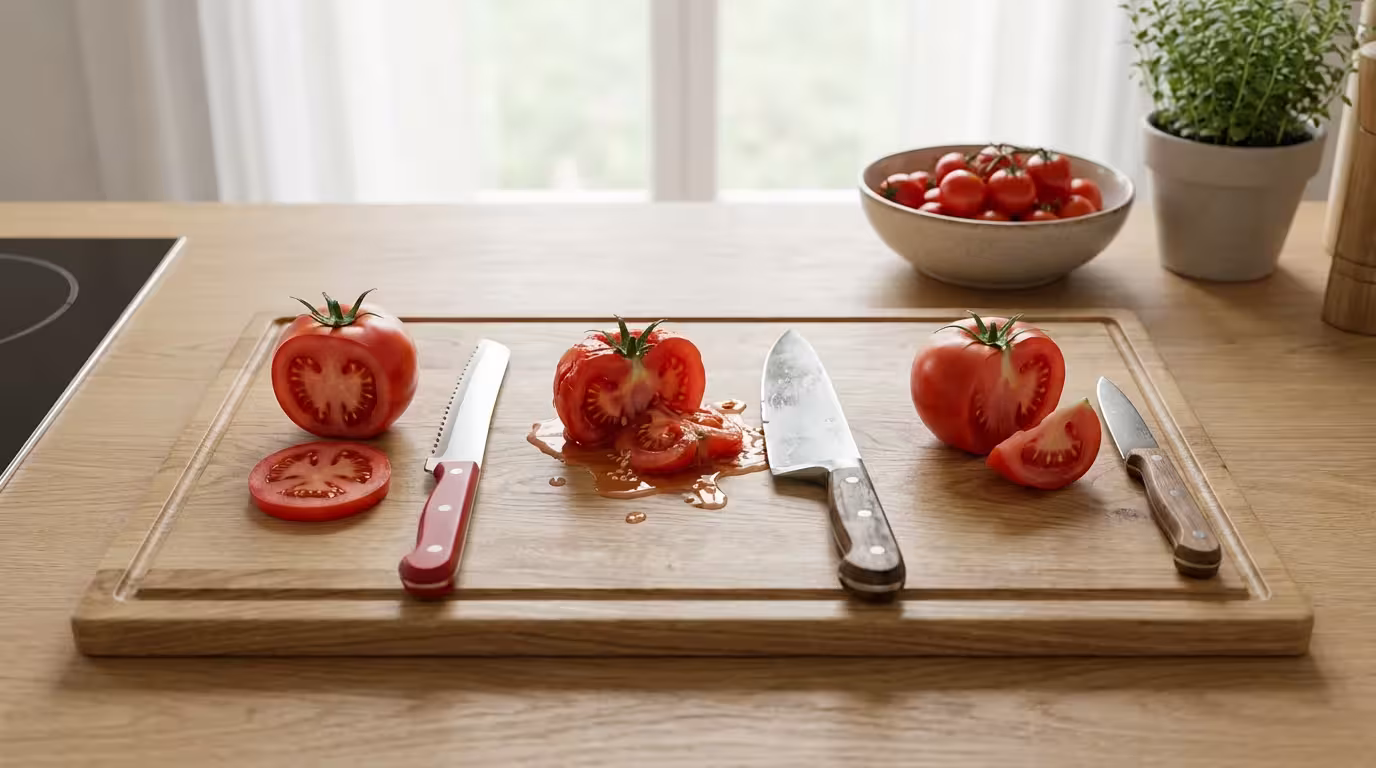
There are few culinary disappointments quite as visceral as ruining a perfectly ripe, summer heirloom tomato. You place the ruby-red fruit on the cutting board, grab your standard kitchen knife, and attempt a slice. Instead of a clean cut, the blade slides off the waxy skin. You press harder. The skin finally breaks, but the pressure has crushed the delicate flesh underneath, ejecting the seeds and juice onto the board in a sad, pulpy mess.
If this scenario sounds familiar, your technique isn’t necessarily the problem—your tool is. While a razor-sharp chef’s knife can certainly handle a tomato, most home kitchens lack the whetstones and maintenance routine required to keep an edge that keen. This is where the tomato knife enters the picture. Often dismissed as an unnecessary gadget, this specialized tool is actually a workhorse of food preparation that solves a specific mechanical problem: cutting through a tough exterior without damaging a soft interior.
For home cooks looking to speed up salad prep and improve the presentation of their dishes, adding a tomato knife to your magnetic strip or block is a low-cost, high-reward upgrade. We will explore the mechanics behind these serrated blades, what to look for when buying one, and how this modest tool can make your kitchen safer and your meals more appealing.
The Mechanics of the Cut: Why Smooth Blades Fail
To understand why you need a tomato knife, you must first understand the structure of the tomato itself. A tomato presents a unique engineering challenge: the exocarp (skin) is tough, waxy, and resistant to friction, while the mesocarp (flesh) is soft, water-heavy, and easily compressed.
When you use a smooth-edged knife—like a standard chef’s knife or santoku—the blade relies on “push cutting” or immense sharpness to initiate the cut. If the blade is even slightly dull, it slides across the microscopic hills and valleys of the tomato skin. To compensate, you naturally apply downward pressure. By the time the dull blade finally pierces the skin, the structural integrity of the tomato has collapsed under the weight of your hand.
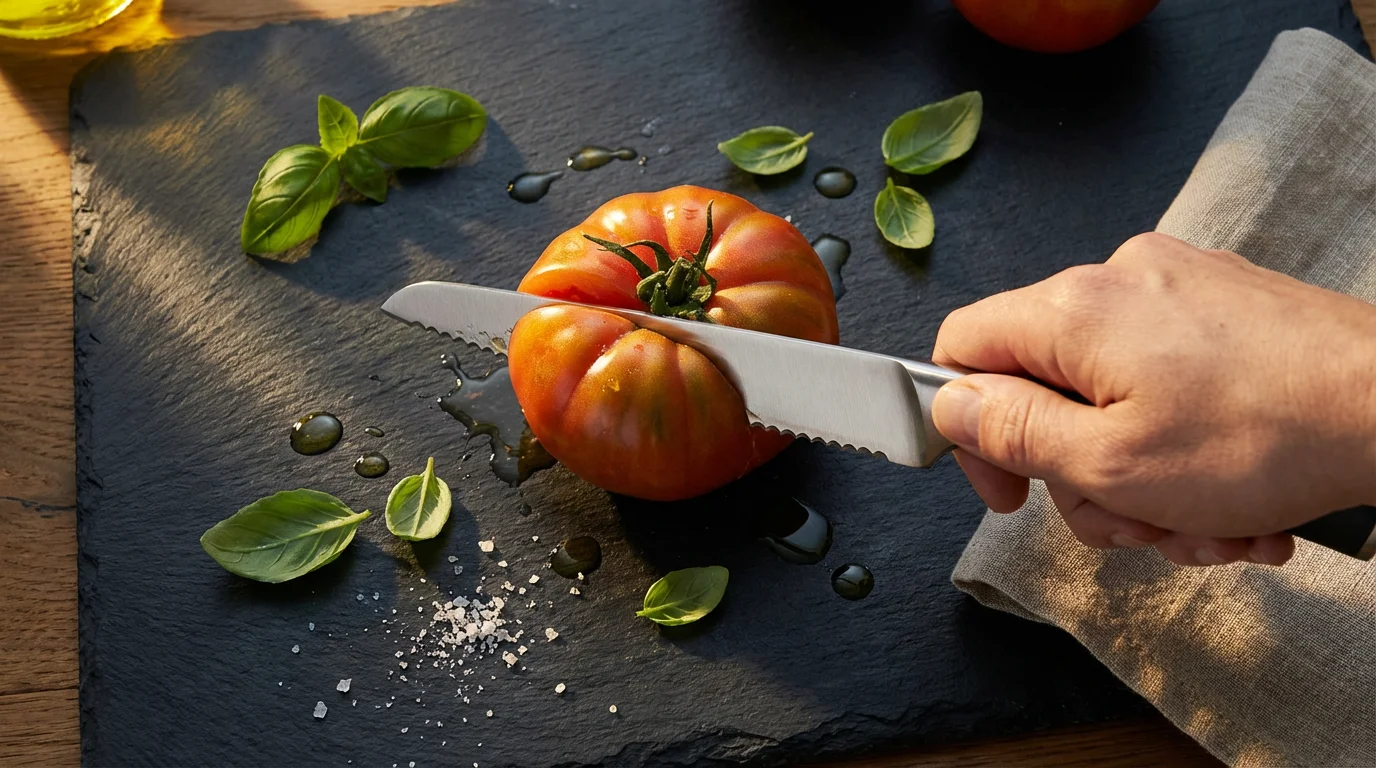
A tomato knife solves this through serration. The blade edge is essentially a saw, featuring teeth (serrations) and gullets (the spaces between teeth). These teeth pierce the skin instantly with minimal downward pressure. Once the skin is breached, the sharp gullets slice smoothly through the soft flesh. This allows you to produce wafer-thin slices of even the softest, ripest tomato without losing any juice.
“The difference between a salad that looks professionally plated and one that looks like a crime scene is usually the knife. A serrated edge is the great equalizer for soft-skinned produce.”
Anatomy of a Great Tomato Knife
Not all serrated knives are created equal. While a steak knife might look similar, a dedicated tomato knife has specific design features tailored for food preparation. When shopping for one, pay attention to these three components.
The Blade Profile
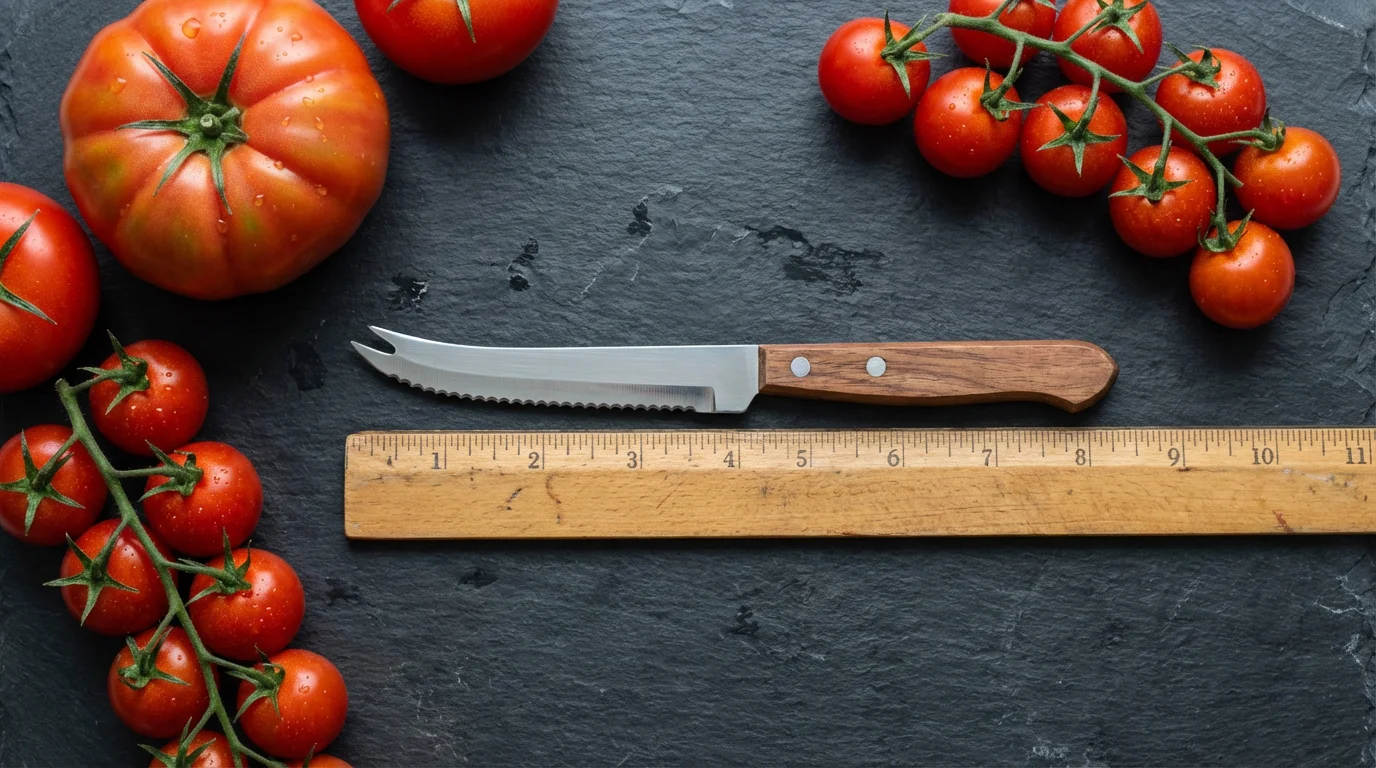
Most tomato knives feature a blade length between 4 and 6 inches. This is significantly shorter than a bread knife but longer than a standard paring knife. This length gives you enough runway to saw through large beefsteak tomatoes in a single stroke, but remains short enough for precise control when coring strawberries or slicing smaller campari tomatoes.
The Serration Type
You will generally encounter two types of edges:
- Pointed Serrations: These look like shark teeth. They are aggressive and bite into skins very effectively. However, they can sometimes tear delicate flesh if you saw too vigorously.
- Scalloped (Wavy) Edges: These are gentler. The teeth are rounded rather than pointy. They slice smoothly but may require slightly more initial friction to start the cut on very tight skins.
The Forked Tip
You will notice that many tomato knives have two sharp prongs at the tip of the blade. This is not just aesthetic. The forked tip allows you to:
- Lift and move slices from the cutting board to the serving plate without using your fingers.
- Core the stem (peduncle) out of the tomato before slicing.
- Spear pickles or olives from deep jars (a happy bonus).
Material Matters: Steel and Handles
Because tomatoes are highly acidic, the material of your knife is critical. Acid reacts poorly with certain metals, leading to corrosion, discoloration of the blade, and sometimes a metallic taste transferred to your food.
Blade Material
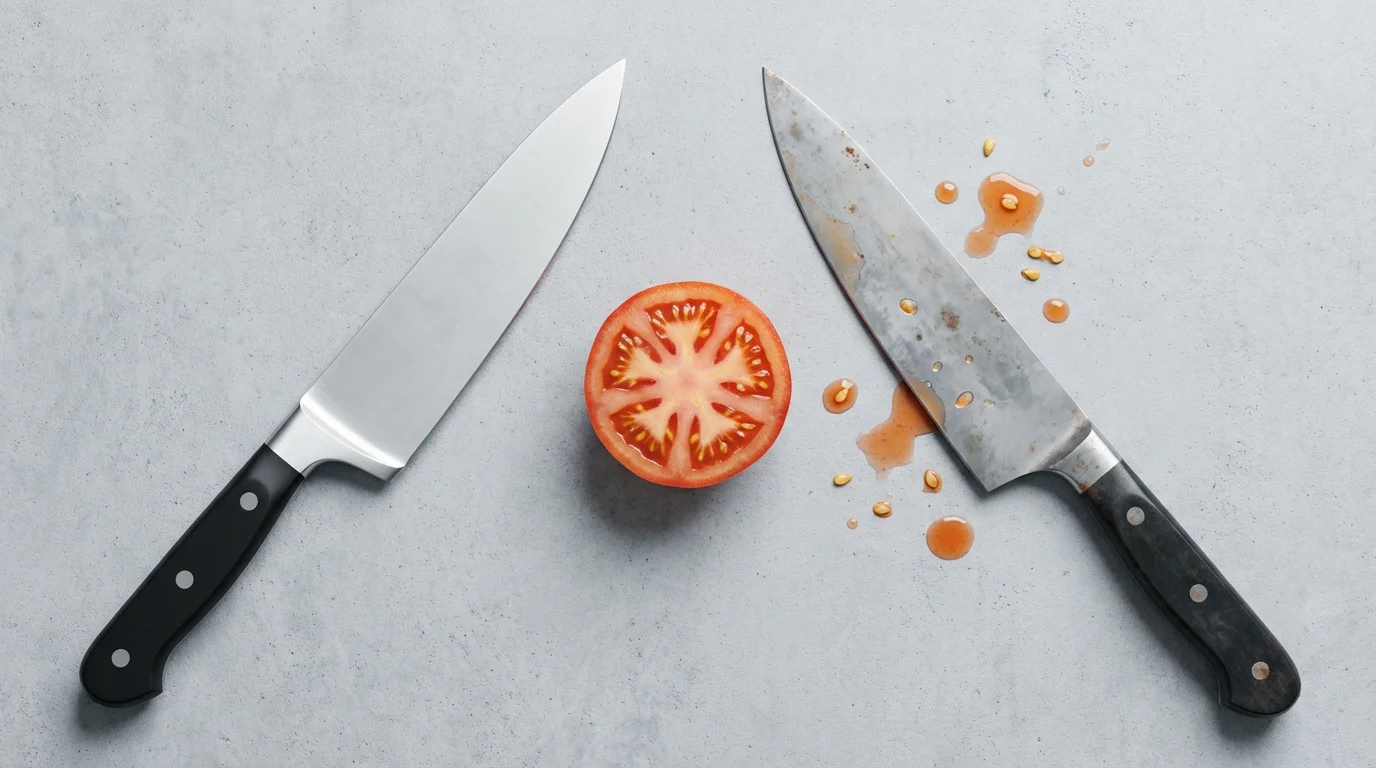
You should almost exclusively look for high-carbon stainless steel. While carbon steel is prized by enthusiasts for its ability to take a sharp edge, it is highly reactive to acid. Stainless steel contains chromium, which creates a barrier against rust and corrosion. This is essential for a tool that will spend its life covered in tomato juice and citrus acids.
According to Serious Eats, the best kitchen knives balance edge retention with durability. For a serrated knife, edge retention is slightly less critical than a straight blade because the teeth do the work, but a quality steel ensures the teeth don’t bend or chip over time.
Handle Construction
Look for a handle that offers a secure grip, even when wet. Tomato prep is juicy work. Materials like textured polypropylene or Santoprene offer excellent grip. If you prefer the look of wood, ensure it is stabilized (treated with resin) to prevent it from swelling when exposed to moisture.
Additionally, check for a full tang. This means the metal of the blade extends all the way through the handle to the butt. A full tang provides better balance and ensures the handle won’t snap off under pressure. A bolster—the thick junction between handle and blade—is less common on small serrated knives but can provide a nice finger guard if present.
Comparison: Tomato Knife vs. Other Blades
Is a tomato knife redundant if you already own a knife set? Not necessarily. Each knife has a distinct mechanical advantage depending on the task. Here is how the tomato knife stacks up against the other two most common prep tools.
| Feature | Tomato Knife | Chef’s Knife | Paring Knife |
|---|---|---|---|
| Edge Type | Serrated (Saw-tooth) | Straight / Fine Edge | Straight / Fine Edge |
| Best For | Tough skins, soft interiors, citrus | Chopping, dicing, heavy-duty prep | Peeling, coring, detail work |
| Cutting Action | Sawing motion | Push-cut or rocking motion | Pull-cut or hand-held cutting |
| Maintenance | Rarely needs sharpening | Requires frequent honing/sharpening | Requires frequent honing/sharpening |
| Tomato Performance | Excellent (even if dull) | Excellent (only if razor sharp) | Good for coring, poor for slicing |

Versatility: Doing More Than Just Tomatoes
One of the main arguments against buying specialized kitchen tools is the “unitasker” problem—you don’t want a drawer full of gadgets that only do one thing. Fortunately, the tomato knife is a multitasker in disguise. Its serrated profile makes it the ideal tool for several other kitchen challenges.
Citrus Fruits: Just as it handles tomato skins, this knife glides through the tough, bitter zest of lemons, limes, and oranges. It is perfect for slicing lemon wedges for drinks or cutting thin rounds of orange for a garnish.
Small Breads and Pastries: A massive 10-inch bread knife can be unwieldy for a single bagel or a morning croissant. The 5-inch blade of a tomato knife offers better control for slicing rolls, baguettes, or English muffins without crushing the airy crumb structure.
Salami and Sausages: Cured meats often have a tough casing that mimics the resistance of tomato skin. A straight blade can slip, causing an accident. The serrations of a tomato knife bite into the casing immediately, allowing for safe, thin slices of salami or summer sausage.
Cheese: For semi-soft cheeses with a rind (like Brie or Taleggio), a tomato knife cuts cleanly without sticking as much as a wide chef’s knife blade might.
Proper Technique and Safety Tips
Even though a tomato knife feels safer because it requires less downward force, kitchen safety is paramount. Serrated cuts can be jagged and slower to heal than clean cuts from a straight blade, so respect the edge.
The Sawing Motion
The most common mistake beginners make is trying to push the knife straight down through the food. This defeats the purpose of the serrations. Instead, use a gentle back-and-forth sawing motion. Let the weight of the knife do the work; you should not need to press down hard. Initiate the cut by drawing the knife back towards you to break the skin, then push forward to slice through.
The Claw Grip
Always use the “claw grip” with your non-cutting hand. Curl your fingertips under your knuckles and use your knuckles as a guide for the blade. This keeps your fingertips away from the serrated teeth. Because tomato knives are lightweight and narrow, they can move quickly; the claw grip ensures that if the knife slips, it hits your knuckle bone, not your fingertip.
Stabilizing the Tomato
Round foods are dangerous because they roll. If your tomato is particularly misshapen, slice a tiny sliver off the bottom to create a flat surface. Stand the tomato on this flat base before proceeding with your slices. This simple step of mise en place—getting your ingredients ready and stable—prevent accidents.
Maintenance: Keeping the Edge
While tomato knives are low maintenance compared to high-carbon chef’s knives, they are not invincible. Proper care ensures your investment lasts for years.
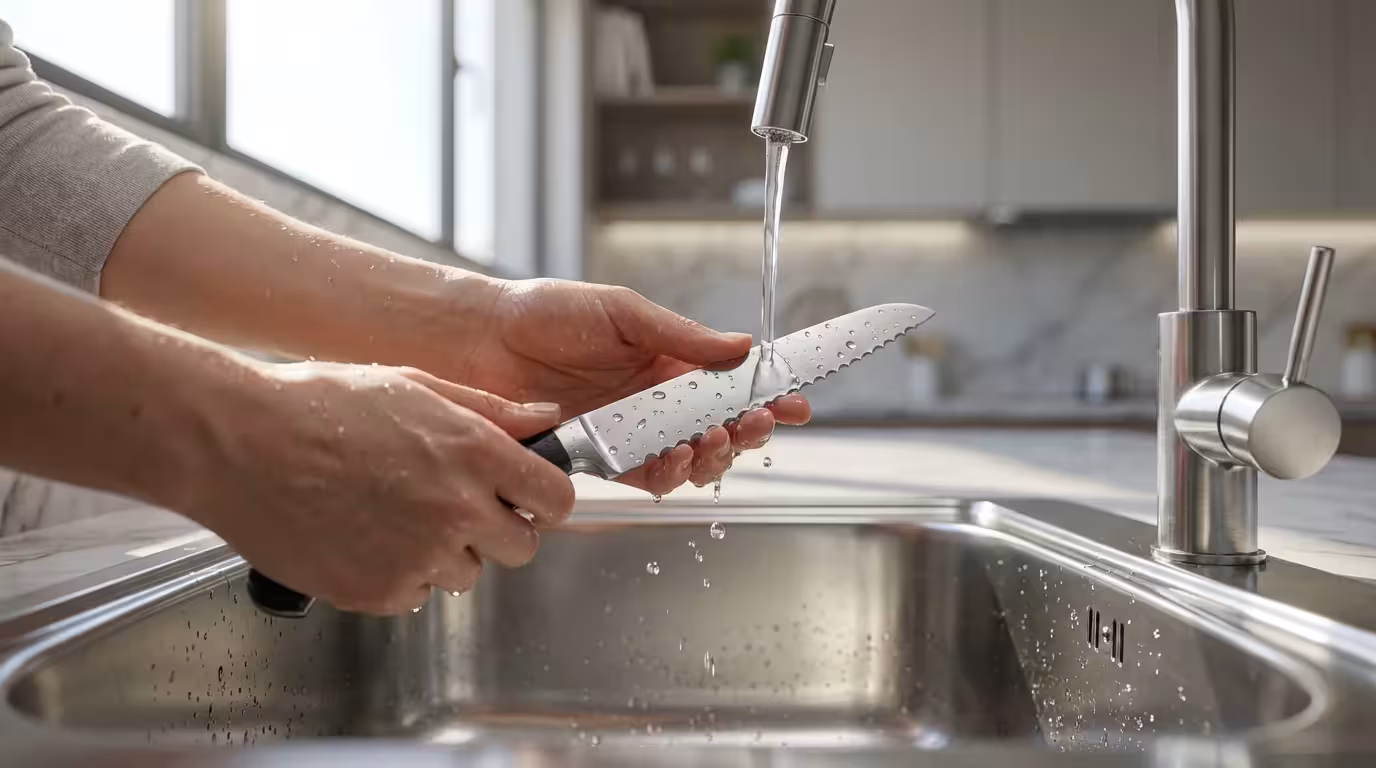
Cleaning
Despite what product packaging might say, you should hand wash your tomato knife. Dishwashers expose the blade to high heat, harsh detergents, and the risk of banging against other cutlery. This can dull the serrations and damage the handle material, especially if it is wood or a composite. A quick wipe with soapy water and a dry towel immediately after use is all it takes.
Sharpening vs. Replacement
Sharpening a serrated knife is difficult. You cannot use a standard whetstone or pull-through sharpener, as these will grind away the teeth, effectively ruining the knife. To sharpen it properly, you need a ceramic honing rod and must sharpen each gullet individually—a tedious process.
For most home cooks, high-quality serrated knives will hold their edge for 5 to 10 years with moderate use. Wirecutter experts often suggest that for inexpensive serrated knives, replacement is often more practical than professional sharpening once the blade finally goes dull. However, if you invest in a premium forged knife, professional sharpening services can restore the serrations.
Frequently Asked Questions
Do I really need a tomato knife if my chef’s knife is sharp?
Technically, no. A razor-sharp chef’s knife can slice a tomato perfectly. However, maintaining that level of sharpness requires frequent honing and sharpening skills that many home cooks do not possess. A tomato knife guarantees a perfect cut every time, regardless of your sharpening skills, making it a reliable backup for specific tasks.
Why do tomato knives have two prongs at the tip?
The forked tip facilitates moving food without handling it. After slicing a tomato, you can use the prongs to lift the slices onto a sandwich or salad plate. It is also excellent for removing the core (stem) of the tomato before slicing, or for fishing pickles and olives out of narrow jars.
Can I use a steak knife instead?
Yes, in a pinch. Steak knives are essentially serrated utility knives. However, they usually lack the blade height (clearance for your knuckles) and the ergonomic handle designed for extended prep work. A dedicated tomato knife generally has a thinner, sharper blade geometry optimized for vegetables rather than cooked meat.
How do I sharpen a tomato knife?
Sharpening is difficult due to the serrations. You cannot use a standard stone. You must use a tapered ceramic rod that fits inside the gullets (the curves between the teeth) and sharpen them one by one. Because this is time-consuming, many cooks choose to replace inexpensive tomato knives once they become dull, which can take several years.
Disclaimer: Product prices and availability change frequently. Prices shown were accurate at time of writing but may have changed. We may earn a small commission from purchases made through links on this site, at no extra cost to you. Always use cutting tools carefully and follow manufacturer safety guidelines.


Leave a Reply