Every home baker knows the frustration of reaching for a sheet of parchment paper only to find an empty cardboard tube. It creates a moment of panic: do you risk sticking your cookies to the pan, or do you grease the sheet and hope for the best? If you bake frequently, you generate a significant amount of waste—wad after wad of oil-soaked paper or aluminum foil headed for the trash bin.
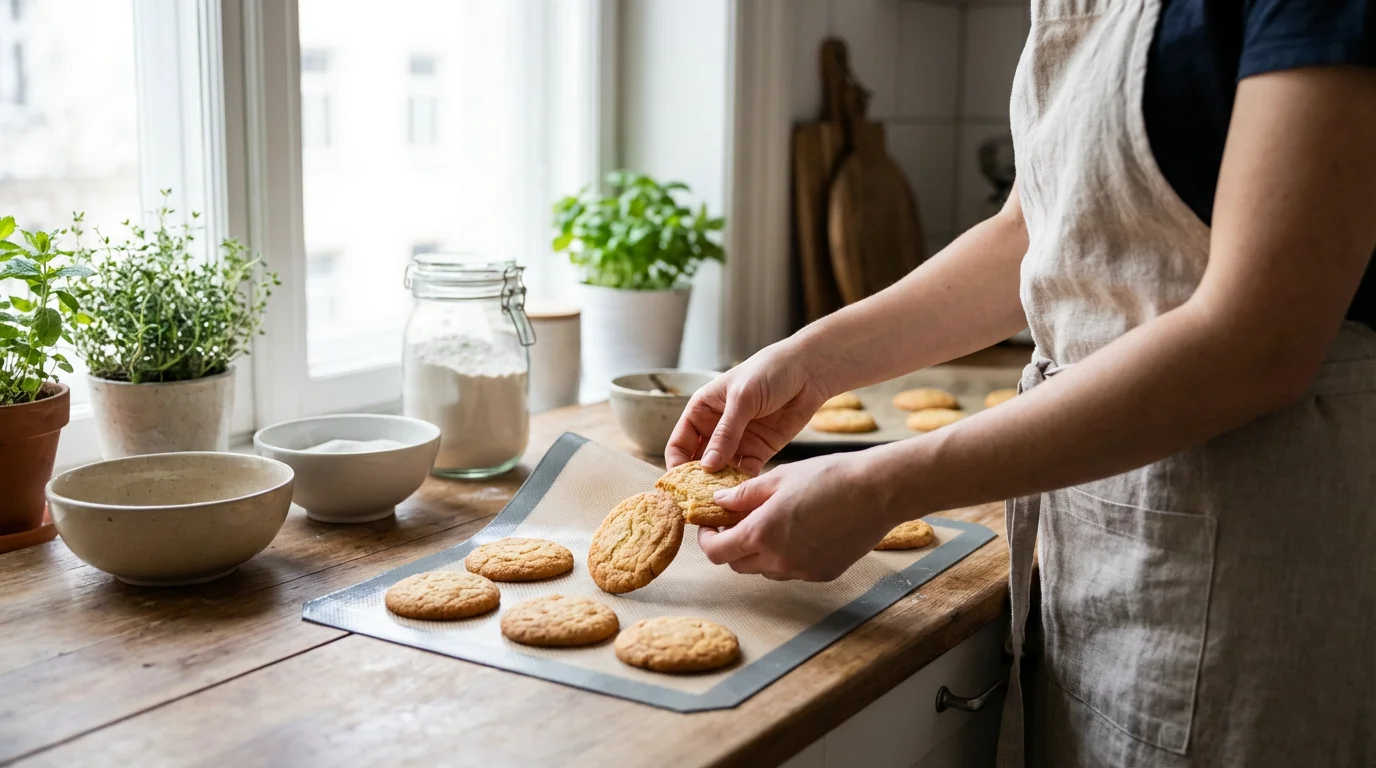
Silicone baking mats offer a compelling solution. These flexible, reusable liners turn any standard baking sheet into a non-stick surface, potentially saving you money and reducing your kitchen’s environmental footprint over time. However, they act differently than traditional parchment paper or bare metal. They insulate heat, alter spreading, and require specific maintenance to last.
To build a functional kitchen, you need to understand when to deploy these mats and when to stick to traditional methods. This guide covers the material science, performance quirks, and long-term value of switching to silicone.
What Are Silicone Baking Mats and How Do They Work?
A silicone baking mat is not just a sheet of rubber. If you cut one open (which you should never actually do), you would find a woven fiberglass mesh core encapsulated in food-grade silicone. This composite construction provides two essential benefits: structural stability and heat resistance.
The fiberglass mesh ensures the mat lays flat and conducts heat relatively evenly, preventing the silicone from stretching or warping under high temperatures. The silicone coating provides a naturally non-stick surface that releases sticky foods—like caramel, taffy, or cheese crisps—without the need for cooking sprays or oils.
Most high-quality mats are rated for temperatures between -40°F and 480°F (approx. -40°C to 250°C). This versatility means they can go directly from the freezer, where you might be flash-freezing fruit, into a hot oven for baking cookies.
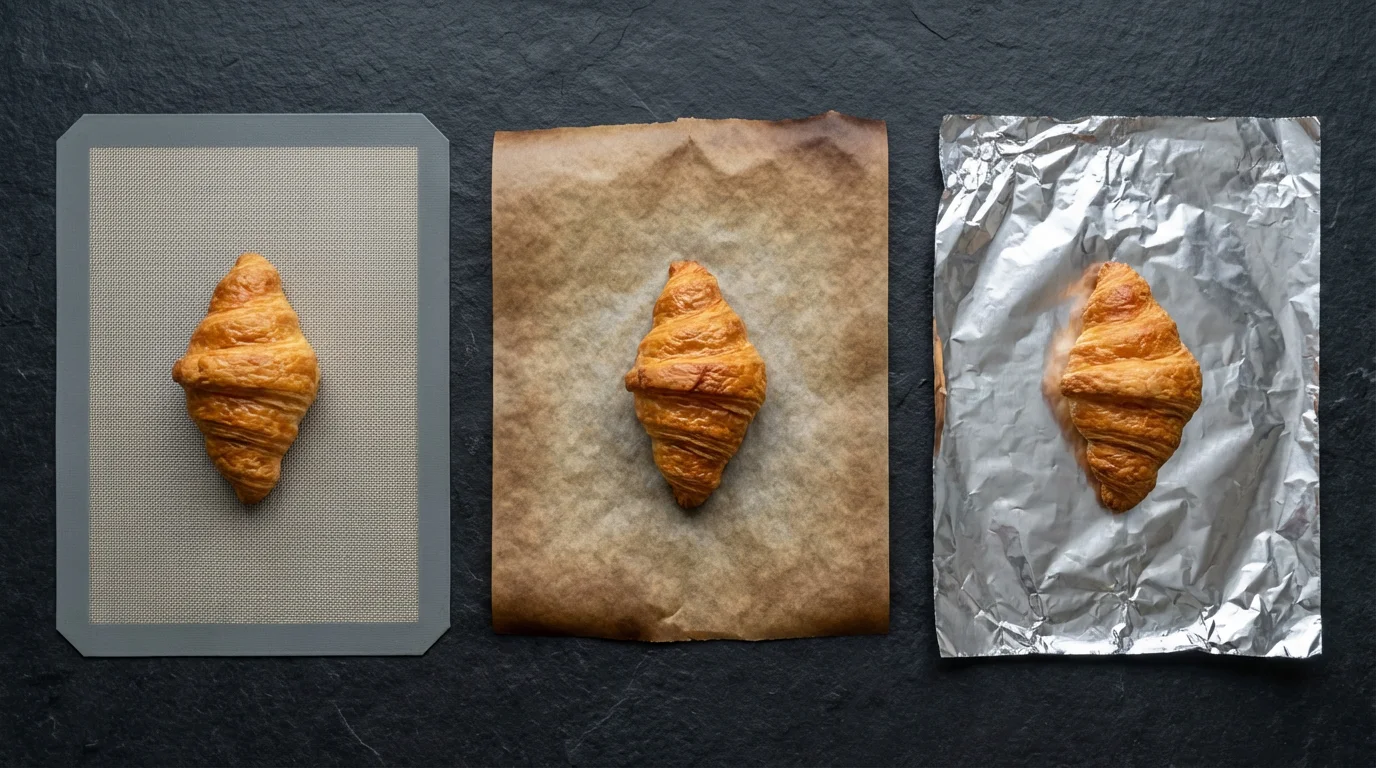
Silicone Mats vs. Parchment Paper vs. Aluminum Foil
Understanding the return on investment requires looking at the alternatives. While a single silicone mat costs significantly more upfront than a roll of parchment, the math changes if you bake weekly.
| Feature | Silicone Baking Mat | Parchment Paper | Aluminum Foil |
|---|---|---|---|
| Reusability | High (2,000+ uses) | Low (1-2 uses max) | Low (Single use mostly) |
| Non-Stick Quality | Excellent (Nothing sticks) | Good (Treated with silicone) | Poor (Unless greased) |
| Heat Conductivity | Insulator (Slows browning) | Neutral | Conductor (Increases browning) |
| Cleanup | Hand wash required | Toss in trash/compost | Recycle (if clean) |
| Cost | $15–$30 initial investment | Recurring cost ($5/roll) | Recurring cost ($4/roll) |
According to Serious Eats, while parchment paper offers crispier edges for certain cookies, the reusable nature of silicone mats makes them indispensable for sticky sugar work and reducing kitchen waste. If you bake three times a week, a pair of quality mats pays for itself in about six months compared to buying premium parchment paper.
Heat Distribution and Baking Performance
This is the most critical factor for home cooks to understand: Silicone is an insulator.
When you place dough on a metal pan lined with parchment, the heat transfers from the metal to the dough relatively quickly. When you use a silicone mat, that layer of silicone and fiberglass acts as a buffer. This slows down the heat transfer to the bottom of your food.
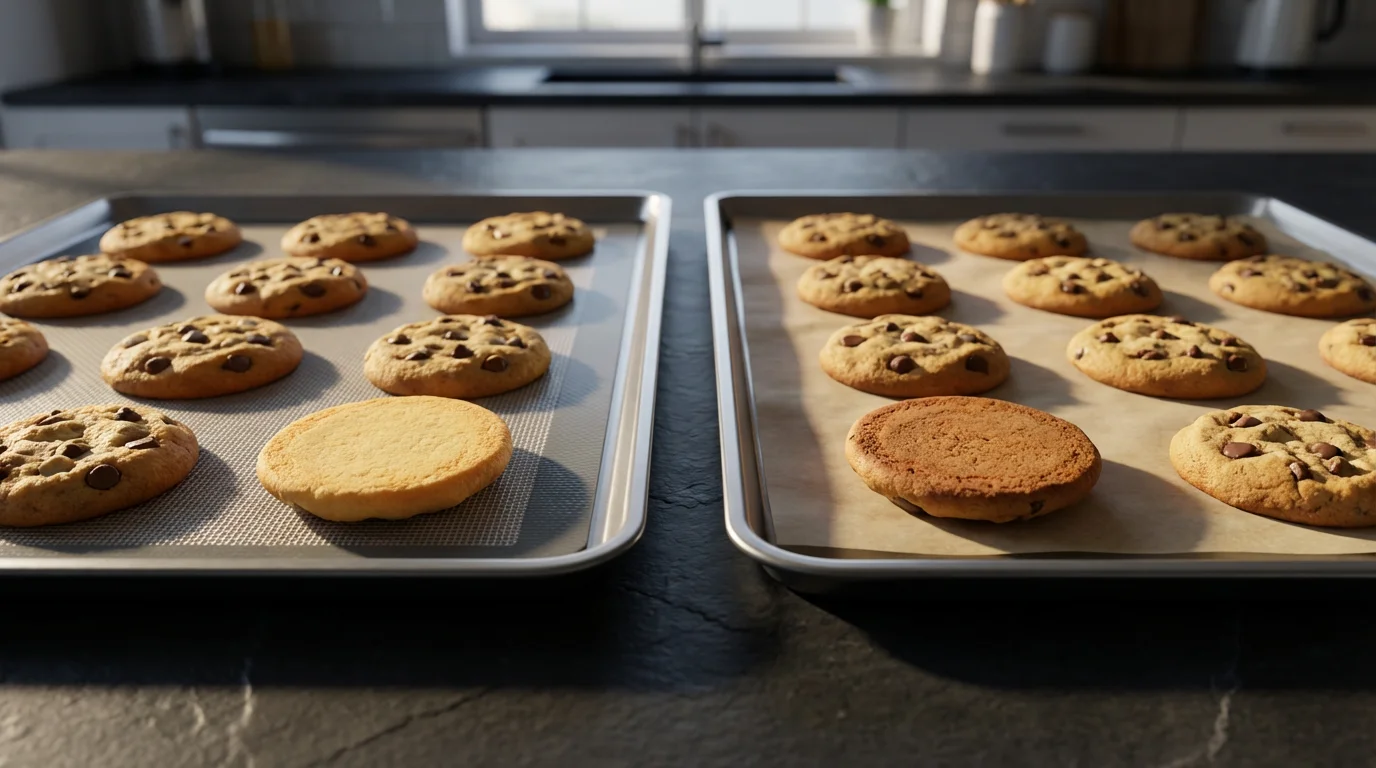
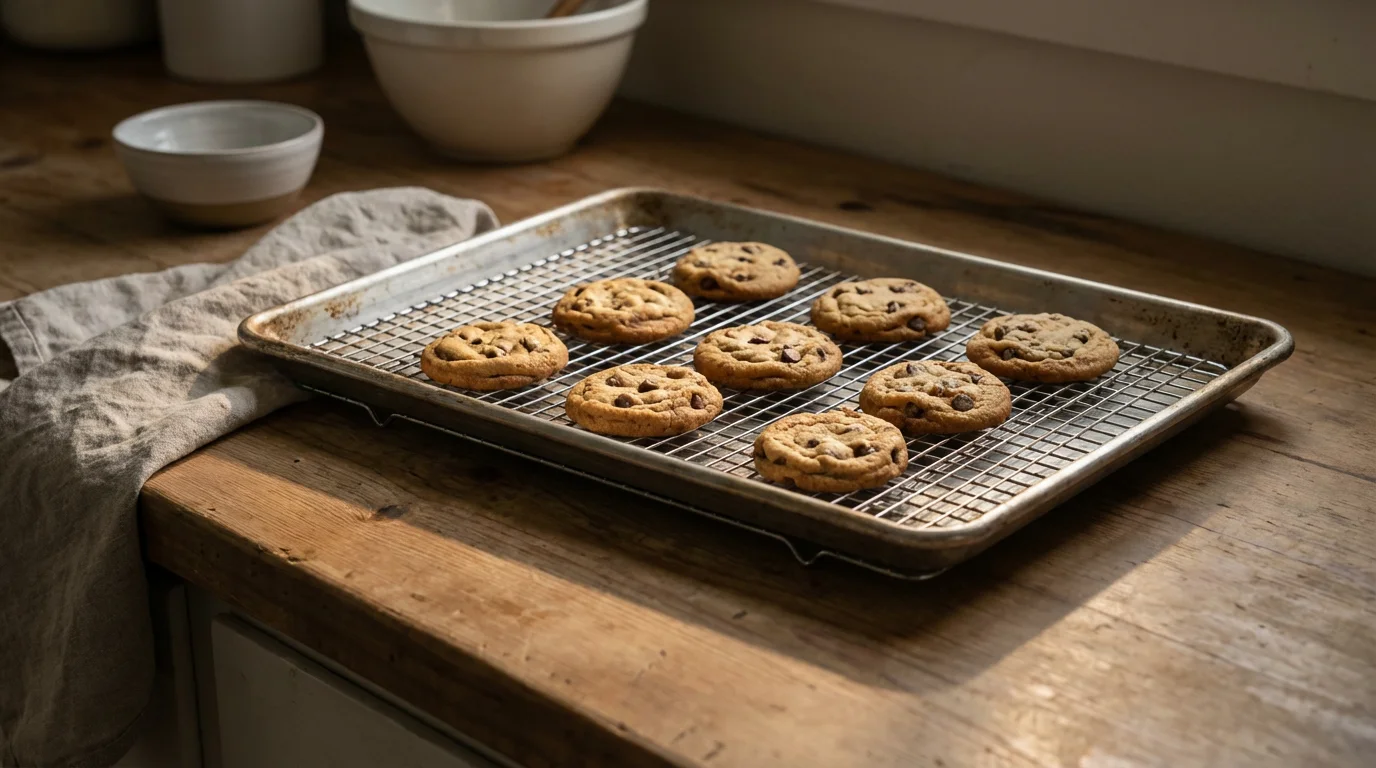
The “Cookie Spread” Phenomenon
You may notice your cookies turn out differently on silicone than they do on parchment. Because the surface is slicker than paper, there is less friction holding the dough in place. Consequently, cookie dough tends to spread out more before the structure sets. This results in flatter, wider cookies.
Furthermore, because the mat insulates the bottom of the cookie, the bottom will brown slower than the top. If you prefer cookies with a soft, pale underside, silicone is perfect. If you want a crispy, browned bottom, the insulation works against you.
“Silicone mats are excellent for preventing burnt bottoms on delicate pastries, but they will steal the crunch from a roasted potato. Choose your tool based on the desired texture.”
When to Use Silicone (and When to Skip It)
To get the most out of your investment, you need to know when the mat is the superior tool and when it hinders your cooking.
Best Applications
- Sugar Work and Candy Making: Nothing beats silicone for sticky tasks. Peanut brittle, pralines, and caramels slide right off once cooled.
- Delicate Cookies: For tuiles, macarons, or light-colored sugar cookies where you want to avoid browning, the insulating effect is a major advantage. Many mats act as templates for piping macarons.
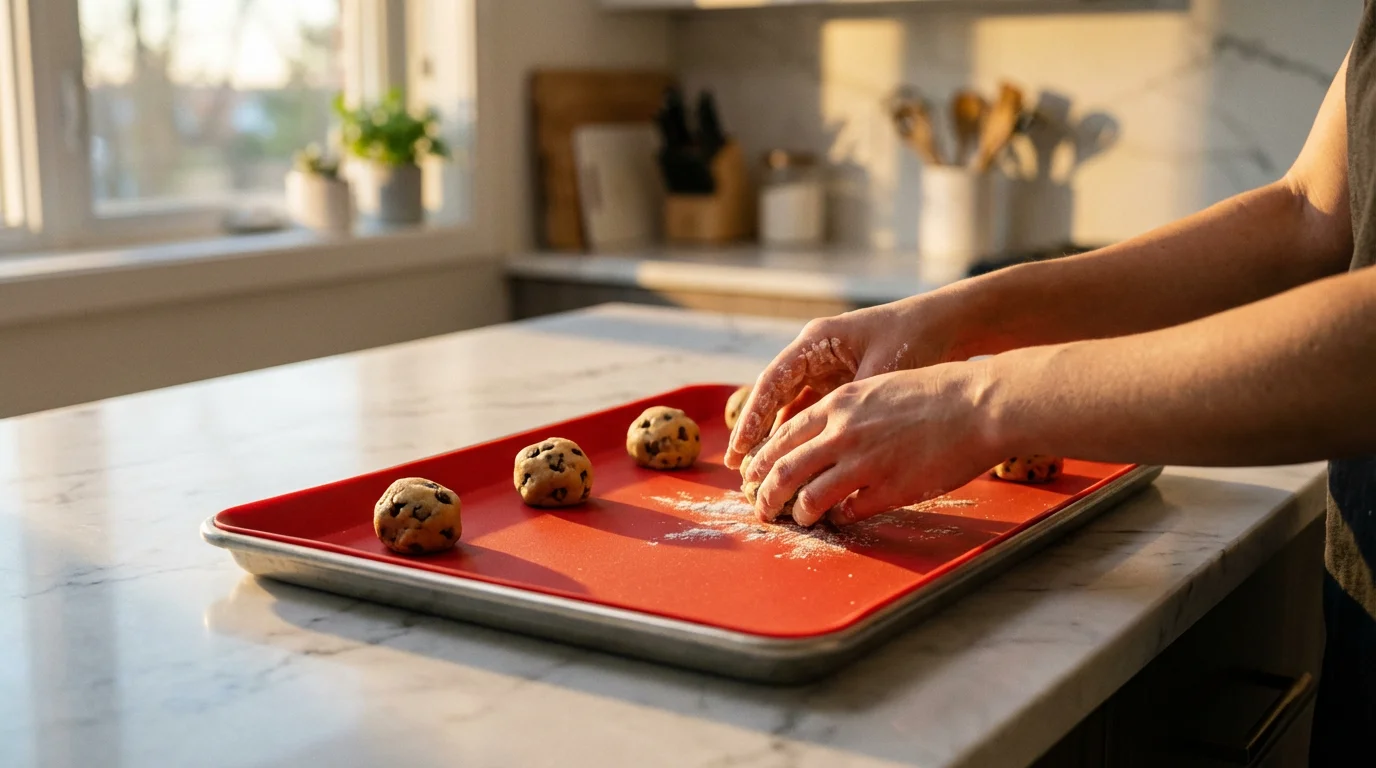
- Kneading and Rolling: The natural tackiness of the bottom of the mat grips the counter. Using a silicone mat as a surface for kneading bread dough or rolling out pie crusts keeps your counters clean and reduces flour usage.
- Freezing: Since they are flexible and cold-resistant, use them to line pans for flash-freezing dumplings, berries, or cookie dough balls before transferring them to bags.
When to Skip It
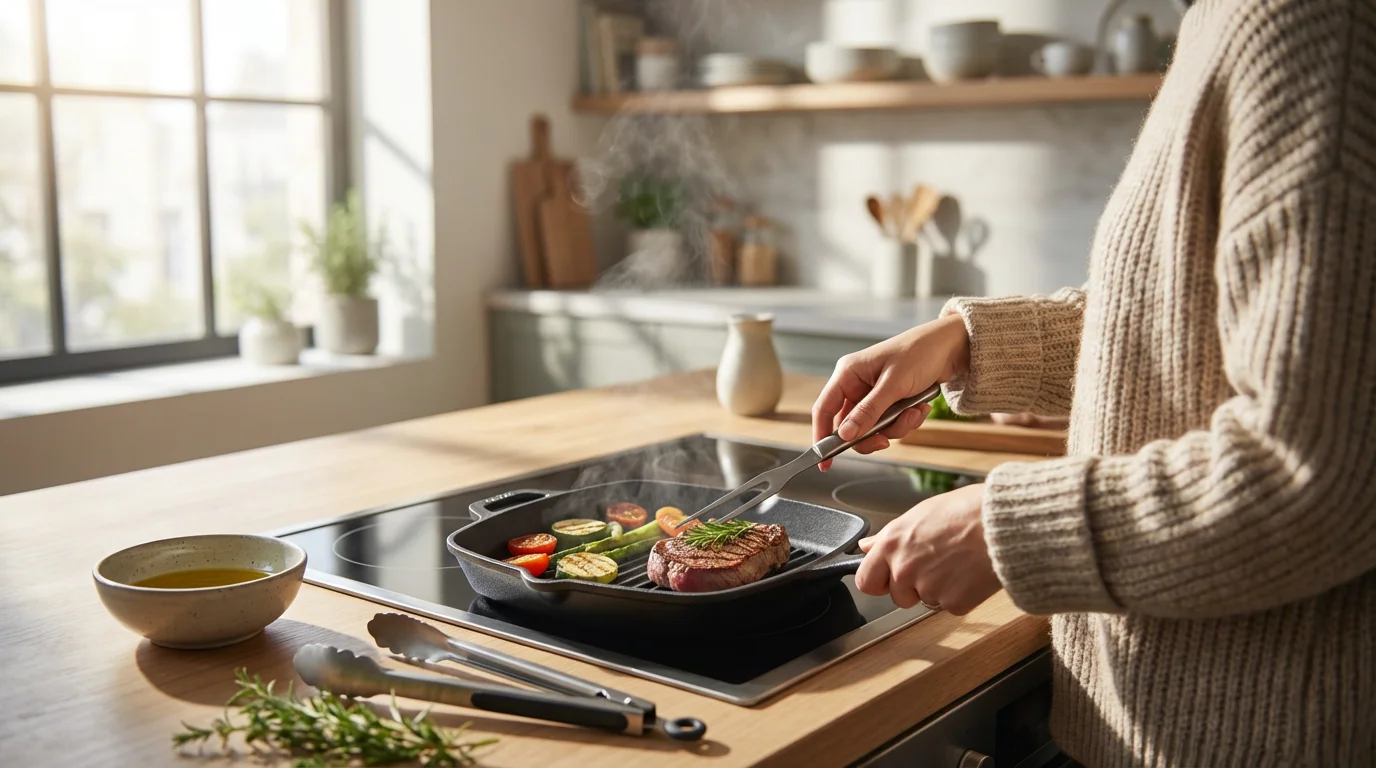
- Roasting Vegetables: You want high heat and direct contact with the pan to caramelize Brussels sprouts or potatoes. Silicone prevents this, leaving you with steamed, soft vegetables.
- High-Heat Broiling: Never place a silicone mat under the broiler. The intense, direct heat exceeds the safe temperature range (usually 480°F) and can degrade the silicone or cause it to smoke.
- Cutting: Never use a knife or pizza cutter on a silicone mat. If you slice through the silicone and expose the fiberglass mesh, the mat is ruined. You do not want fiberglass shards in your food.
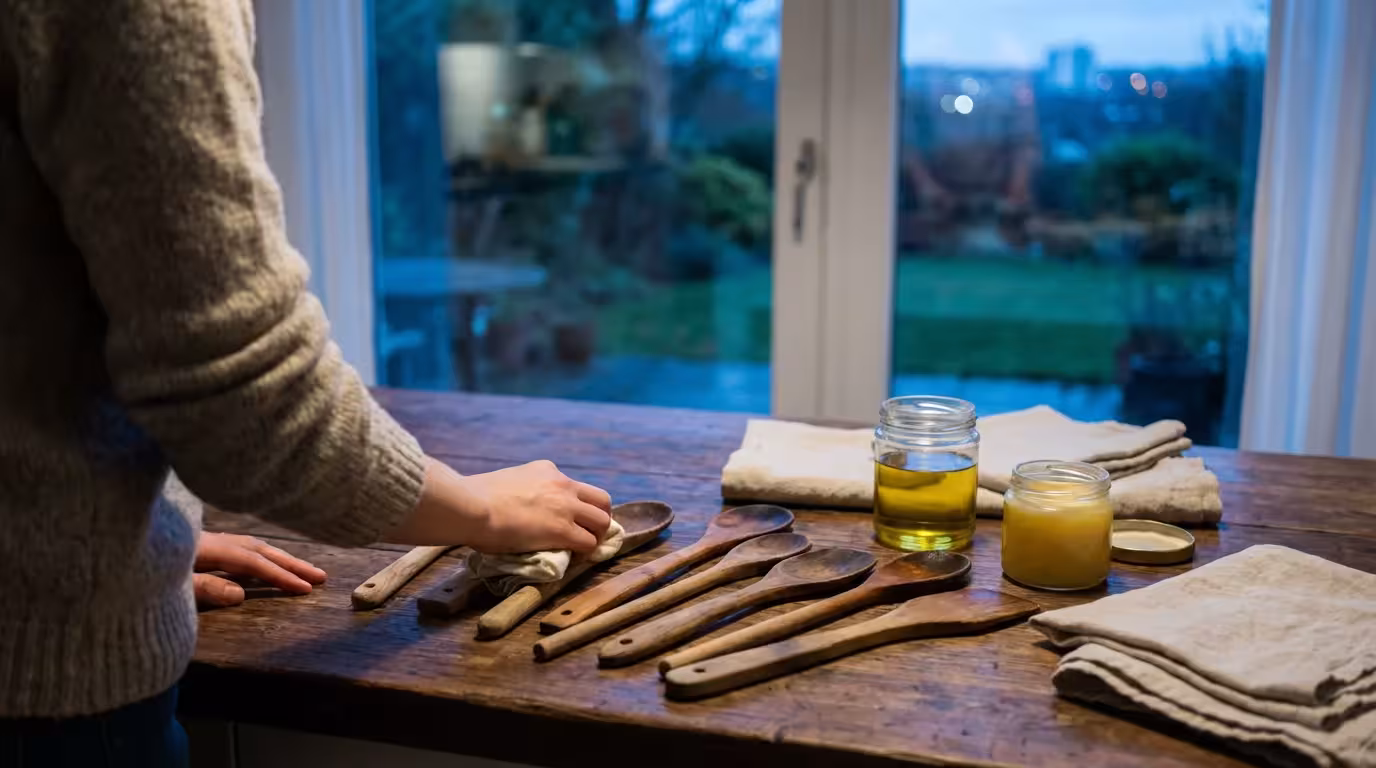
Durability and Maintenance: Making Your Mats Last
A high-quality mat, such as a Silpat, can last for 2,000 to 3,000 baking cycles if treated correctly. However, maintenance is the number one complaint users have with silicone.
The “Greasy Film” Issue
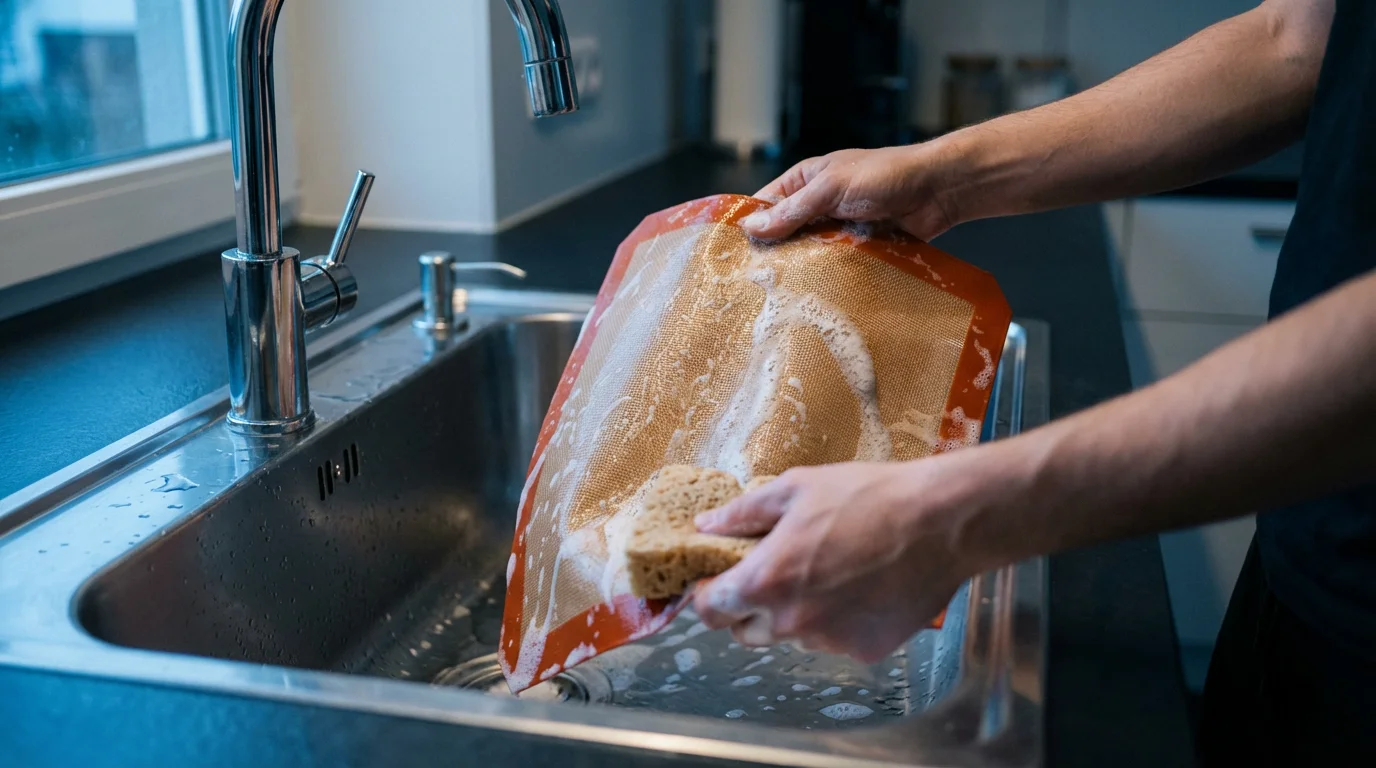
Over time, silicone absorbs oils and fats. You might wash your mat thoroughly, but it still feels slightly tacky or greasy to the touch. This is a common characteristic of the material. To deep clean your mats:
- Make a paste of baking soda and warm water.
- Scrub the mat gently with a soft sponge (do not use steel wool or abrasive scrubbers).
- Let the paste sit for 10–15 minutes.
- Rinse with hot water and air dry.
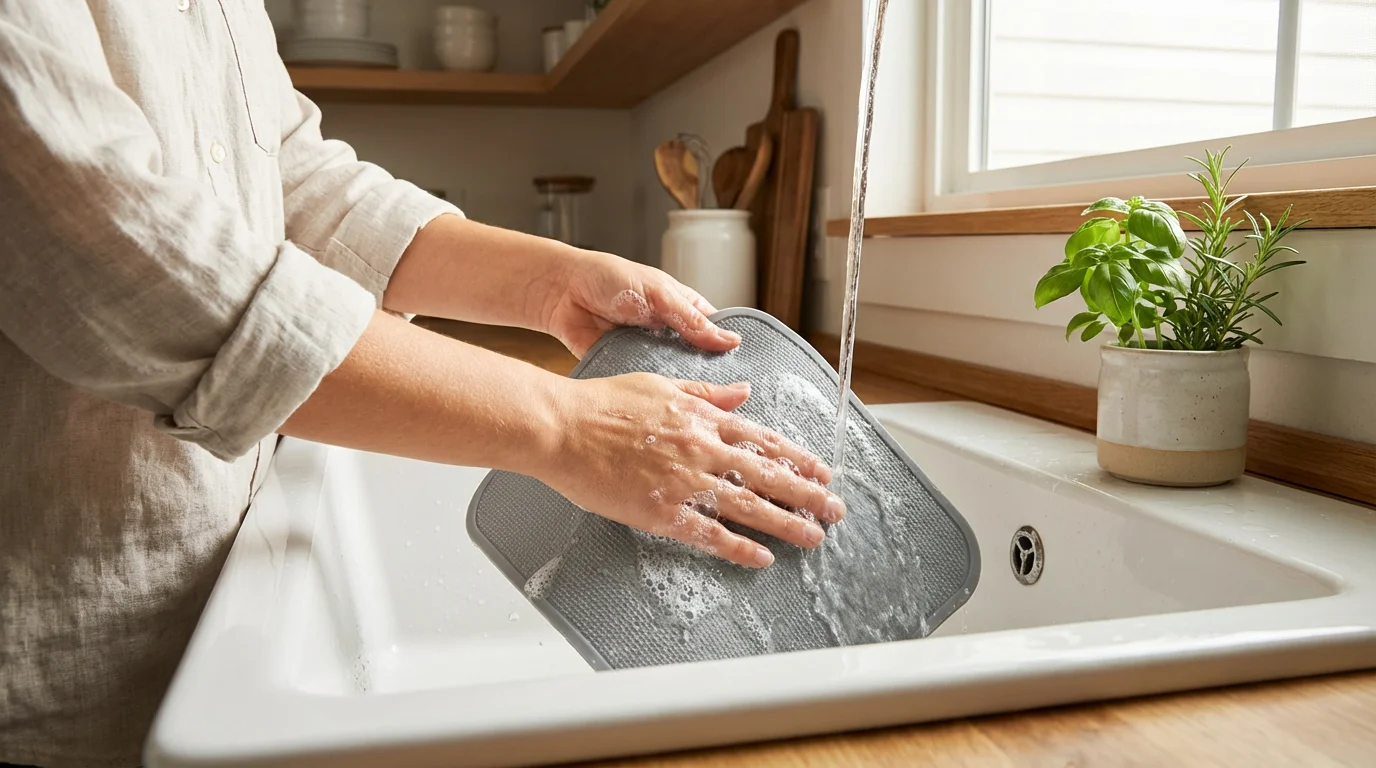
Dishwasher Safety
Most manufacturers claim their mats are dishwasher safe. While you can run them through a cycle, laying them over the racks often results in water pooling or the mat flopping over other dishes. Practical experience suggests that hand washing with warm soapy water and hanging them to dry is more effective and prolongs the life of the material.
Storage
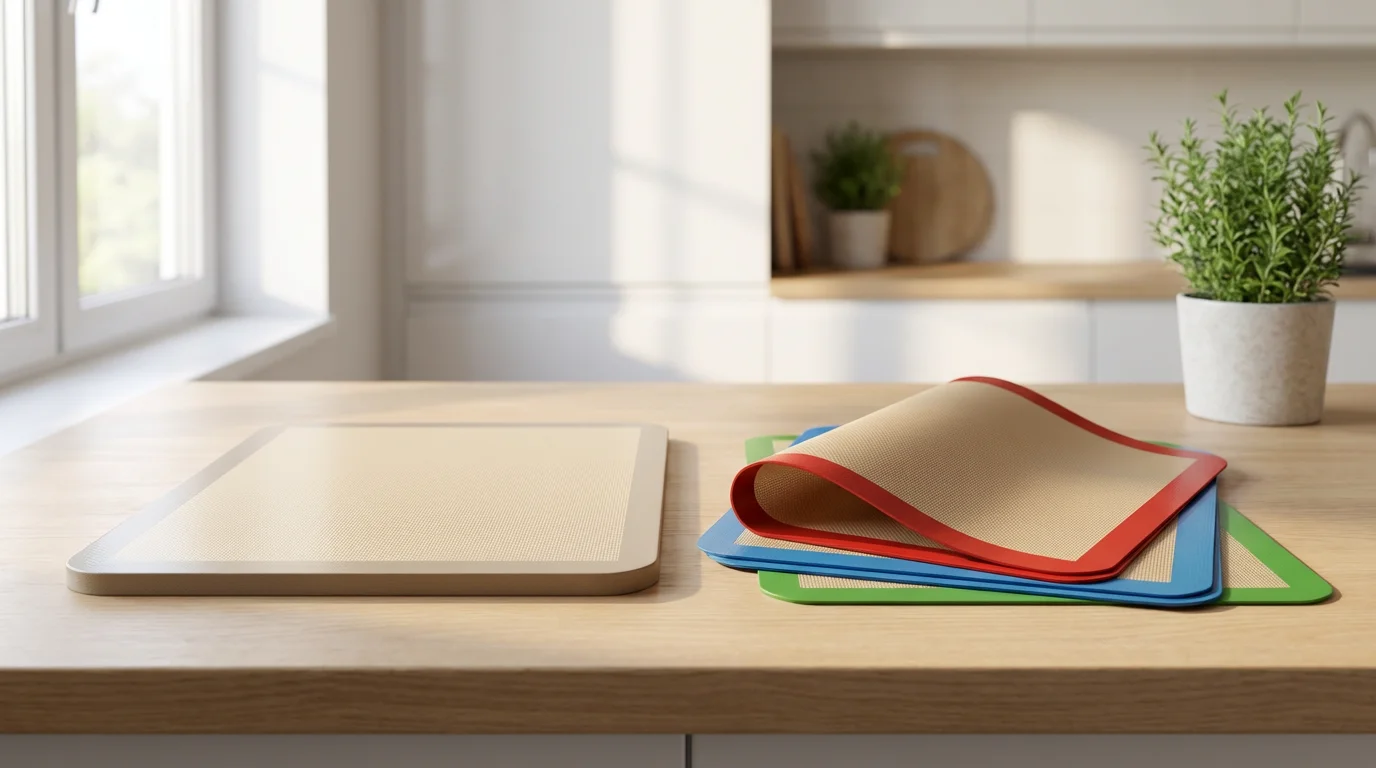
Store your mats flat or rolled up. Do not fold them. Creasing the mat can damage the internal fiberglass mesh, leading to weak spots where heat distribution becomes uneven or the silicone cracks.
Safety Standards: FDA vs. LFGB
Not all silicone is created equal. When shopping, you will see references to FDA standards and LFGB standards. FDA (U.S. Food and Drug Administration) standards are the baseline for safety in the United States. LFGB (Lebensmittel- und Futtermittelgesetzbuch) is the German standard, which is generally considered stricter and more comprehensive regarding chemical migration.
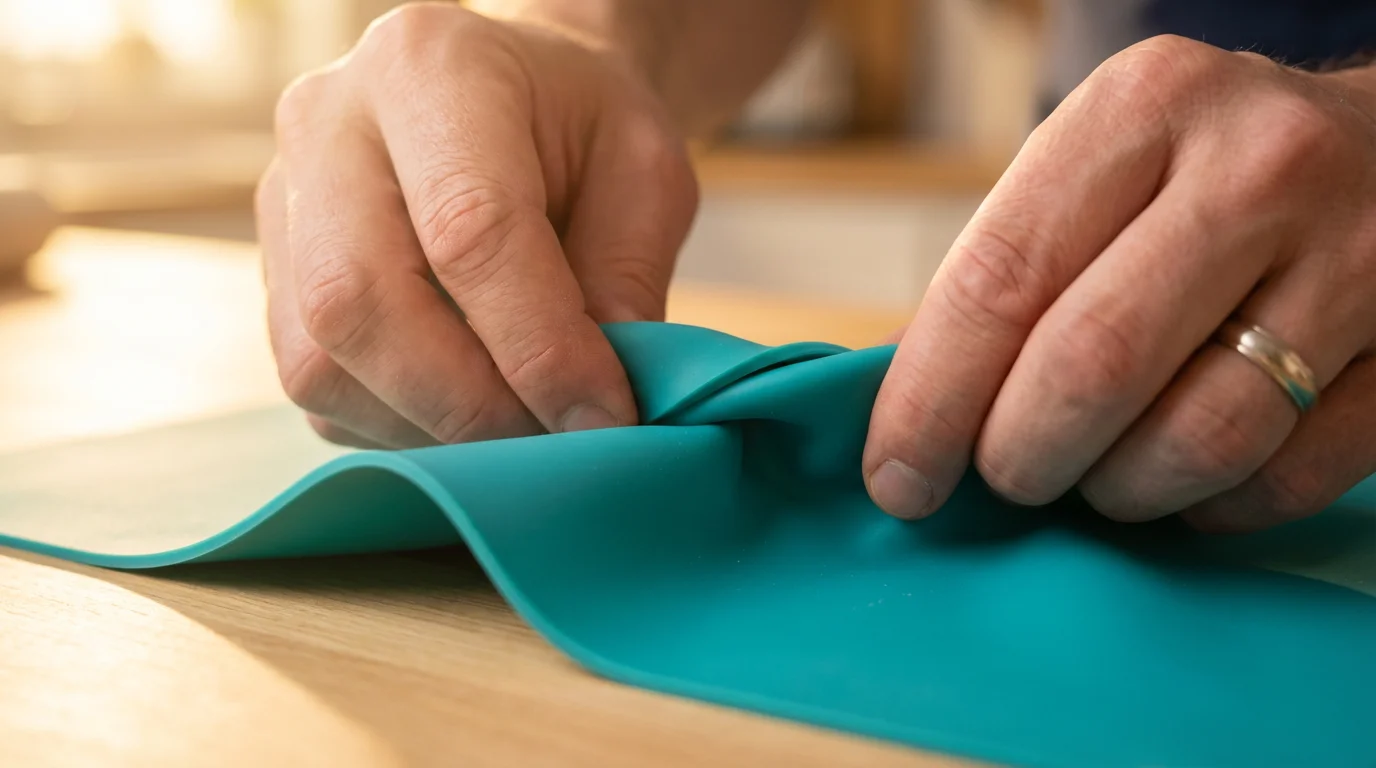
The Pinch Test: A quick way to check silicone quality is to pinch and twist a flat surface of the material. If the color stays the same, it is likely pure silicone (often LFGB grade). If the twisted area turns white, it usually indicates the presence of plastic fillers (often FDA grade, but lower quality). While both are considered food safe, pure silicone is more durable and less likely to affect the flavor of your food.
Top Brands and Budget Alternatives
The market is flooded with options ranging from premium French imports to generic bulk packs. Wirecutter reviews frequently highlight that while premium brands set the standard, some budget options perform surprisingly well for general use.
The Gold Standard: Silpat
Silpat is the brand that popularized the silicone baking mat. Made in France, these mats are industry standard in professional kitchens. They are thicker, lie perfectly flat, and have excellent longevity. If you bake professionally or daily, the investment is justified.
The Budget Pick: Kitzini or Amazon Basics
For the average home cook, brands like Kitzini or Amazon Basics offer “good enough” performance at a fraction of the cost (often selling a 2-pack for the price of one Silpat). They may be slightly thinner and discolor faster, but for baking cookies and rolling dough, they function well. However, be wary of extremely cheap, unbranded mats that lack clear safety certifications.
Specialty Mats
Beyond the standard rectangular sheet, look for specific designs:
- Macaron Mats: feature pre-printed circles to help you pipe uniform shells.
- Bread Mats: Perforated silicone mats allow airflow through the bottom, giving bread a crustier base than solid silicone.
- Pyramid Mats: These have raised nibs to lift food off the surface, allowing fat to drip away. These are marketed for roasting meat but are notoriously difficult to clean.
Frequently Asked Questions
Can I cut my silicone baking mat to fit a smaller pan?
No, you should never cut a standard silicone baking mat. Inside the silicone layers is a fiberglass mesh. Cutting the mat exposes these glass fibers, which can then migrate into your food. If you need a smaller size, purchase a toaster-oven sized mat or a “quarter sheet” mat.
Why is my silicone mat smoking in the oven?
Smoke usually indicates leftover grease or food residue from a previous bake burning off, or that your oven temperature is too high. Most mats are rated up to 480°F (250°C). If you are near this limit, or if you are using the broiler, the mat can degrade. Always clean mats thoroughly to prevent oil buildup.
Do silicone mats affect baking time?
Yes, slightly. Because silicone is an insulator, it slows down heat transfer to the bottom of your baked goods. You may need to add 1–2 minutes to your baking time compared to using parchment paper or a bare metal pan. Always keep an eye on your first batch when switching materials.
Disclaimer: Product prices and availability change frequently. Prices shown were accurate at time of writing but may have changed. We may earn a small commission from purchases made through links on this site, at no extra cost to you. Always verify current pricing on the retailer’s website before purchasing.


Leave a Reply