There is a sinking feeling every home cook knows: you press the button on your trusty blender or lower the lever on your toaster, and absolutely nothing happens. Your morning routine is disrupted, and your mind immediately jumps to the cost of a replacement. But before you toss that appliance into the recycling bin, you should know that many common failures are surprisingly easy to fix.
Modern small appliances often fail due to minor component issues—a blown thermal fuse, a stripped gear, or a clogged valve—rather than a total motor failure. With a few basic tools and a bit of patience, you can extend the life of your kitchen gear, save money, and reduce electronic waste. This guide walks you through the diagnostic process and repair steps for the workhorses of your kitchen.
The Safety First Toolkit
Before you unscrew a single panel, you must prioritize safety. Small appliances pack a significant electrical punch. Always unplug the appliance before beginning any inspection or repair. Never work on a plugged-in device.
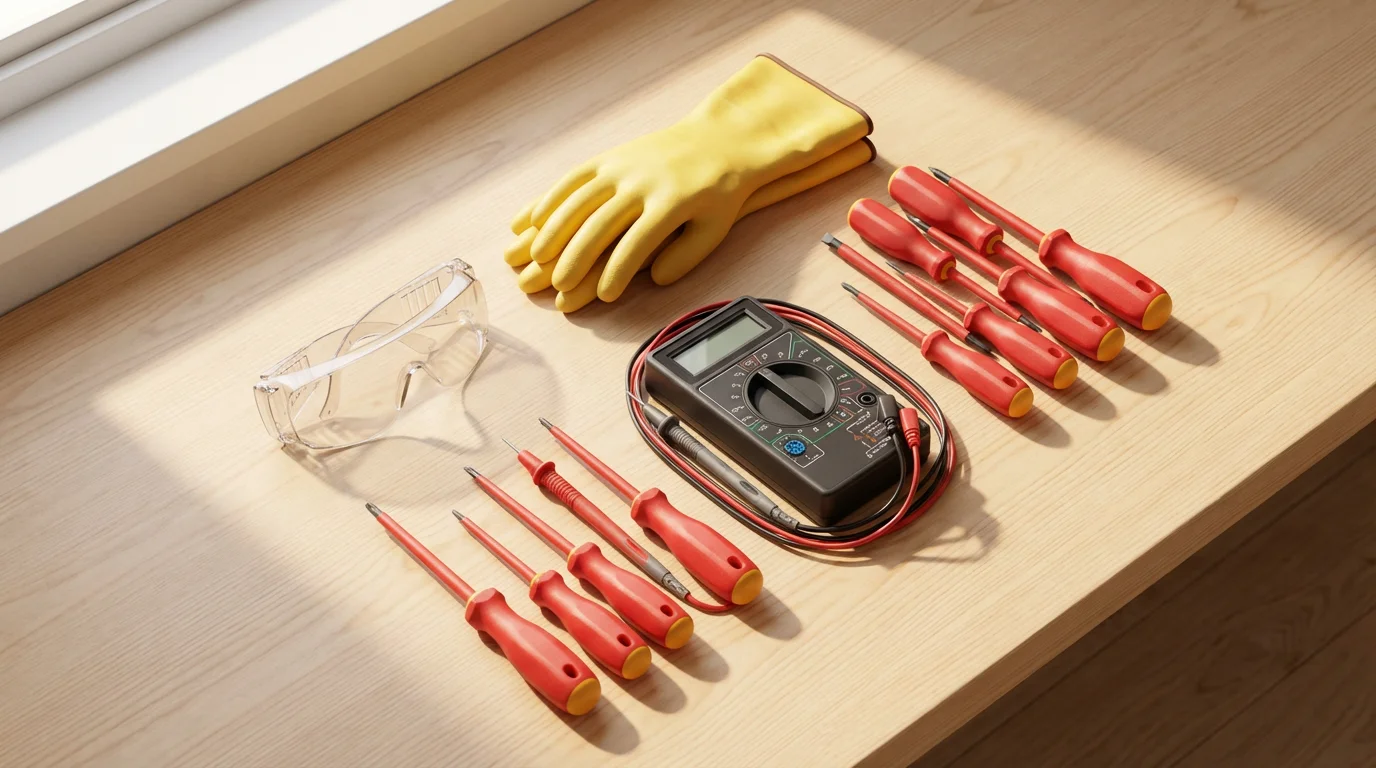
To perform basic diagnostics and repairs, you do not need a professional workshop. A modest kit will handle 90% of kitchen appliance issues.
Essential Tools
- Multimeter: This is non-negotiable for electrical work. It measures voltage, current, and resistance. You will primarily use it to test for “continuity”—a mode that checks if an electrical path is complete or broken.
- Screwdriver Set (with Security Bits): Manufacturers often use obscure screw heads (like Torx or Triangle bits) to discourage tampering. A security bit set is an inexpensive investment that grants you access to the interior of your device.
- Needle-Nose Pliers: Essential for gripping small wires, removing connectors, and fishing out dropped screws.
- Non-Contact Voltage Tester: A safety backup to ensure no electricity is flowing through the unit.
“The most dangerous tool in the kitchen isn’t a sharp knife; it’s a plugged-in appliance you’re trying to fix. Always unplug, and if the appliance has a capacitor (like a microwave), leave the repair to a professional.” — Appliance Safety Tech
When discussing appliances, you will often hear the term wattage. Wattage is simply a measure of how much power an appliance uses. Higher wattage usually means more power (hotter oven, stronger blender), but it also means more stress on internal components like switches and fuses.
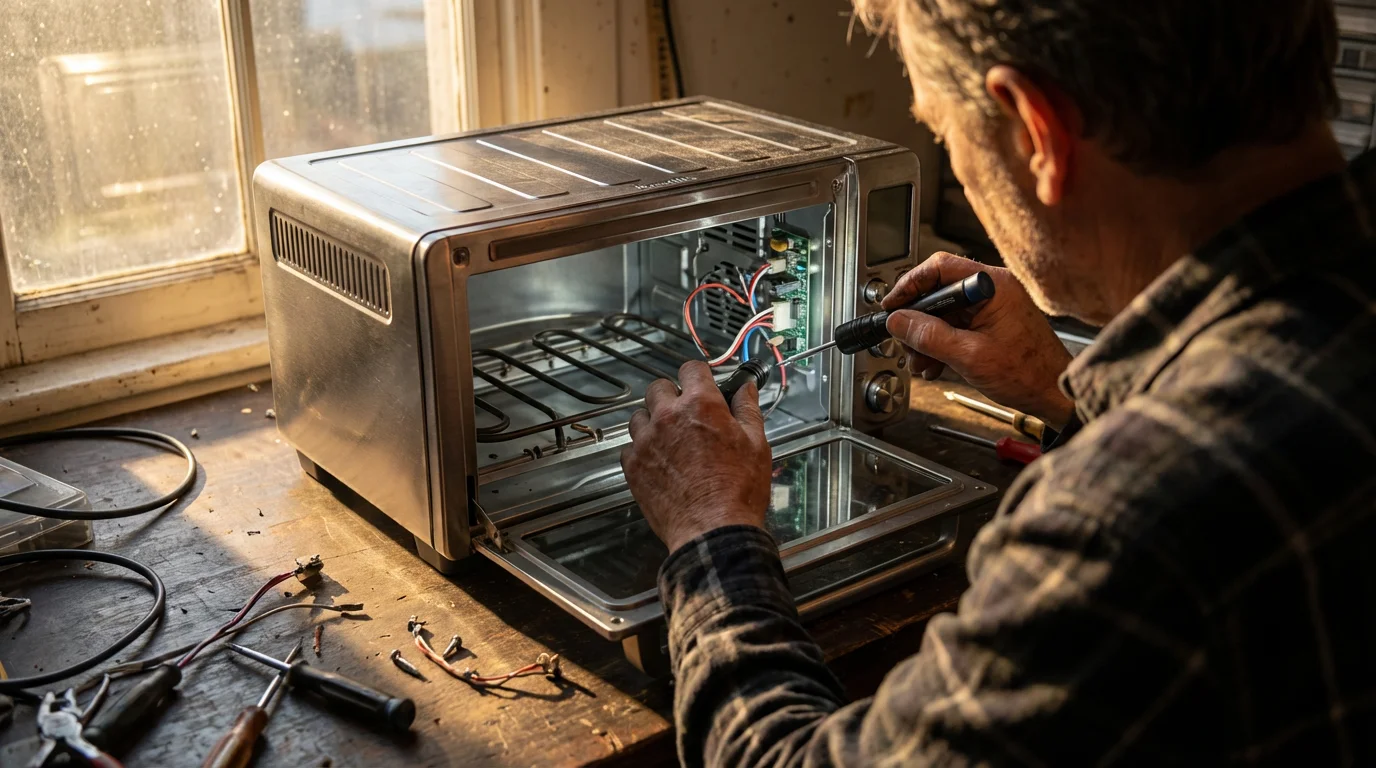
Reviving Heating Appliances (Toasters, Air Fryers, Ovens)
Appliances that generate heat—such as toaster ovens, air fryers, and slow cookers—usually fail in one of two ways: they turn on but stay cold, or they don’t turn on at all.
The Thermal Fuse Culprit
If your appliance suddenly stopped working entirely (no lights, no heat), the most likely suspect is the thermal fuse. This is a safety device designed to break the circuit if the appliance overheats, preventing fires. It is a sacrificial part.
To test a thermal fuse:
- Locate the fuse (usually found near the power cord entry or the heating element, inside a protective sleeve).
- Set your multimeter to the continuity setting (often looks like a sound wave symbol).
- Touch the probes to both ends of the fuse.
- If the meter beeps, the fuse is good. If it stays silent, the fuse is blown and needs replacement.
Broken Heating Elements
In toaster ovens and conventional toasters, you can often see the heating element—it’s the wire that glows red. If you see a physical break in the wire, the element is dead. In many toaster ovens, these elements are replaceable rods. However, in cheap pop-up toasters, a broken wire usually signals the end of the appliance’s life.
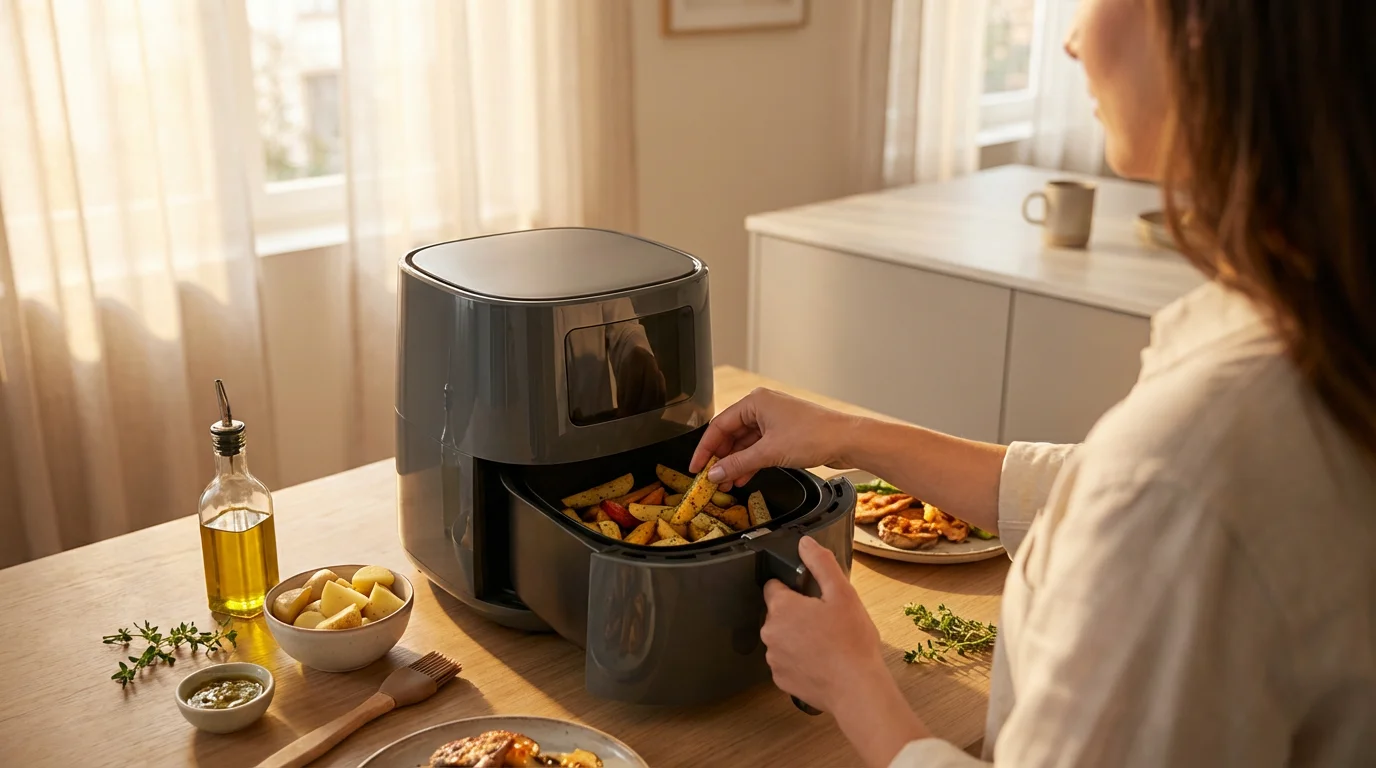
Air Fryer Microswitches
Air fryers have a unique fail point: the drawer safety switch. If your air fryer won’t turn on, it likely “thinks” the basket is open. Over time, the plastic tab that pushes the microswitch can warp, or the switch itself can fail. Checking the alignment of the basket and the integrity of this switch can save you the cost of a new unit. Consumer Reports notes that while air fryers are incredibly popular, their repairability varies significantly by brand, so checking simple mechanical switches first is a smart move.
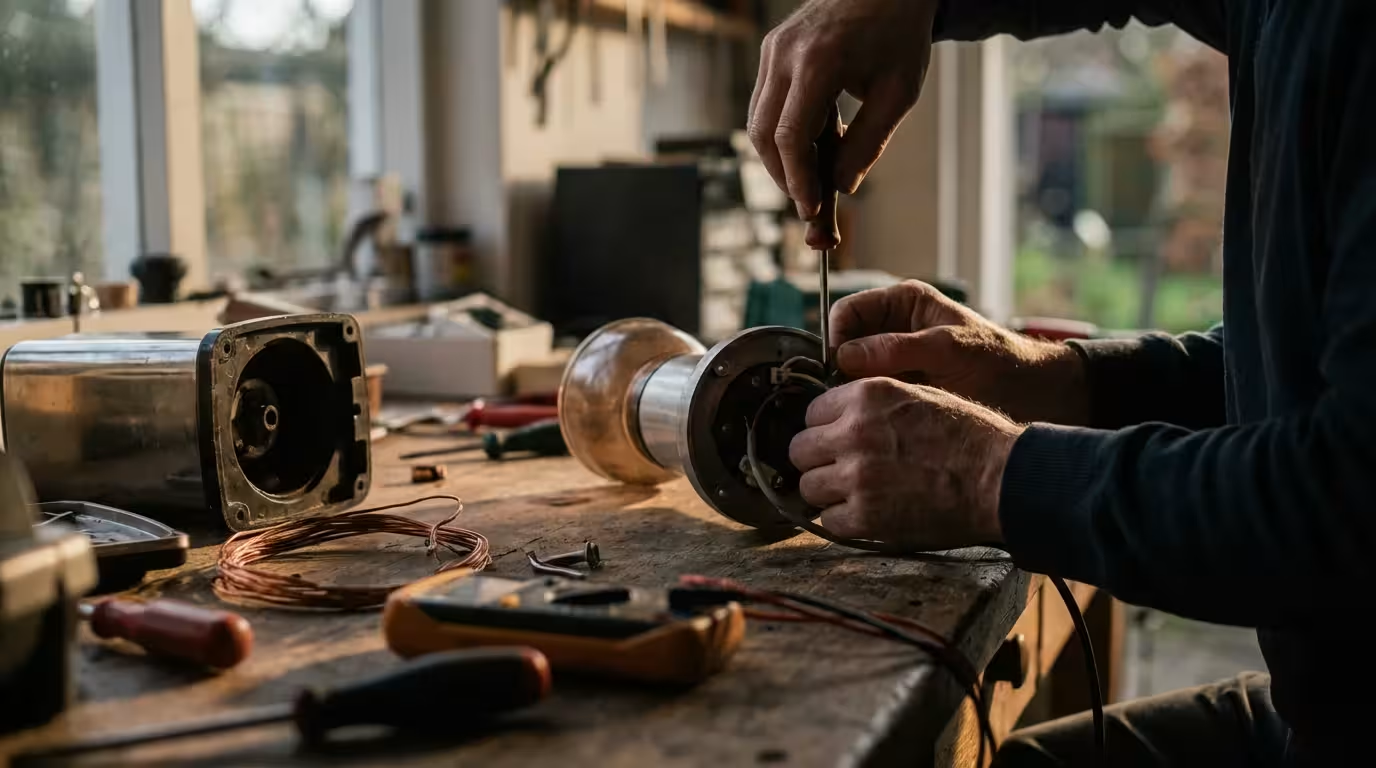
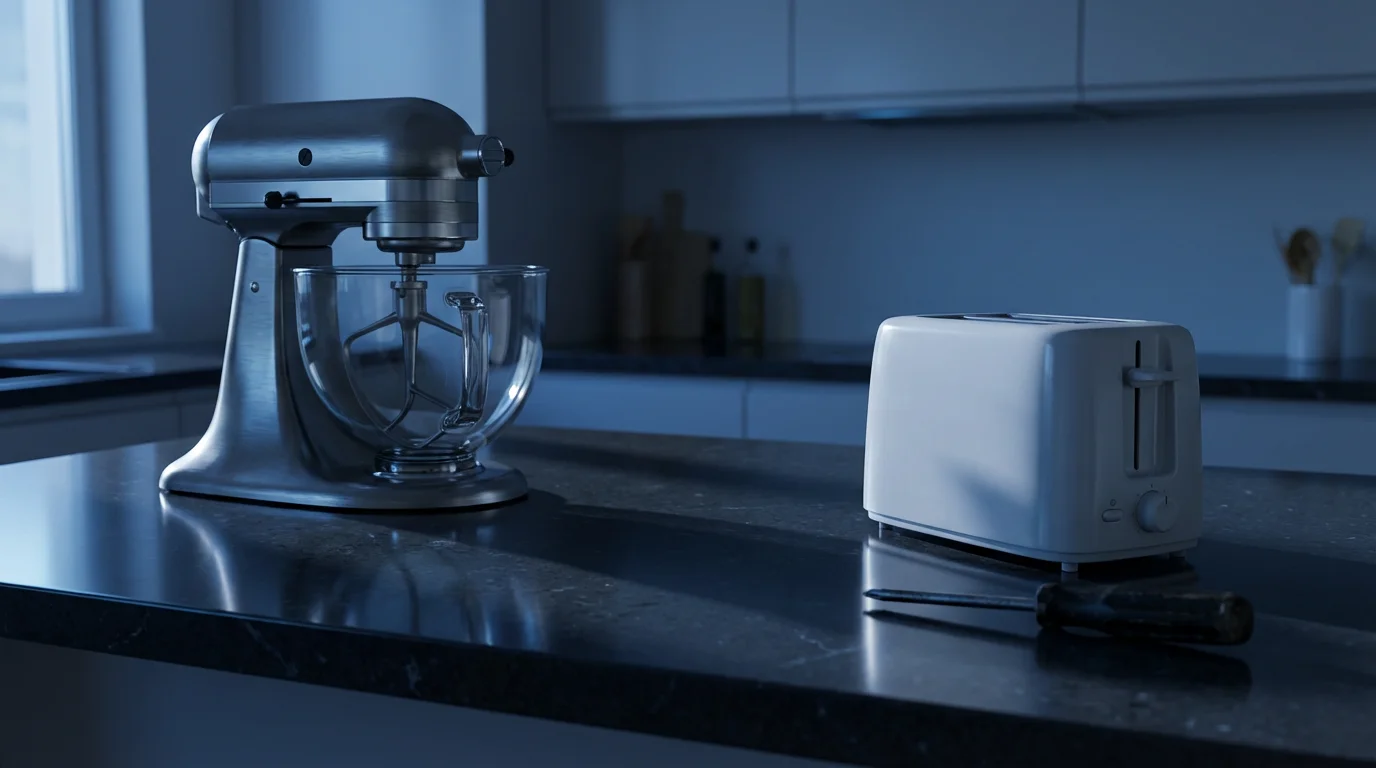
Solving Motor Problems (Blenders, Mixers, Processors)
Motor-driven appliances like Stand Mixers and blenders are generally robust, but the parts that transfer that power to the food often wear out.
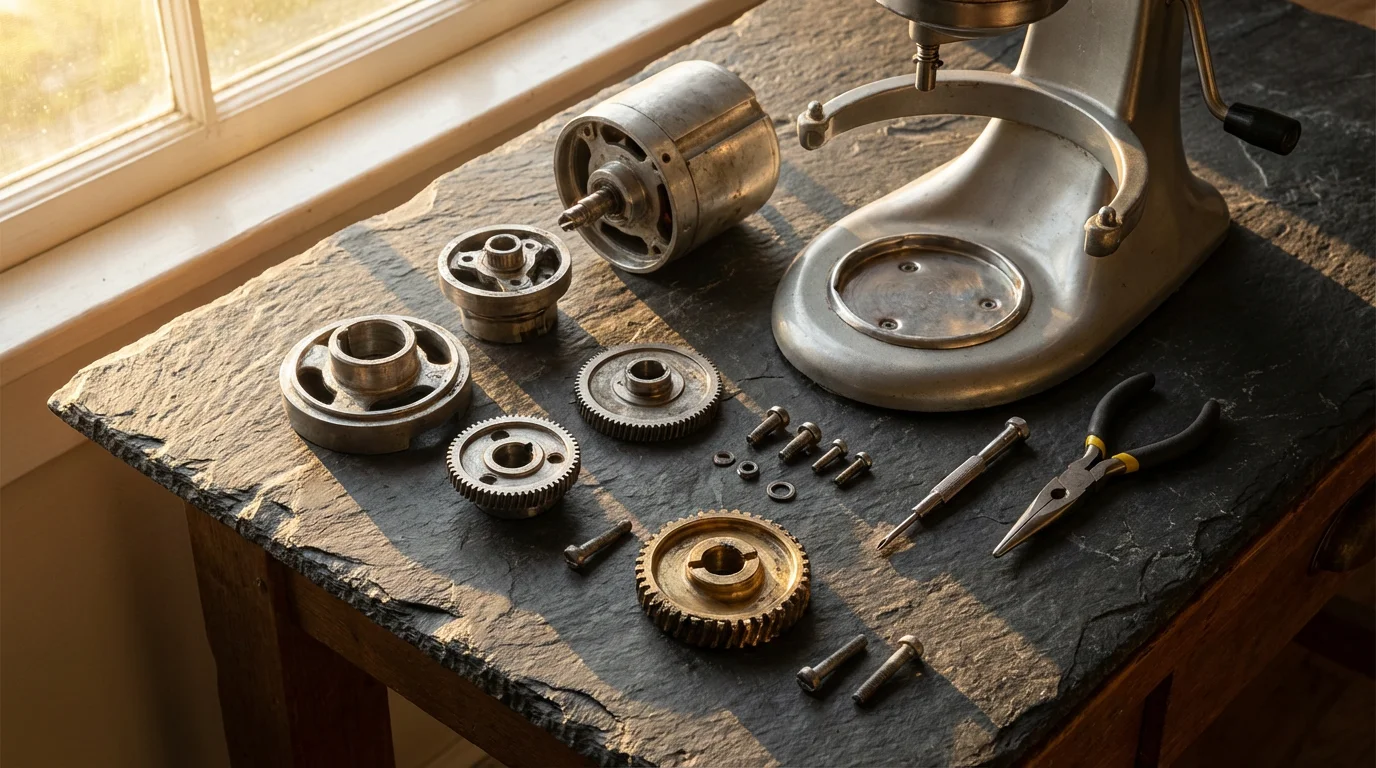
The Sacrificial Gear (Stand Mixers)
If your stand mixer motor runs but the beaters don’t turn, you likely have a stripped worm gear. This is intentional engineering. Manufacturers design this inexpensive plastic or brass gear to fail if the mixer is overloaded (like mixing a triple batch of stiff cookie dough) to save the expensive motor from burning out.
The Fix: Replacing a worm gear involves opening the gear housing and swapping the part. It is a messy job due to the food-safe grease inside, but the part usually costs less than $20.
Blender Couplers
The coupler is the piece that connects the blender motor base to the jar blade assembly. Because it absorbs the shock of crushing ice and frozen fruit, the teeth on the coupler can wear down or shear off completely.
If your blender motor whirs but the blades stay still, inspect the coupler. On most major brands, you can pry the old coupler off with a screwdriver (sometimes reverse-threaded, meaning you turn right to loosen) and screw a new one on. It is one of the easiest and most cost-effective kitchen repairs.
Carbon Brushes
If you see sparks inside the vent slots of your mixer or blender, or if the motor runs intermittently, your carbon brushes might be worn down. These transfer electricity to the rotating part of the motor. They are consumables, like tires on a car. Many high-end mixers have external access caps that allow you to change these brushes without taking the whole machine apart.

Rescuing Coffee Makers and Kettles
Coffee makers and electric kettles deal with water and heat, making them prone to mineral buildup. This isn’t strictly a “repair,” but it is the number one reason these appliances stop working correctly.
The Descaling Fix
If your coffee maker is steaming excessively, brewing slowly, or not brewing a full pot, the internal tubes are likely clogged with calcium deposits. This is common in areas with “hard water” (water with high mineral content).
Descaling is the process of stripping this buildup. While vinegar works, dedicated descaling solutions are often more effective for heavy clogging and leave less residual taste. Wirecutter suggests that regular maintenance of coffee machines is critical for longevity, noting that neglected machines often fail prematurely due to pump stress caused by these blockages.
Electric Kettle Contacts
If your cordless kettle won’t boil, check the base. The metal contacts in the center of the base can get pushed down over time, failing to make contact with the kettle. Unplug the base, and gently pry the metal tabs upward with a small screwdriver to restore the connection.
Dealing with Power Cords and Broken Switches
Often, the appliance is fine, but the electricity can’t get to it. Power cords are frequently damaged by being wrapped too tightly around the appliance while it’s still hot, or by getting pinched in drawers.
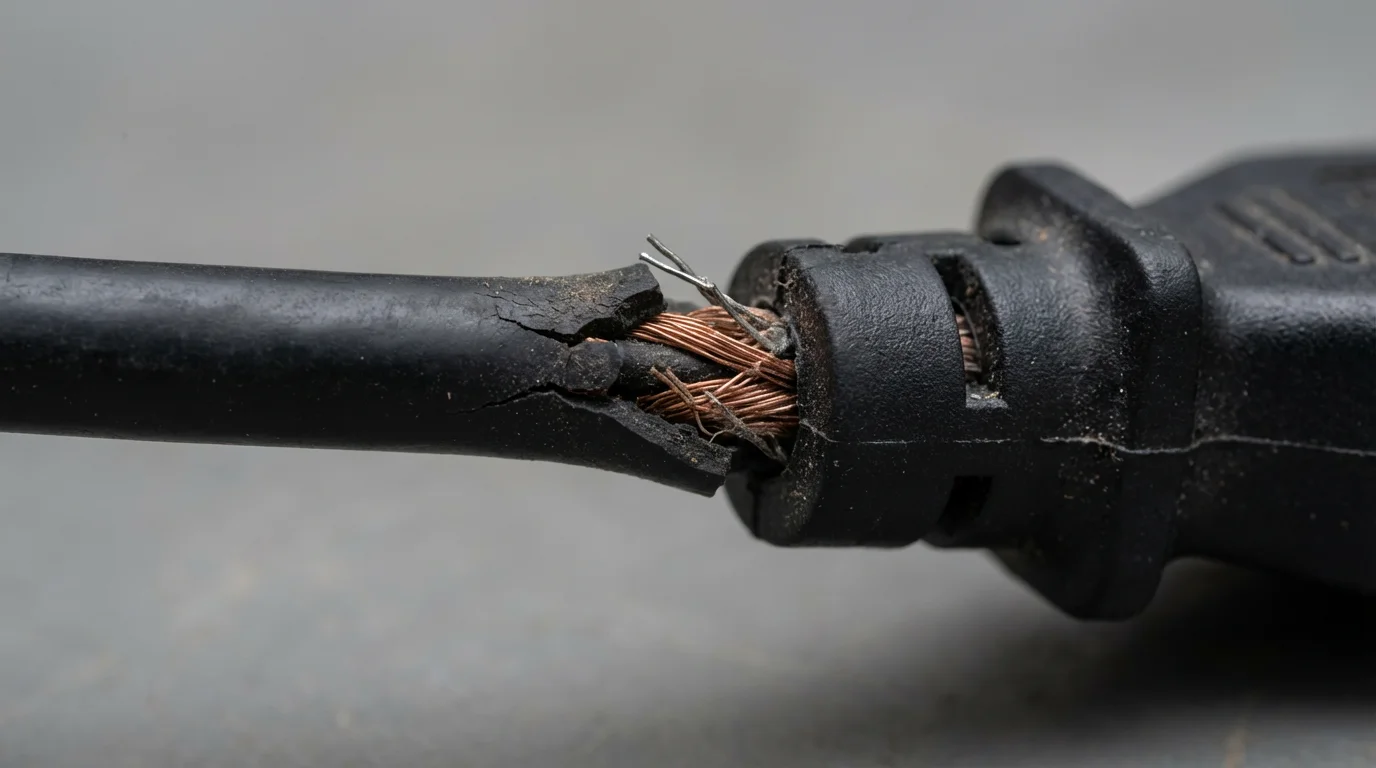
Diagnosing a Bad Cord
If your appliance works intermittently when you wiggle the cord, you have a break in the internal wiring. This is a fire hazard. You should stop using the appliance immediately.
Replacing a cord is straightforward if the unit can be opened. You will typically find the cord screwed into a terminal block or soldered to the main board. If you are comfortable stripping wires and using wire nuts or a soldering iron, this repair takes about 20 minutes. Ensure your replacement cord has the same gauge (thickness) as the original to handle the electrical load safely.
Troubleshooting Digital Screens and Sensors
Modern appliances like Instant Pots, rice cookers, and bread machines rely on sensors to regulate temperature and pressure. When these fail, you usually get an error code on the digital display.
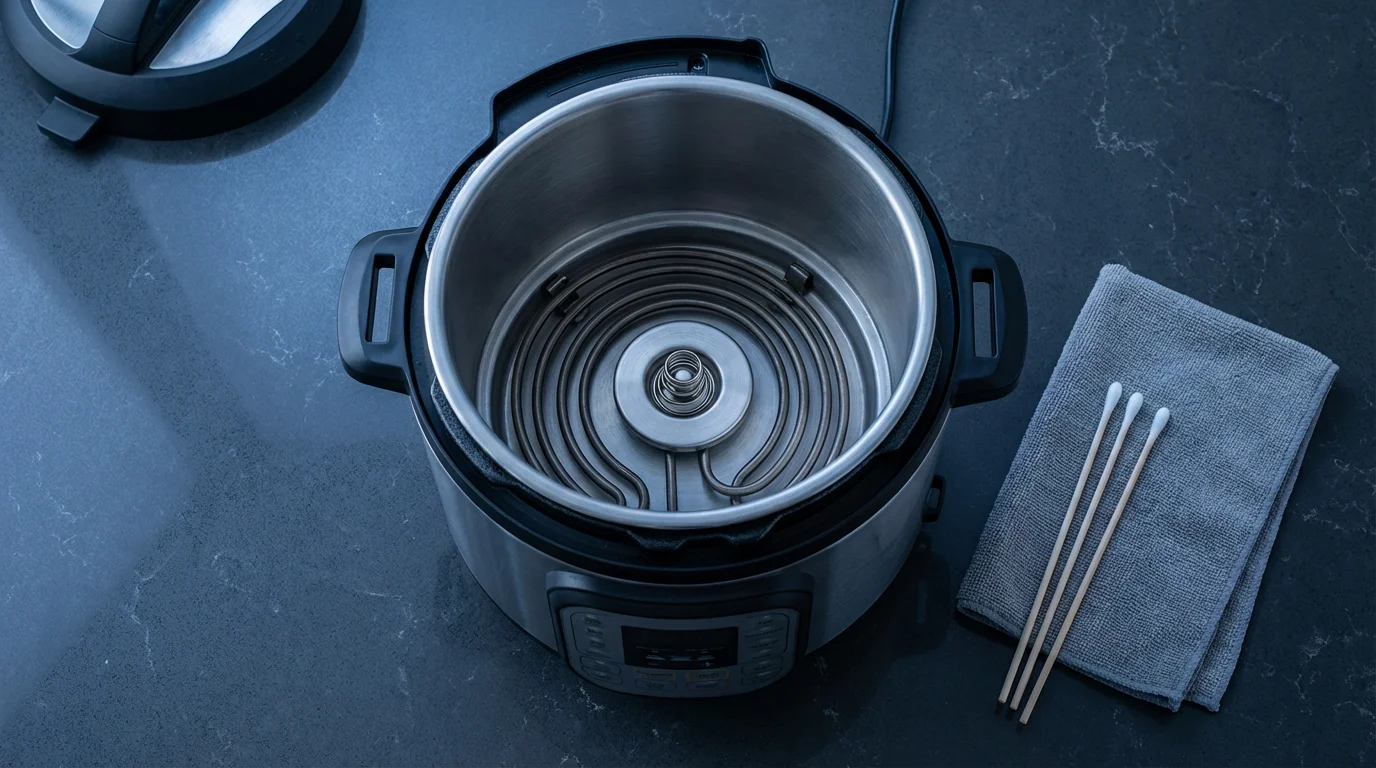
Decoding Error Codes
Never ignore an error code. A “Burn” message on a pressure cooker usually means the sensor on the bottom of the pot detects overheating, often caused by food stuck to the bottom of the inner pot. Cleaning the sensor surface (the spring-loaded disc in the center of the heating plate) often resolves this.
Lid Sensors
Pressure cookers and food processors have magnetic or mechanical sensors to ensure the lid is locked before operation. If your food processor won’t start, the bowl or lid is likely not engaged with the safety mechanism. Check for cracks in the plastic tabs on the lid; if the plastic tab is broken, it cannot push the safety switch, and you will need a replacement lid.
The Repair vs. Replace Decision Matrix
Not every appliance is worth saving. You must balance the cost of parts, your time, and the age of the machine against the price of a brand-new unit. Use the table below to help make your decision.
| Factor | Repair It | Replace It |
|---|---|---|
| Appliance Age | Less than 50% of expected lifespan | Older than 7-10 years (depending on brand) |
| Repair Cost | Parts cost < 50% of a new unit | Parts cost > 50% of a new unit |
| Complexity | Simple switches, fuses, cords, or gears | Main circuit board or sealed motor failure |
| Condition | Physical housing is in good shape | Cracked housing, rusted parts, or extensive wear |
| Safety | Mechanical or simple electrical fix | Microwave radiation or compromised pressure vessel |
For example, high-end stand mixers are almost always worth repairing because they are built to last decades. Conversely, a $15 plastic toaster that stops heating is rarely worth the cost of shipping a replacement part; in this case, recycling and upgrading is the logical choice.
According to Serious Eats, investing in appliances with established reputations for durability can mitigate these issues later. When you do replace an item, look for brands that sell spare parts directly to consumers, which is a good indicator of repairability.
Frequently Asked Questions
Can I repair my own microwave?
No. Microwaves contain high-voltage capacitors that can store a lethal electrical charge even after the unit has been unplugged for days. The risk of shock is too high for the average DIYer. Unless you are a trained professional, you should replace a broken microwave or take it to a certified shop.
Where can I find replacement parts for older appliances?
Start by locating the model number sticker on your appliance (usually on the bottom or back). Websites like eReplacementParts, RepairClinic, or even the manufacturer’s own website are excellent resources. For discontinued vintage items (like old Sunbeam mixers), eBay is often the best source for salvaged parts.
Why does my appliance smell like burning plastic?
If it is a new appliance, a slight smell is normal as factory coatings burn off during the first use. If it is an older appliance, this usually indicates a failing motor, worn bearings, or melting insulation on internal wiring. Turn it off immediately. If the smell persists after a cool-down and restart, the motor may be nearing the end of its life.
My blender leaks brown liquid from the bottom. What is it?
This is usually grease from the blade assembly bearing mixed with rust or food liquids. It indicates the seal on the blade assembly has failed. You don’t need a new blender; you just need to purchase a new blade assembly/jar bottom, which usually screws right into your existing pitcher.
Disclaimer: Product prices, features, and availability change frequently. Prices shown were accurate at time of writing but may have changed. We may earn a small commission from purchases made through links on this site, at no extra cost to you. Always verify current pricing and specifications on the retailer’s website before purchasing.


Leave a Reply