Dehydrating food is one of the oldest and most effective methods of preservation, bridging the gap between ancient survival techniques and modern culinary convenience. Whether you are an outdoor enthusiast making beef jerky for the trail, a gardener looking to preserve a bumper crop of tomatoes, or a parent seeking healthy, additive-free snacks for your children, a food dehydrator is a powerhouse tool. However, the difference between a chewy, flavorful dried mango and a brittle, flavorless chip often comes down to preparation technique and equipment maintenance.
Many home cooks purchase a dehydrator, use it once, and relegate it to the back of the pantry because of uneven results. This usually happens not because the machine is faulty, but because the food preparation was inconsistent. By mastering your knife skills, utilizing the right slicing tools, and understanding the science of airflow, you can transform fresh ingredients into shelf-stable staples that last for months or even years.
Understanding How Dehydrators Work
To use a dehydrator effectively, you must understand what it is actually doing. A food dehydrator contains a heating element and a fan. The heating element raises the temperature of the food enough to cause moisture to evaporate, while the fan circulates that warm air to carry the moisture away from the food and out of the vents. This process removes water, which bacteria, yeast, and mold need to grow.
The goal is not to cook the food, but to dry it. If the temperature is too high, the outside of the food will dry and form a hard shell that traps moisture inside—a phenomenon known as “case hardening.” If the temperature is too low, the food may spoil before it dries. Achieving the perfect balance requires consistent airflow and precise temperature control.
Stackable vs. Box Dehydrators
The type of dehydrator you own dictates how you should load and maintain it. There are two primary designs: vertical flow (stackable) and horizontal flow (box/shelf).
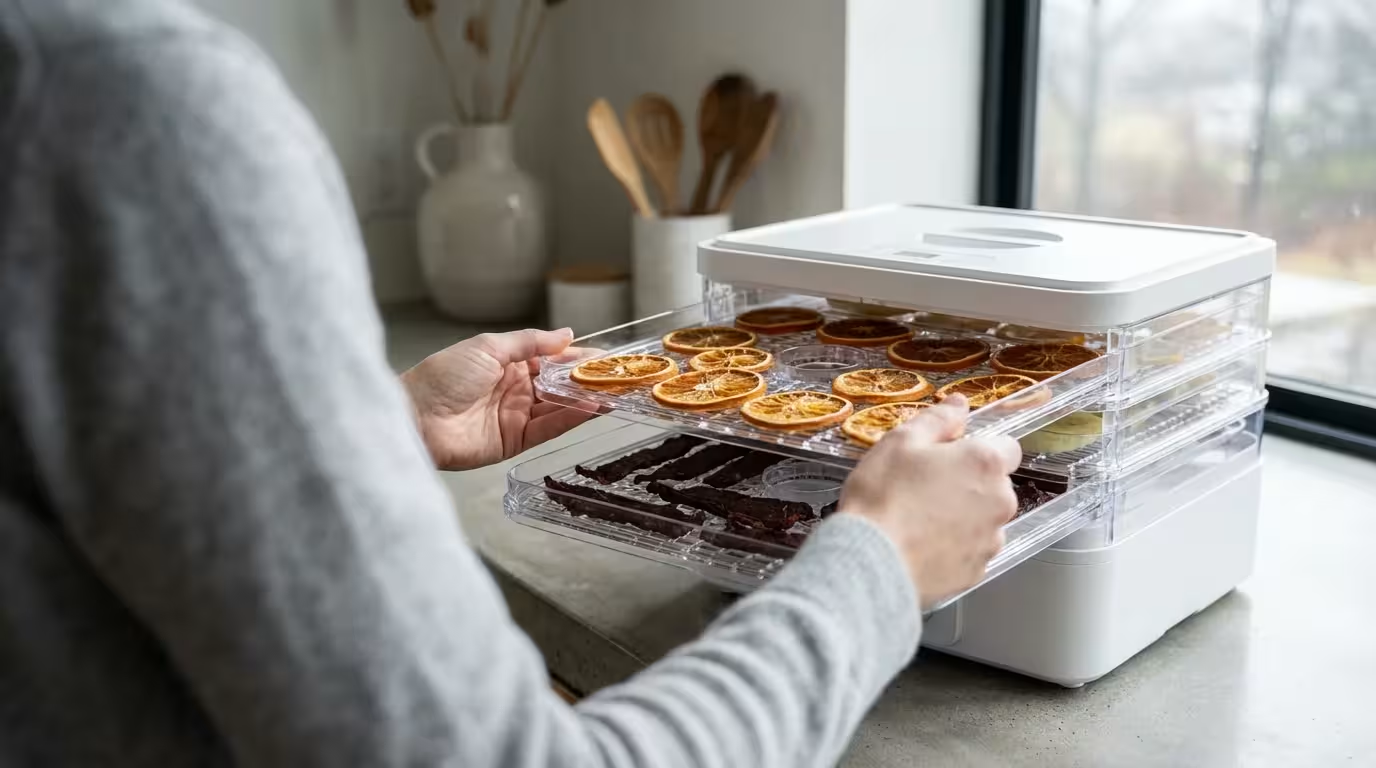
Vertical Flow (Stackable)
These units typically have a heat source and fan at the bottom (or sometimes the top) of the unit. The air blows vertically through a series of stacked trays. While these are often more affordable and expandable, they require more active management. You must rotate the trays during the drying process because the trays closest to the heat source will dry significantly faster than those further away.
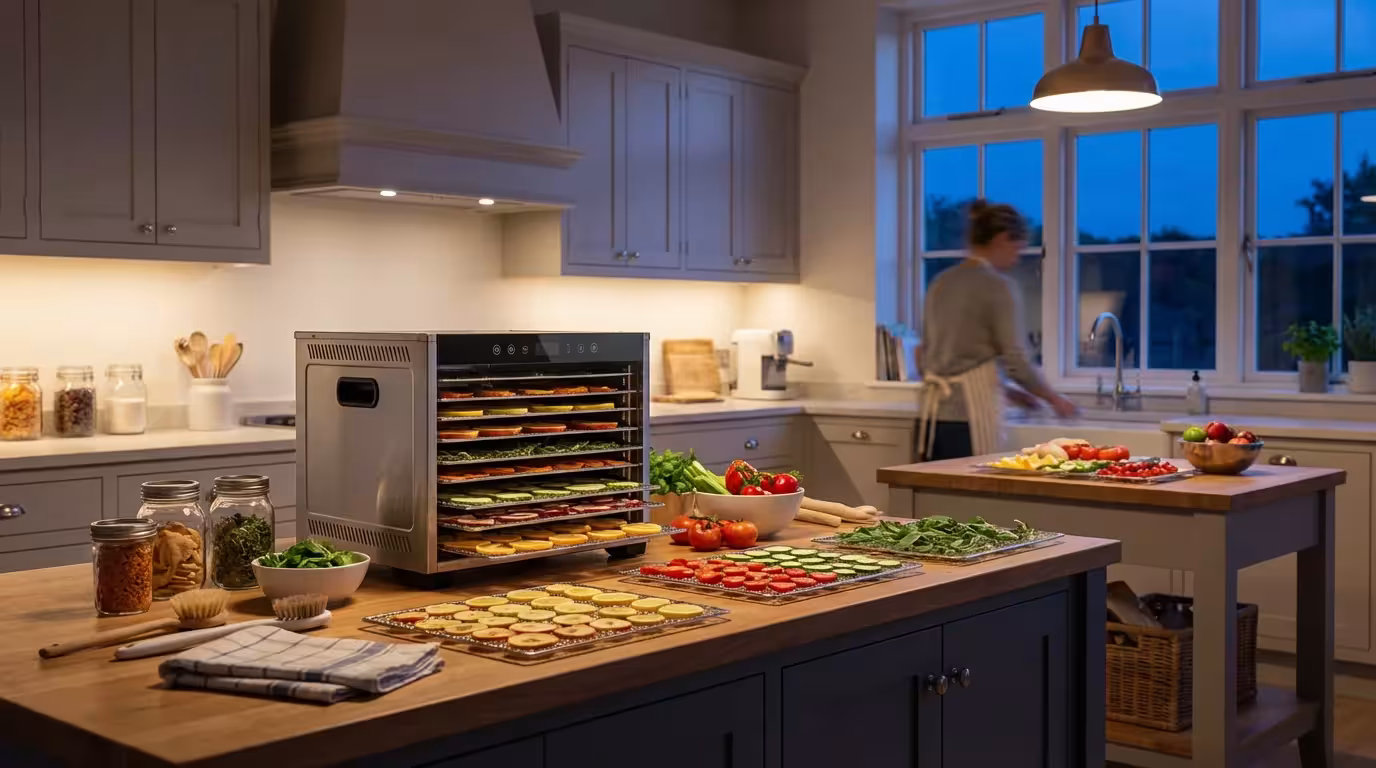
Horizontal Flow (Box/Shelf)
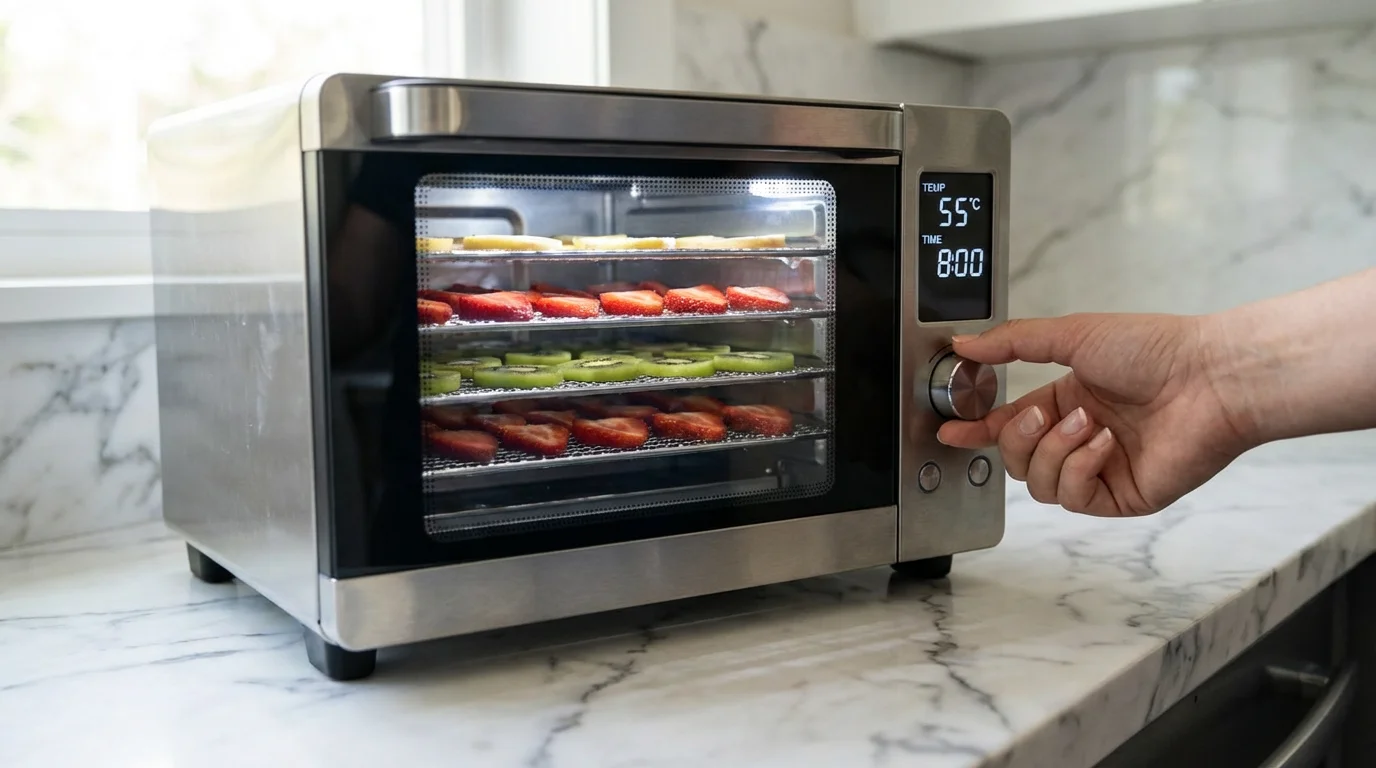
These units look like small ovens. The heating element and fan are located at the back, blowing air horizontally across all trays simultaneously. This design offers more consistent drying and rarely requires tray rotation. They also allow you to remove trays to accommodate larger items, like proofing dough or drying yogurt.
“Consistent airflow is the secret ingredient to dehydration. Without it, you are simply slow-cooking your food in a humid environment, which invites spoilage.” — Food Preservation Specialist
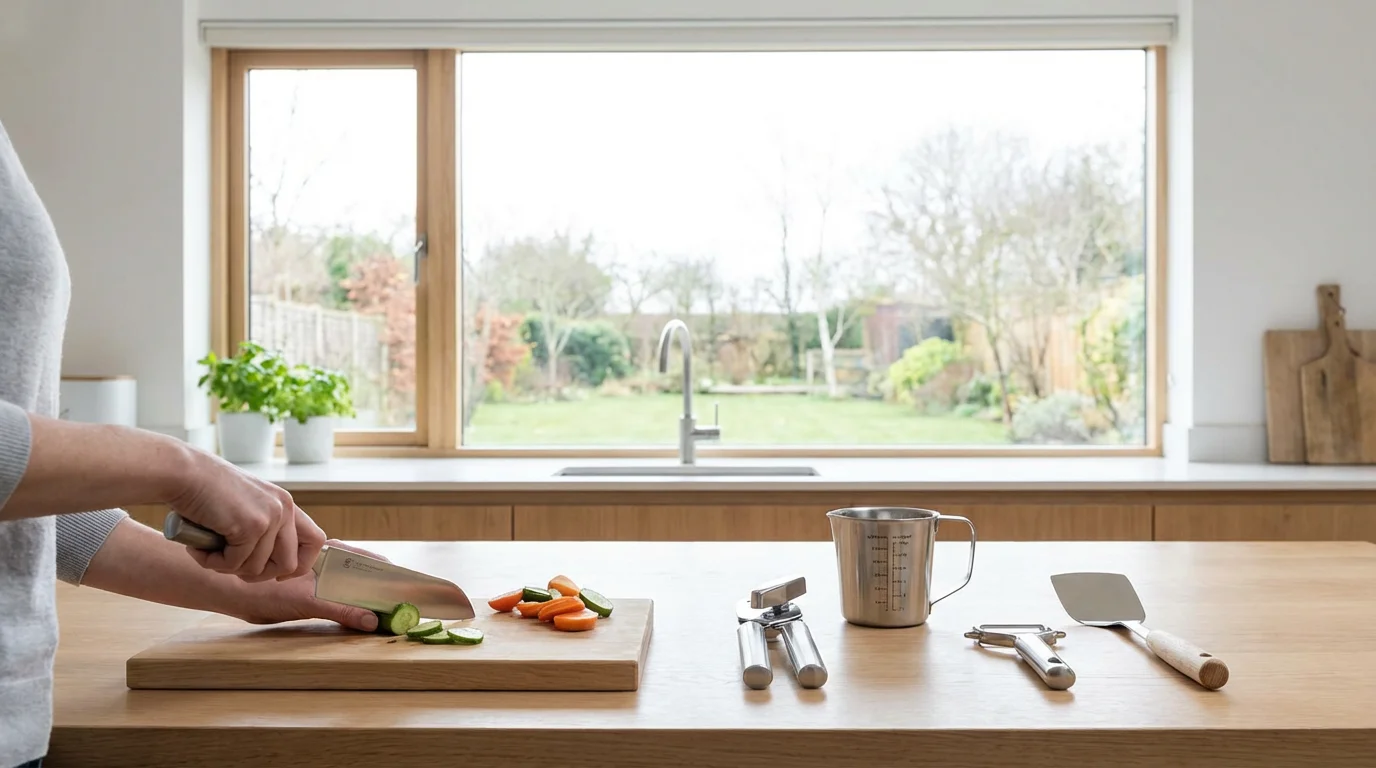
Essential Prep Tools for Uniform Drying
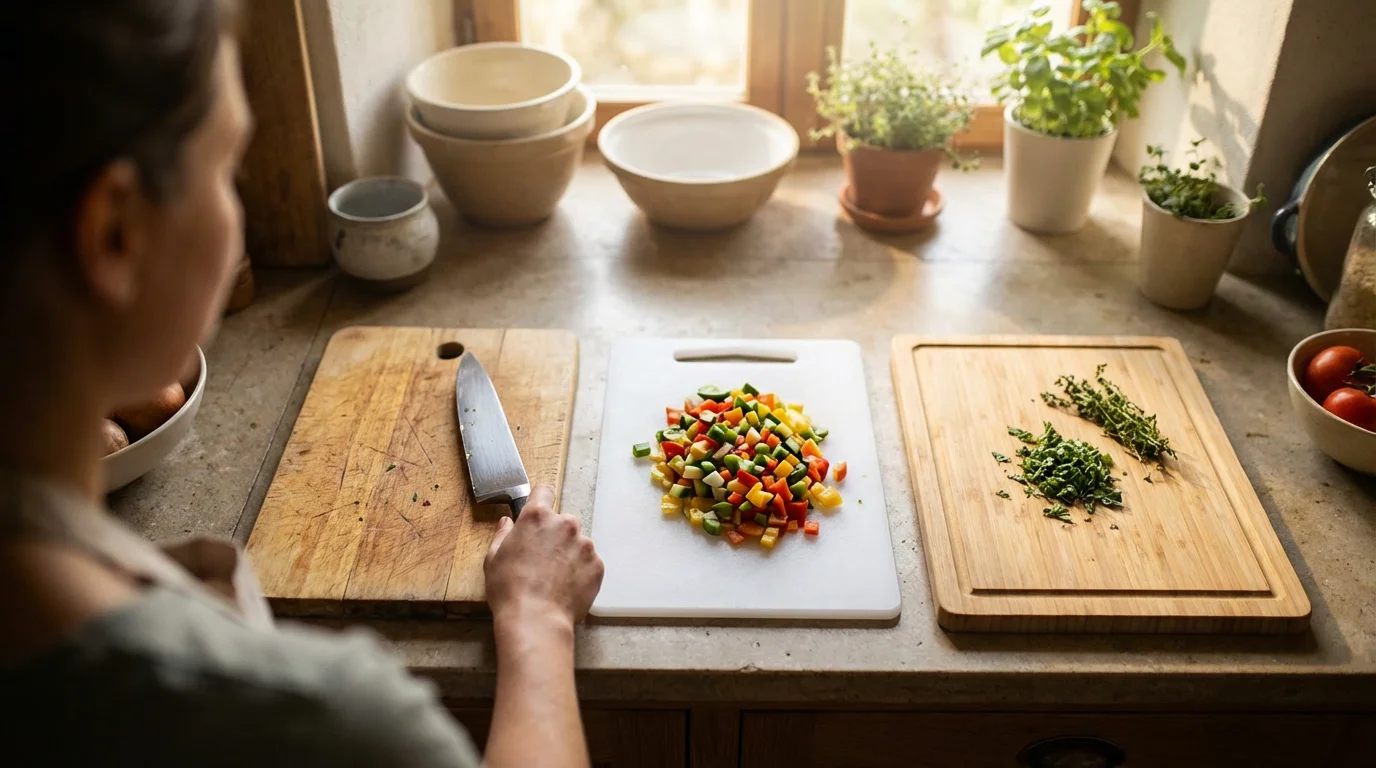
The most critical factor in successful dehydration is cutting your food to a uniform thickness. If you have one thick slice of apple next to a thin one, the thin slice will burn or over-dry before the thick one is safe to store. To achieve this, you need the right cutting tools.
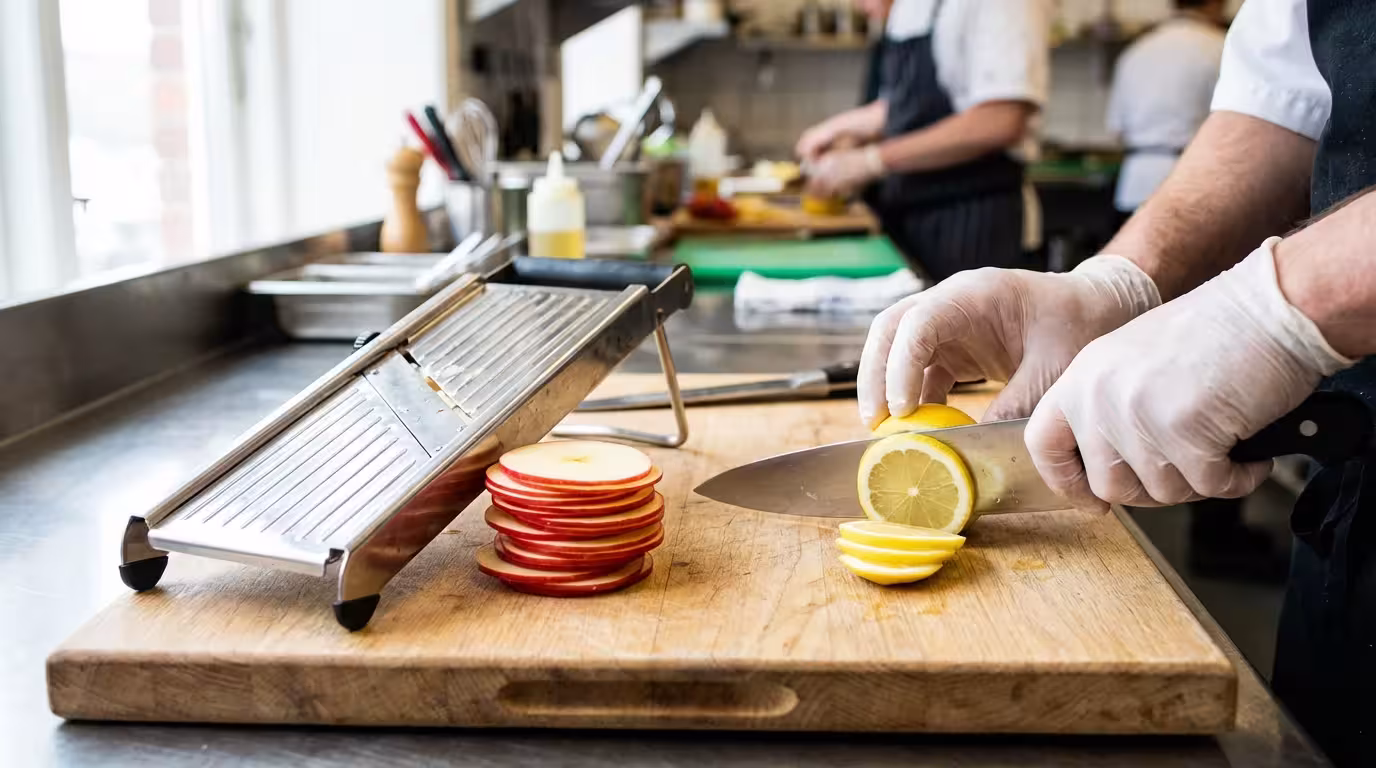
The Mandoline Slicer
For chips (apple, banana, sweet potato) and vegetable slices, a mandoline is non-negotiable for high-efficiency prep. A mandoline is a flat cutting tool with adjustable blades that allows you to slide food over a blade for perfectly consistent slices. Using a mandoline speeds up your workflow significantly compared to hand-slicing.
Safety Note: Always use the hand guard provided with your mandoline or wear a cut-resistant glove. The blades are razor-sharp and can cause serious injury if your hand slips.
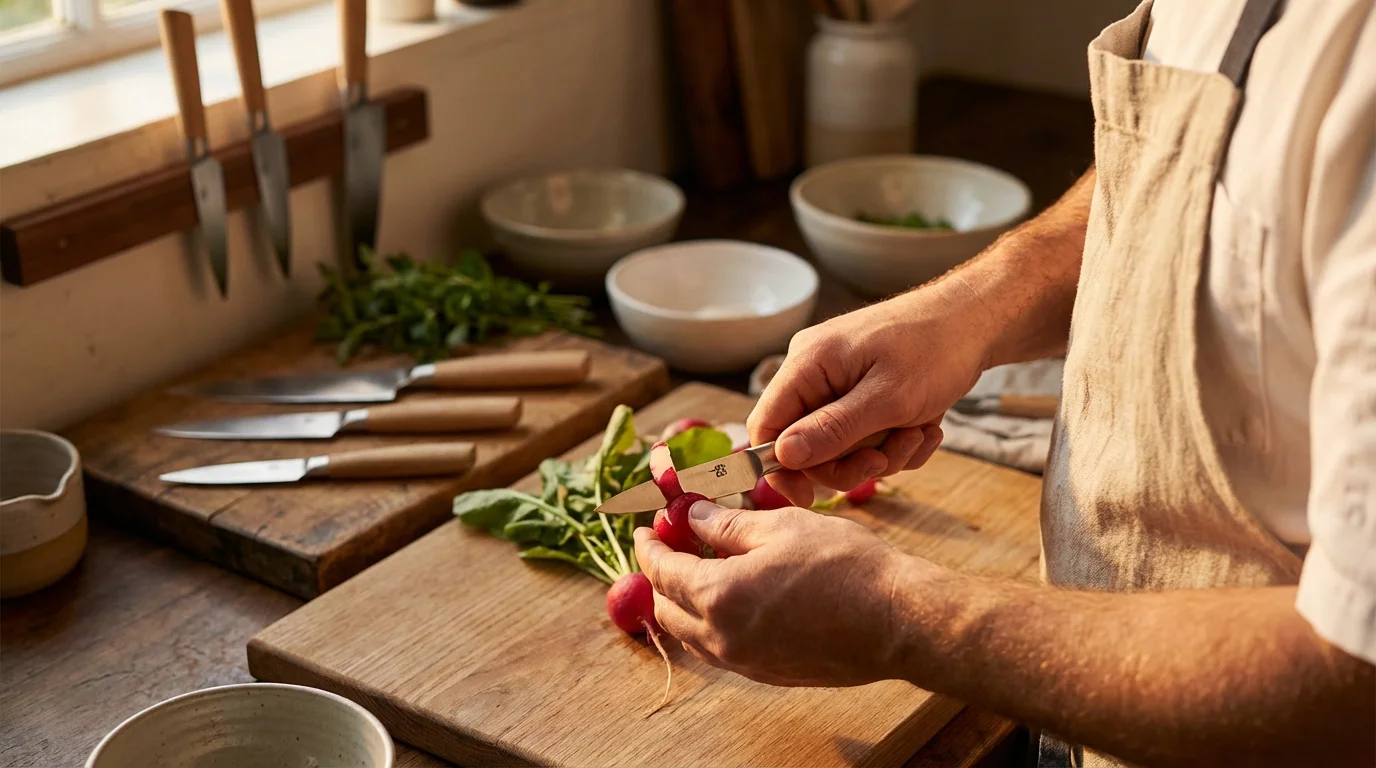
Knife Selection
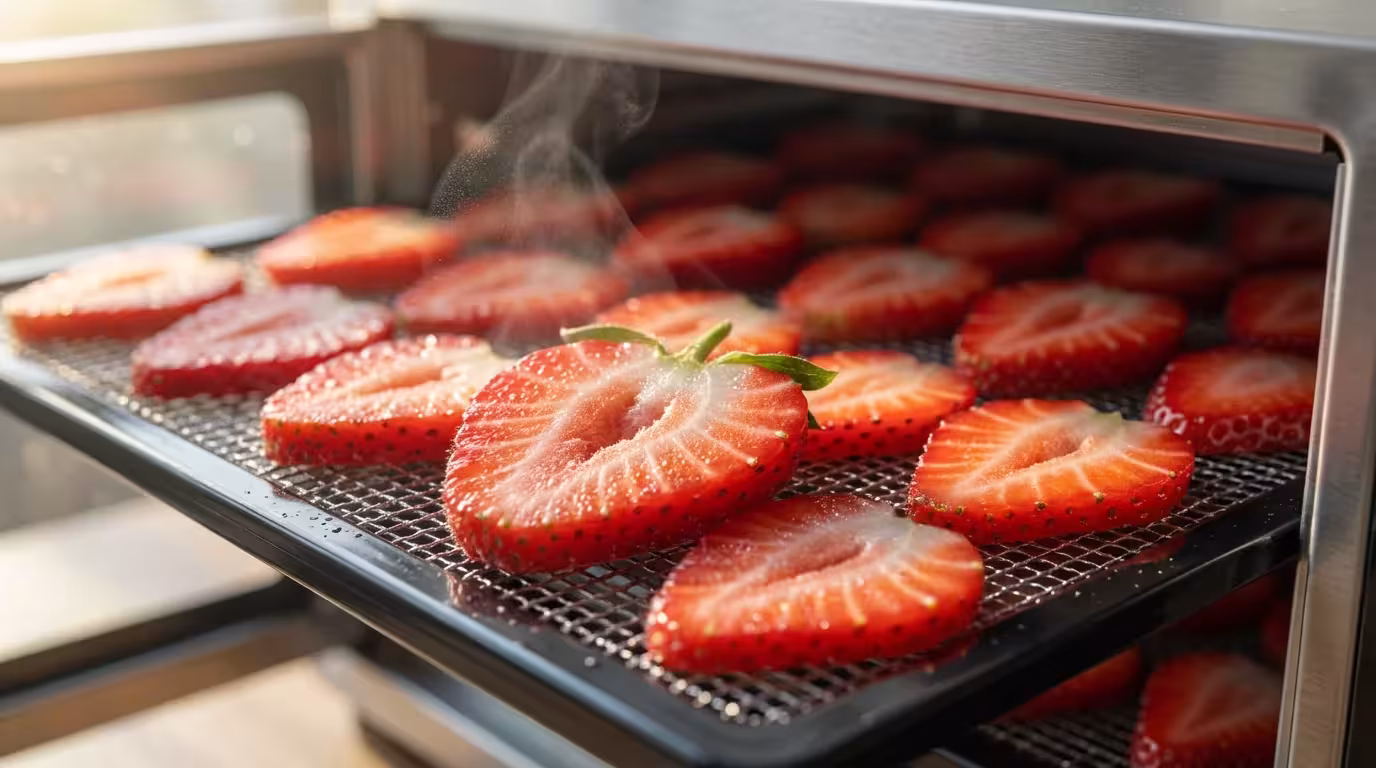
For items that a mandoline cannot handle, such as meats for jerky or soft fruits like strawberries, your knife selection matters.
- Chef’s Knife: An 8-inch chef’s knife is ideal for slicing semi-frozen meat for jerky. Look for a knife with a full tang—meaning the metal extends through the handle—to give you the leverage and balance needed for tough cuts.
- Serrated Knife: Use a serrated utility or bread knife for tomatoes. The teeth grip the smooth skin, allowing you to slice without crushing the flesh and losing valuable juice.
- Paring Knife: Essential for coring apples, hulling strawberries, or removing stones from apricots before slicing.
According to Wirecutter’s kitchen research, maintaining a sharp edge on your knives is not just about performance; it is a safety imperative. A dull knife requires more force, increasing the likelihood of slipping and cutting yourself.
Preparation Techniques: Blanching and Pretreating
Simply slicing and drying is sufficient for some foods, but others require pretreatment to maintain color, texture, and nutritional value.
Blanching
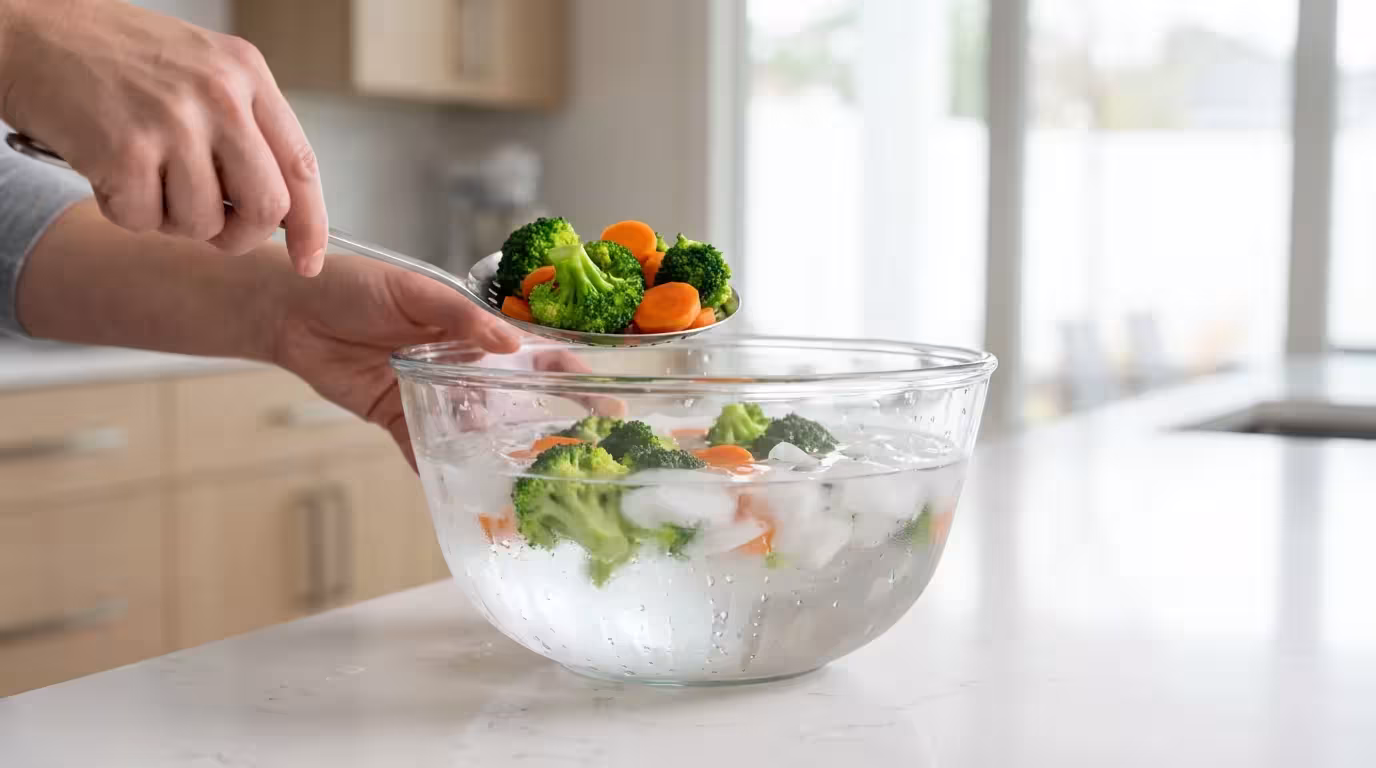
Vegetables with low acid content, such as green beans, broccoli, and carrots, contain enzymes that continue to mature the food even as it dries. This can lead to tough textures and off-flavors. Blanching involves briefly plunging the vegetables into boiling water and then into an ice bath to stop the cooking process. This deactivates the enzymes. Additionally, for fruits with waxy skins like blueberries or grapes (if making raisins), blanching creates micro-cracks in the skin that allow moisture to escape, significantly speeding up the drying time.
Anti-Oxidation Treatment
Apples, pears, and bananas turn brown quickly when exposed to air due to oxidation. While this doesn’t make the food unsafe, it is visually unappealing. You can prevent this by soaking the slices in a solution of lemon juice and water (1:4 ratio) or using ascorbic acid (Vitamin C) powder dissolved in water.
Temperature and Timing Guide
Different foods require different temperatures to dry effectively without cooking or spoiling. While you should always consult your specific machine’s manual, the following table provides general guidelines accepted by food safety experts.
| Food Type | Ideal Temperature | Estimated Time | Notes |
|---|---|---|---|
| Herbs | 95°F – 105°F | 2 – 4 hours | Low heat preserves delicate essential oils. |
| Raising Dough / Yogurt | 110°F – 115°F | 4 – 8 hours | Maintains live cultures without killing them. |
| Vegetables | 125°F | 6 – 10 hours | Blanching recommended for most. |
| Fruits | 135°F | 8 – 16 hours | Higher sugar content requires moderate heat to prevent fermentation. |
| Meats / Jerky | 160°F – 165°F | 4 – 6 hours | Crucial: Must reach 160°F to kill bacteria like E. coli and Salmonella. |
Important Safety Note on Meat: When making jerky, the USDA recommends heating meat to 160°F (165°F for poultry) before dehydrating to ensure bacteria are destroyed. Some dehydrators do not reach this temperature consistently. In these cases, you should heat the meat in an oven or precook it in marinade before placing it in the dehydrator.
Loading Strategies and Tray Rotation
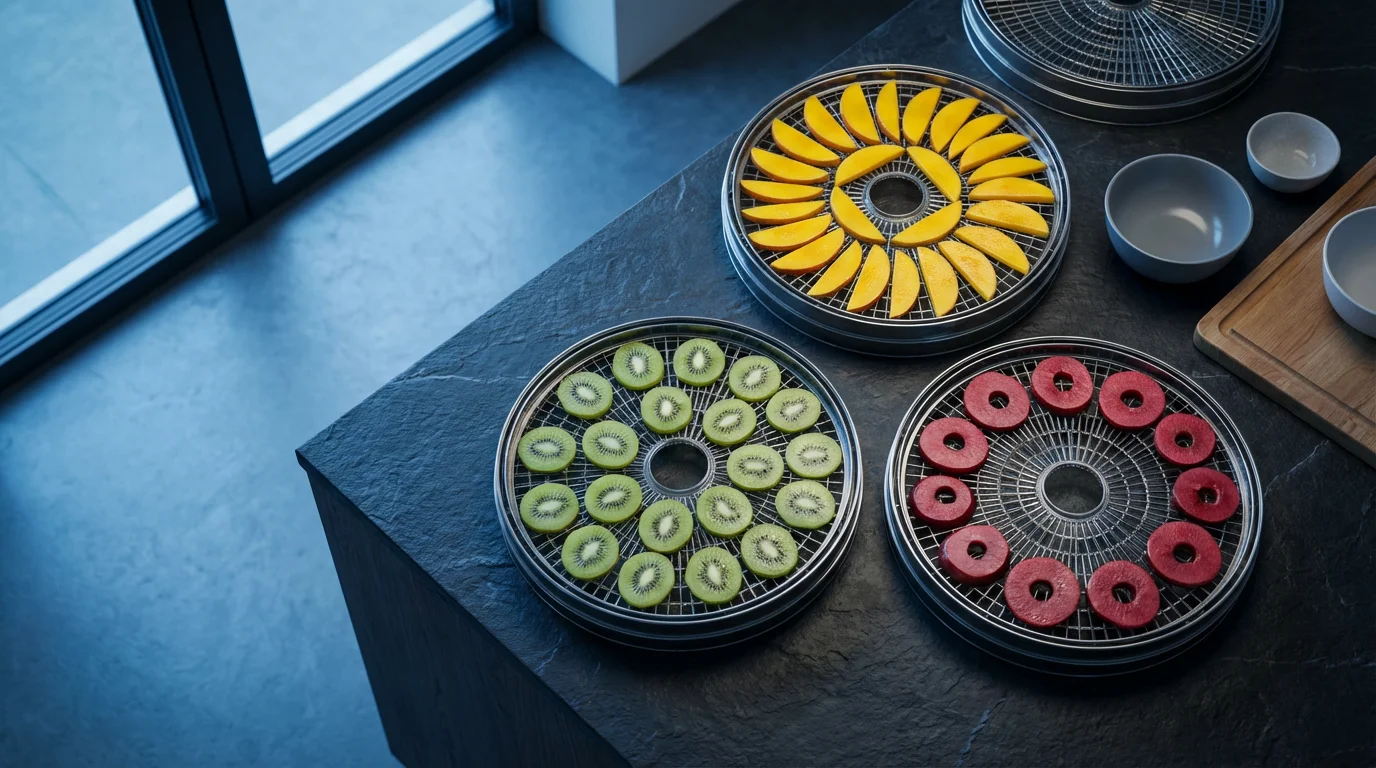
How you load your trays impacts efficiency. Arrange food pieces so they are close together but not touching or overlapping. Overlapping creates layers where moisture gets trapped, leading to uneven drying and potential mold growth later.
Managing Stackable Units
If you are using a vertical flow dehydrator, the trays closest to the fan will dry fastest. Set a timer for halfway through the estimated drying time. When the timer goes off, reverse the order of the trays—move the top trays to the bottom and the bottom trays to the top. You should also rotate the trays 180 degrees to ensure the front and back of the trays receive equal airflow.
How to Tell When Food is Done
Judging when food is “dry enough” is a learned skill. Food retains heat, and warm food will always feel softer and more moist than it actually is. Always remove a piece from the dehydrator and let it cool to room temperature before testing.
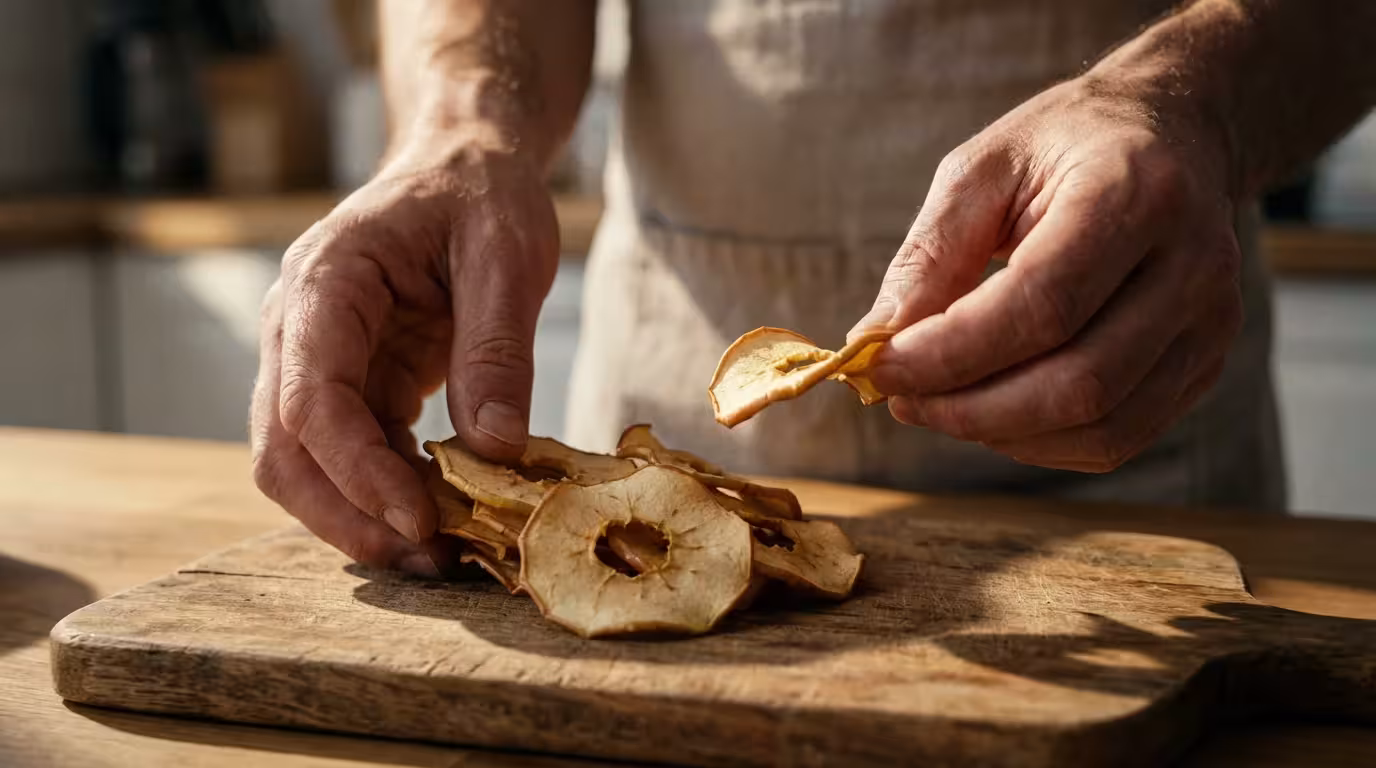
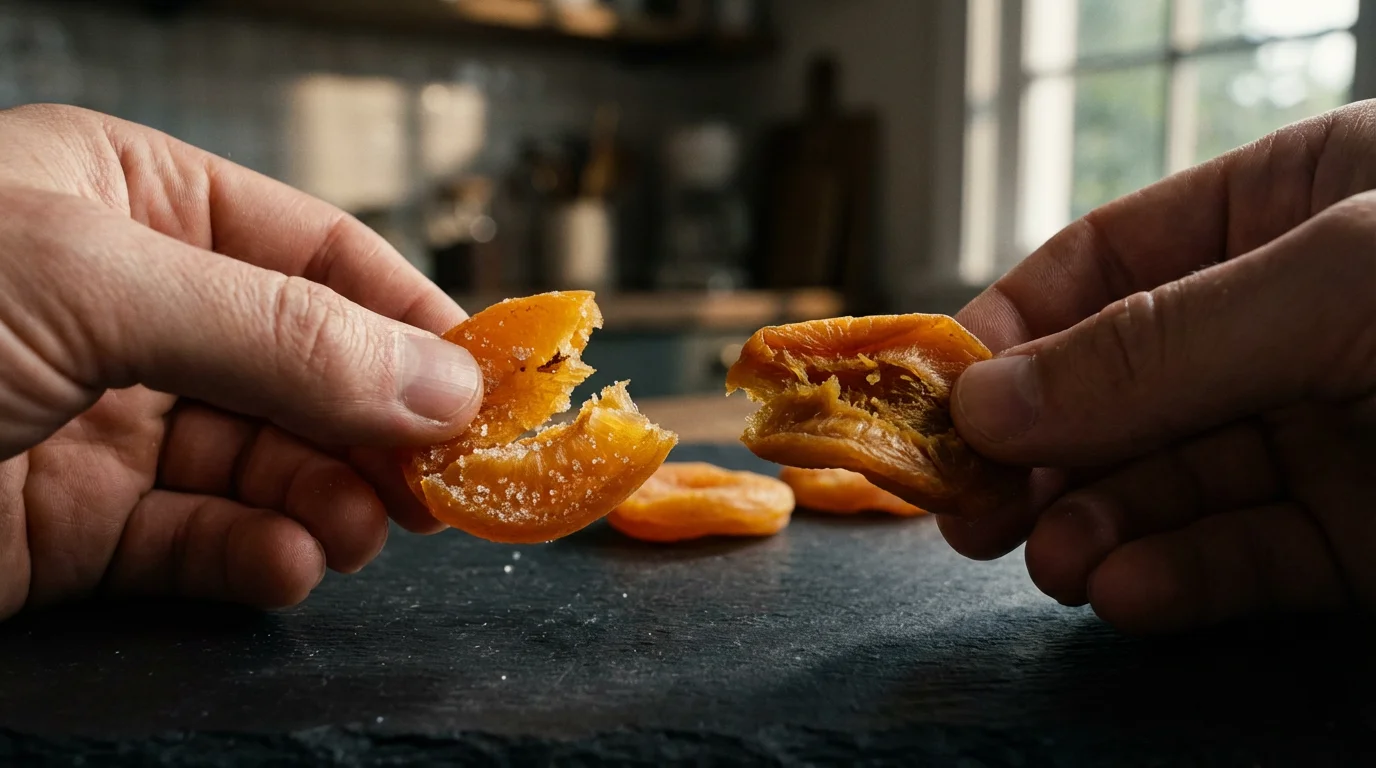
- Fruits: Should be pliable and leathery. When you tear a piece in half, there should be no visible moisture beads along the tear. It should not be brittle unless you are making fruit chips.
- Vegetables: Most vegetables should be brittle or tough. They should pass the “snap test”—when you bend them, they should snap cleanly rather than bend.
- Jerky: Properly dried jerky should crack when bent but not break completely in half. It should have a leather-like texture.
- Herbs: Should crumble easily when rubbed between your fingers.
Conditioning and Long-Term Storage
Even when food passes the dryness test, small amounts of moisture may remain unevenly distributed among the pieces. If you store the food immediately, this moisture can migrate to drier pieces and cause mold. To prevent this, you must “condition” the food.
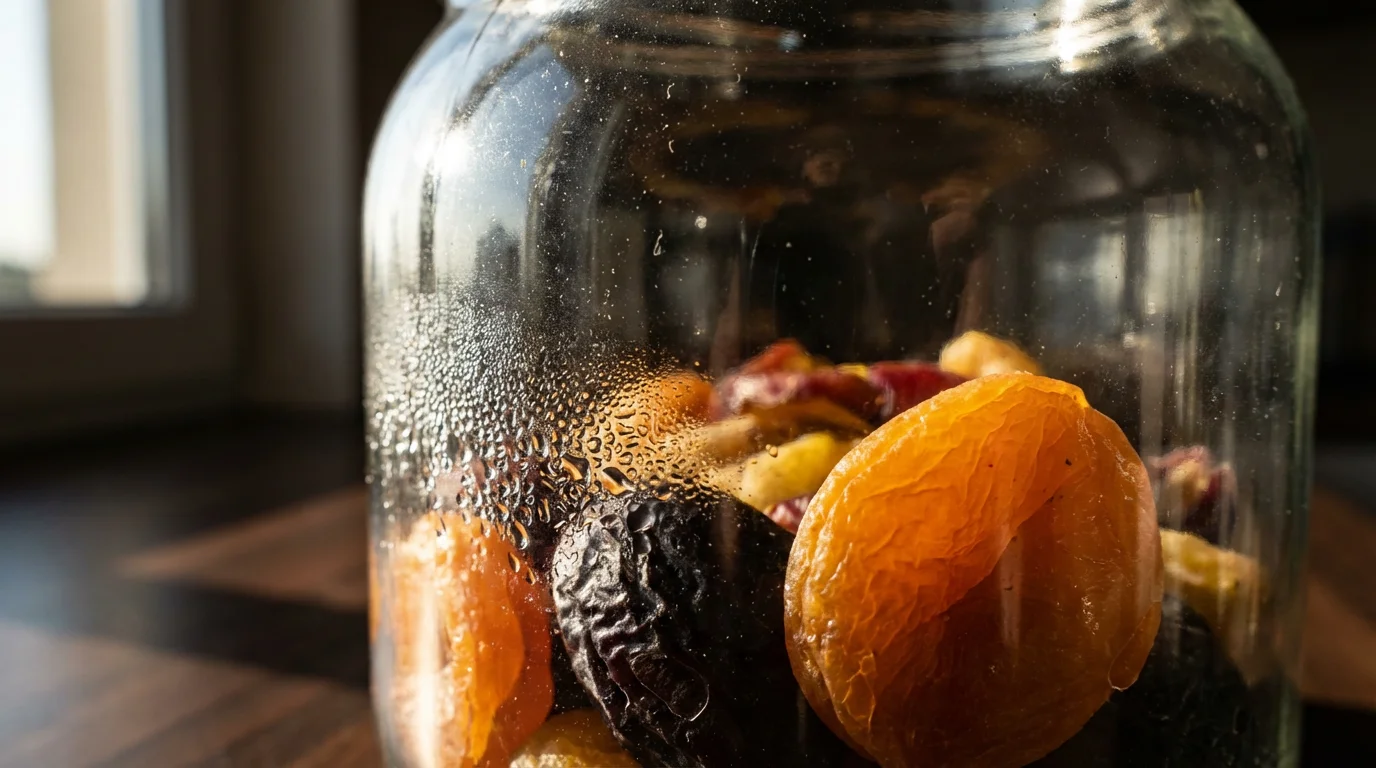
The Conditioning Process
Place your cooled, dried fruit (this is most critical for fruit) into a glass jar, filling it about two-thirds full. Cover the jar tightly. For the next 7 to 10 days, shake the jar once a day. This movement distributes any remaining moisture evenly. If you see condensation forming on the inside of the jar, the food is not dry enough; return it to the dehydrator immediately. If after a week the jar is dry, the food is safe for long-term storage.
Storage Solutions
Light, heat, and oxygen are the enemies of preserved food. Store your conditioned goods in a cool, dark place.
- Vacuum Sealing: This is the gold standard. Removing oxygen prevents oxidation and inhibits bacterial growth.
- Mylar Bags with Oxygen Absorbers: Ideal for very long-term storage (years).
- Glass Mason Jars: Great for items you plan to eat within a few months. They are airtight and insect-proof.
As Serious Eats notes in their equipment guides, proper storage containers are just as much a part of your kitchen toolkit as the appliance itself. Investing in quality seals protects your hard work.
Cleaning and Maintenance Best Practices
A dehydrator is generally low-maintenance, but residue from sugary fruits and marinades can become sticky glue if left unchecked.
Cleaning the Trays
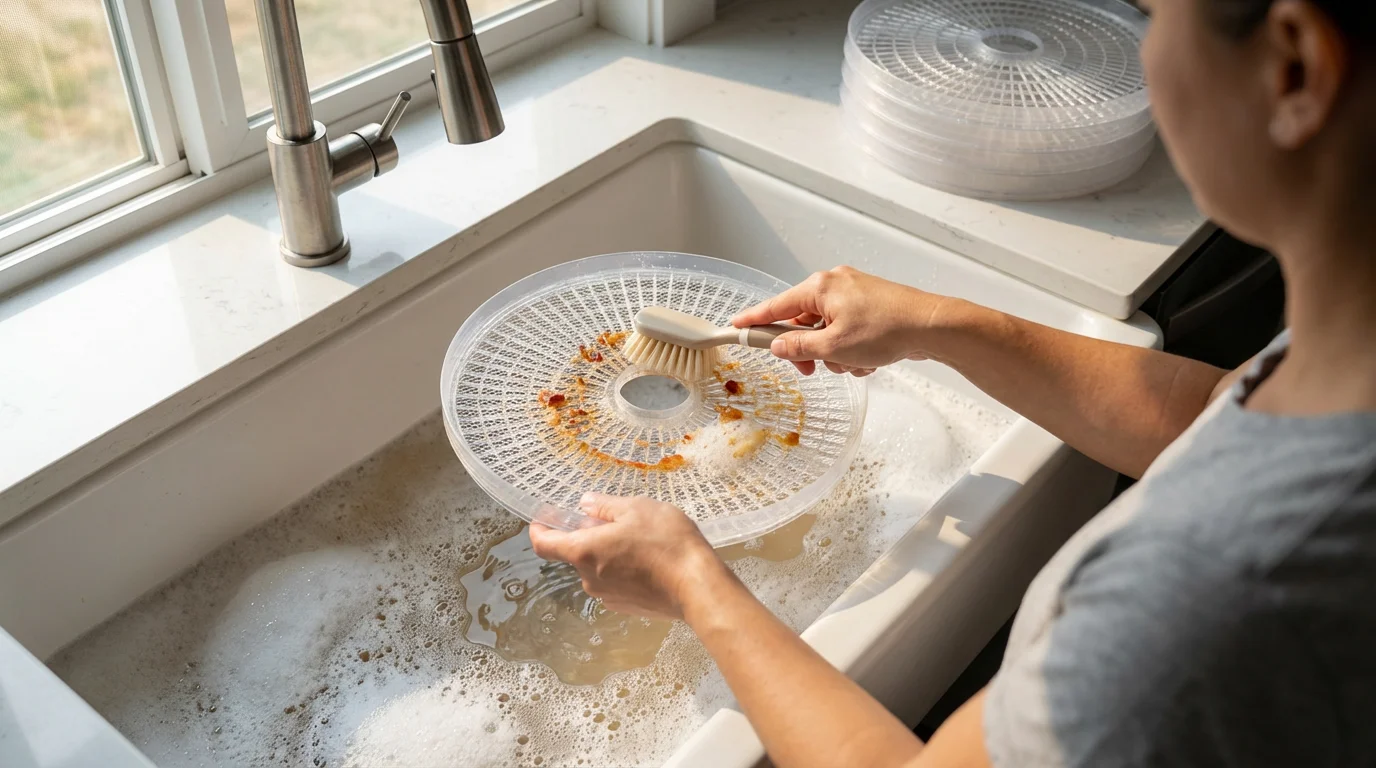
Most dehydrator trays are made of plastic. While some are labeled dishwasher safe, the high heat of a dishwasher drying cycle can warp them over time, ruining the seal between stacked trays. The best practice is to soak trays in warm, soapy water immediately after use. Use a soft brush to dislodge particles from the mesh. Avoid abrasive scouring pads, which can create micro-scratches that harbor bacteria.
Cleaning the Base Unit
Never immerse the base unit in water. This houses the motor and electronics. Unplug the unit and wipe the base with a damp cloth. If marinade has dripped into the bottom, use a sponge to carefully clean it out. Ensure the unit is completely dry before plugging it back in.
Motor and Fan Care
Over time, dust and pet hair can accumulate around the air intake vents, reducing the motor’s efficiency and causing it to overheat. Periodically use compressed air (like the kind used for computer keyboards) to blow dust out of the fan and vents. Do this in a well-ventilated area or outside.
Troubleshooting Common Issues
Problem: Food is moldy after a few weeks.
This usually means the food was not dried completely or was not conditioned. Ensure you pass the snap test or leather test, and always condition fruits before final storage.
Problem: The outside is dry but the inside is mushy.
This is “case hardening.” You likely dehydrated at a temperature that was too high. The surface dried and sealed the moisture inside. Lower the temperature and slice your food thinner next time.
Problem: Flavor transfer.
If your apples taste like garlic, you likely dried them in the same batch as spicy peppers or onions. Strong-smelling foods like onions and garlic should be dried separately, ideally in a garage or well-ventilated porch, as they can scent your entire house and other foods in the unit.
Frequently Asked Questions
Does using a food dehydrator use a lot of electricity?
Compared to an electric oven, dehydrators are very energy efficient. Most units use between 300 to 1000 watts. Because the temperature cycles on and off to maintain the heat, they do not pull full power the entire time. Running a dehydrator for 10 hours typically costs less than one dollar in electricity, making it a cost-effective way to preserve produce.
Can I mix different foods in the same load?
Yes, but with caveats. You can mix foods that require the same temperature setting (like apples and pears). However, avoid mixing strong-smelling foods (onions) with delicate ones (fruits). Also, ensure that raw meat is always placed on the bottom trays so that no juices can drip onto other foods during the early stages of drying.
Why is my homemade beef jerky tough?
Jerky toughness often depends on how you slice the meat. If you slice with the grain, the jerky will be very chewy and tough. If you slice against the grain, the jerky will be more tender and easier to break apart. Additionally, using a cut of meat with too much fat/gristle will result in a poor texture and shorter shelf life, as fat goes rancid quickly.
Do I really need to use lemon juice on apples?
It is not required for safety, but it is highly recommended for aesthetics. Without an acidic pretreatment (lemon juice, citric acid, or ascorbic acid), apples will turn a dark brown color. They will still be edible and taste fine, but they may look unappealing.
Disclaimer: Product prices and availability change frequently. Prices shown were accurate at time of writing but may have changed. We may earn a small commission from purchases made through links on this site, at no extra cost to you. Always use cutting tools carefully and follow manufacturer safety guidelines.

Leave a Reply