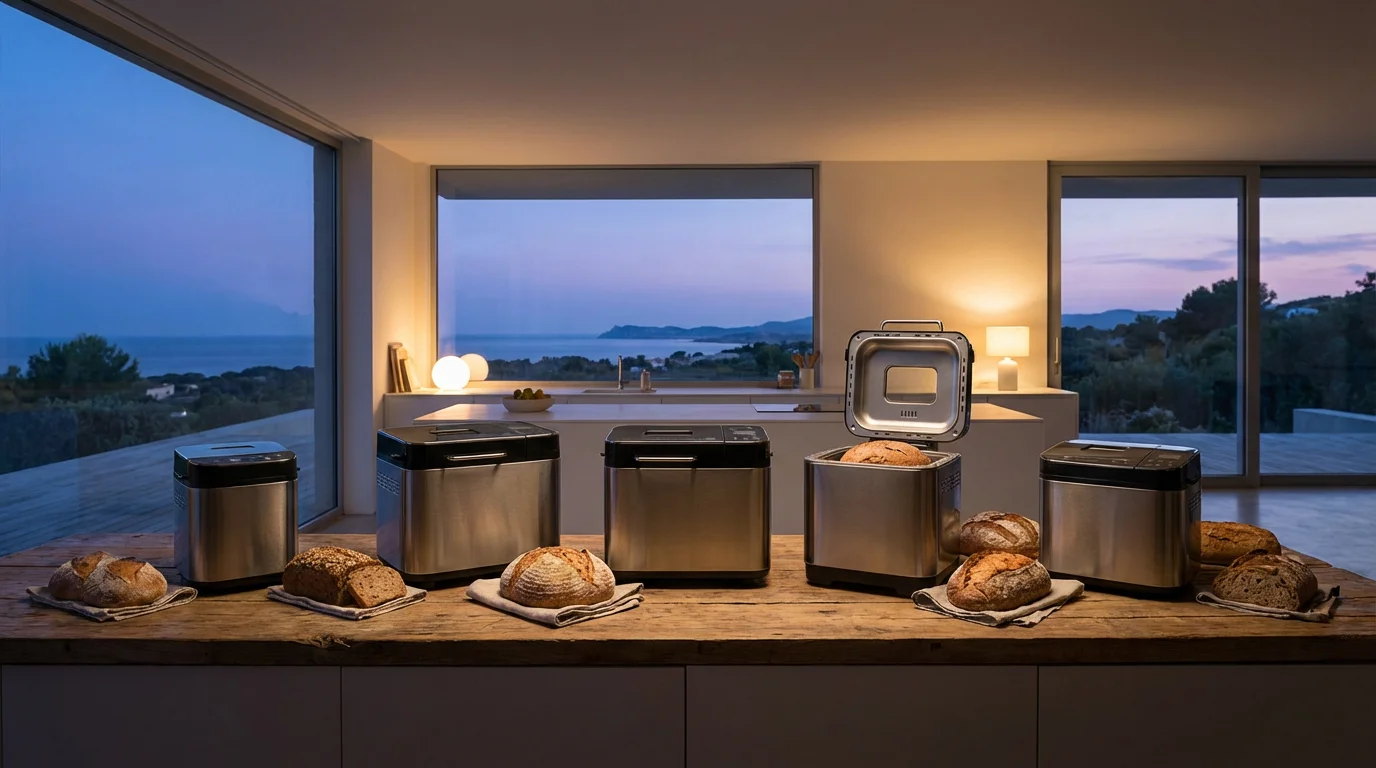
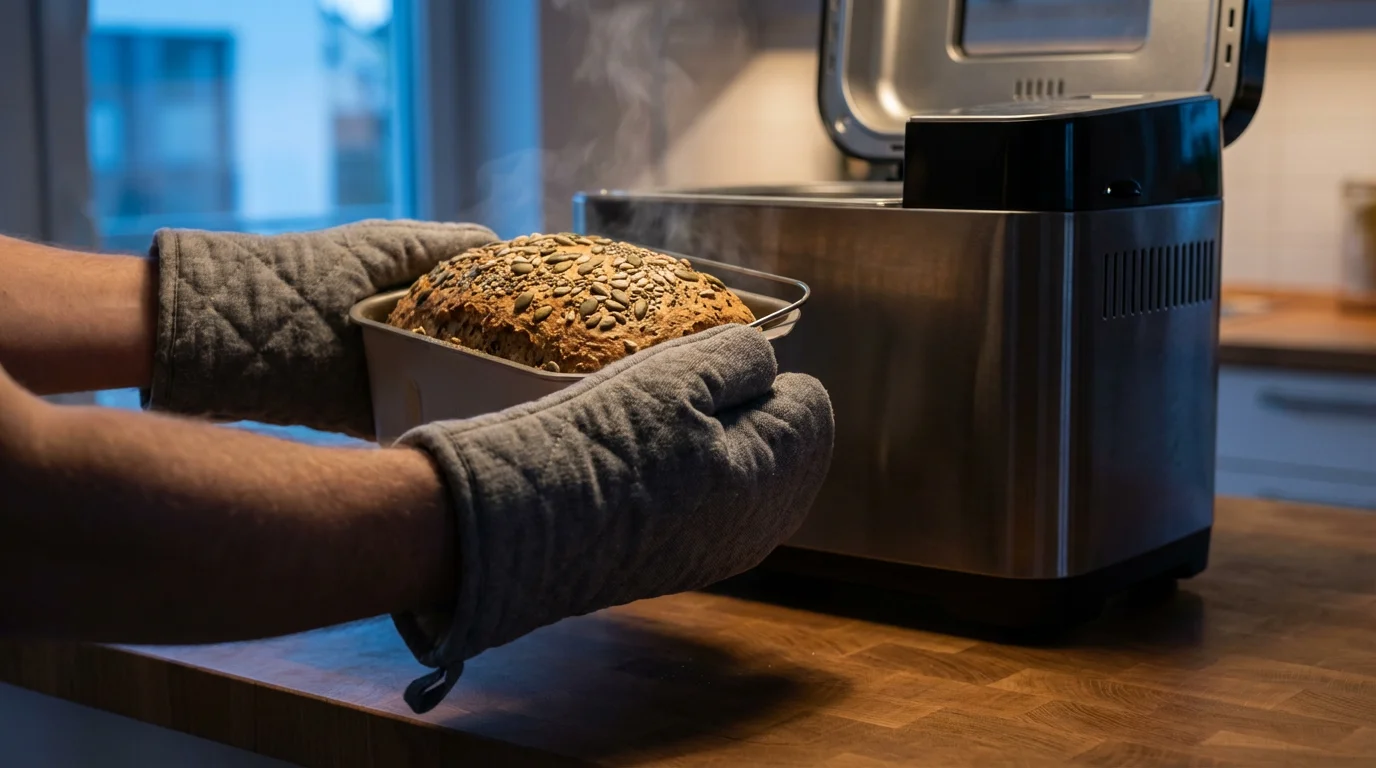
There’s nothing quite like the aroma of freshly baked bread filling your kitchen. For many home cooks, the idea of baking bread from scratch feels daunting, involving messy kneading, precise timing, and unpredictable results. This is where a bread machine, or bread maker, becomes your kitchen hero, transforming the complex process into a simple, automated task.
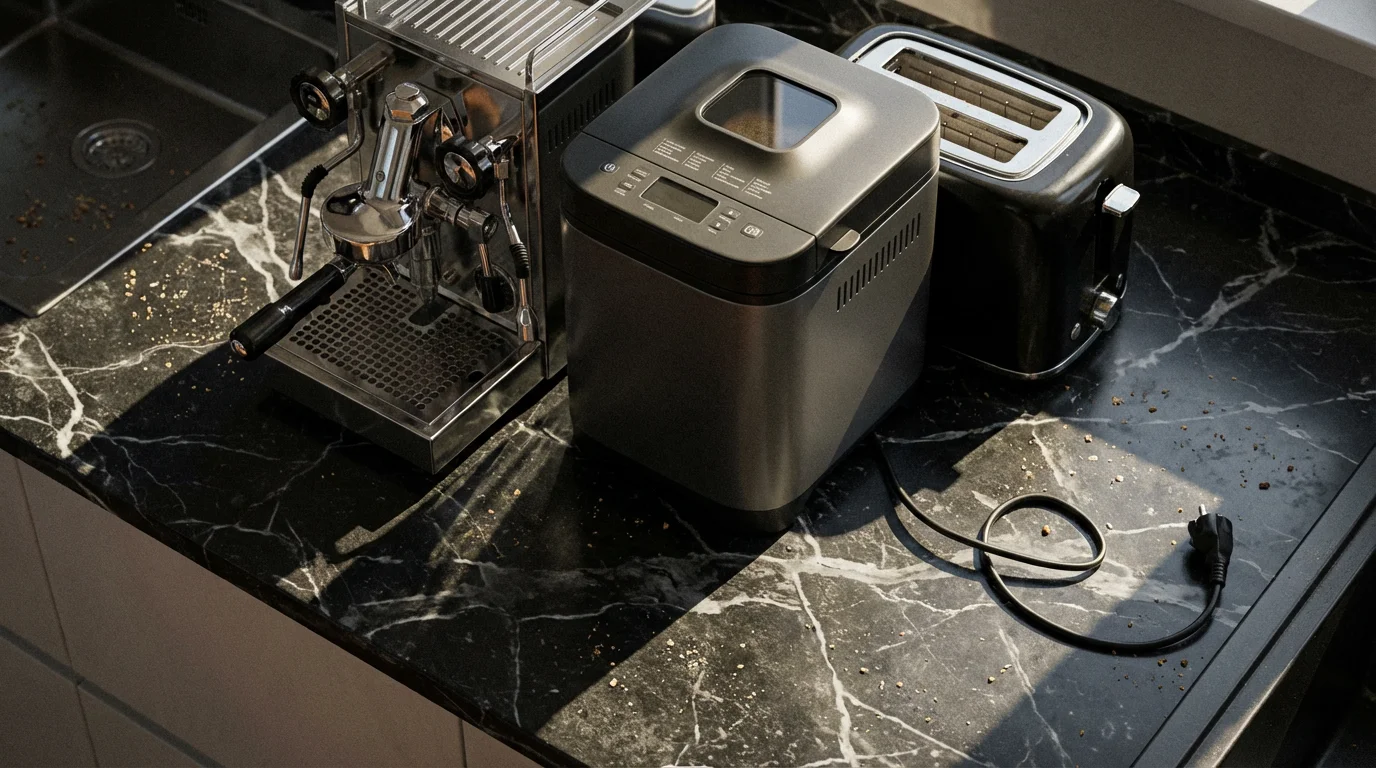
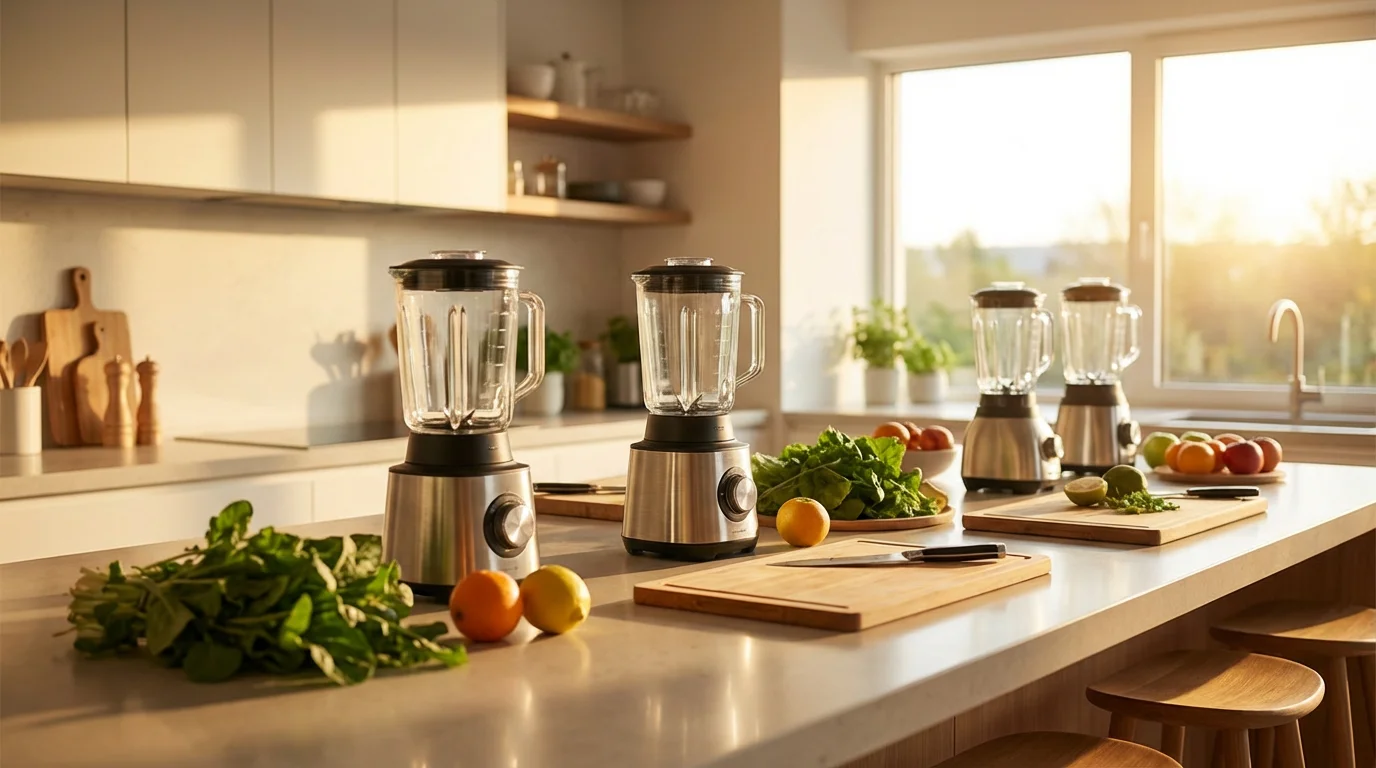
Before diving into the specifics of baking, consider how finding the right coffee maker can further enhance your morning routine alongside fresh bread.
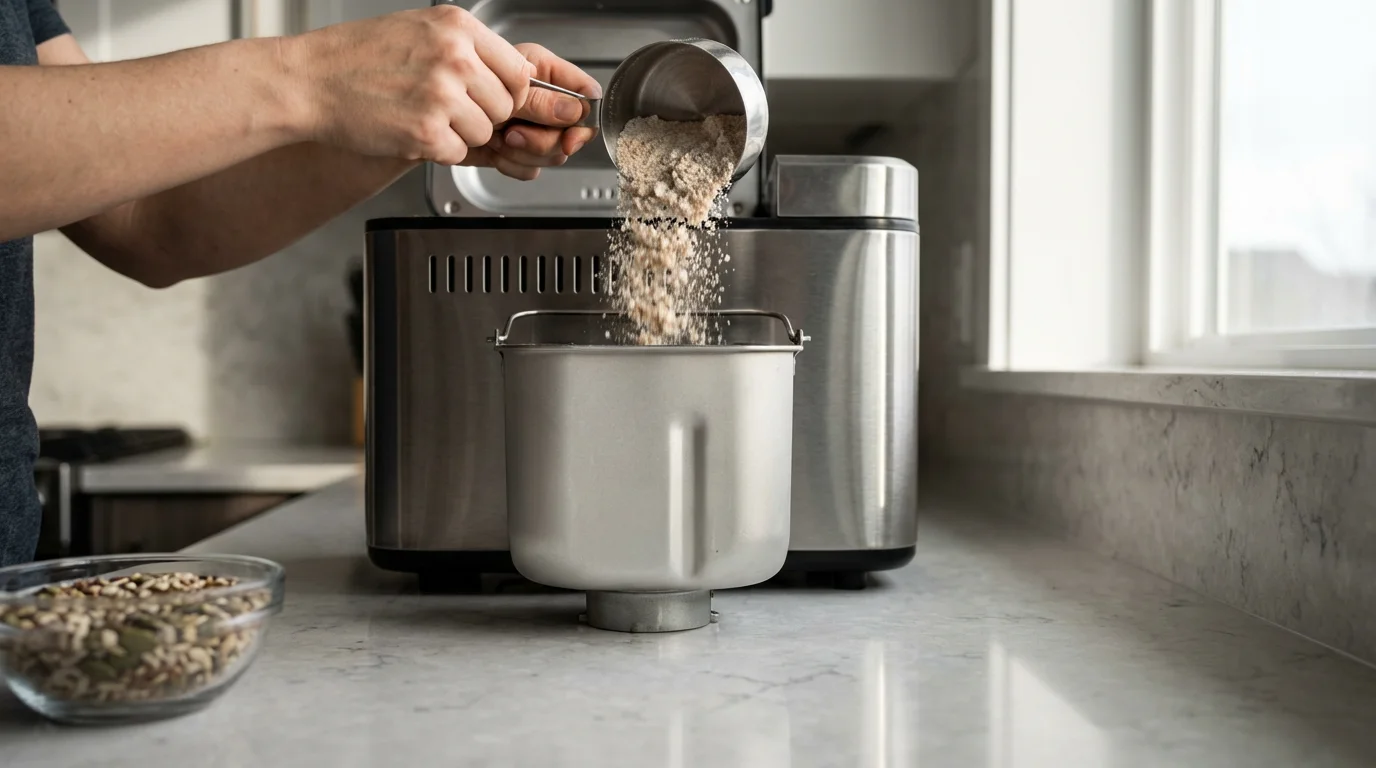
A high-quality bread machine handles all the steps for you: mixing, kneading, rising, and baking. You add the ingredients, select a program, and hours later, you enjoy a warm, delicious loaf. You gain control over your ingredients, avoiding preservatives and artificial additives often found in store-bought options. This guide cuts through the clutter, offering practical, actionable insights to help you choose the best bread machine for homemade bread that fits your cooking style and kitchen space.
Why Choose a Bread Machine for Your Kitchen?
Investing in a bread machine brings several compelling advantages. First, you save time. Traditional bread making demands active participation, while a bread maker only requires a few minutes of ingredient loading. The machine handles the labor intensive parts, freeing you to focus on other tasks.
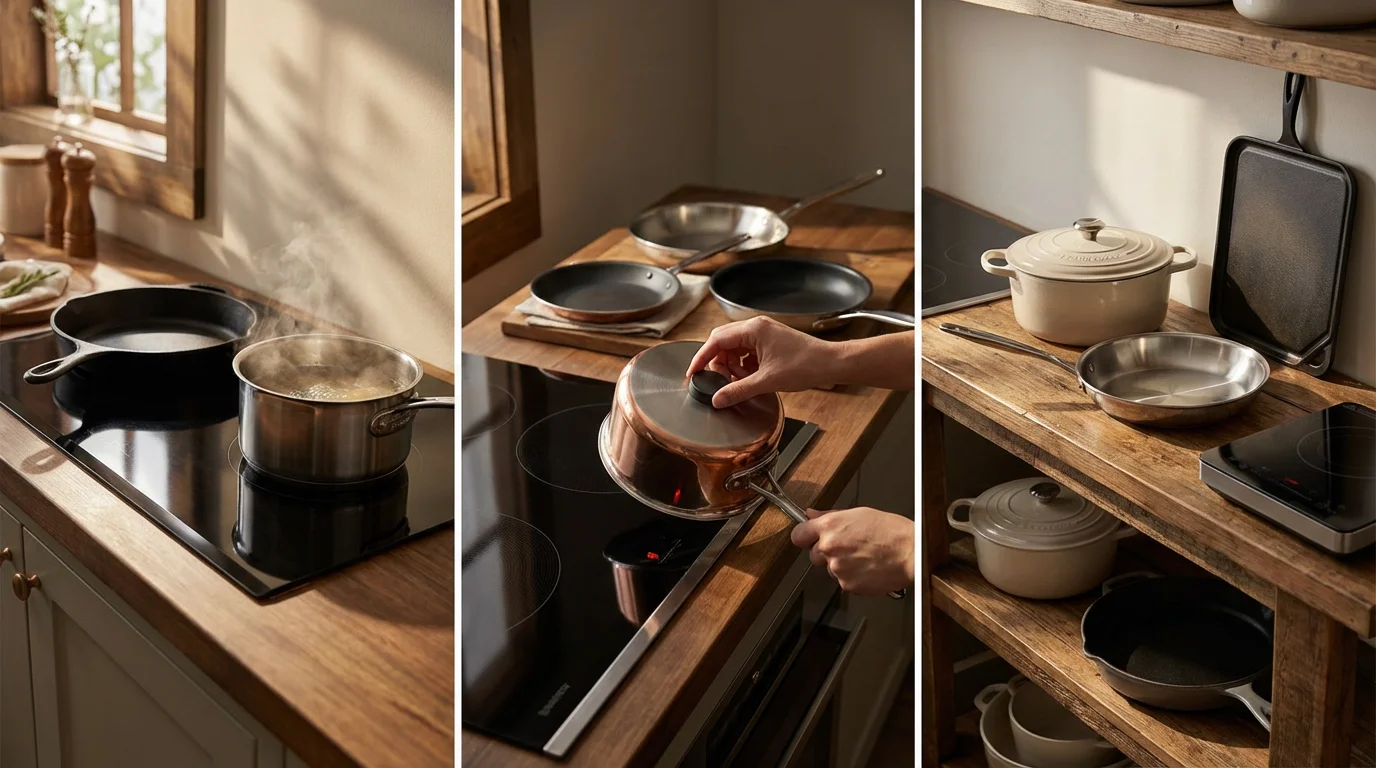
While stand mixers are a popular choice for those who enjoy manual dough preparation, bread machines offer a more convenient, hands-off approach.
Second, you gain control over your diet. Making homemade bread allows you to select high-quality flours, control sugar and salt content, and avoid common allergens or unwanted additives. This is particularly beneficial for those with dietary restrictions or health-conscious individuals. Furthermore, baking your own bread can prove more cost-effective in the long run, especially if you regularly purchase artisanal or specialty loaves. The initial investment in a bread machine quickly pays for itself through savings on store-bought bread.
Finally, a bread machine encourages culinary creativity. Many models offer programs beyond basic white bread, including dough for pizza or pasta, sweet breads, jam, and even meatloaf. This versatility makes the appliance a valuable addition to a diverse kitchen repertoire, promoting experimentation and new cooking adventures.
Essential Features to Look for in a Bread Machine
Choosing the right bread machine involves understanding key features that enhance your baking experience. Prioritizing these aspects ensures you select an appliance you will use frequently and enjoy.
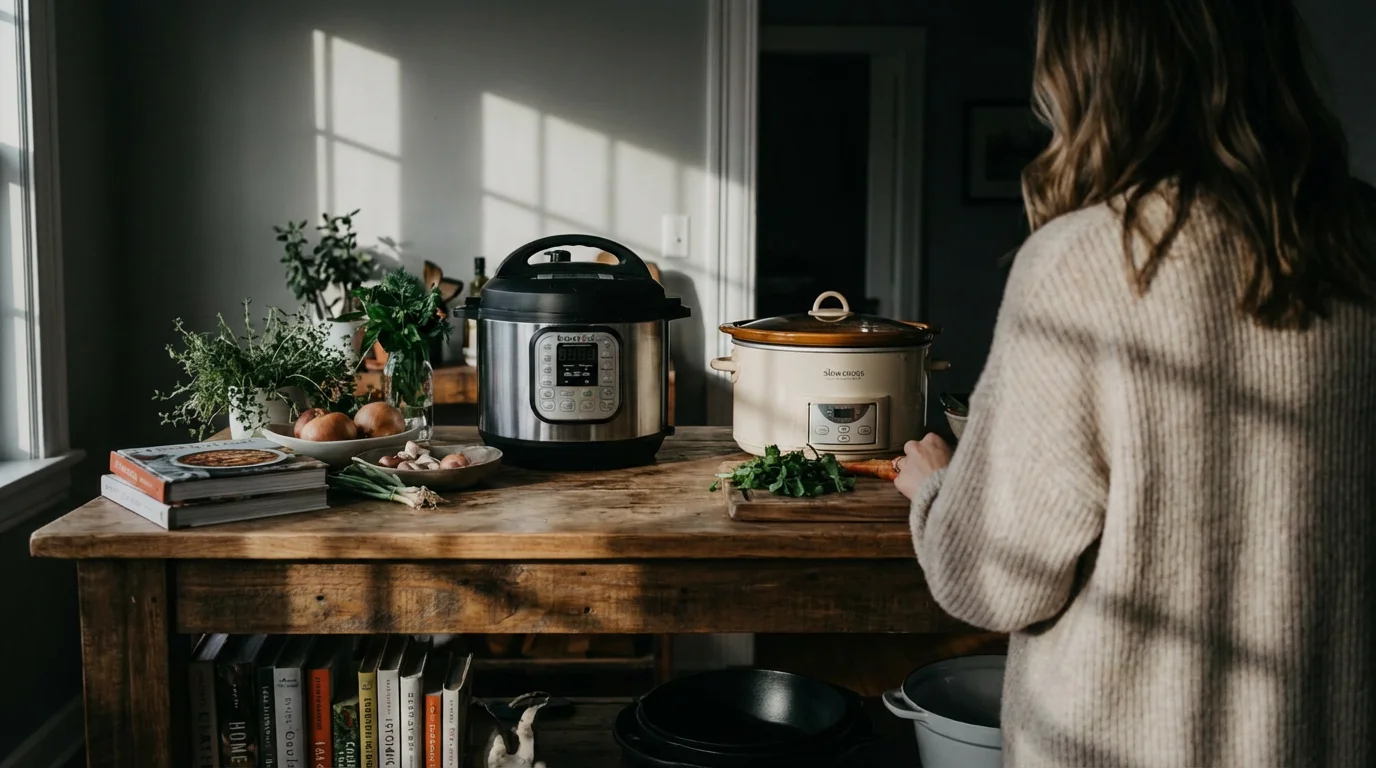
Understanding these automation features helps you build a more efficient kitchen, much like learning the safety protocols for electric pressure cookers before your first big meal.
- Loaf Size Options: Most bread machines offer choices like 1 pound, 1.5 pound, or 2 pound loaves. Some larger models accommodate up to 3 pounds. Consider your household size and how much bread you consume to determine the ideal capacity.
- Preset Programs: These are automatic settings for common tasks. Standard programs include basic white bread, whole wheat, French bread, sweet bread, and rapid bake. Many machines also feature settings for dough only, jam, cake, and crucially, gluten-free bread. A wider variety of preset programs offers greater versatility.
- Crust Settings: Achieve your preferred crust with light, medium, or dark options. This simple adjustment greatly impacts the texture and flavor of your finished loaf.
- Delayed Start Timer: A “delayed start” feature allows you to program the machine to begin baking at a later time, typically up to 13-15 hours in advance. Imagine waking up to the smell of fresh bread without setting an early alarm. This feature is a game-changer for busy mornings or planned meals.
- Keep Warm Function: After the baking cycle finishes, many machines activate a “keep warm” setting, maintaining your bread at an optimal serving temperature for up to an hour. This ensures your loaf stays fresh and warm until you are ready to slice it.
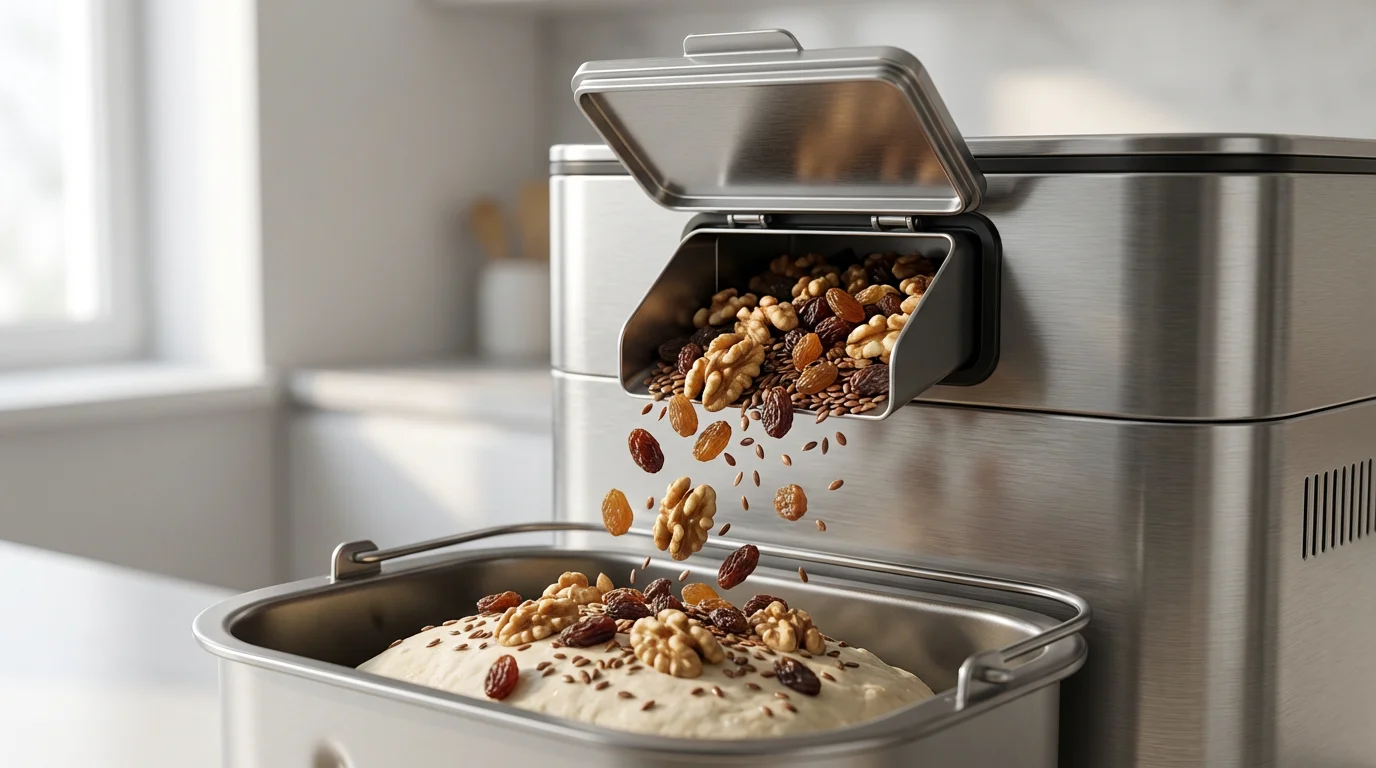
- Automatic Dispensers: For breads incorporating nuts, seeds, or dried fruits, an automatic dispenser releases these ingredients at the perfect moment during the kneading cycle. This ensures even distribution without you needing to monitor the machine.
- Kneading Paddle Design: Standard paddles leave a small hole at the bottom of the loaf. Some advanced models feature collapsible paddles that retract before baking, minimizing the indent.
- Viewing Window: A window on the lid lets you observe the baking process without opening the machine, helping maintain consistent temperature.
- Noise Level: Bread machines can be noisy during kneading cycles. If your kitchen is open concept or near bedrooms, consider models known for quieter operation.
Matching Loaf Sizes to Your Household Needs
The capacity of your bread machine dictates the size of the loaves it produces. Matching this to your consumption habits prevents waste and ensures you always have fresh bread. “Loaf size capacity” refers to the maximum weight of dough the machine can handle for a single loaf.
- 1-Pound Loaves: These compact loaves are ideal for individuals living alone or couples who consume bread sparingly. They fit perfectly in smaller kitchens with limited counter space. This size often bakes faster and ensures you always have a fresh supply without excess.
- 1.5-Pound Loaves: A versatile option suitable for small families of three to four. This size provides enough slices for a meal or two without being overwhelming. It strikes a good balance between fresh bread availability and minimal waste. Many mid-range bread machines offer this as their standard capacity.
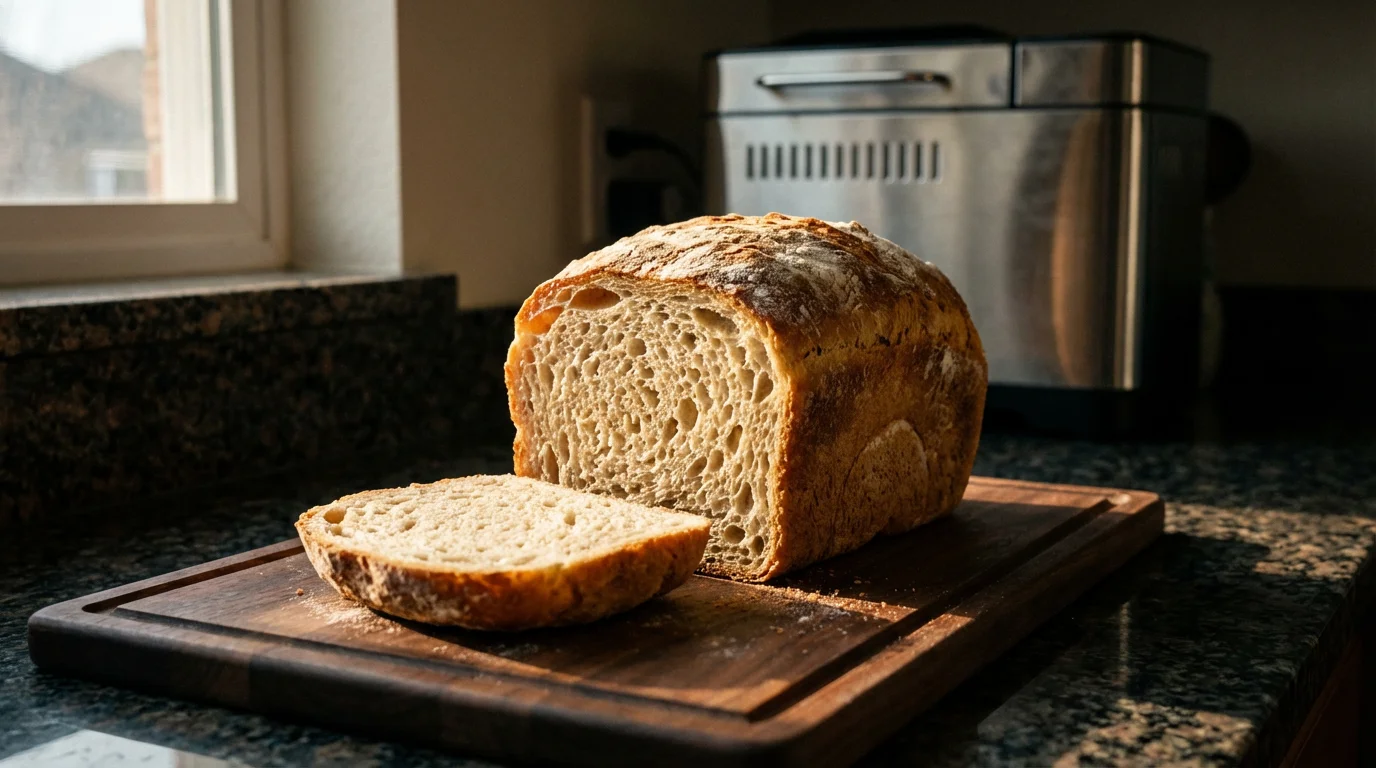
- 2-Pound Loaves: The most common and popular size, perfect for average-sized families or avid bread eaters. A 2-pound loaf provides ample slices for sandwiches, toast, and meals, often lasting several days. Most recipes found online or in cookbooks cater to this capacity, making it a convenient choice.
- 2.5-Pound to 3-Pound Loaves: Larger capacity machines cater to big families, frequent entertainers, or those who prefer to bake less often and freeze portions. These machines require more counter space and typically have higher wattage, meaning they use more power.
Consider how quickly you consume bread and your storage capabilities. Freshly baked bread tastes best within a day or two. If you consistently find yourself throwing away uneaten bread, opt for a smaller capacity machine or plan to freeze half of a larger loaf. Conversely, if your family goes through bread quickly, a larger machine saves you from baking every day.
Best Bread Machines for Gluten-Free and Specialty Breads
For individuals managing celiac disease, gluten sensitivity, or simply exploring healthier alternatives, a bread machine with dedicated gluten-free settings is indispensable. Gluten-free flours behave differently than traditional wheat flours, requiring specific kneading times, rise cycles, and baking temperatures. A dedicated “gluten-free” preset program adjusts these parameters automatically to ensure optimal results. As Serious Eats reports, dedicated gluten-free cycles make a significant difference in the texture and rise of loaves, often preventing dense, gummy results.
When selecting the best bread machine for gluten free bread, prioritize models that:
- Feature a Dedicated Gluten-Free Cycle: This is non-negotiable. These cycles typically involve less kneading and longer rise times compared to standard bread programs, which is crucial for the delicate structure of gluten-free dough.
- Offer Multiple Loaf Sizes: Gluten-free loaves can be denser, so having options for smaller 1-pound or 1.5-pound loaves might be beneficial if you prefer fresher, smaller portions.
- Allow Custom Programming: Some advanced machines allow you to create and save your own custom cycles, giving you ultimate control over kneading, rising, and baking times for experimental gluten-free recipes.
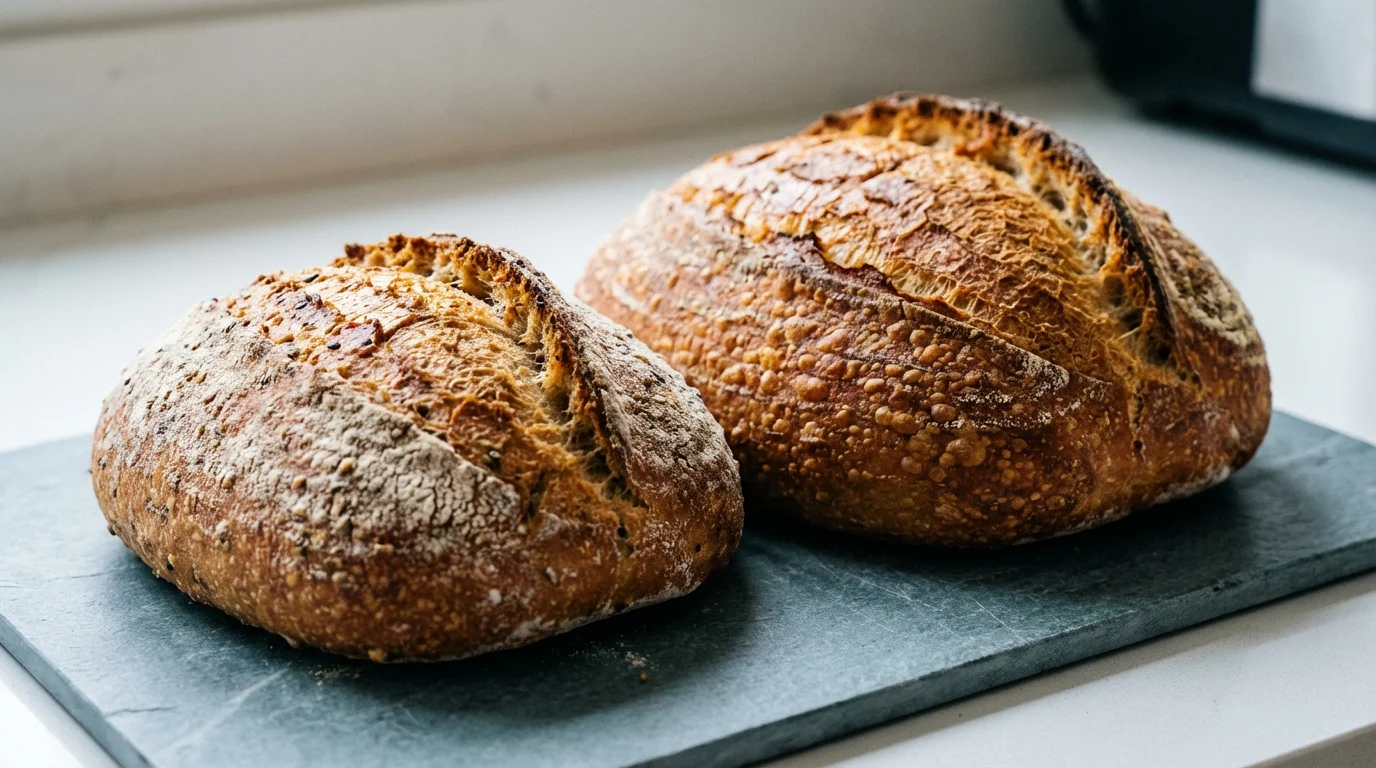
Beyond gluten-free, many bread machines excel at specialty breads. Look for machines with programs for brioche, sourdough starter, rye, or even fruit breads. The “Dough” cycle is particularly useful, allowing you to prepare dough for homemade pizza, cinnamon rolls, or artisan loaves that you finish in a conventional oven. Some machines also have programs for non-bread items like jam or compote, further enhancing their utility.
Top Bread Machines for Beginners and Ease of Use
If you are new to bread making, simplicity and reliability are paramount. The best bread machine for beginners offers an intuitive user interface, straightforward controls, and consistent results with minimal fuss. Your first experiences with a bread machine should encourage you, not frustrate you.
When learning how to use bread machine for beginners, focus on models with:
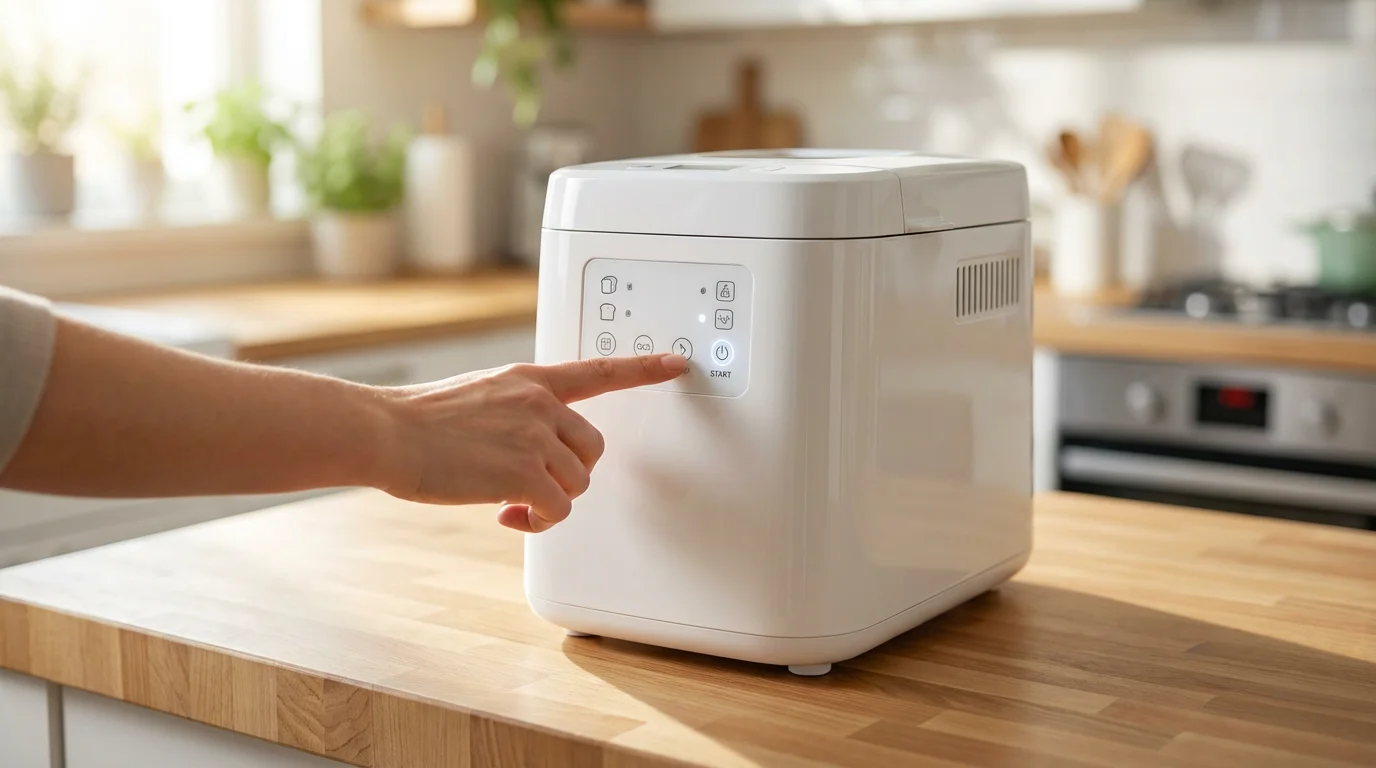
- Clear, Easy-to-Understand Controls: Look for large buttons, clear labeling, and a simple display. You do not want to navigate complex menus just to bake a basic loaf.
- Essential Preset Programs: A beginner needs fundamental programs like basic, whole wheat, and dough. Avoid machines with an overwhelming number of niche settings you might not use initially.
- Reliable Performance: Consistency builds confidence. Choose a machine known for baking well-risen, evenly browned loaves time after time, using standard recipes.
- Included Recipe Book: A good starter recipe book tailored to the machine’s programs helps you achieve success right away. It takes the guesswork out of ingredient ratios and cycle selection.
- Easy-to-Clean Components: A nonstick bread pan and a simple, easily removable kneading paddle make cleanup quick and painless, encouraging regular use.
“For beginners, simplicity trumps features. A machine with 6-8 reliable presets and clear instructions is far more valuable than one with 20 programs you’ll never touch. You want to build confidence with success, not get bogged down by complexity.” — Kitchen Appliance Expert
Many affordable and mid-range bread machines prioritize user-friendliness, making them excellent starting points. These models often have a compact footprint, fitting easily into smaller kitchens without dominating your counter space.
Premium Bread Machines for Advanced Bakers
Experienced bakers or those who wish to delve deeper into the art of bread making benefit from machines offering greater control and specialized features. These premium models often provide superior construction, advanced programming options, and enhanced versatility.
Key attributes of advanced bread machines include:
- Customizable Programs: The ability to program and save your own kneading, rising, and baking cycles allows for precise control over experimental recipes or specific artisanal bread types like sourdough. This level of customization is invaluable for perfecting unique loaves.
- Dual Kneading Paddles: Some larger machines feature two kneading paddles, which ensure more thorough mixing and kneading for larger loaves, resulting in a more consistent crumb structure.
- Heater on Lid: Certain models incorporate a heating element in the lid, promoting more even browning on the top of the loaf and a consistent crust all around.
- Ingredient Dispensers: Advanced machines often include multiple automatic dispensers for yeast, fruits, or nuts, adding ingredients at the optimal time without requiring manual intervention.
- Durability and Build Quality: Premium machines typically boast more robust construction, using high-quality materials that promise longer lifespan and more stable operation, particularly during vigorous kneading cycles. They may also have quieter motors.
- Sourdough Starter Function: Specific programs can assist in maintaining and proofing sourdough starter, a feature highly valued by artisanal bakers.
These features come at a higher price point, but they provide the flexibility and precision that advanced bakers seek to elevate their homemade bread production. They are an investment for those committed to exploring a wide range of bread types and achieving professional-level results at home.
Bread Machine Comparison: Key Specifications
To help you compare different types of bread machines, here is a table illustrating typical specifications for various models. Remember that these are representative examples, and specific models will have their own unique details.
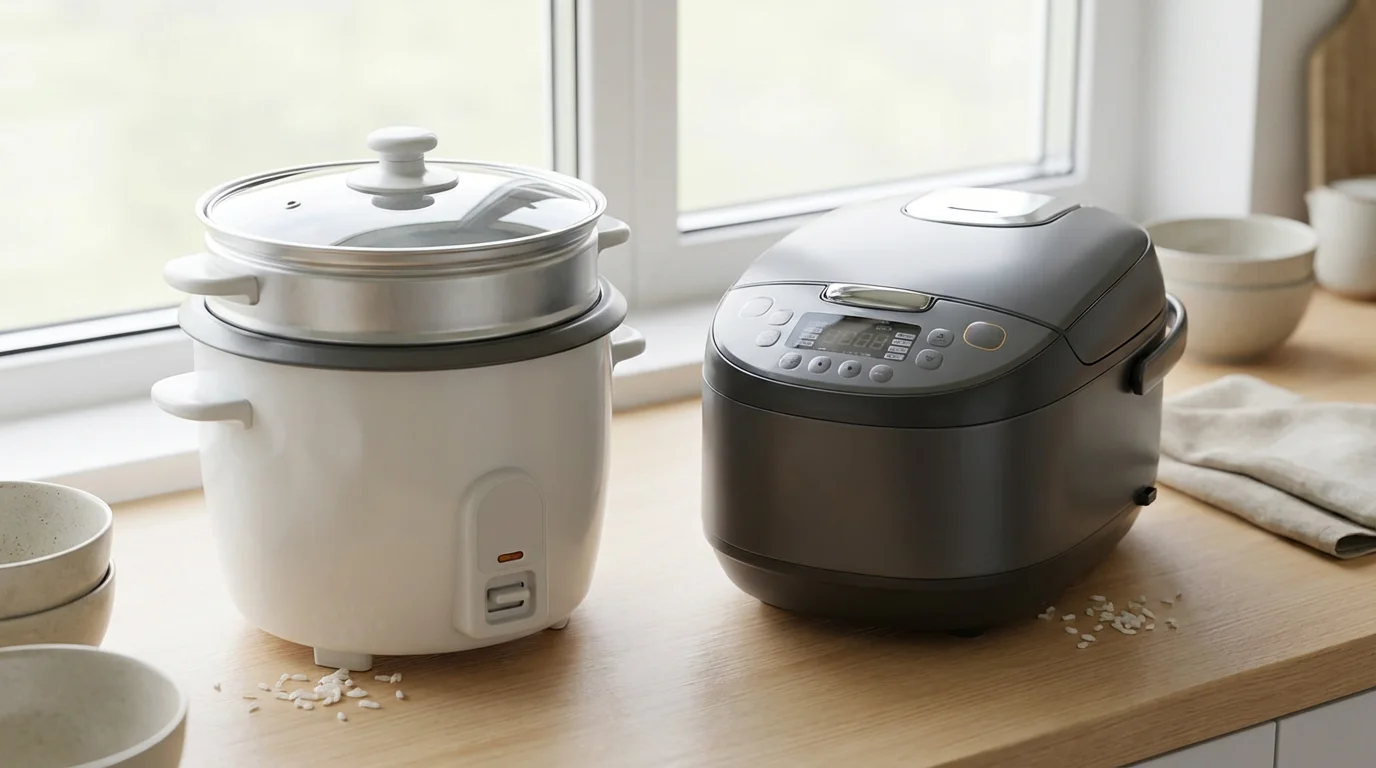
Just as you might compare different rice cooker models for their specialized cycles, bread machines vary greatly in their programming complexity.
| Model Type | Loaf Size Capacity | Typical Programs | Dimensions (H x W x D) | Wattage | Key Features |
|---|---|---|---|---|---|
| Compact Beginner Model | 1 lb, 1.5 lb | Basic, Whole Wheat, French, Dough, Jam, Rapid Bake | 12″ x 10″ x 13″ | 500-600 W | Delayed Start, Keep Warm, 3 Crust Settings |
| Versatile Mid-Range Model | 1.5 lb, 2 lb | Basic, Whole Wheat, French, Gluten-Free, Dough, Jam, Cake, Sweet, Rapid | 13″ x 11″ x 14″ | 650-750 W | Automatic Fruit/Nut Dispenser, Delayed Start, Keep Warm, Viewing Window |
| Specialty Gluten-Free Model | 1 lb, 1.5 lb, 2 lb | Dedicated Gluten-Free, Basic, Whole Wheat, Sweet, Dough, Yeast-Free | 14″ x 10.5″ x 15″ | 700-800 W | Precise GF Cycle, Custom Program Option, Delayed Start, Quiet Operation |
| Premium Large Capacity Model | 2 lb, 2.5 lb, 3 lb | Extensive presets, Custom Programs, Sourdough, Pasta Dough, Jam | 15″ x 12″ x 16″ | 800-900 W | Dual Kneading Paddles, Automatic Yeast/Fruit Dispenser, Collapsible Paddle, Heater in Lid |
Wattage measures how much power an appliance uses; higher wattage usually means faster heating or more powerful kneading, which can be beneficial for denser doughs. Dimensions refer to the physical size of the appliance, crucial for fitting it into your kitchen space. Pay close attention to these details to ensure your chosen bread machine meets both your baking needs and your spatial constraints.
Space and Energy Considerations for Your Kitchen
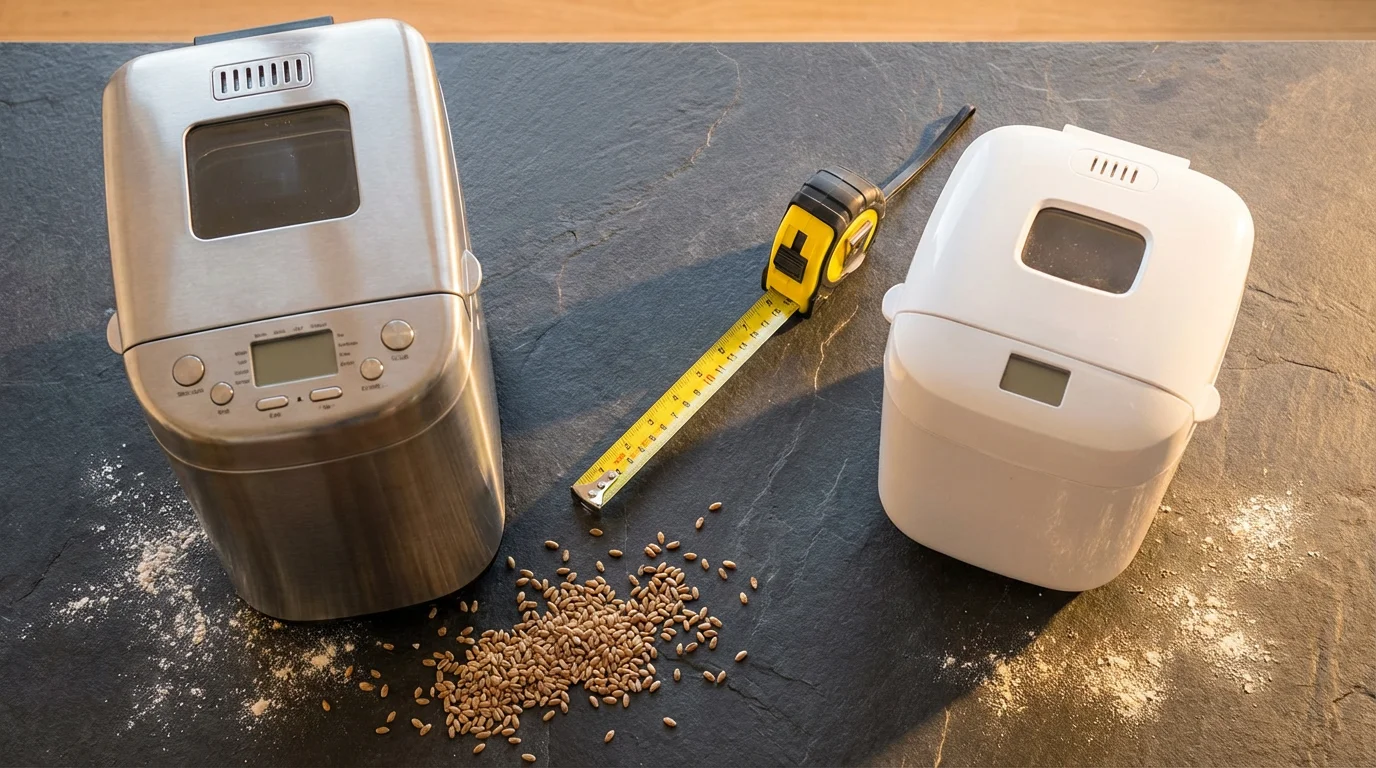
Counter space is a premium commodity in most kitchens. Before you commit to a bread machine, carefully measure the area where you intend to place it. Bread machines, particularly larger capacity models, can have substantial footprints.
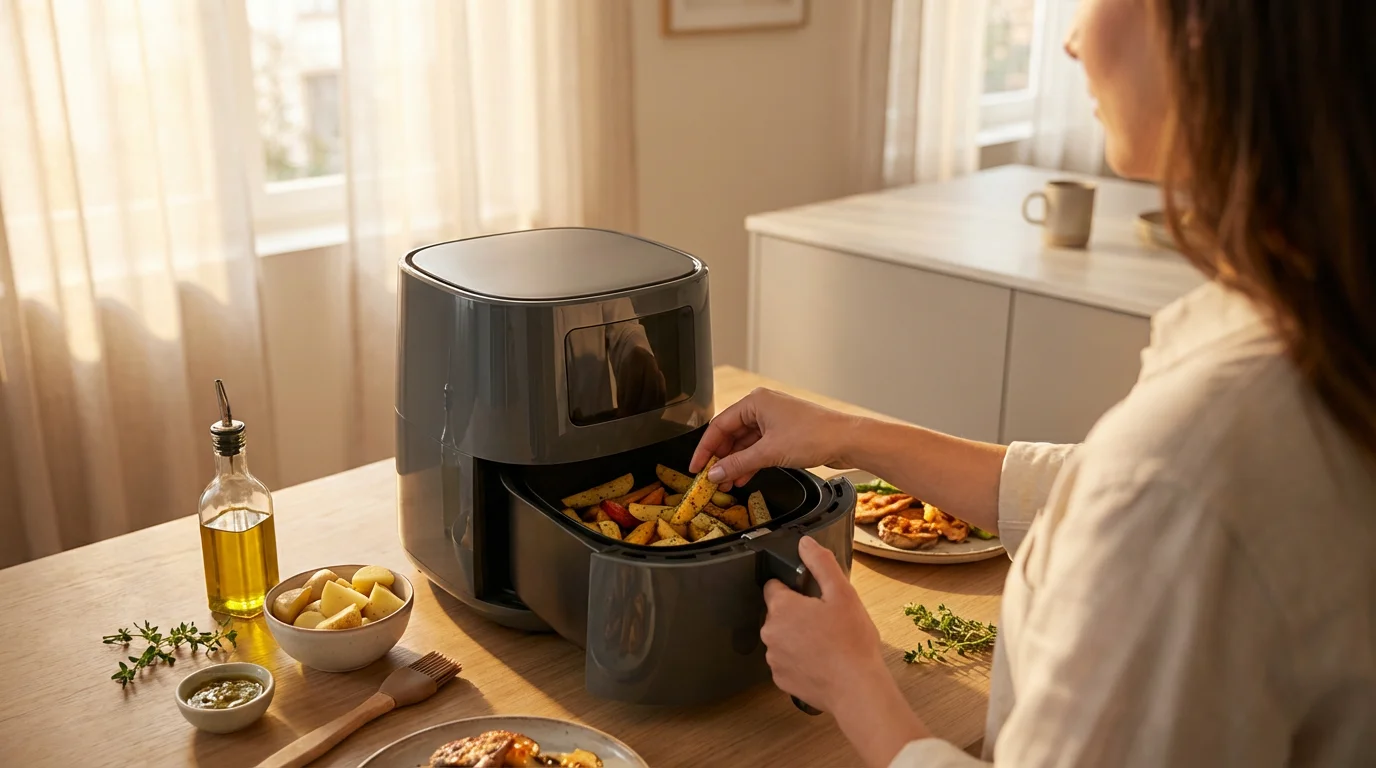
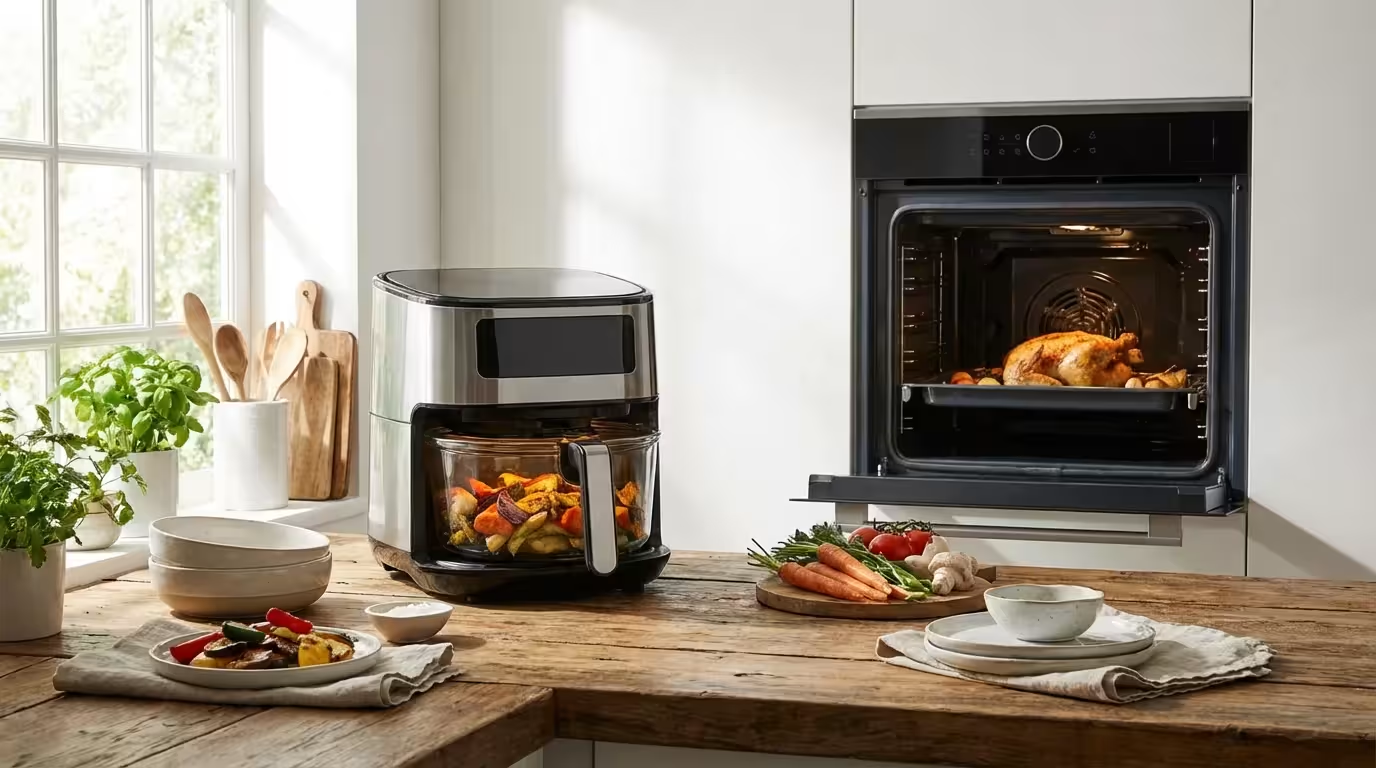
Finding the right spot for your baker is just as important as choosing where to place other essential gear, like your first air fryer.
Consider the following:
- Dimensions: As listed in the comparison table, bread machines vary significantly in height, width, and depth. A compact model might be 12″ H x 10″ W x 13″ D, while a larger, premium machine could reach 15″ H x 12″ W x 16″ D. Ensure ample clearance from overhead cabinets, especially if the machine has a lid that opens upwards. Also, factor in space around the machine for proper ventilation during operation.
- Weight: Bread machines can be quite heavy, ranging from 12 to over 20 pounds. If you plan to store it away and pull it out only for use, assess whether you can comfortably lift and move it. Lighter models offer greater portability.
- Noise Levels: The kneading cycle is typically the loudest part of bread making. Some machines operate with noticeable hums and clunks, particularly with denser doughs. If your kitchen is an open-plan living area or close to bedrooms, consider reviews that mention quiet operation. Premium models often incorporate better insulation and motor design for reduced noise.
Energy consumption is also a factor, particularly if you plan to bake bread frequently. A typical bread machine consumes between 500 and 900 watts during its operational cycle. While an average bake cycle lasts 3-4 hours, the machine is not continuously drawing maximum wattage. The heating element cycles on and off, and the kneading motor only runs for a fraction of the time. The overall cost per loaf is generally low, often just a few cents per cycle, making it an efficient way to produce homemade bread compared to running a full-sized oven for a similar duration. For perspective, according to Consumer Reports’ evaluations of small appliances, efficiency metrics are important, but the convenience and fresh product often outweigh minimal energy differences for appliances like bread makers.
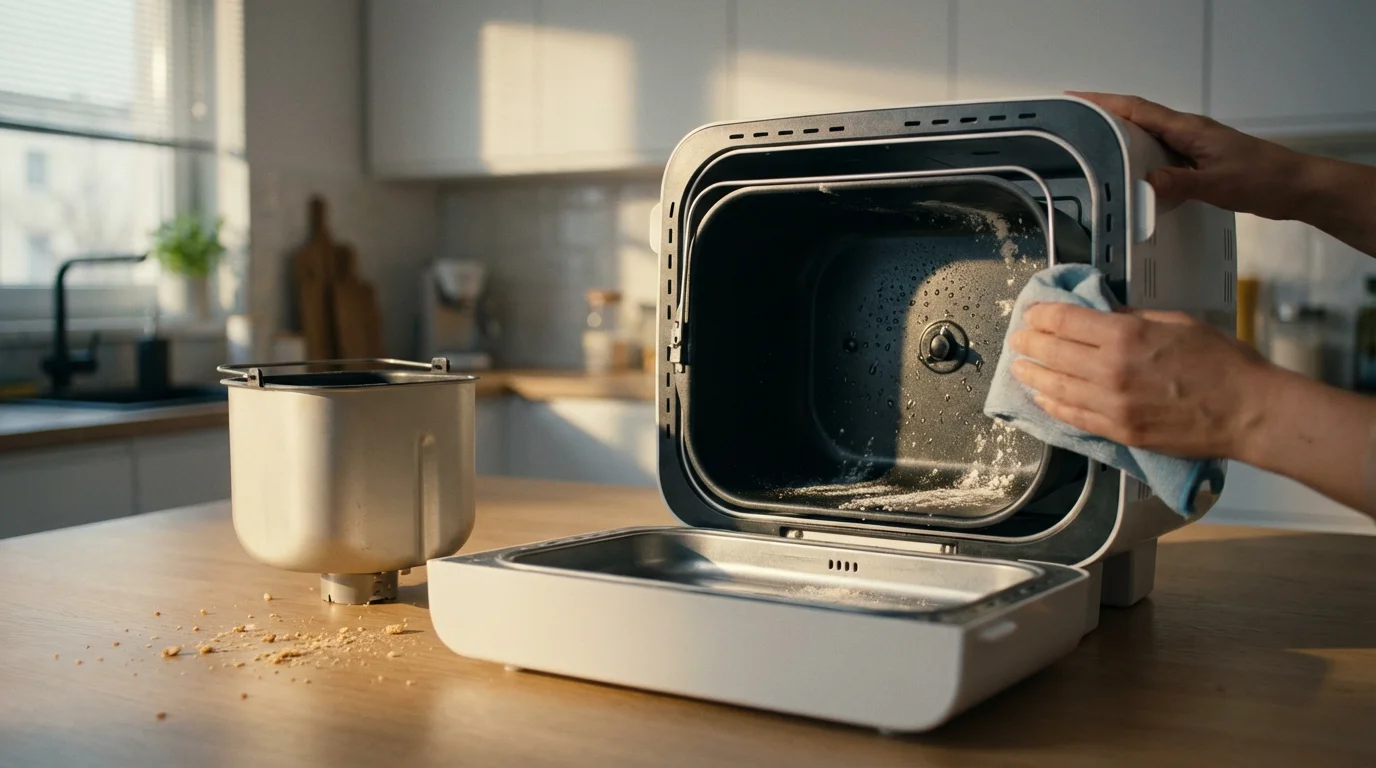
Maintaining Your Bread Machine: Cleaning and Care
Proper maintenance ensures your bread machine performs optimally for years and prevents unwanted build-up. Cleaning a bread machine is generally straightforward, but attention to detail makes a difference.
Keeping your appliances in top shape, including your food processor, ensures they remain reliable tools in your kitchen for years to come.
- Bread Pan: Most bread pans feature a nonstick coating. After each use, remove the pan and allow it to cool completely. Wash it with warm, soapy water and a soft sponge. Avoid abrasive scrubbers or harsh detergents, as these can damage the nonstick surface. While some pans are technically “dishwasher-safe,” hand washing often prolongs the life of the nonstick coating. Ensure the pan is thoroughly dry before returning it to the machine.
- Kneading Paddle: The kneading paddle is usually removable. After baking, sometimes the paddle gets stuck in the loaf or has a bit of dough baked onto it. Soak it in warm, soapy water for a few minutes to loosen any residue, then clean it with a soft brush. Ensure you remove any dough stuck around the shaft area.
- Interior and Exterior: Wipe down the interior of the baking chamber and the machine’s exterior with a damp cloth after each use. Crumbs can accumulate in crevices and around the heating element. Ensure no water drips into the motor or electrical components. Never immerse the entire bread machine in water.
- Air Vents: Periodically check and clear any dust or flour from the air vents on the machine’s exterior. This ensures proper airflow and prevents overheating.
- Storage: Store your bread machine in a cool, dry place when not in use. If you store it in a cabinet, ensure it is completely clean and dry to prevent mold or mildew growth.
Consistent cleaning not only keeps your bread machine looking new but also prevents dough remnants from hardening and affecting future bakes. A well-maintained machine delivers superior results every time.
Frequently Asked Questions
Can I use regular all-purpose flour in a bread machine?
Yes, you can absolutely use regular all-purpose flour in a bread machine, but for best results, especially with yeast breads, use bread flour. Bread flour has a higher protein content, which develops more gluten and gives your bread a better structure and chew. All-purpose flour can still make good bread, but it might be slightly less robust or have a different texture.
How much noise do bread machines make during operation?
Bread machines vary in noise levels, but the kneading cycles are generally the loudest part. You will hear a motor hum, and the dough can make slapping sounds against the pan. Some models, especially entry-level ones, can be quite noticeable, while premium machines often have quieter motors and better insulation. The baking and rising cycles are typically very quiet.
Is it truly more cost-effective to make bread at home with a bread machine?
Yes, making bread at home with a bread machine is generally more cost-effective than regularly buying artisan or specialty breads from a bakery or grocery store. The cost of basic ingredients (flour, yeast, sugar, salt, water) is significantly less than a prepared loaf. While there is an initial investment in the machine and minimal electricity usage, these costs are usually offset over time, especially if you bake frequently.
What is the most common mistake beginners make when using a bread machine?
The most common mistake beginners make is incorrectly measuring ingredients, particularly the liquid-to-flour ratio. Bread machines rely on precise measurements for optimal dough consistency. Always use measuring cups and spoons accurately, and add ingredients in the order specified by your machine’s manual. Too much or too little liquid can lead to a dense, sticky, or crumbling loaf.
How should I store homemade bread baked in a bread machine?
Store homemade bread at room temperature in an airtight container, a bread box, or a sealed plastic bag. Avoid refrigerating fresh bread, as it can cause it to stale faster. For longer storage, slice the cooled bread and freeze it in an airtight freezer bag. You can then thaw slices as needed, maintaining freshness for several weeks.
Disclaimer: Product prices, features, and availability change frequently. Prices shown were accurate at time of writing but may have changed. We may earn a small commission from purchases made through links on this site, at no extra cost to you. Always verify current pricing and specifications on the retailer’s website before purchasing.
Leave a Reply