
Maintaining a healthy diet while traveling or managing a busy schedule often feels like an impossible task. You rely on fast food or overpriced airport snacks because you simply don’t have access to your kitchen tools. For years, smoothie lovers were tethered to their countertops by heavy, corded appliances. That has changed.
The rise of the portable blender—sometimes called a travel blender or personal blender—has bridged the gap between home cooking and life on the road. These compact, battery-operated devices allow you to blend a protein shake at the gym, puree baby food at a park, or mix a margarita at a campsite. However, not all portable units are created equal. Some crush ice with ease, while others stall on a frozen strawberry.
This guide breaks down exactly what to look for in a travel blender, how they differ from their corded cousins, and which specs actually matter for your lifestyle.
What Is a Portable Blender vs. Personal Blender?
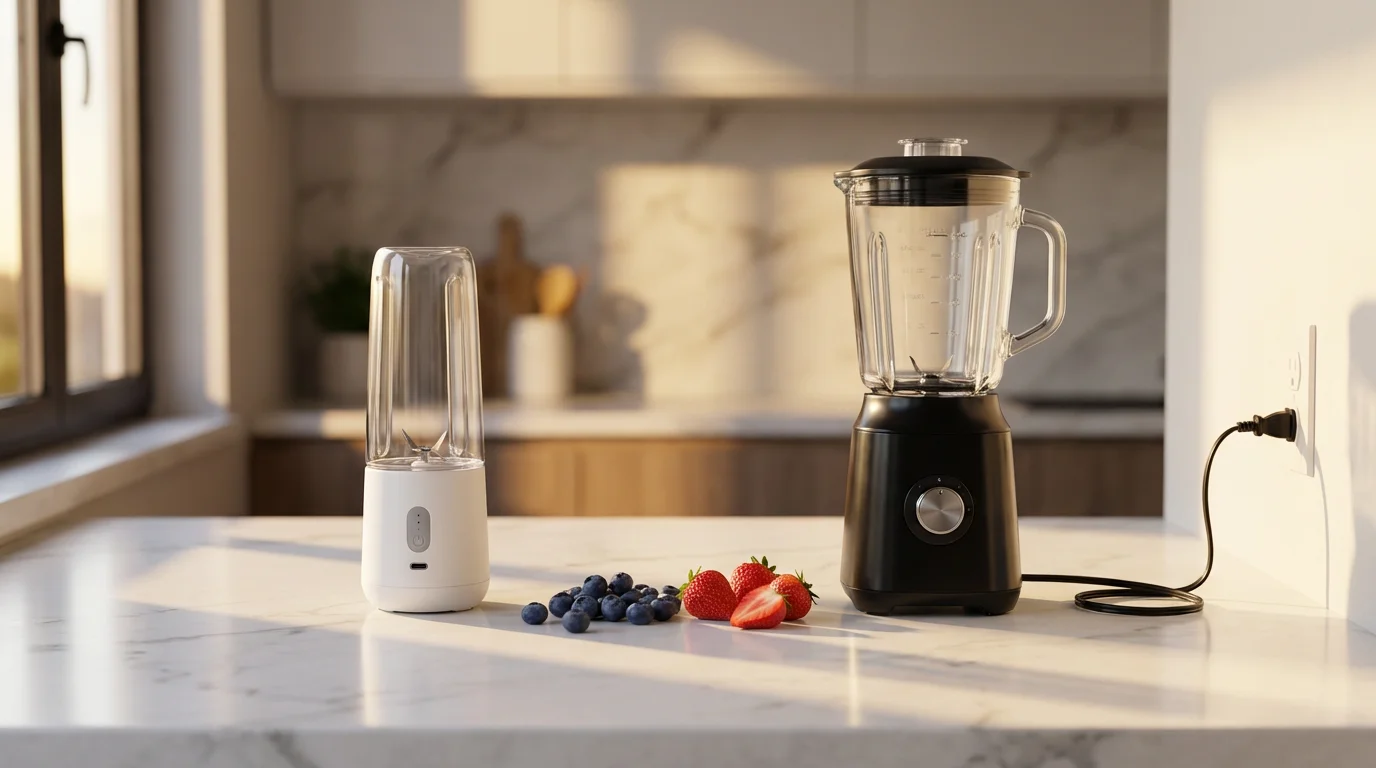
Before you make a purchase, it is vital to understand the terminology, as manufacturers often use terms interchangeably. A personal blender usually refers to a compact, corded appliance (like a Nutribullet or Ninja Fit) that requires an electrical outlet. These are great for small kitchens or dorm rooms but aren’t truly “mobile.”
A portable blender, the focus of this guide, runs on a rechargeable battery. It is self-contained—meaning the motor base and the jar are one unit—and fits easily into a gym bag or backpack. You do not need a wall outlet to use it, only to charge it.
According to Wirecutter, the trade-off for this cordless freedom is power. While a corded personal blender might boast 600 to 900 watts, a battery-operated portable blender typically operates between 50 and 175 watts. This drastic difference changes how you must prep your ingredients. You generally cannot toss in whole apples or large ice cubes; you must chop ingredients smaller and use more liquid.
Key Features: Power, Battery, and Charging
When reviewing specs, three metrics will tell you if a blender is a toy or a tool: voltage, battery capacity, and charging style.
Motor Voltage and Wattage
In the world of appliances, wattage measures the power used. Higher wattage generally correlates with higher torque and better blending ability. For portable units, look for models that operate at 7.4 volts (often marketed as “double the power” of standard 3.7-volt motors). A 7.4-volt motor is significantly better at powering through frozen fruit without jamming.
Battery Capacity (mAh)
Battery capacity is measured in milliamp-hours (mAh). A higher number means the battery holds more energy.
- 2000 mAh: Good for 8–10 blends per charge. Lightweight but requires frequent charging.
- 4000 mAh: The current gold standard. Good for 15–20 blends. Provides more consistent power delivery near the end of the battery life.
USB-C vs. Proprietary Charging
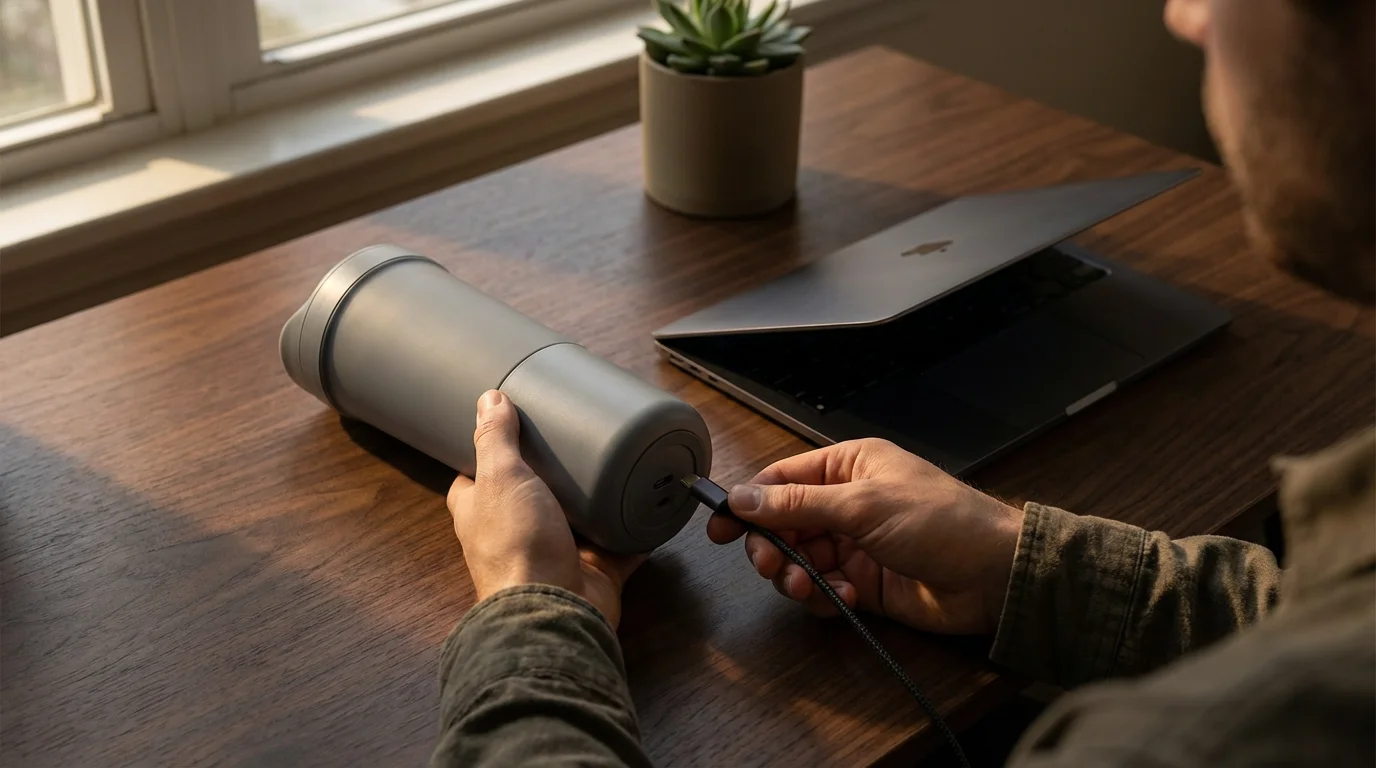
Avoid proprietary chargers at all costs. If you lose the specific magnetic cable that came with the blender, the device becomes a paperweight. Look for USB-C charging. This allows you to charge your blender with the same cable you use for your laptop, Android phone, or iPad. It is the most practical choice for travel.
“Counter space is premium real estate. But when traveling, luggage space is even more critical. If an appliance requires its own unique charging brick, it’s likely to get left behind.” — Professional Travel Organizer
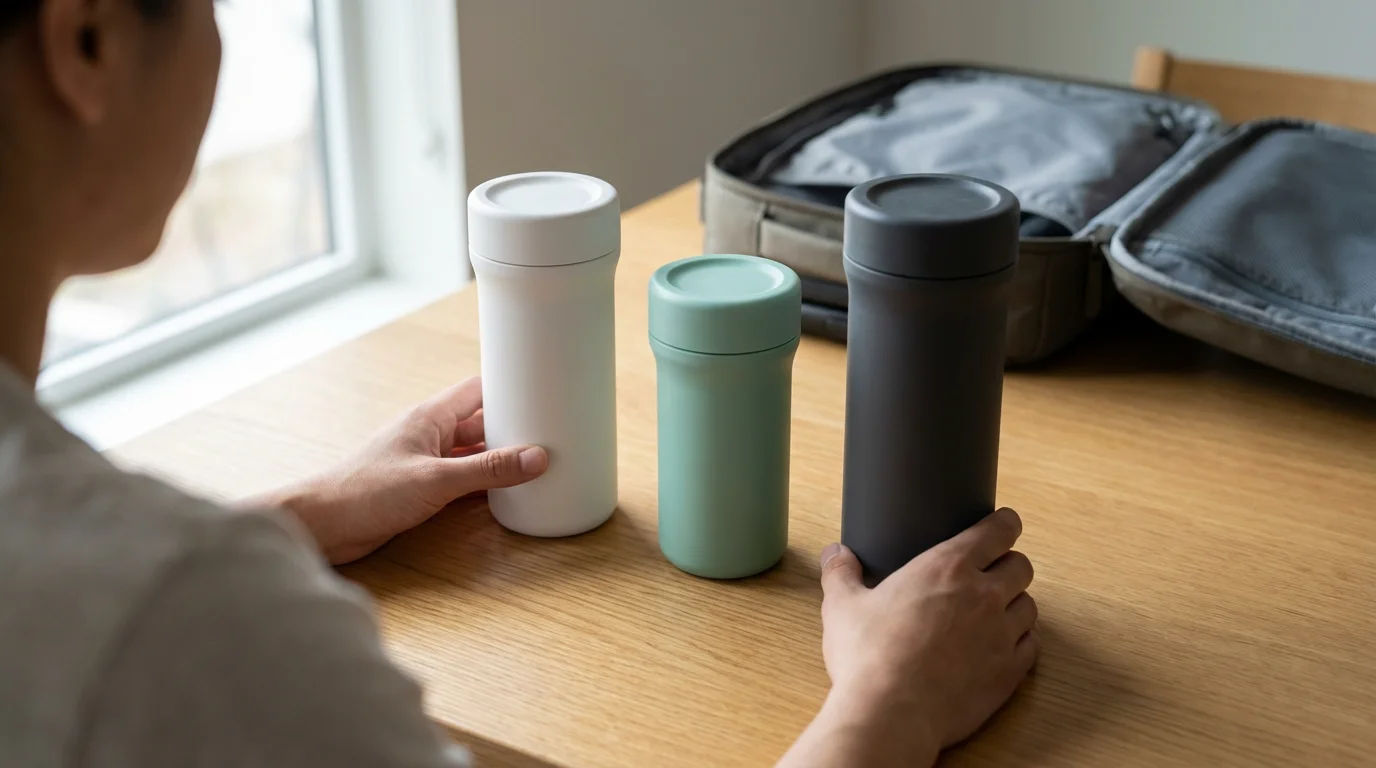
Capacity and Weight: Finding the Sweet Spot
Size matters, but bigger isn’t always better when you have to carry it.
Capacity refers to the volume of liquid and ingredients the jar holds. Most portable blenders range from 10 ounces to 20 ounces.
- 10–12 oz: Ultra-portable but often too small for a meal-replacement smoothie. Best for salad dressings or baby food.
- 14–16 oz: The ideal balance. This provides enough room for a standard protein scoop, liquid, and fruit without overflowing.
- 18+ oz: Begins to lose portability. These units are often heavier and taller, making them difficult to fit in standard car cup holders.
Weight is the hidden spec that leads to buyer’s remorse. A unit weighing over 1.5 pounds (24 oz) becomes noticeable in a hiking backpack or tote bag. Aim for a unit between 1 and 1.3 pounds for true portability.
Comparison of Leading Portable Blender Styles
While models change frequently, portable blenders generally fall into three categories. Use this table to determine which category fits your needs.
| Feature | Compact Cylinder (e.g., BlendJet Style) | Performance Cup (e.g., Ninja Blast Style) | Bullet-Style Portable (e.g., Nutribullet GO) |
|---|---|---|---|
| Typical Wattage | 50–70 Watts | 100–150 Watts | 70–100 Watts |
| Best Usage | Powders, soft fruit, fresh greens | Frozen fruit, crushed ice, smoothies | Protein shakes, light mixing |
| Battery Life | 10–15 blends | 10–12 blends (higher power drain) | 15–20 blends |
| Weight | ~1.1 lbs | ~1.7 lbs | ~1.5 lbs |
| Blending Mechanism | Offset blades (creates vortex) | Ribbed cup design (improves flow) | Standard flat blade |
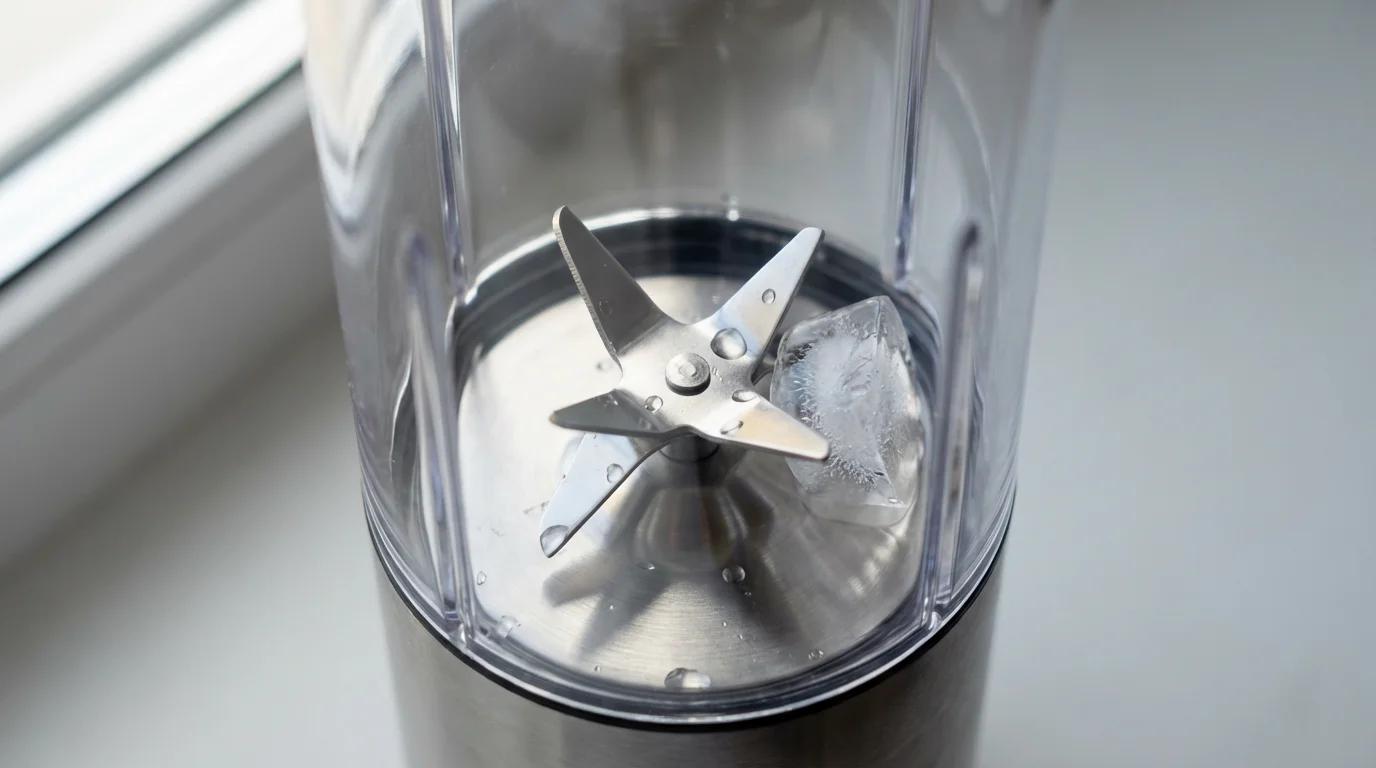
Performance Realities: Managing Ice and Frozen Fruit
Let’s be honest: a battery-powered motor cannot replicate the sheer force of a Vitamix. If you try to blend a cup full of rock-hard ice cubes in a portable blender, you will likely jam the blade or overheat the motor. However, you can achieve a frosty texture if you adjust your technique.
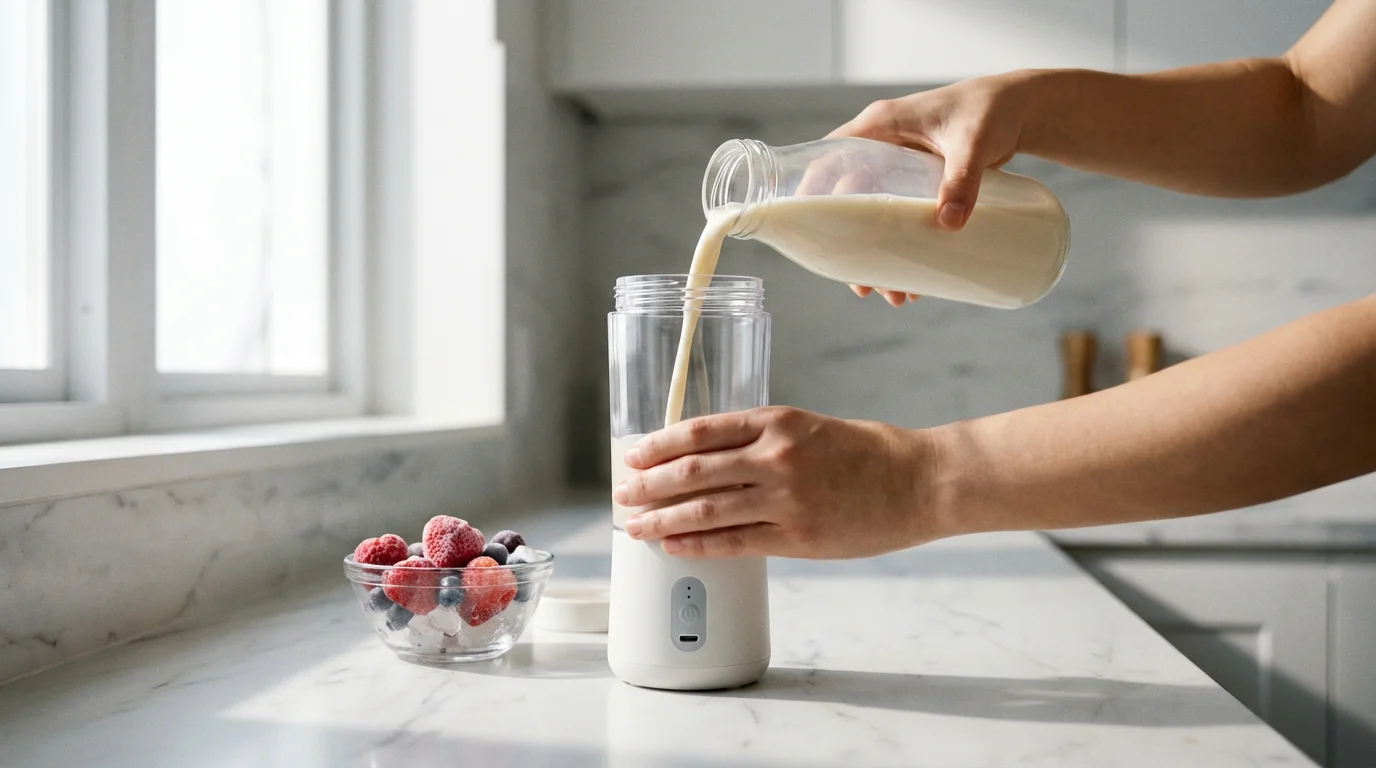
The Liquid-First Rule
Gravity is your friend. Always pour your liquid (water, oat milk, juice) in first. This ensures the blades can spin freely to create a vortex before they hit solid ingredients. Add powders next, followed by soft fruits, and finally, your frozen ingredients on top.
The Pulse Technique
Many modern portable blenders feature a “Pulse” mode. This turns the motor on and off rapidly. Consumer Reports suggests using the pulse function to break down chunkier ingredients like frozen berries before switching to a continuous blend cycle. This prevents the blades from getting stuck and preserves battery life.
Ice Management
If you love icy drinks, use “nugget” ice or crushed ice rather than standard freezer cubes. If you only have large cubes, let them sit in the liquid for 2–3 minutes to soften slightly before blending.
Travel Safety and TSA Guidelines
Taking your blender on a plane requires knowledge of TSA regulations regarding batteries and sharp objects. This is where many travelers get caught off guard.
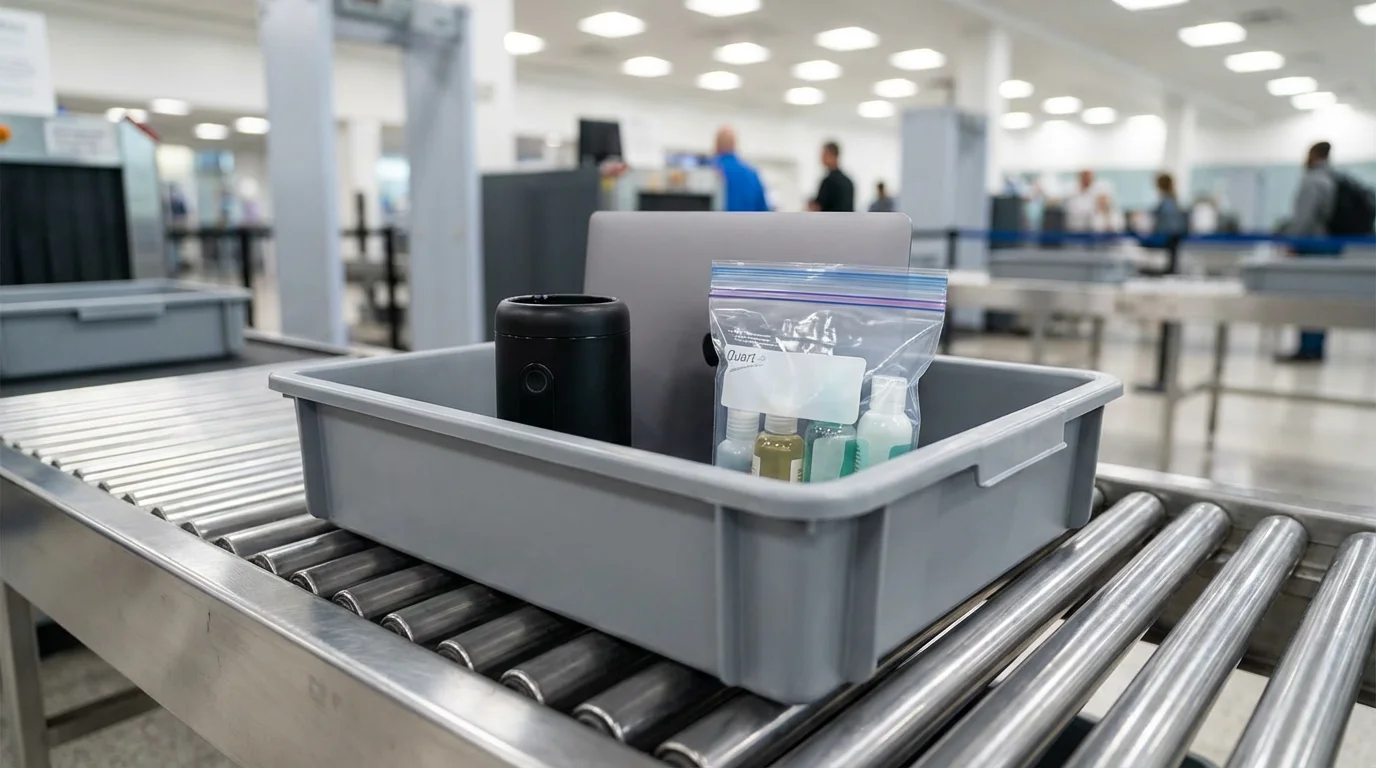
Carry-On vs. Checked Bags
Portable blenders contain lithium-ion batteries. You cannot pack loose lithium batteries or devices with non-removable lithium batteries in your checked luggage. Because the battery is integrated into the base of most portable blenders, the motor base must go in your carry-on bag.
However, the blades pose a different issue. TSA rules generally prohibit bladed items in carry-ons. This creates a conflict: the battery must be with you, but the blades technically shouldn’t be.
The Solution:
- Empty and Clean: Ensure the blender is completely dry and clean.
- Disassemble if Possible: If the blade lid detaches from the battery base, pack the blade lid in your checked bag and the battery base in your carry-on.
- The Integrated Unit Exception: Many TSA agents allow portable blenders in carry-ons if the blades are enclosed within the cup and cannot be accessed or used as a weapon. However, this is at the discretion of the individual officer.
For road trips and camping, these restrictions obviously do not apply, making portable blenders ideal for van life or car camping.
Cleaning and Maintenance on the Road
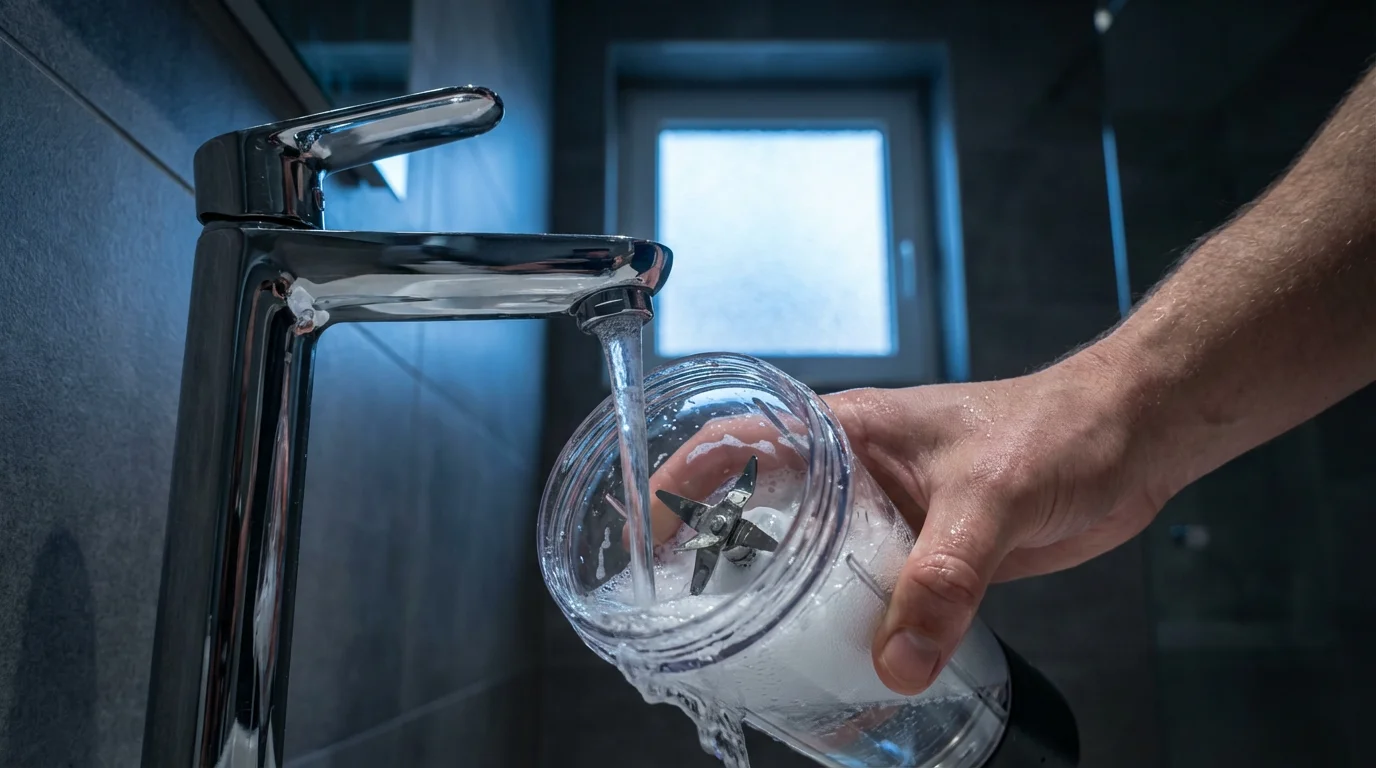
Hygiene is a major concern when you don’t have access to a dishwasher. Luckily, portable blenders are essentially self-cleaning.
The Drop-and-Blend Method:
- Immediately after drinking your smoothie, fill the cup halfway with water.
- Add a single drop of dish soap.
- Secure the lid and run a blend cycle for 10 seconds.
- Rinse thoroughly with fresh water.
Deep Cleaning: Every few days, you should inspect the gasket (the rubber ring in the lid). Protein powder and fruit residue can get trapped behind this ring, leading to mold growth. Use a small brush or a toothpick to gently lift the gasket and rinse it separately. Ensure the USB-C port cover is closed tightly before washing the exterior of the base.
Frequently Asked Questions
Can portable blenders crush ice?
Yes, but with caveats. Most high-quality portable blenders can handle crushed ice or small frozen fruit. They struggle with large, standard freezer cubes. For best results, use plenty of liquid and pulse the blender to break up the ice initially.
Are portable blenders dishwasher safe?
Generally, the blending jar and lid are top-rack dishwasher safe, but the motor base is never dishwasher safe. The base contains the battery and electrical components. Wipe the base down with a damp cloth and only wash the detachable parts in the machine.
Can I put hot liquids in a portable blender?
No. Most portable blenders are not designed for hot liquids (like bulletproof coffee). The steam creates pressure inside the sealed jar, which can cause the lid to blow off or the seal to fail, creating a safety hazard. Stick to warm, room temperature, or cold ingredients.
How long does the battery last?
On average, a fully charged portable blender lasts for 10 to 15 blending cycles. However, tough ingredients like frozen fruit require more power and will drain the battery faster than blending protein powder and water.
Disclaimer: Product prices, features, and availability change frequently. Prices shown were accurate at time of writing but may have changed. We may earn a small commission from purchases made through links on this site, at no extra cost to you. Always verify current pricing and specifications on the retailer’s website before purchasing.

Leave a Reply