You bought high-quality beans, ground them fresh, and measured your water perfectly. Yet, your morning cup tastes bitter, burnt, or just flat. Before you blame the beans, take a look at your machine. When was the last time you actually cleaned it?
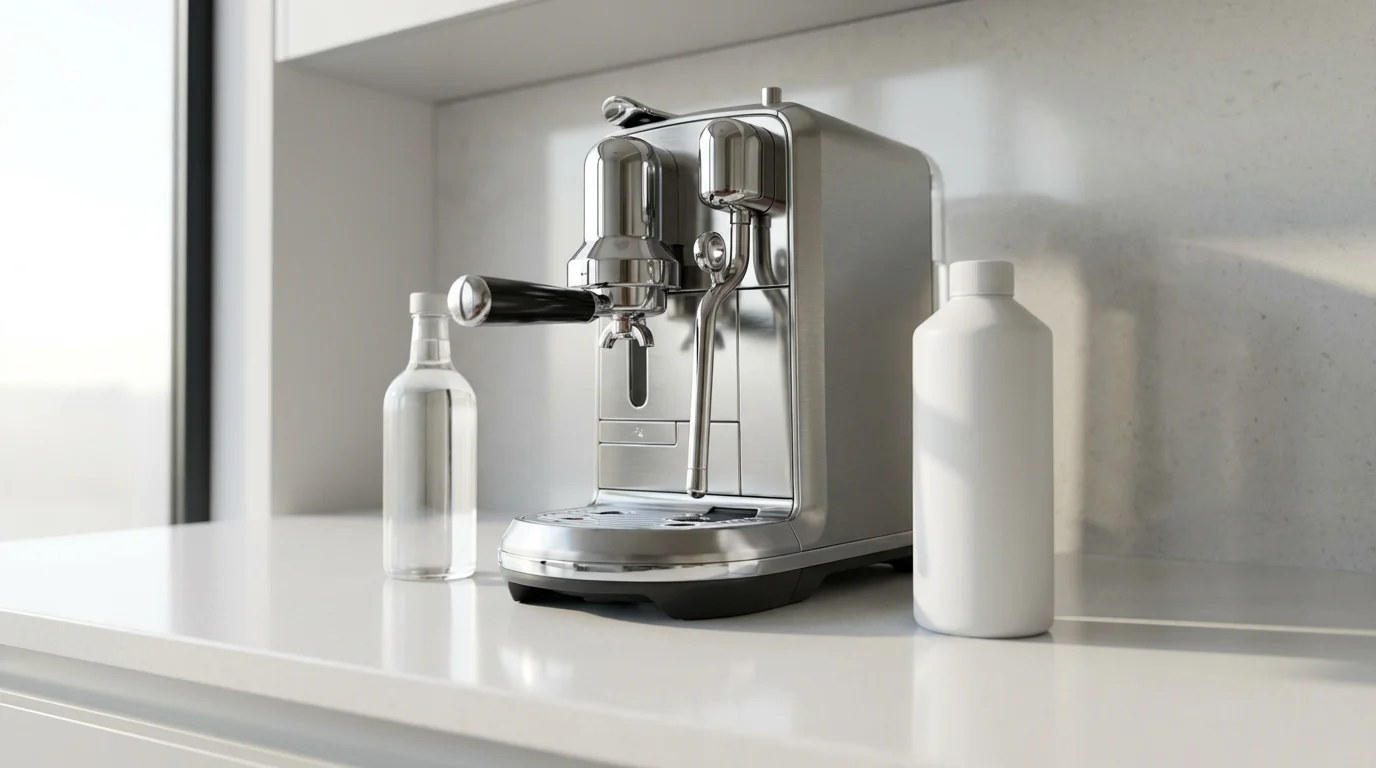
We aren’t talking about a quick rinse of the carafe. We mean a deep clean and descale. Over time, coffee oils go rancid, and minerals from your water coat the heating elements. This buildup affects flavor, brewing temperature, and the lifespan of your appliance. Whether you use a standard drip brewer, a Keurig, or a high-end espresso machine, regular maintenance is the only way to ensure your coffee tastes as good as it smells.
Signs Your Coffee Maker Needs Help
Coffee makers are workhorses in American kitchens, often running every single day. Because the decline in performance happens gradually, you might not notice it immediately. However, your machine gives clear signals when it is struggling.
Watch for these red flags:
- Slower brewing times: If your pot takes 12 minutes to brew when it used to take 6, mineral buildup is likely clogging the water flow.
- Excessive noise: Hissing, sputtering, and loud gurgling often indicate a blockage in the heating element or tubes.
- Lukewarm coffee: Scale buildup acts as insulation on the heating element, preventing the water from reaching the optimal brewing temperature (between 195°F and 205°F).
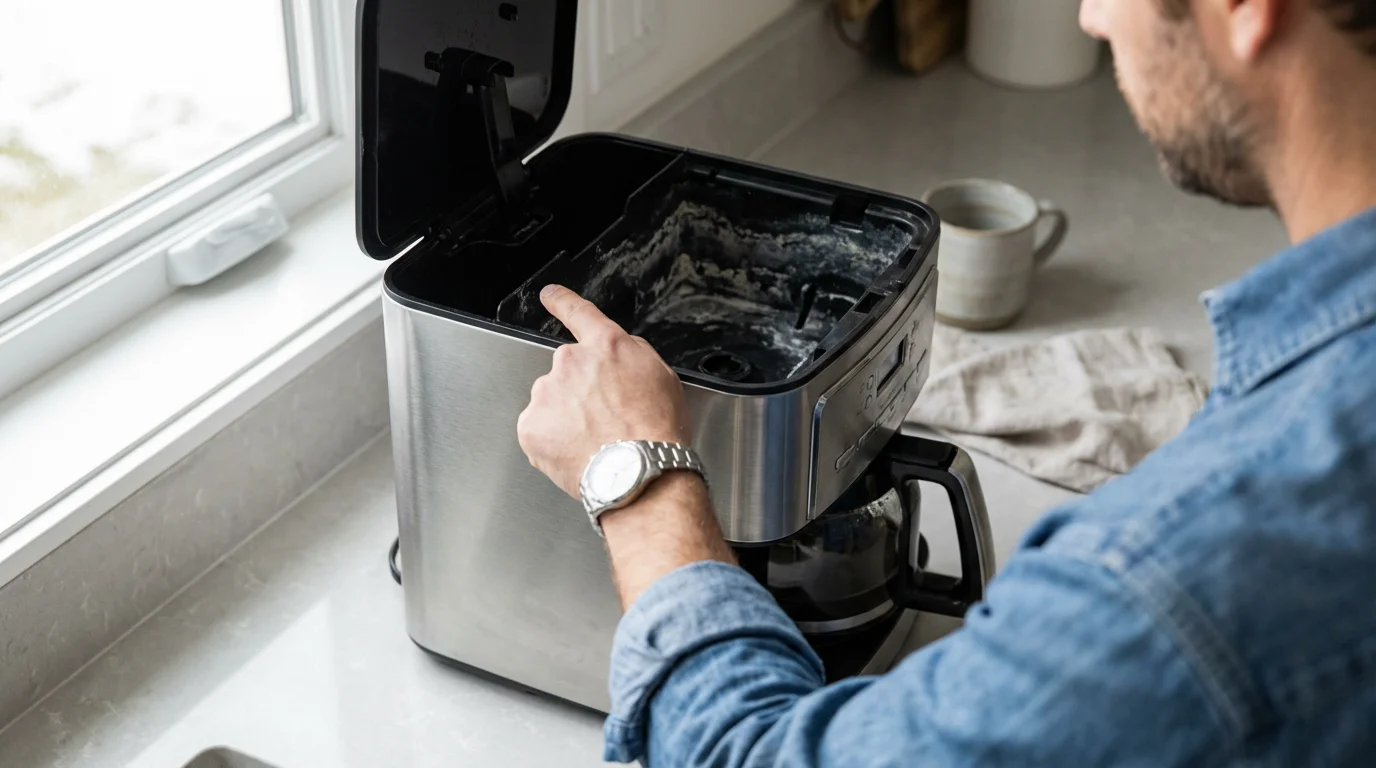
- Visible residue: White, chalky stains in the reservoir or oily brown sludge in the filter basket are immediate calls to action.
- Bitter or sour taste: Rancid coffee oils from previous batches will ruin the flavor of fresh grounds.
“Think of your coffee maker like a car engine. If you never change the oil or clear the filters, it will eventually seize up. A dirty machine works twice as hard to produce half the quality.”

Understanding the Difference: Cleaning vs. Descaling
Before you start scrubbing, you must understand that “cleaning” and “descaling” are two distinct processes that address different problems. Doing one without the other will leave you with an underperforming appliance.
Cleaning (Removing Oils)
Coffee beans are naturally oily. Over time, these oils coat the brew basket, the carafe, and the showerhead (the part where water sprays onto the grounds). If left unchecked, these oils oxidize and turn rancid. Cleaning involves removing this organic residue using warm soapy water or specialized coffee cleaning powders. This step is primarily about flavor and hygiene.
Descaling (Removing Minerals)
Descaling attacks the inorganic buildup hidden inside the machine. Water contains minerals like calcium and magnesium. When you heat water, these minerals precipitate out and form limescale (calcium carbonate) on your heating elements and internal pumps. Descaling involves running an acid-based solution through the machine to dissolve this rock-hard buildup. This step is primarily about mechanics and temperature.
According to Consumer Reports, mineral buildup is a leading cause of premature coffee maker failure. If you live in an area with hard water, descaling becomes even more critical to the survival of your appliance.
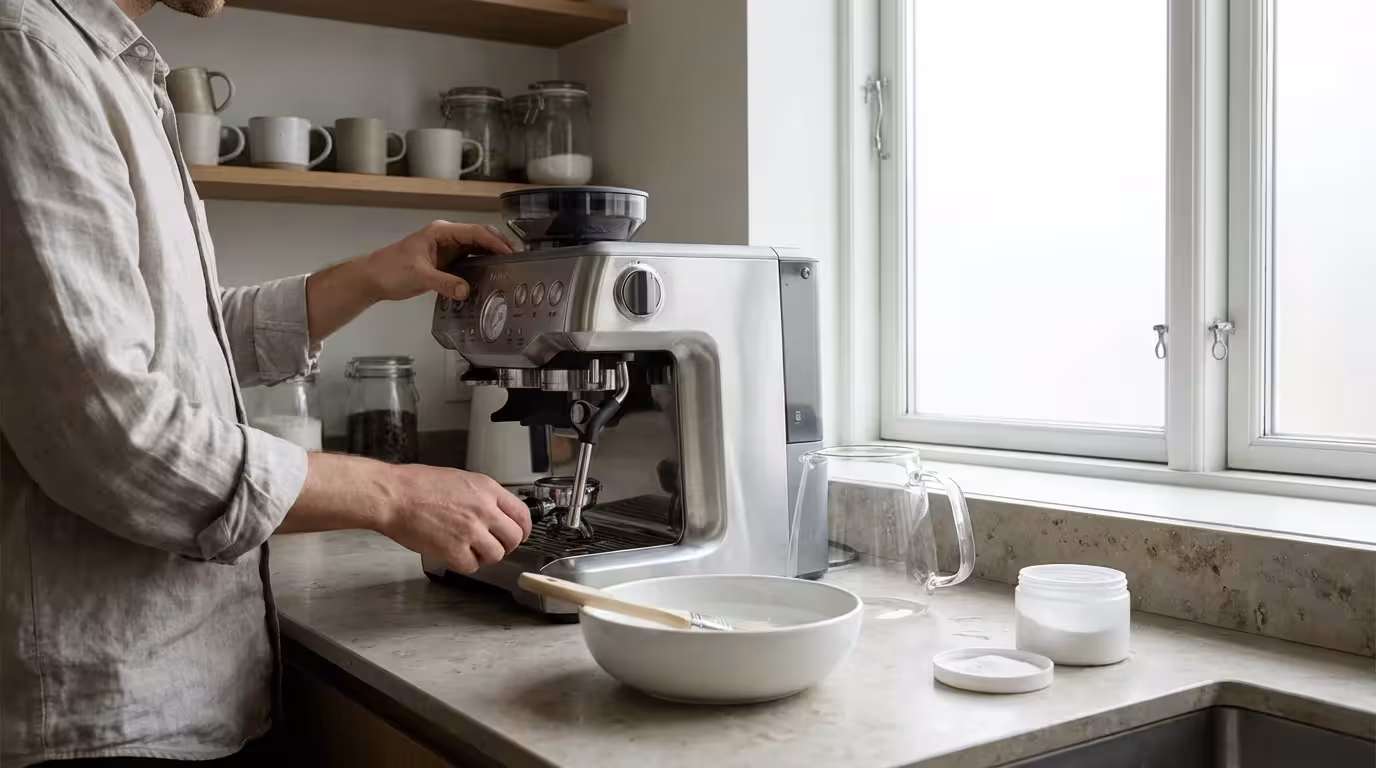
Step-by-Step: Cleaning a Drip Coffee Maker
The standard drip coffee maker is the most common appliance in US kitchens. Fortunately, it is also one of the easiest to maintain. You don’t need expensive equipment—just some time and common household ingredients.
What You Need
- White distilled vinegar (or commercial descaler)
- Fresh water
- Dish soap
- Sponge or soft cloth
- Paper filter (optional)
The Process
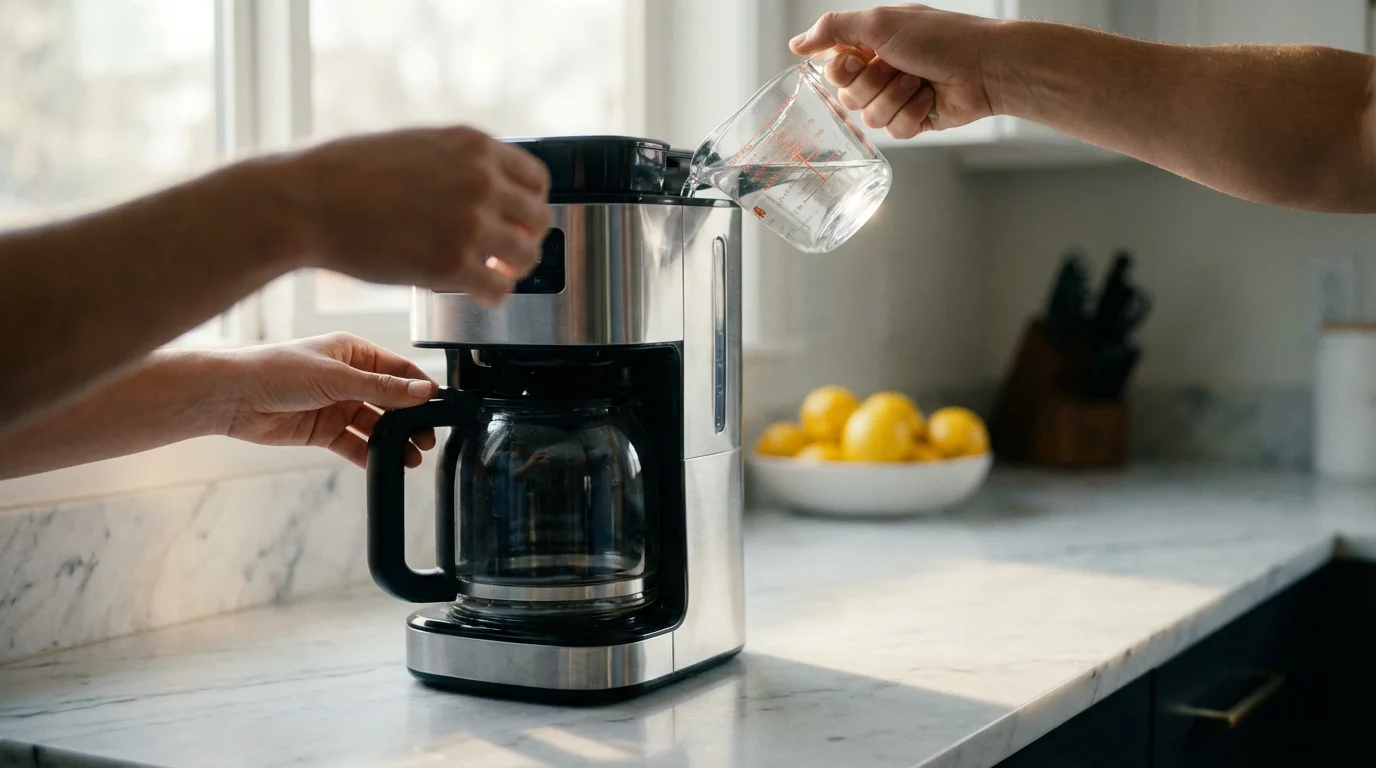
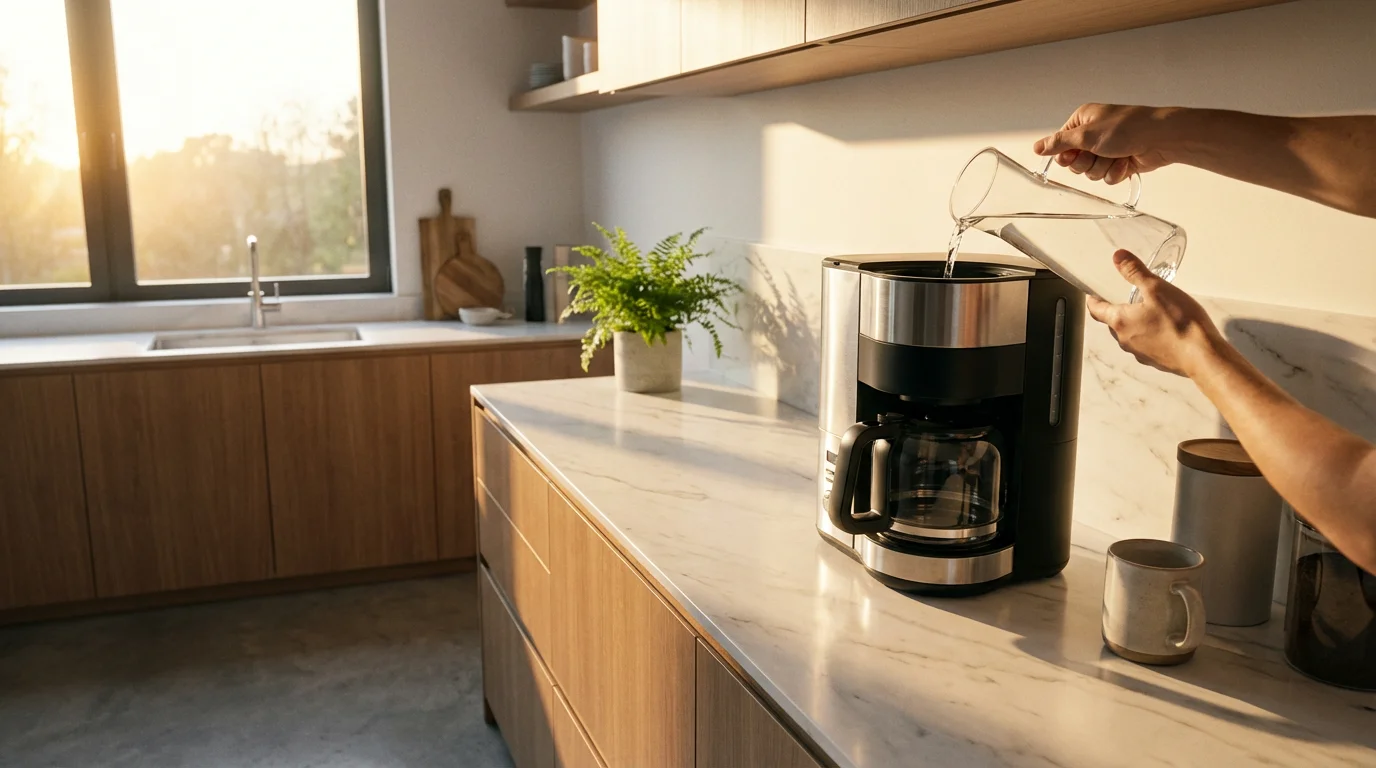
- Empty the Machine: Remove any old grounds and pour out any remaining water in the reservoir. Rinse the carafe to ensure no old coffee remains.
- Prepare the Solution: Fill the carafe with a mixture of one part white vinegar to one part water. If your machine is exceptionally dirty, you can increase the vinegar ratio, but 1:1 is standard. Pour this solution into the water reservoir.
- Start the Brew Cycle: Place a paper filter in the basket to catch any large loose particles. Turn the machine on and start a brew cycle.
- The Soak (Crucial Step): Watch the machine. Once it has brewed about halfway through the cycle, turn the coffee maker off. Let the hot vinegar solution sit inside the machine’s internal tubing and reservoir for 30 to 60 minutes. This soaking period allows the acid to break down stubborn mineral deposits.
- Finish the Cycle: Turn the machine back on and let it finish brewing the vinegar solution into the carafe. Pour this dirty solution down the sink.
- The Rinse Cycles: This is where many people fail. You must flush the vinegar taste out. Fill the reservoir with fresh, clean water and run a full brew cycle. Dump the water. Repeat this step at least two more times until the smell of vinegar is completely gone.
- Clean Removable Parts: While the machine cools, wash the carafe and filter basket in warm, soapy water. Wipe down the exterior of the machine to remove dust and splatters.
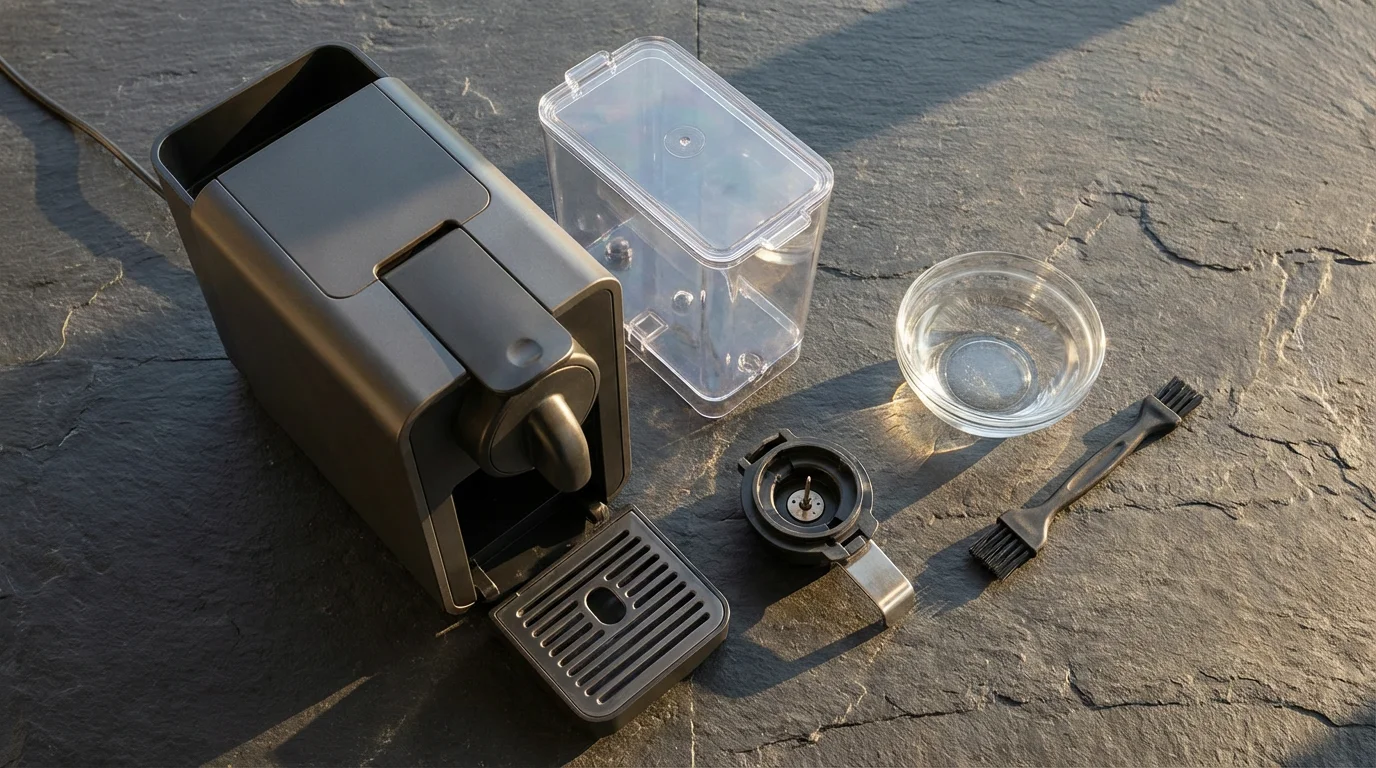
How to Clean Single-Serve Machines (Keurig & Nespresso)
Single-serve pod machines like Keurigs and Nespressos operate differently than drip brewers. They use higher pressure and have intricate needles that puncture the pods. These needles can easily clog with coffee grounds, leading to the dreaded “short cup” where only half the coffee brews.
Cleaning a Keurig
- Exterior and Reservoir: Remove the water reservoir, lid, and drip tray. Wash these in the sink with warm soapy water (do not put them in the dishwasher unless the manual explicitly says so).
- The Needles: Unplug the machine. Lift the handle and look for the entrance and exit needles that puncture the K-Cup. Use a straightened paper clip to gently clear out any coffee grounds stuck inside the needles. Be careful—they are sharp.
- Descaling Mode: Many newer Keurig models have a specific “Descale” mode. Fill the reservoir with descaling solution or vinegar. Follow your specific model’s instructions to run the solution through. usually, this involves holding down specific buttons (like the 8oz and 12oz buttons) to activate the mode.
- Rinse: Run at least 12 cups of fresh water through the machine to purge the system.
The experts at Wirecutter note that single-serve machines are particularly susceptible to mold growth in the water tank due to the stagnant water often left behind. They recommend drying the reservoir if you won’t use the machine for several days.
Cleaning a Nespresso
Nespresso machines often have a specific descaling alert light. Do not use vinegar in a Nespresso machine. The internal pumps are sensitive, and vinegar can degrade the seals. Always use a lactic-acid-based descaler or the official Nespresso kit.
To enter descaling mode on most OriginalLine machines, hold down both cup buttons for three seconds. The lights will blink rapidly. Run the solution through, then refill with water and run the rinse cycle.
Vinegar vs. Commercial Descalers: What’s Best?
The debate between using cheap household vinegar and specialized cleaning solutions is common. Both acids work, but they behave differently.
| Feature | White Vinegar | Commercial Descaler |
|---|---|---|
| Active Ingredient | Acetic Acid | Usually Citric or Lactic Acid |
| Cost | Very Low ($) | Moderate ($$) |
| Odor | Strong, pungent smell requires heavy rinsing | Neutral or low odor |
| Effectiveness | Good for mild to moderate buildup | Excellent for heavy scale; specially formulated for pumps |
| Safety | Food safe, but can damage rubber seals over time | Designed to be gentle on machine internals |
| Best For | Standard drip coffee makers | High-end espresso machines and pod brewers |
If you own a high-end machine (like a Breville or De’Longhi), check your warranty. Some manufacturers void warranties if you use vinegar because acetic acid can be corrosive to certain internal gaskets.
Maintenance for Espresso Machines and French Presses
Not everyone uses an automatic brewer. If you use manual methods or espresso machines, your cleaning routine shifts focus.
The French Press
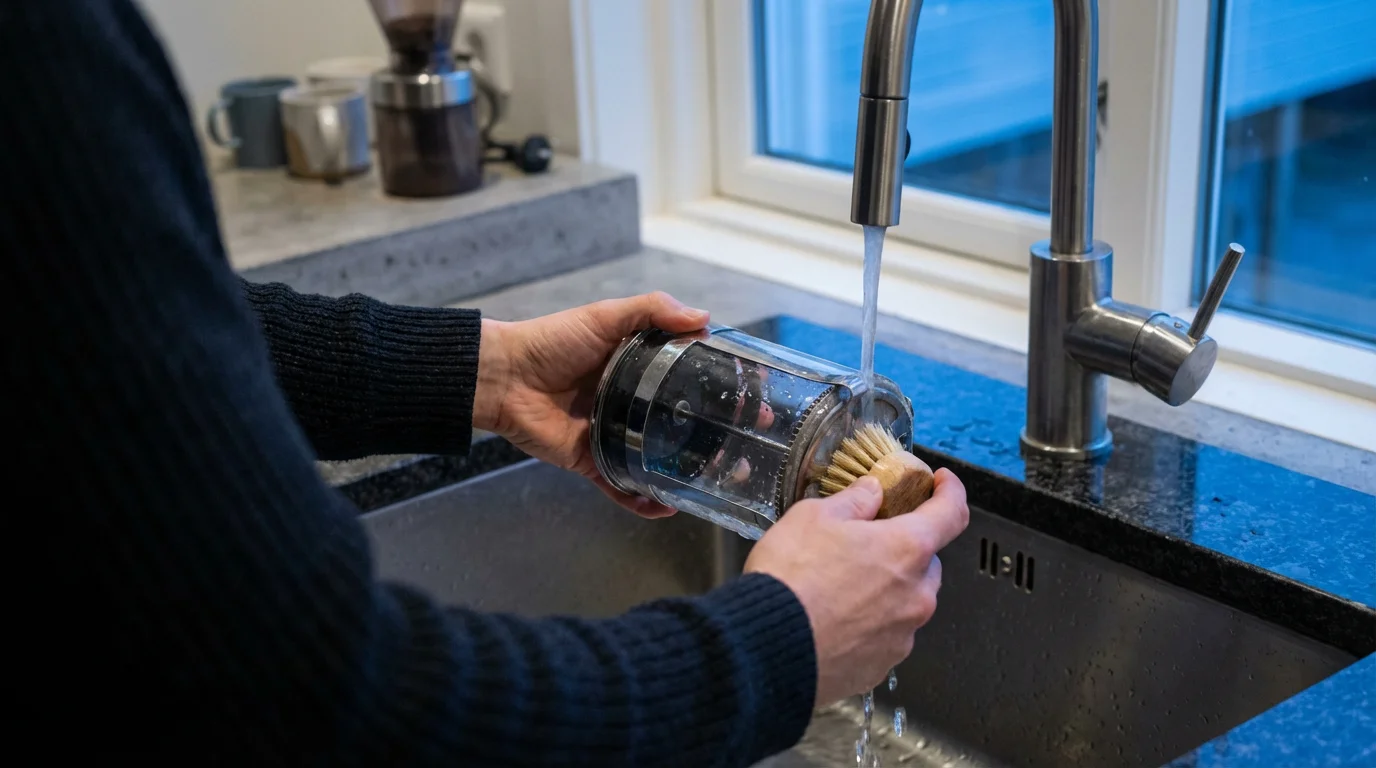
The French Press seems simple—it’s just a glass beaker and a plunger—but it hides filth easily. The mesh filter is a magnet for oils. If you simply rinse it, those oils stick to the mesh and go rancid.
Deep Clean: Once a week, unscrew the filter assembly. It usually separates into three parts: a cross-plate, the mesh screen, and a spiral plate. Scrub each layer individually with dish soap and a brush to unclog the mesh. If you don’t disassemble it, old coffee grounds get trapped between the layers, ruining your fresh brew.
Espresso Machines
Espresso machines require “backflushing.” This process uses a “blind filter” (a basket with no holes) and detergent to force water back up into the group head to clean out the internal valves.
- Daily: Purge the steam wand immediately after use. Wipe the screen of the group head.
- Weekly: Backflush with water.
- Monthly: Backflush with specialized espresso detergent (like Cafiza).
Preventative Maintenance for Longevity
Deep cleaning fixes problems, but preventative habits stop them from starting. Here is how to keep your machine cleaner for longer.
- Use Filtered Water: This is the single most effective change you can make. Tap water often contains high levels of calcium and chlorine. Using filtered water drastically reduces scale buildup, meaning you have to descale less often.
- Leave the Lid Open: After brewing, do not close the reservoir lid immediately. Leave it open to let the internal chamber air dry. This prevents the dark, damp environment that mold and bacteria love.
- Rinse the Carafe Daily: Don’t just rinse it; use a little soap. Coffee stains glass over time, and that thin brown film adds a stale flavor to your brew.
- Discard Used Grounds Immediately: Leaving wet, spent grounds in the basket for hours is an invitation for mold and fruit flies. Toss them as soon as you pour your cup.
Frequently Asked Questions
How often should I deep clean my coffee maker?
For daily users, you should deep clean and descale your machine every three to six months. However, if you have very hard water, you may need to do this monthly. Watch for the warning signs: if the brewing slows down or the machine gets louder, clean it immediately regardless of the timeline.
Can I use baking soda to descale my coffee maker?
No. Baking soda is excellent for scrubbing stains off the glass carafe or the exterior, but it is not an effective descaler. Descaling requires an acid to dissolve minerals. Baking soda is alkaline and will not dissolve calcium deposits inside the machine’s tubes.
Why does my coffee taste like plastic after cleaning?
This usually happens if you haven’t rinsed the machine enough after using a commercial cleaner or vinegar. Run two to three more cycles of fresh water through the machine. If the taste persists, you can try running a cycle with a mixture of water and a tablespoon of vanilla extract, followed by a water rinse, to neutralize the odor.
Is the “Clean” button on my machine different than manual cleaning?
Yes and no. The “Clean” button typically modifies the brewing cycle to pulse the water, allowing the hot water (or cleaning solution) to soak in the lines longer than a standard brew. However, pushing the button without adding a descaling solution does nothing. You must still add the vinegar or descaler for the button to be effective.
Disclaimer: Product prices, features, and availability change frequently. Prices shown were accurate at time of writing but may have changed. We may earn a small commission from purchases made through links on this site, at no extra cost to you. Always verify current pricing and specifications on the retailer’s website before purchasing.


Leave a Reply