Electric pressure cookers revolutionized home cooking, offering speed and convenience. These countertop powerhouses transform tough cuts of meat into tender meals and cook grains in minutes, saving you significant time. However, their power also demands respect and proper understanding. You hold a device capable of building and containing significant pressure. Mastering its safe operation ensures delicious results and peace of mind. This guide equips you with the knowledge to use your electric pressure cooker confidently and safely, whether you are a complete beginner or looking to refresh your safety practices.
What is an Electric Pressure Cooker?
An electric pressure cooker, often called a multi-cooker, is a sealed pot that cooks food under high-pressure steam. This pressure raises the boiling point of water, allowing food to cook at higher temperatures and significantly reducing cooking times compared to traditional methods. For example, a whole chicken can cook in 20-30 minutes, and dry beans typically cook in under an hour without prior soaking.
For those who enjoy the speed of pressure cooking, air fryers offer another efficient way to prepare meals quickly.
These appliances typically operate at 10-15 PSI (pounds per square inch) for high pressure and 5-8 PSI for low pressure settings. They feature integrated heating elements, microprocessors, and numerous safety mechanisms, making them much safer and easier to use than stovetop models. Most models come with a range of preset programs for common dishes like rice, poultry, or stew, simplifying the cooking process.
Common quart capacities range from 3 quarts, ideal for 1-2 people, up to 8 quarts for larger families or meal prepping. Their wattage typically falls between 1000W and 1500W, impacting how quickly they come to pressure and cook.
Understanding Essential Safety Mechanisms
Modern electric pressure cookers incorporate multiple safety features, designed to prevent accidents and make operation virtually foolproof. Knowing these components helps you understand how your appliance works and how to use it safely.
- Lid Lock: This mechanism prevents you from opening the lid while the cooker is under pressure. It engages automatically once pressure builds and disengages only after the pressure fully releases.
- Pressure Regulator Valve (Steam Release Handle): This component controls the release of steam. You typically rotate or flip it to a sealing position for pressure cooking and to a venting position for releasing pressure.
- Float Valve (Pin): A small metal pin, usually red or silver, on the lid. When pressure builds, it rises and locks the lid, indicating pressure has built inside. It drops back down when the pressure completely releases, signaling it is safe to open the lid.
- Anti-Block Shield: Located under the lid, this metal cap covers the steam release pipe, preventing food particles from clogging it. A clogged steam release pipe can prevent pressure from releasing safely.
- Lid Detection Sensor: Many models include sensors that prevent the unit from heating or building pressure if the lid is not properly closed and sealed.
- Temperature and Pressure Sensors: These monitor the internal conditions. If pressure or temperature exceeds safe limits, the cooker automatically reduces heat or activates an emergency pressure release.
- Excess Pressure Release Valve (Backup Safety Valve): If the main pressure regulator valve or float valve fails, this spring-loaded mechanism activates, releasing excess pressure to prevent a dangerous buildup.
- Automatic Temperature Control: Prevents burning food by regulating the internal temperature, especially crucial during the ‘Sauté’ function or to activate the keep warm setting.
“Understanding your pressure cooker’s safety features is not just about avoiding accidents, it’s about building confidence in your kitchen. Each mechanism works in concert to make these powerful appliances safe for daily use.”
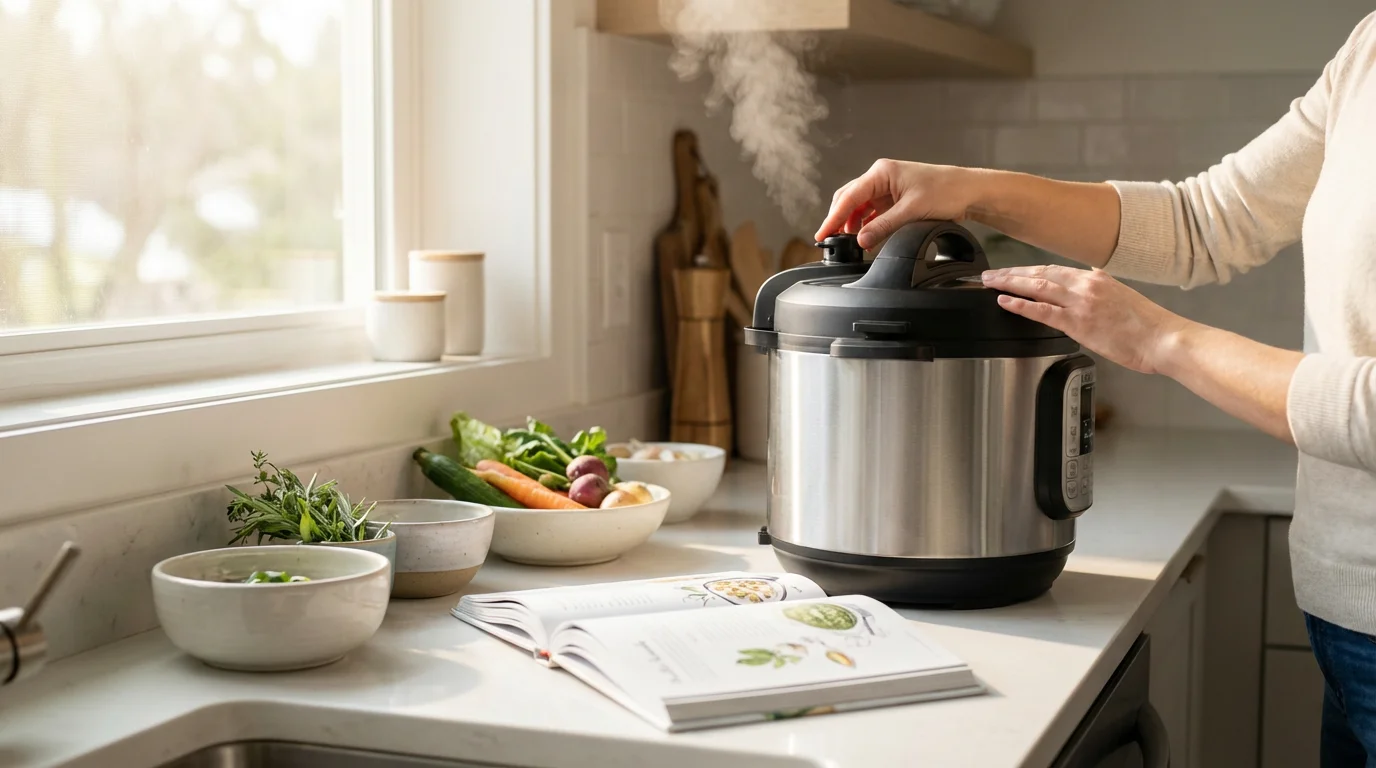
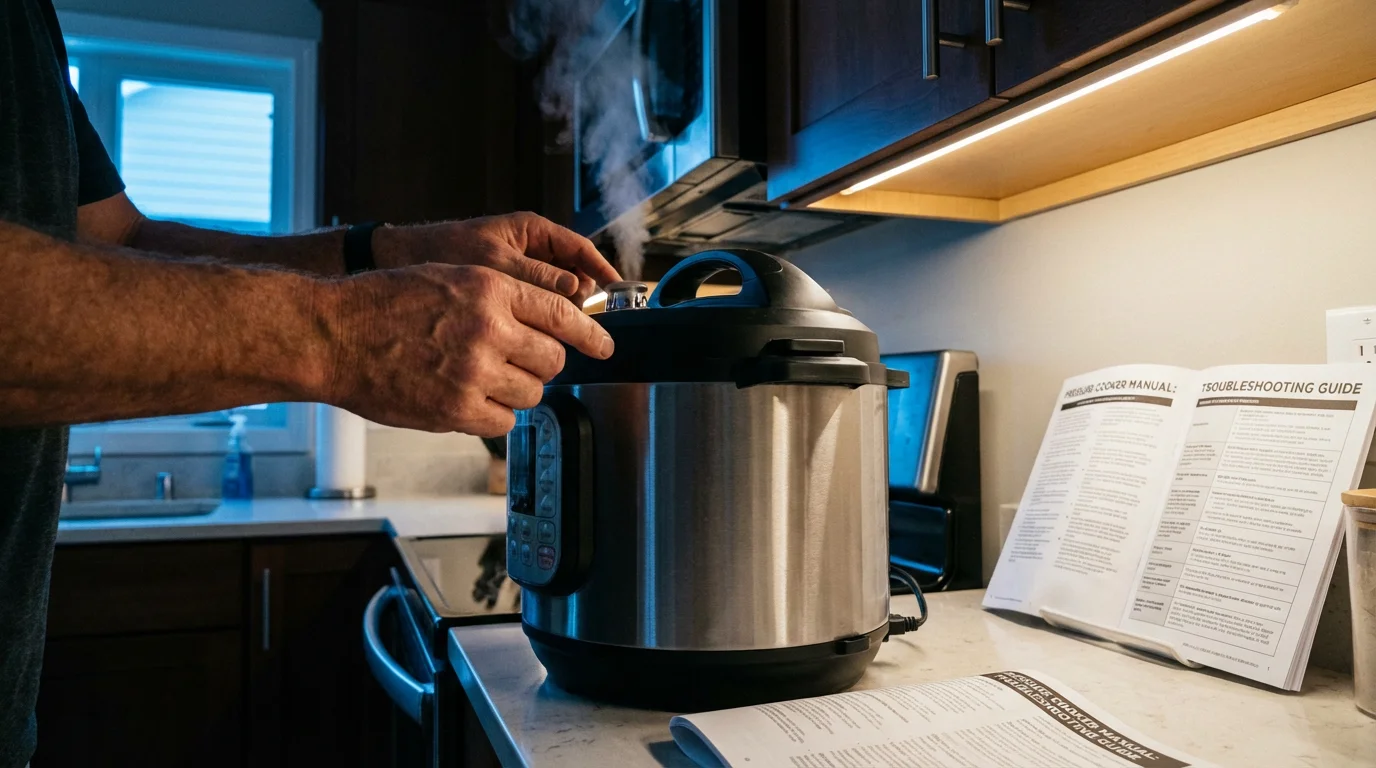
Your First Cook: Initial Setup and Water Test
Before you cook any food, conducting a water test is paramount. This simple procedure familiarizes you with your electric pressure cooker’s operation, confirms all safety mechanisms work correctly, and burns off any manufacturing residues. Consider this a crucial part of your pressure cooker safety tips for beginners.
If you are expanding your collection of high-tech appliances, exploring the differences in sous vide machines can help you achieve restaurant-quality results at home.
Steps for the Initial Water Test:
- Unpack and Inspect: Remove all packaging materials. Wash the inner pot, lid, and sealing ring with warm, soapy water. Dry them thoroughly. Ensure the sealing ring is properly seated in the lid and the anti-block shield is clean and secure.
- Place the Inner Pot: Set the inner pot securely into the base of the cooker.
- Add Water: Pour 2-3 cups of water into the inner pot. Do not add food.
- Secure the Lid: Place the lid on the cooker and twist it clockwise until it locks into position. Ensure the steam release handle is set to the “Sealing” position.
- Plug In: Connect the power cord to the pressure cooker and then to a wall outlet.
- Select Program: Choose a manual pressure cook setting, typically “Pressure Cook” or “Manual,” for 2-5 minutes on high pressure.
- Start Cooking: Press “Start” if your model requires it. The cooker will begin to preheat, which can take 5-10 minutes. You will see steam venting from the float valve until it rises, indicating pressure build-up.
- Monitor: Once the float valve rises and the cooker reaches pressure, the timer will count down.
- Release Pressure: After the cooking cycle completes, allow the pressure to release naturally for 5-10 minutes, then carefully turn the steam release handle to the “Venting” position for a quick release. Alternatively, you can allow a Natural Release, letting the pressure drop on its own.
- Open and Inspect: Once the float valve drops, indicating all pressure has released, carefully open the lid away from your face.
The water test confirms your pressure cooker builds and releases pressure correctly, familiarizing you with the sounds and indicators. If anything seems amiss during this test, consult your user manual or contact customer support before cooking food.

Mastering Pressure Release: Techniques and Safety
Knowing how to release pressure from instant pot safely and other electric pressure cooker models is critical for both safety and cooking success. Different foods benefit from different release methods.
For creamy soups made with a natural release, using an immersion blender directly in the inner pot can save you time on cleanup.
Types of Pressure Release:
- Natural Release (NR):
- Method: After cooking finishes, you do nothing. The cooker slowly cools down, and the pressure gradually dissipates on its own. The float valve will drop when it is safe to open. This can take anywhere from 10 minutes to over 30 minutes, depending on the volume and type of food.
- Best For: Foamy foods (oatmeal, beans), soups, stews, meats, and anything with a high liquid content. It prevents sudden spewing of liquid and results in more tender meats as the internal temperature slowly decreases.
- Safety Notes: This is the safest method as it involves no interaction with the hot steam.
- Quick Release (QR) / Manual Release:
- Method: Immediately after cooking, you manually open the steam release valve to vent steam rapidly. This causes a forceful jet of steam to escape.
- Best For: Vegetables, seafood, delicate foods that can overcook quickly. It stops the cooking process immediately.
- Safety Notes: Always keep your face and hands away from the steam release valve when performing a quick release. Use oven mitts or a long-handled utensil to turn the valve if it is hot. Avoid quick release with foamy or thick liquids, as they can spray out through the valve.
- Hybrid Release (QR after NR):
- Method: Allow the pressure to natural release for a set time (e.g., 5-10 minutes), then manually open the steam release valve for a quick release of the remaining pressure.
- Best For: Dishes where you want some of the benefits of natural release (e.g., preventing boil-over or allowing meat to rest) but still need to speed up the process.
- Safety Notes: This offers a good balance of safety and speed.
Pressure Release Comparison Table
| Release Method | Interaction Required | Steam Volume | Time to Depressurize | Best For | Safety Tip |
|---|---|---|---|---|---|
| Natural Release (NR) | None | Minimal, gradual | 10-30+ minutes | Meats, soups, beans, foamy foods | Most hands-off and safest |
| Quick Release (QR) | Manual turning valve | Large, forceful jet | 1-3 minutes | Vegetables, seafood, delicate foods | Keep face/hands clear, use protection |
| Hybrid Release | Manual after initial NR | Moderate to large jet | 5-15 minutes | Most dishes, when time allows a partial NR | Offers balance of speed and safety |
Always wait until the float valve drops completely before attempting to open the lid, regardless of the release method. Forcing the lid open when pressure remains inside is extremely dangerous.
Critical Safety Practices for Beginners
Adhering to specific safety guidelines ensures your electric pressure cooker remains a helpful kitchen tool. These pressure cooker safety tips for beginners cover the most crucial aspects of operation.
Beyond pressure cooking, many home chefs find that bread machines are an excellent investment for fresh, homemade results with minimal effort.
- Read Your Manual: Every electric pressure cooker model has unique features and specific instructions. Your manual contains vital information about safe operation, troubleshooting, and maintenance specific to your appliance. Do not skip this step.
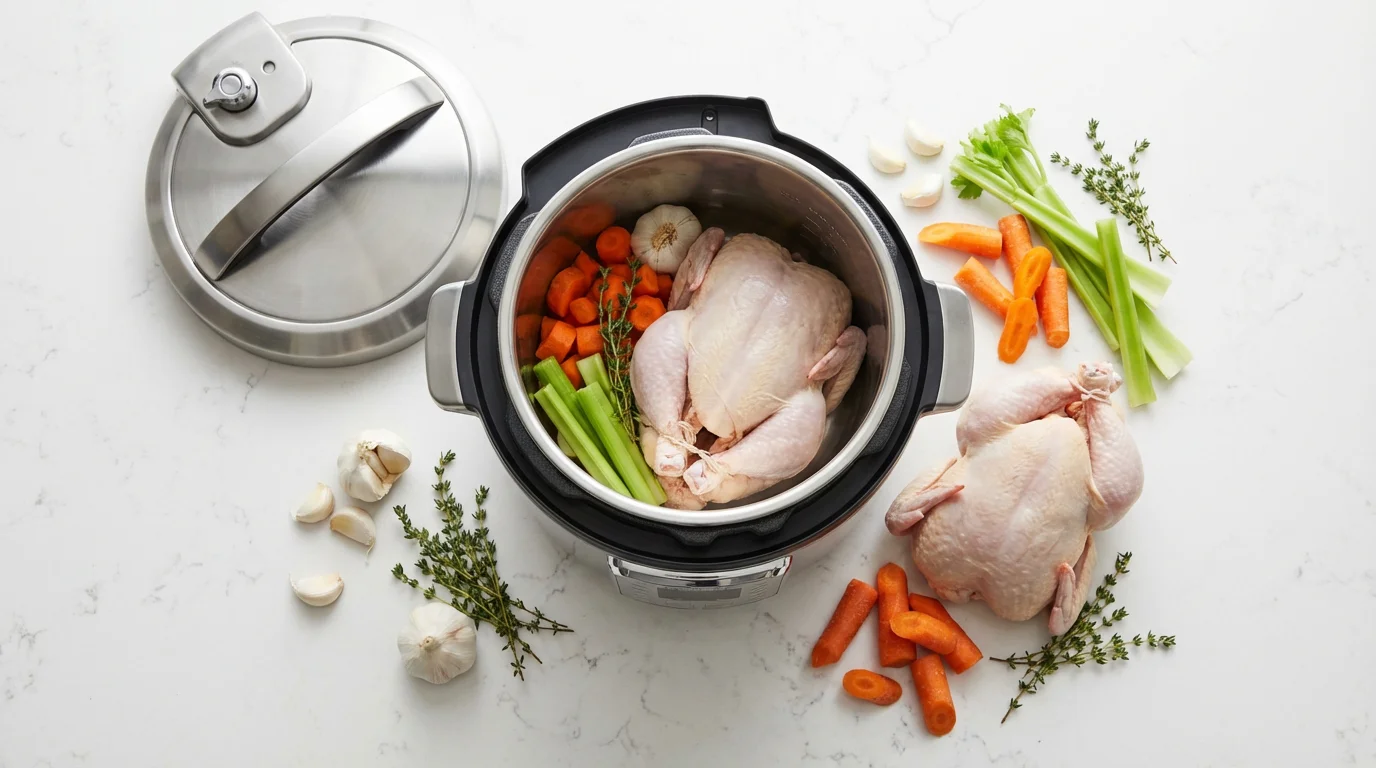
- Do Not Overfill: Never fill your pressure cooker past the “Max Fill” line, typically marked at 2/3 full for most foods and 1/2 full for foods that expand (like beans, grains, or pasta) or create foam. Overfilling can block the steam release valve, leading to dangerous pressure buildup.
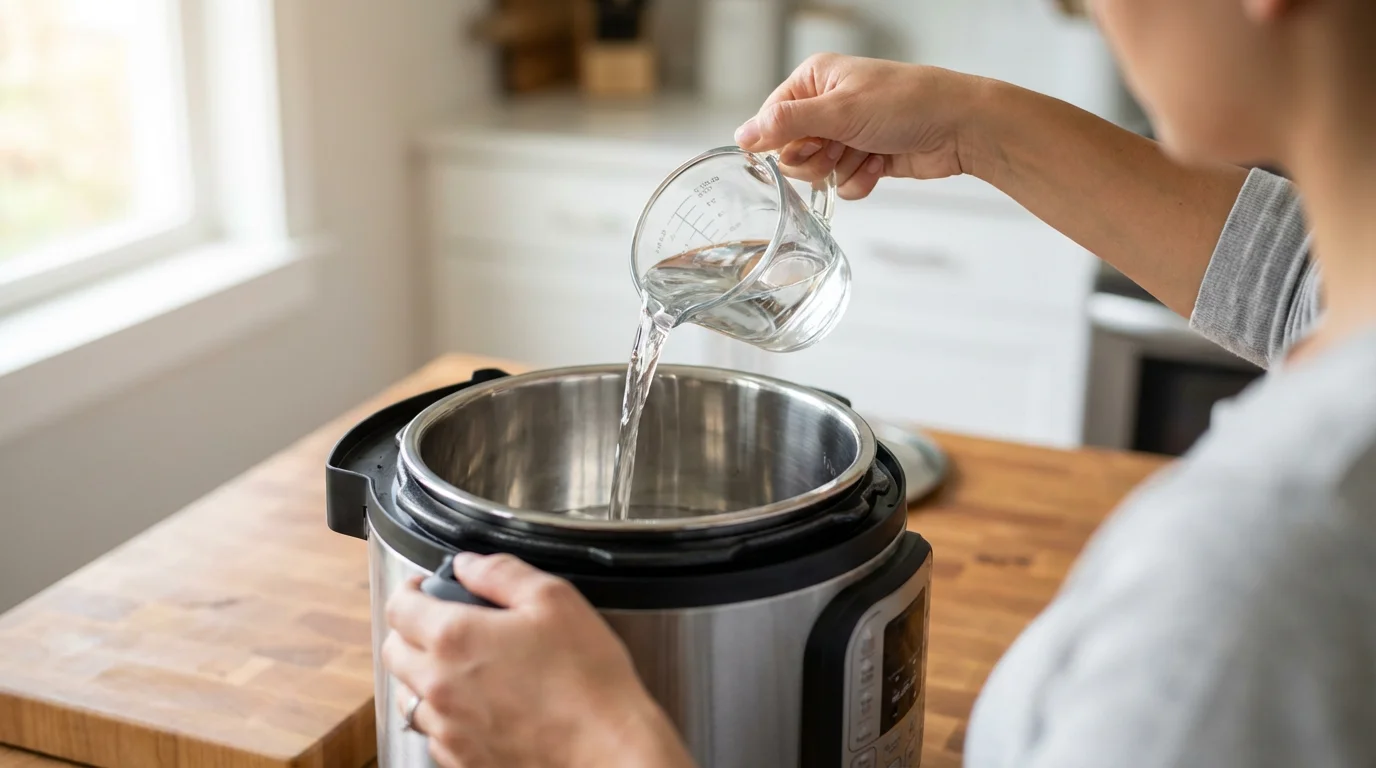
- Always Use Liquid: A pressure cooker requires liquid to create steam and build pressure. Without sufficient liquid, the cooker will not pressurize correctly and can scorch food or damage the appliance. Always add at least 1 cup of liquid, unless your recipe or manual specifies less.
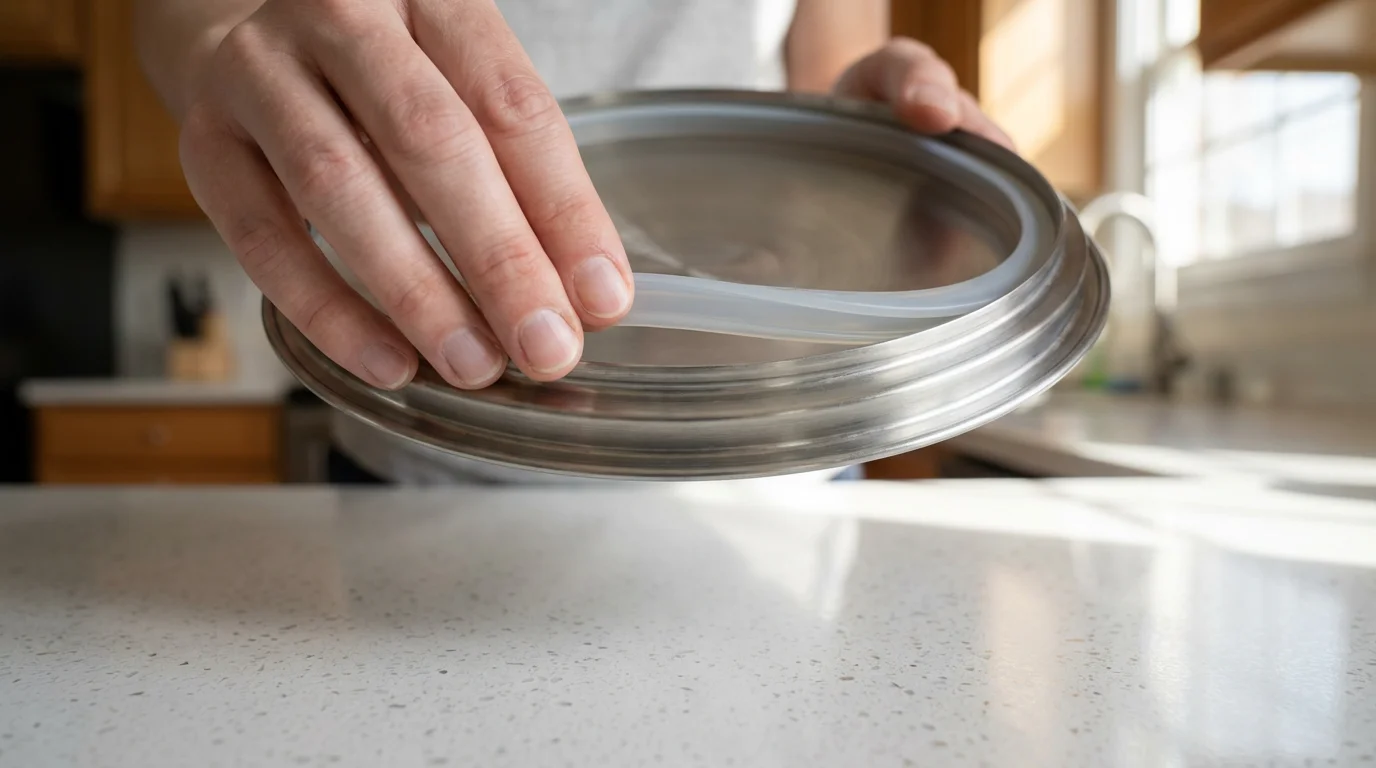
- Check the Sealing Ring and Valves: Before each use, inspect the silicone sealing ring for cracks, tears, or food debris. Ensure it sits correctly in its groove. Check the float valve and steam release handle for blockages. A faulty sealing ring or blocked valve prevents proper pressurization or safe depressurization.
- Never Force the Lid Open: If the float valve is up, pressure remains inside. Do not try to force the lid open. If it is stuck, apply more cool water to the lid, or let it sit for a few more minutes until the float valve drops naturally.
- Avoid Deep Frying: Electric pressure cookers are not designed for deep frying. The high temperatures required for frying can damage the appliance and pose a fire hazard.
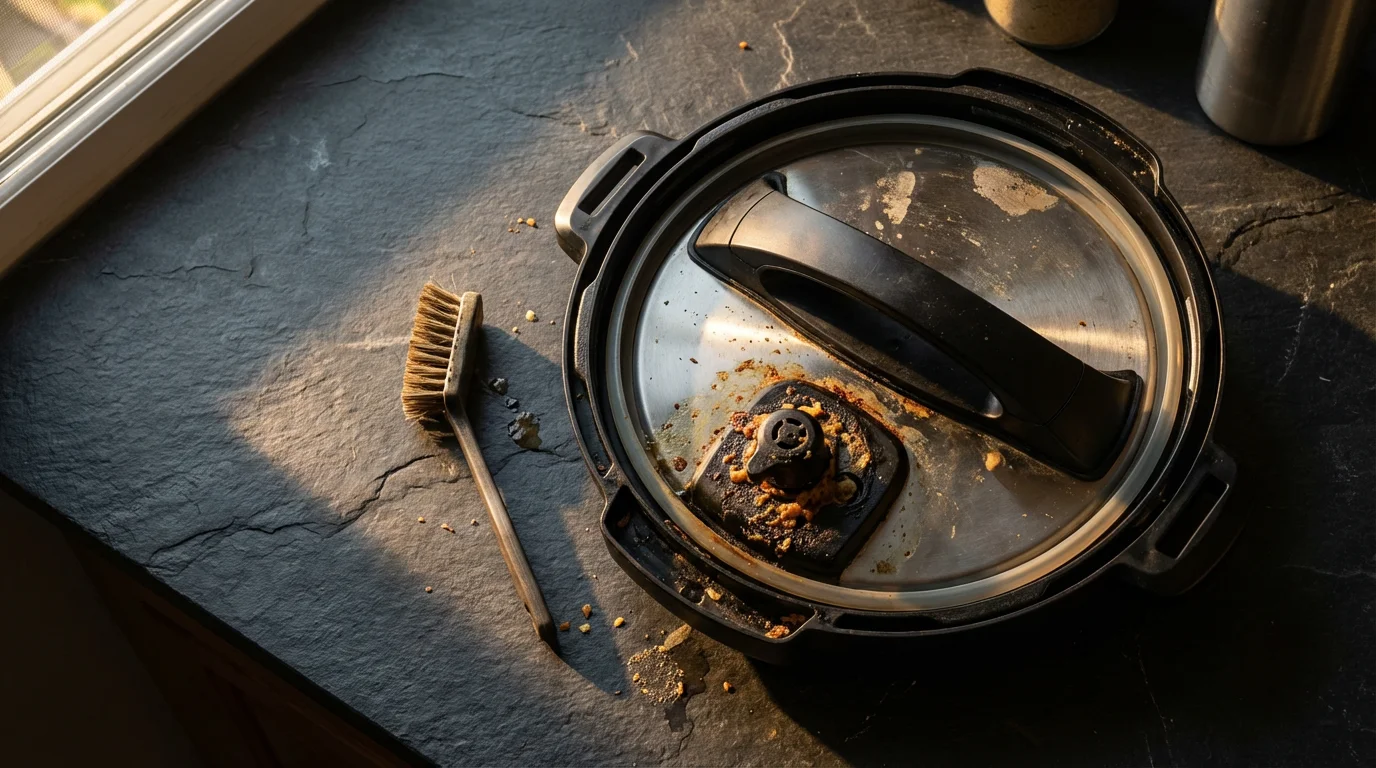
- Clean After Every Use: Food debris, especially in the lid components, can lead to blockages or affect the seal. Consistent cleaning, as detailed below, prevents these issues.
Common Mistakes and How to Avoid Them
Even experienced users sometimes make mistakes. Being aware of these common pitfalls helps you prevent them, ensuring smooth and safe operation of your electric pressure cooker.
While multi-cookers are versatile, some tasks are better suited for specialized tools like food processors when it comes to uniform chopping and prep work.
- Using the Wrong Release Method for Food Type: Quick releasing starchy or foamy foods like beans, soups, or oatmeal can cause them to spray out of the steam release valve, creating a messy and potentially dangerous situation. Always opt for Natural Release or a Hybrid Release for such ingredients.
- Forgetting to Seal the Valve: If your steam release handle is set to “Venting” instead of “Sealing,” the cooker will not build pressure. It will simply act like a slow cooker or a normal pot, endlessly boiling liquid. Always double-check this setting before starting.
- Not Replacing the Sealing Ring: The silicone sealing ring wears out over time, becoming brittle or absorbing food odors. A worn ring can prevent the cooker from reaching pressure or cause steam leaks. Replace your sealing ring annually or whenever you notice cracks, stiffness, or persistent odor retention. Many manufacturers, like Instant Pot, recommend having a spare.
- Ignoring the Minimum Liquid Requirement: Without sufficient liquid, the pressure cooker cannot generate enough steam to build pressure. It will either fail to pressurize or trigger a burn error, scorching your food. Always follow recipes for liquid amounts, typically at least 1 cup for most models.
- Placing the Hot Inner Pot on Delicate Surfaces: The inner pot retains significant heat after cooking. Placing it directly on a countertop without a trivet can damage surfaces. Always use a heat-resistant mat or trivet.
- Overfilling the Pot: As mentioned, overfilling, especially with expanding foods, blocks the steam release and can lead to dangerous pressure buildup or food escaping through the valve. Adhere strictly to the fill lines.
- Using Incompatible Accessories: Only use accessories specifically designed and approved for pressure cooking. Non-approved materials could melt, warp, or release harmful chemicals under pressure.
Maintenance and Cleaning for Lasting Safety
Regular and thorough cleaning extends the life of your electric pressure cooker and, more importantly, ensures its safe operation. Food residue and wear on components can compromise safety features.
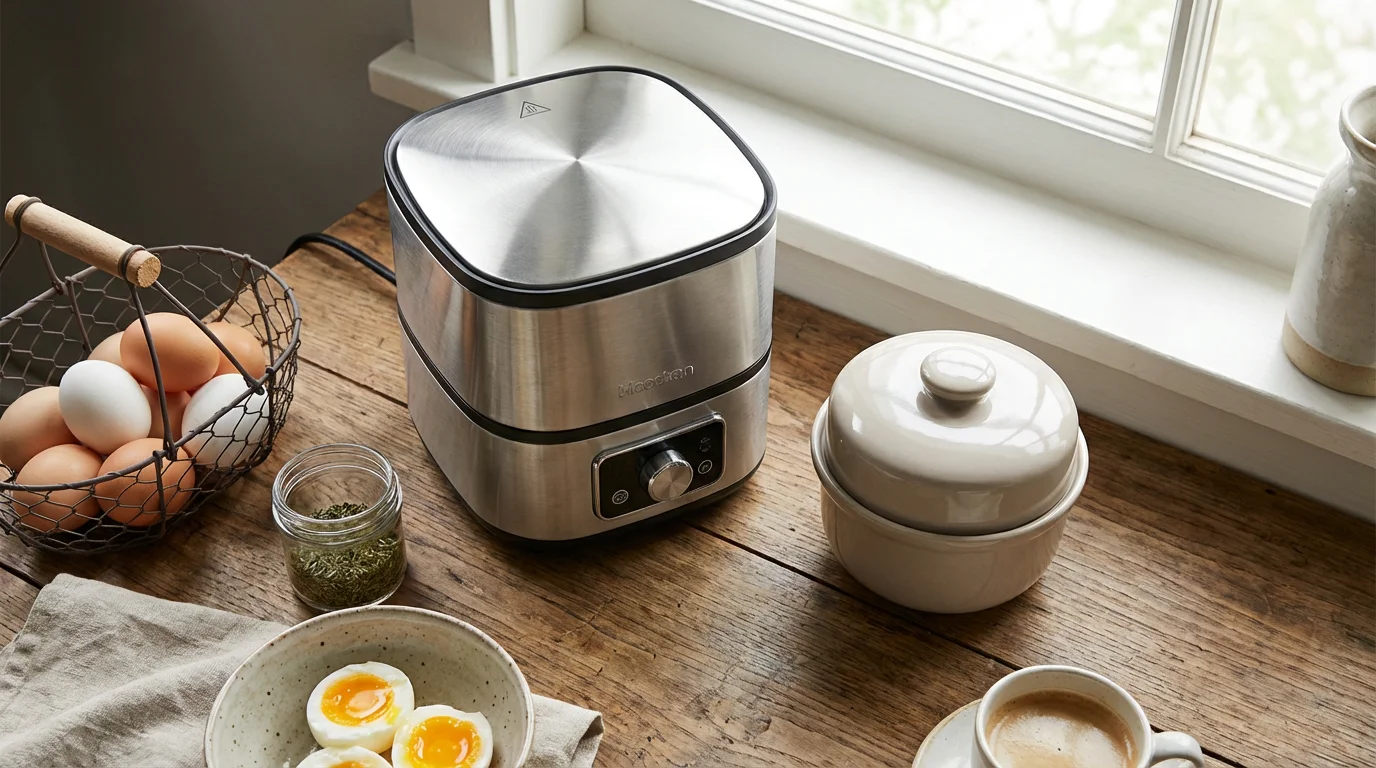
If you find yourself prepping multiple meals at once, egg cookers are another great countertop appliance for hands-off cooking.
Daily Cleaning:
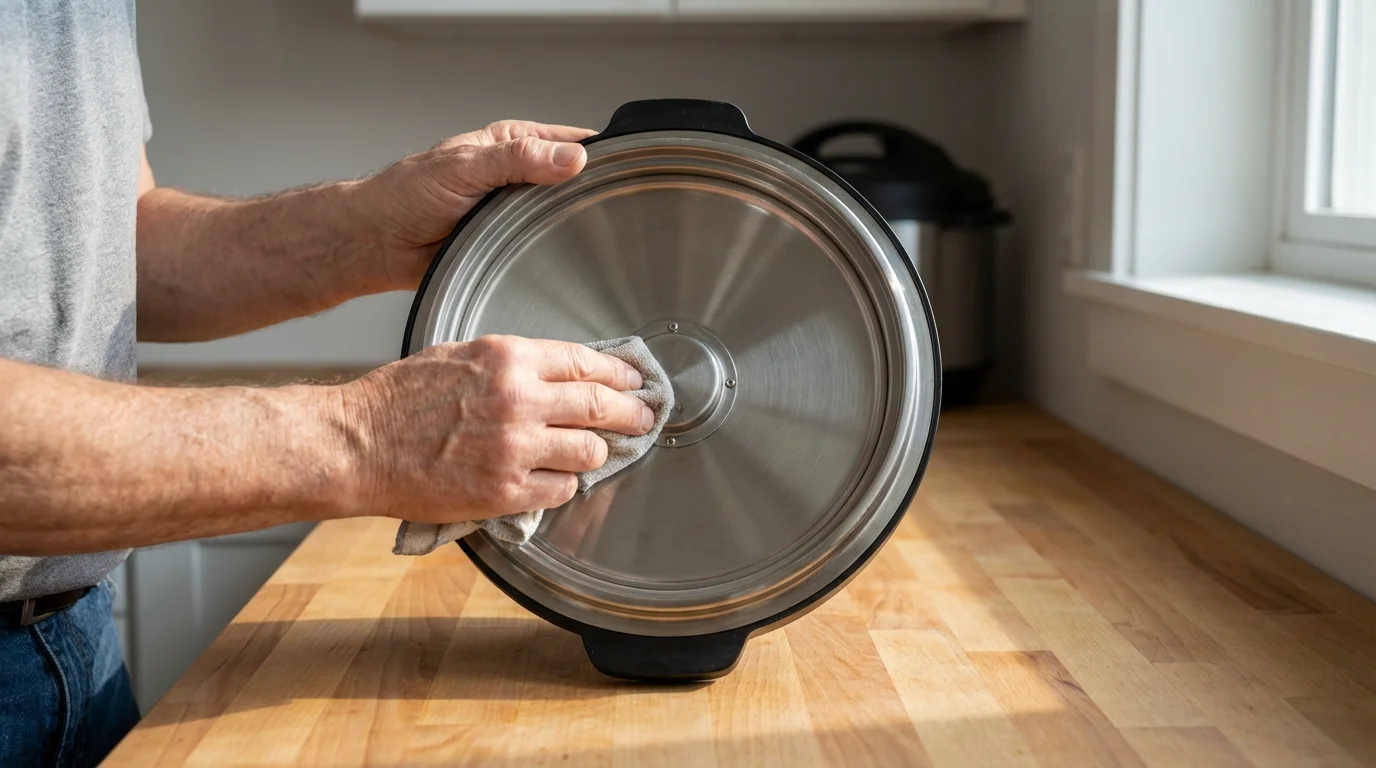
- Inner Pot: The stainless steel inner pot is generally dishwasher-safe. For handwashing, use warm, soapy water and a non-abrasive sponge. Remove any burnt-on food by soaking with warm, soapy water and baking soda.
- Lid: Hand wash the lid with warm, soapy water. Pay special attention to the underside, around the steam release valve, and the float valve. Ensure no food particles are lodged in these critical areas.
- Sealing Ring: Remove the silicone sealing ring from the lid and wash it separately with warm, soapy water. Inspect it for cracks or deformities. Let it air dry completely before reinstalling.
- Anti-Block Shield: Detach the anti-block shield (it usually clips or twists off) and wash it thoroughly to clear any food debris. Reattach it securely.
- Steam Release Valve/Handle: Ensure the steam release handle is free of blockages. Some models allow you to remove it for a deeper clean. Consult your manual.
- Float Valve: Check the small float valve pin for any residue. Ensure it moves freely up and down. Some models allow you to carefully remove the silicone cap from the underside of the float valve for cleaning.
- Exterior: Wipe down the exterior cooker base with a damp cloth. Never immerse the base in water, as it contains electrical components.
Periodic Maintenance (Every Few Months or As Needed):
- Sealing Ring Replacement: As discussed, replace the sealing ring annually or if it shows signs of damage or consistent odor absorption. Keeping a spare on hand is a good practice.
- Float Valve Check: Ensure the small silicone gasket on the underside of the float valve is intact and securely in place. If damaged, replace it.
- Power Cord Inspection: Regularly check the power cord for any fraying or damage. A damaged cord poses an electrical hazard.
According to Good Housekeeping’s appliance reviews, consistent cleaning of small appliance components, particularly those exposed to steam and food, is key to both performance and longevity.
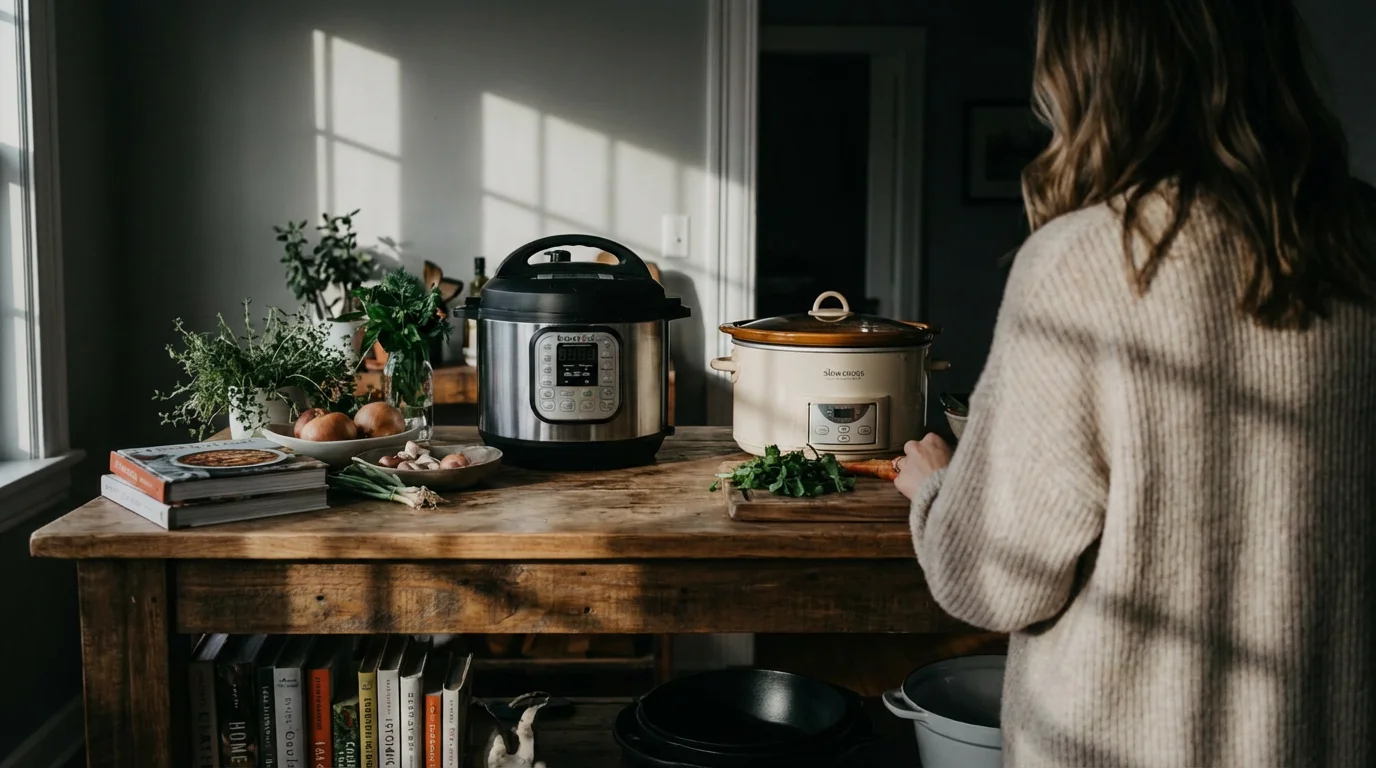
Choosing Your Electric Pressure Cooker: Safety and Features
Selecting the right electric pressure cooker involves considering your needs, kitchen space, and crucial safety features. While most reputable brands offer excellent safety, specific features enhance usability and peace of mind.
Key Considerations:
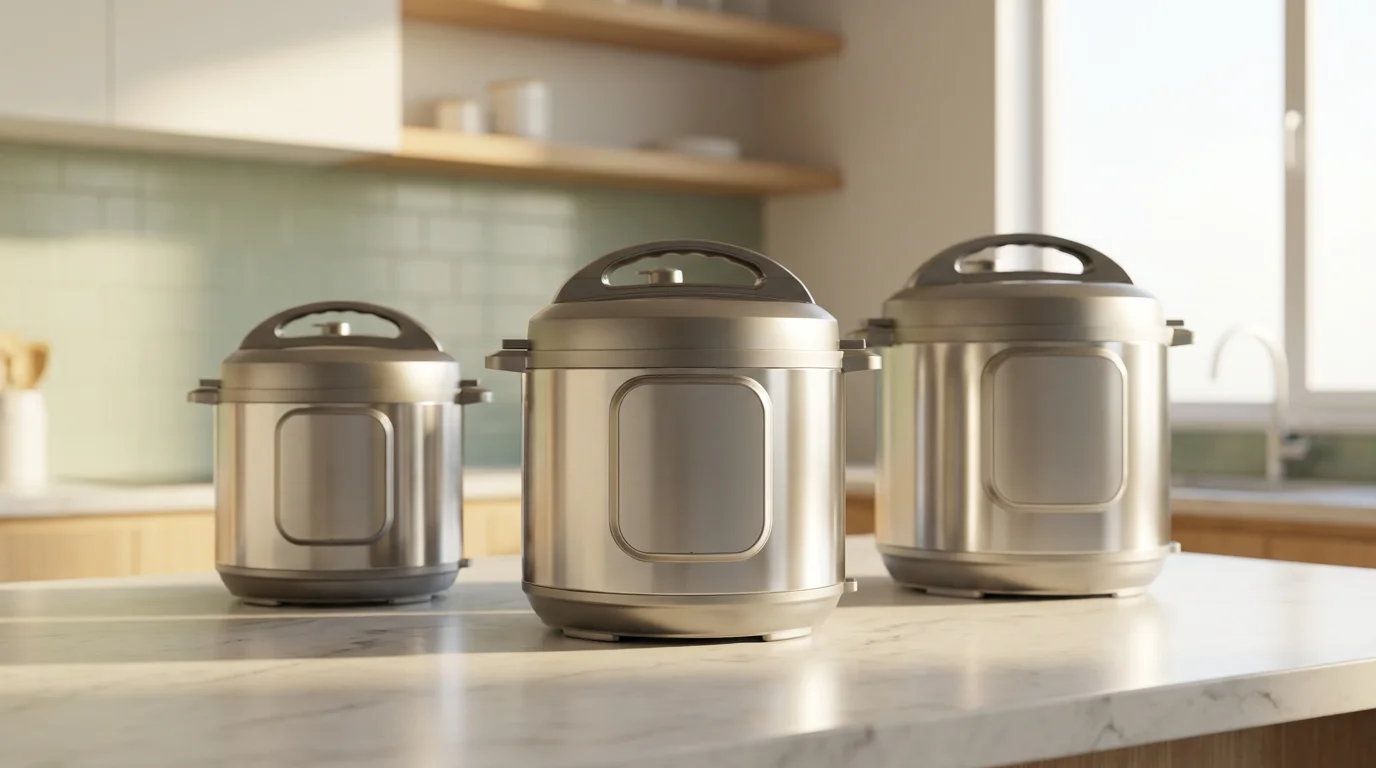
- Size (Quart Capacity):
- 3-quart: Best for 1-2 people, small side dishes, or cooking for one. Dimensions are usually compact, around 11″ L x 10″ W x 11″ H, fitting well into small kitchens.
- 6-quart: The most popular size, suitable for 3-6 people. This size handles most family meals, fitting a whole chicken or a substantial stew. Dimensions typically range from 13″ L x 12″ W x 12.5″ H. This is often the “Best for families” option.
- 8-quart+: Ideal for large families (6+ people), meal prepping, or entertaining. Can handle larger roasts. Dimensions can be around 14.5″ L x 13″ W x 14″ H, requiring more counter space.
Consider your average meal size and storage space. A larger pot means more food, but also a larger footprint. Counter space is premium real estate, so choose wisely.
- Wattage: Higher wattage (e.g., 1200W-1500W) means the cooker heats up faster and comes to pressure more quickly. This contributes to faster overall cooking times.
- Preset Programs: While you can manually set time and pressure, preset programs (e.g., “Rice,” “Soup,” “Poultry,” “Bean/Chili”) simplify cooking for specific food types. Look for programs relevant to your cooking style.
- Inner Pot Material: Stainless steel is durable, non-reactive, and easy to clean (often dishwasher-safe). Non-stick coatings are easier for sticky foods but require more careful handling to prevent scratching.
- Lid Design: Some lids offer easier sealing and venting mechanisms. Look for a lid that feels secure and straightforward to operate.
- Safety Certifications: Ensure the appliance carries recognized safety certifications (e.g., UL, ETL). These indicate the product has undergone rigorous testing.
- Brand Reputation and Reviews: Research brands known for reliability and good customer service. For instance, Consumer Reports’ small appliance ratings provide valuable insights into product performance and user satisfaction.
- Noise Levels: Electric pressure cookers are generally quiet during cooking, though you will hear steam venting during depressurization. This is a normal and brief occurrence.
When selecting, prioritize the size you will use regularly. A 6-quart model often offers the “Best value” for most households, balancing capacity and counter space footprint effectively.
Troubleshooting Common Pressure Cooker Issues
Even with proper use, you might encounter minor issues. Knowing how to address them safely helps prevent frustration and ensures your appliance functions correctly.
Issue 1: Cooker Not Coming to Pressure / Steam Leaking
- Cause: The lid is not properly sealed, the sealing ring is not installed correctly or is damaged, the steam release valve is set to “Venting” instead of “Sealing,” or insufficient liquid is present.
- Solution: Ensure the lid is twisted fully to the locked position. Check the silicone sealing ring for proper placement and damage. Rotate the steam release valve to the “Sealing” position. Verify you have added at least the minimum required liquid (usually 1 cup).
Issue 2: “Burn” or “Food Burn” Error
- Cause: This error typically means food at the bottom of the inner pot is too thick, scorched, or there is not enough liquid.
- Solution: Press “Cancel,” unplug the cooker, and allow it to cool slightly. Carefully release pressure if necessary. Open the lid, check the bottom of the pot. If food is burned, scrape it gently and add more liquid. Avoid using thick sauces at the bottom, and always ensure adequate liquid. Deglaze the pot if necessary.
Issue 3: Float Valve Not Dropping After Pressure Release
- Cause: Some residual pressure might remain, or food particles are stuck in the valve.
- Solution: Give it a few more minutes. If it remains stuck, gently nudge the float valve pin from the outside with a long utensil (never force it). If it still does not drop, wait longer or carefully cool the lid with a damp cloth on the metal parts, avoiding the valve itself. Never force the lid open.
Issue 4: Lid is Stuck After Pressure Release
- Cause: Minor vacuum seal created, or slight residual pressure.
- Solution: Ensure the float valve is completely down. If it is, gently wiggle the lid or press down slightly while trying to twist it open. Sometimes, waiting an additional minute or two resolves it.
Issue 5: Food is Undercooked
- Cause: Insufficient cooking time, incorrect pressure setting (low instead of high), or too much liquid diluting the heat.
- Solution: Ensure you are using the correct pressure setting (usually high). Adjust cooking time; add 1-2 minutes of pressure cooking time for the dish. Reduce liquid slightly in future recipes if it seems excessive.
Always consult your appliance’s user manual for specific troubleshooting steps, as models can vary.
Frequently Asked Questions
Are electric pressure cookers truly safe?
Yes, modern electric pressure cookers are exceptionally safe. They incorporate numerous built-in safety mechanisms like lid locks, float valves, and multiple pressure release systems that prevent dangerous pressure buildup and ensure the lid cannot open while under pressure. They are significantly safer than vintage stovetop models.
How much liquid do I need for pressure cooking?
Most electric pressure cookers require a minimum of 1 cup of thin liquid (like water, broth, or juice) to generate enough steam to build pressure properly. Always refer to your specific model’s manual, as this amount can vary slightly. Too little liquid can lead to a “burn” error or prevent the cooker from coming to pressure.
Can I open the lid during pressure cooking?
No, you cannot open the lid while the electric pressure cooker is building or holding pressure. The built-in lid lock safety mechanism prevents this. You must release all the pressure inside the pot, and the float valve must drop completely, before you can safely open the lid.
Why is my pressure cooker taking so long to come to pressure?
Several factors can cause a slow pressure build. The pot might be overfilled, preventing rapid heating. The lid may not be sealed correctly, or the steam release valve is open, allowing steam to escape. Extremely cold ingredients or a large volume of food also require more time to heat up and reach pressure.
What does a “Natural Release” mean for Instant Pot safety?
A Natural Release means allowing the pressure to dissipate gradually on its own after the cooking cycle finishes. This is the safest pressure release method because it does not involve manually interacting with the hot steam valve. It is ideal for foamy foods, meats, and soups, preventing liquid from spewing out and resulting in more tender results.
Disclaimer: Product prices, features, and availability change frequently. Prices shown were accurate at time of writing but may have changed. We may earn a small commission from purchases made through links on this site, at no extra cost to you. Always verify current pricing and specifications on the retailer’s website before purchasing.


Leave a Reply