We have all been there. You buy a lush, vibrant bunch of cilantro or parsley for a specific recipe—maybe taco night or a Sunday roast—use a few sprigs, and toss the rest into the crisper drawer with the best of intentions. A week later, you find a bag of green slime where your herbs used to be. It is a waste of money and food.
While many kitchen gadgets claim to keep herbs fresh on the counter for weeks, the most reliable long-term solution is often sitting right above your fridge: the freezer. Freezing herbs locks in flavor better than drying, and it creates ready-to-use “flavor bombs” for your future cooking. However, simply tossing a bag of basil into the deep freeze usually results in a freezer-burned, unappetizing mess.
To do this right, you need the right technique and, occasionally, the right tools. In this guide, we will explore the most effective herb freezing hacks, test which gadgets (like herb strippers and silicone freezing trays) are actually worth the drawer space, and help you stop throwing money in the trash.
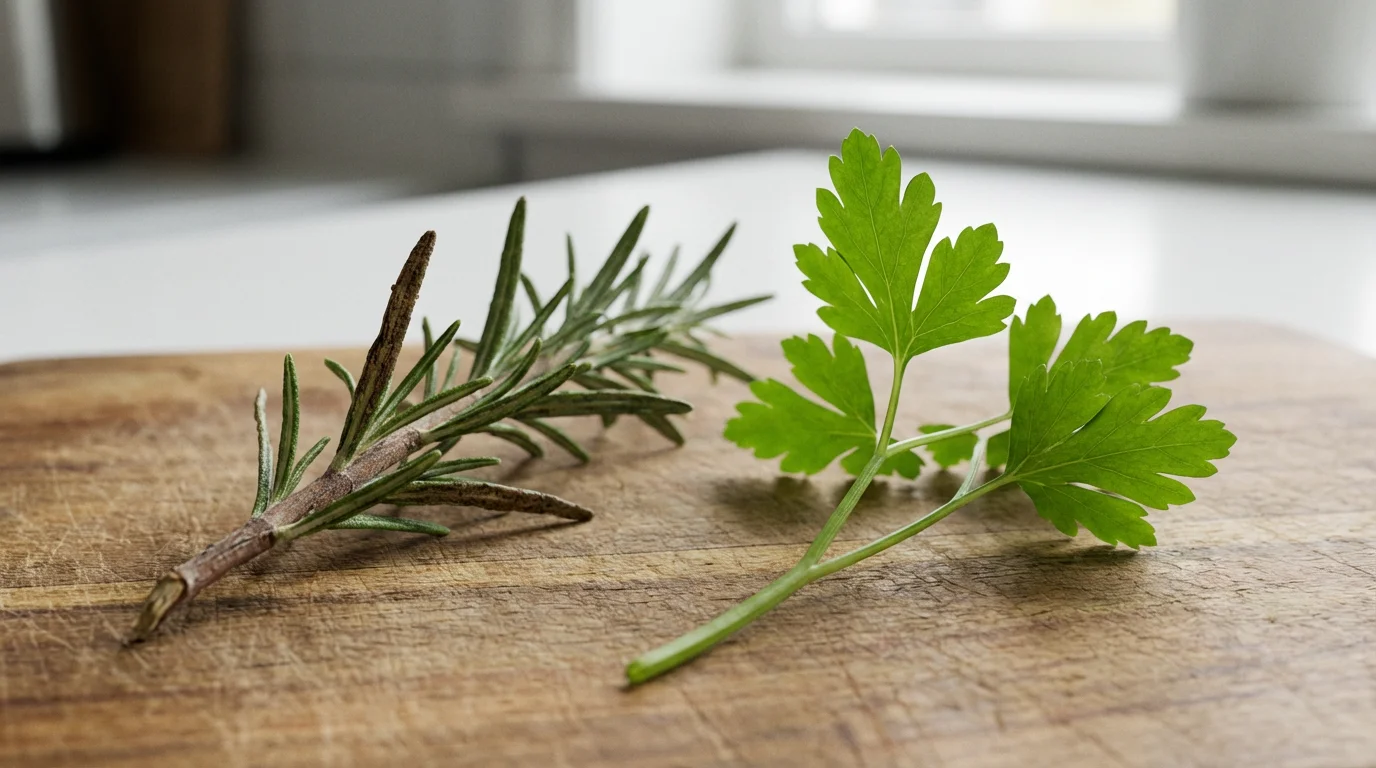
Hard vs. Soft Herbs: Knowing the Difference
Before you start chopping, it is crucial to understand that not all herbs behave the same way when exposed to sub-zero temperatures. In the culinary world, we generally divide herbs into two categories: “hard” (woody) and “soft” (tender).
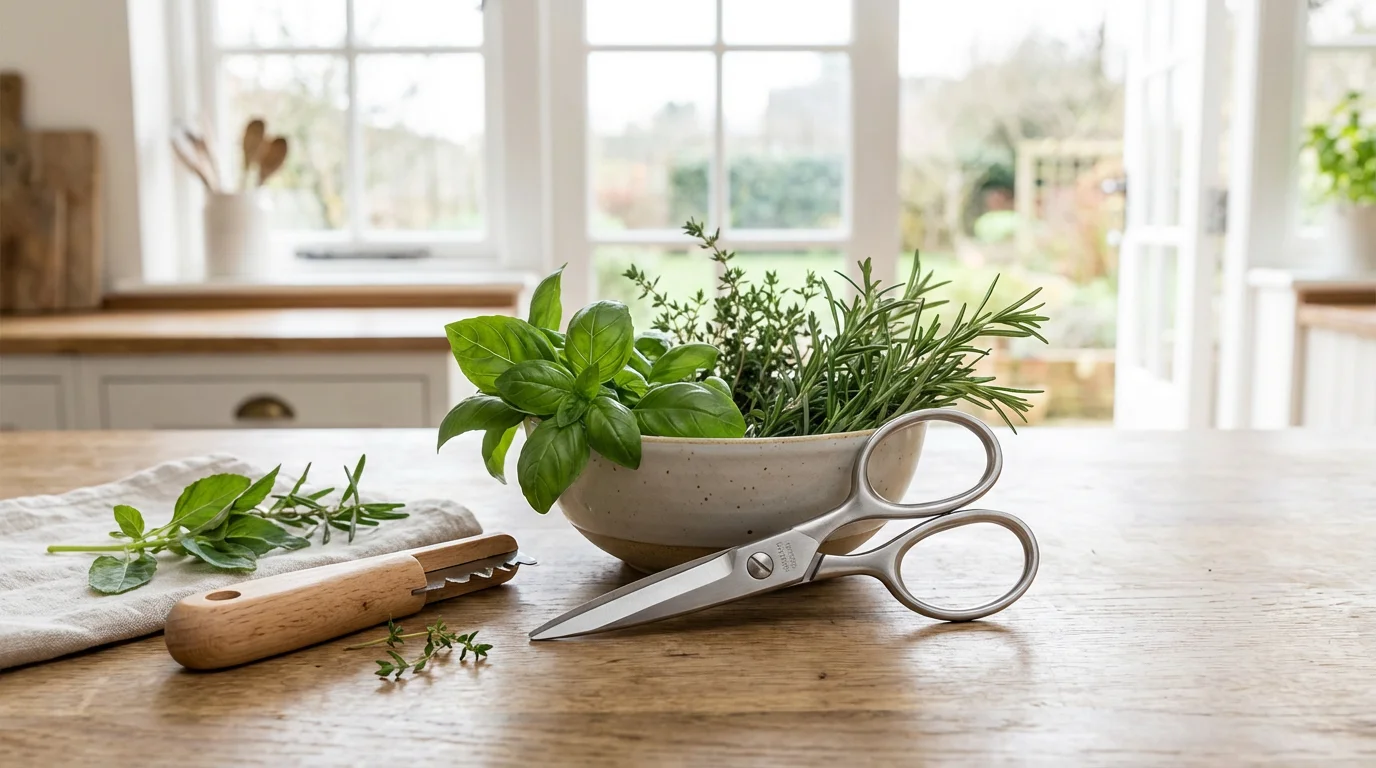
Hard Herbs include rosemary, thyme, sage, and oregano. These have woody stems and lower water content. They are robust and hold up exceptionally well to freezing. You can often freeze these right on the stem.
Soft Herbs include basil, cilantro, parsley, mint, and chives. These have soft, tender stems and high water content. When the water inside the plant cells freezes, it expands and ruptures the cell walls. This is why basil turns black and mushy if you just throw it in the freezer naked. These herbs require a barrier—usually oil or water—to preserve their color and flavor integrity.
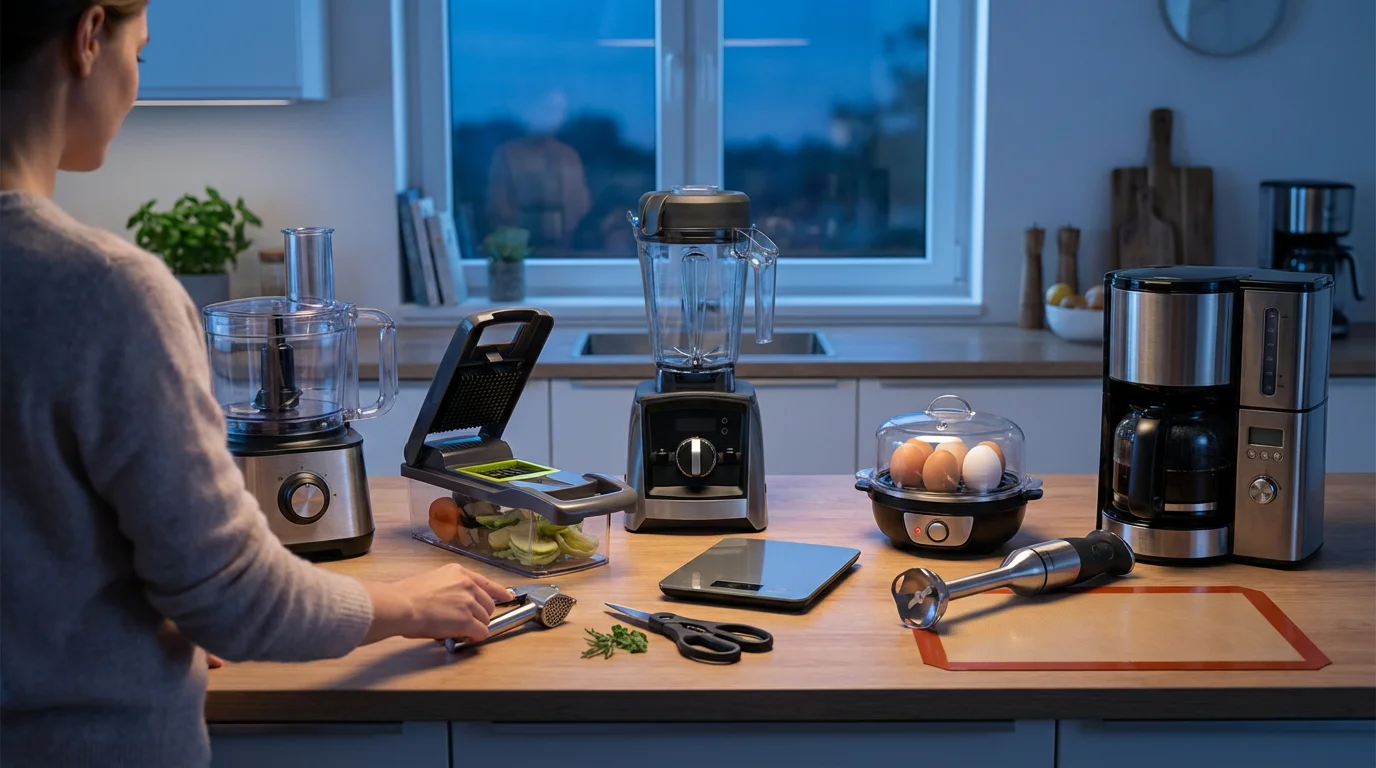
Gadget Check: Strippers, Scissors, and Mills
If you are processing a massive harvest from your garden or a bulk buy from the farmers market, prep work can become tedious. This is where kitchen gadget manufacturers love to pitch specific tools. Let’s look at which ones pass the utility test.
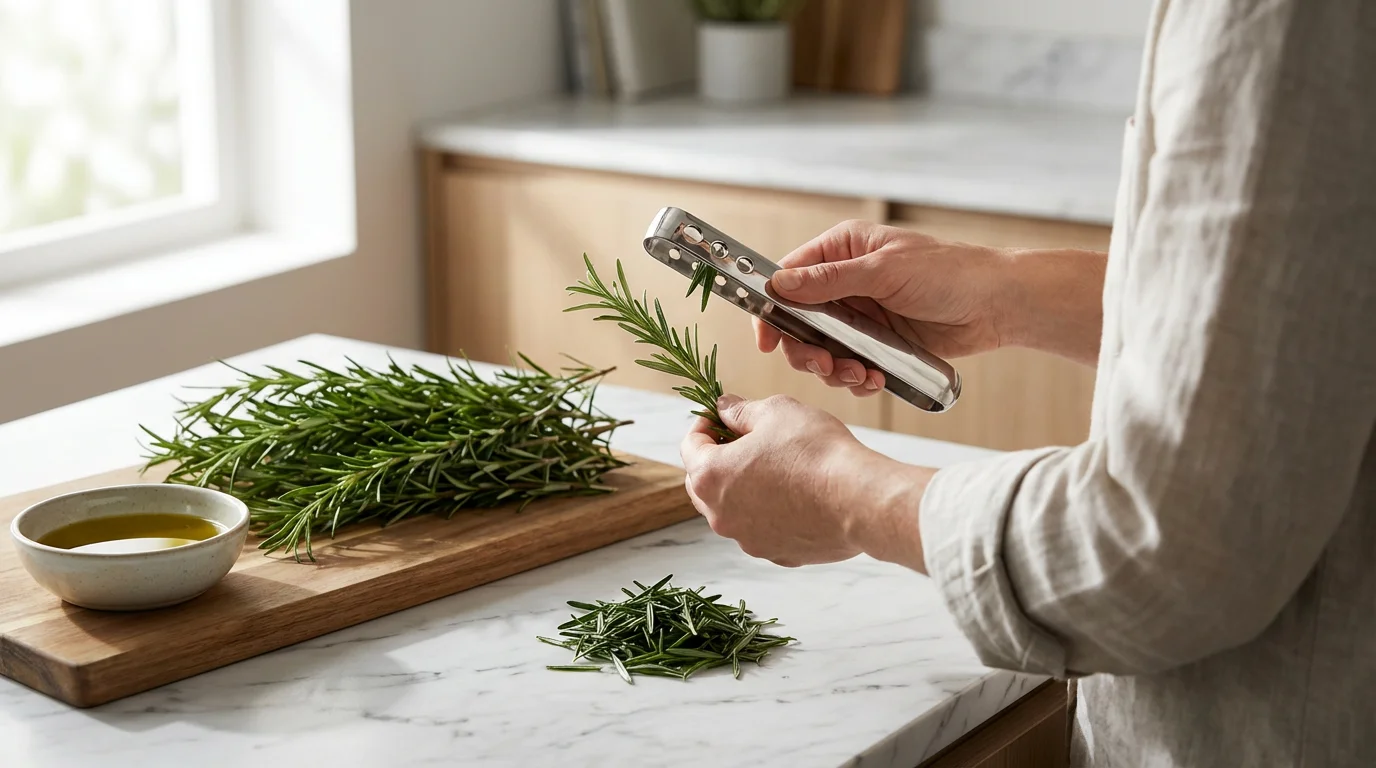
Herb Strippers
An herb stripper is a small tool, often made of plastic or stainless steel, with holes of various sizes. You pull the stem of kale, rosemary, or thyme through the hole, and it strips the leaves off. Is it a unitasker? Yes. (A unitasker is a gadget that only performs one specific task, which we usually avoid unless it does that task perfectly.) However, if you have ever spent 20 minutes picking thyme leaves by hand, you know the struggle.
In our testing, simple stainless steel strippers with sharp edges work best. The plastic versions often bruise the herbs or snap the stems halfway through. If you freeze herbs in bulk, a metal stripper is a worthy addition to your drawer.
Herb Scissors
These look like regular scissors but have five or more parallel blades. The promise is that you can mince a bunch of chives or scallions in seconds. The reality is often a nightmare of cleaning. Wet herbs get stuck between the blades, turning your “time-saver” into a cleaning project involving a tiny comb tool.
Instead of multi-blade scissors, Serious Eats recommends sticking to a sharp chef’s knife or a high-quality pair of standard kitchen shears. They are easier to sharpen, easier to clean, and far more versatile.
Herb Mills
Similar to a pepper grinder but for fresh herbs, these devices usually mash the herbs rather than cutting them cleanly. Bruised herbs oxidize faster, leading to loss of flavor. Skip the mill and stick to a knife.
The Medium Matters: Oil vs. Water Methods
To preserve fresh herbs effectively, you generally need to suspend them in a liquid. This protects the leaves from freezer burn and oxidation.
The Oil Method: This is the gold standard for cooking. Fat is an excellent carrier of flavor. By freezing herbs in oil (olive oil, melted butter, or a neutral vegetable oil), you are creating a starter for your cooking. You can toss a cube of rosemary-infused olive oil directly into a hot skillet to sauté onions or sear a steak. This works best for savory herbs like oregano, sage, thyme, and rosemary.
The Water Method: Freezing herbs in water is better for applications where oil might be unwelcome, such as in soups, stocks, or teas. Mint, for example, should be frozen in water if you plan to use it in iced tea or cocktails later.
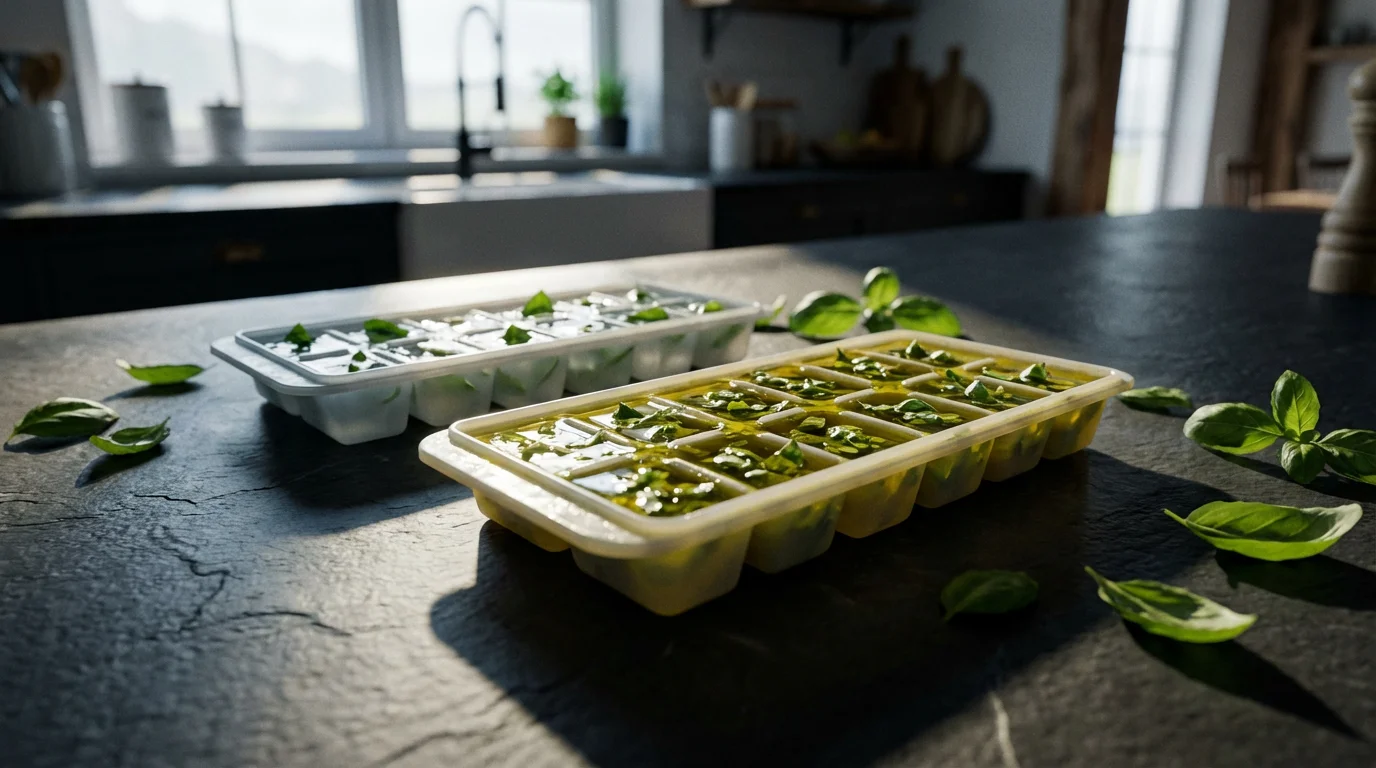
Comparison: Standard Ice Trays vs. Silicone Herb Pods
Once you have chopped your herbs and chosen your medium (oil or water), you need a vessel to freeze them in. You might be tempted to use that rigid plastic ice cube tray that came with your freezer, but that is often a mistake.
We compared three common vessels for freezing herbs.
| Feature | Standard Plastic Ice Tray | Silicone Ice Tray | Dedicated Herb Freezer Pods |
|---|---|---|---|
| Material | Rigid Plastic | Flexible Silicone | Silicone with Hard Frame |
| Ease of Release | Poor (Must twist/bang) | Excellent (Push from bottom) | Excellent |
| Oily Residue | High (Hard to clean oil out) | Medium (Silicone absorbs odors) | Low (Often higher quality silicone) |
| Lid Included? | Rarely | Sometimes | Yes (Essential for stacking) |
| Best For | Water-based cubes | Oil or Water | Long-term storage |
| Price | $ | $$ | $$$ |
The Verdict: While dedicated herb pods (like the Prepara Herb Savor) look fancy, a high-quality silicone ice cube tray with a lid is the most practical choice. Silicone is a flexible, heat-resistant polymer that allows you to pop out a single oily cube without cracking the tray. The lid is non-negotiable—it prevents your basil oil from absorbing the scent of the frozen fish fillets sitting next to it.
According to Wirecutter, silicone trays are generally preferred for freezing food portions because they are durable and often dishwasher safe (capable of being washed in a machine without damage), making cleanup of oily residues much easier.
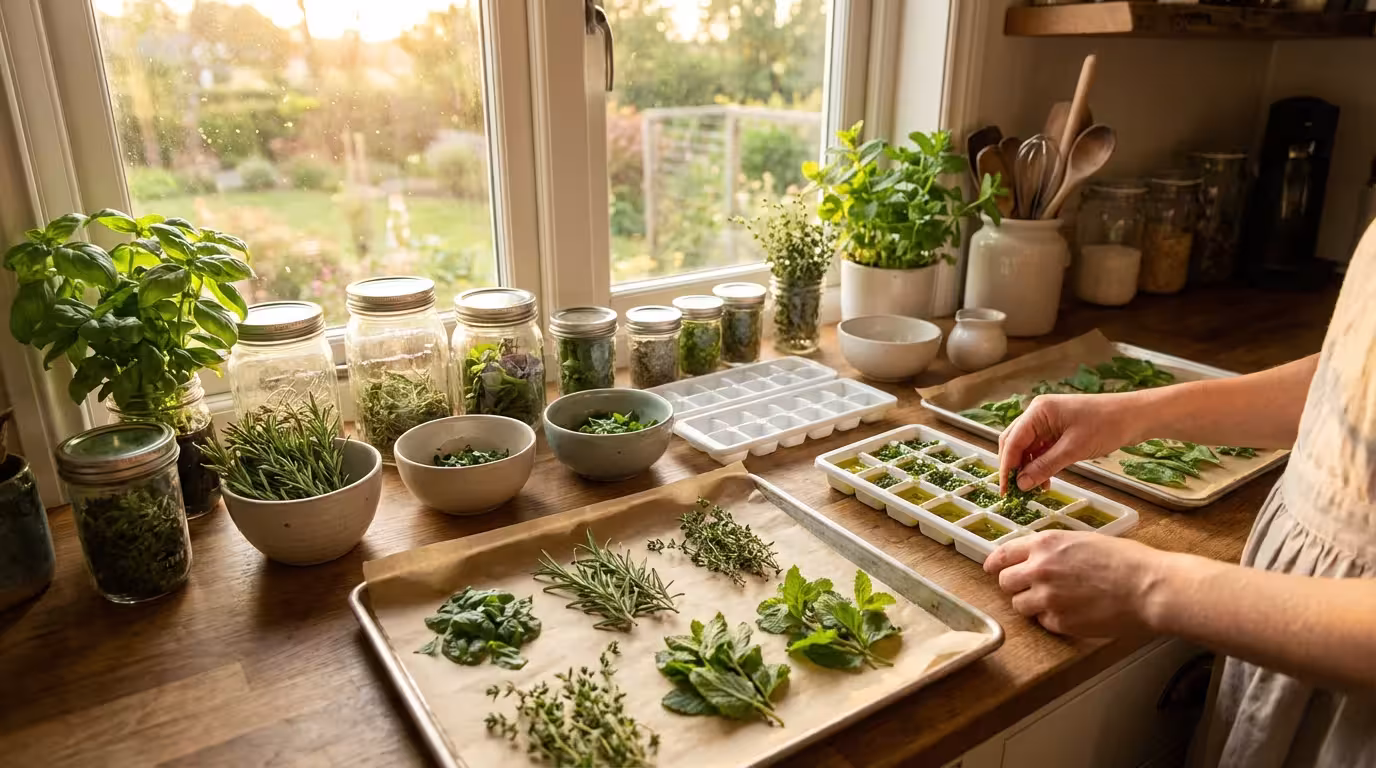
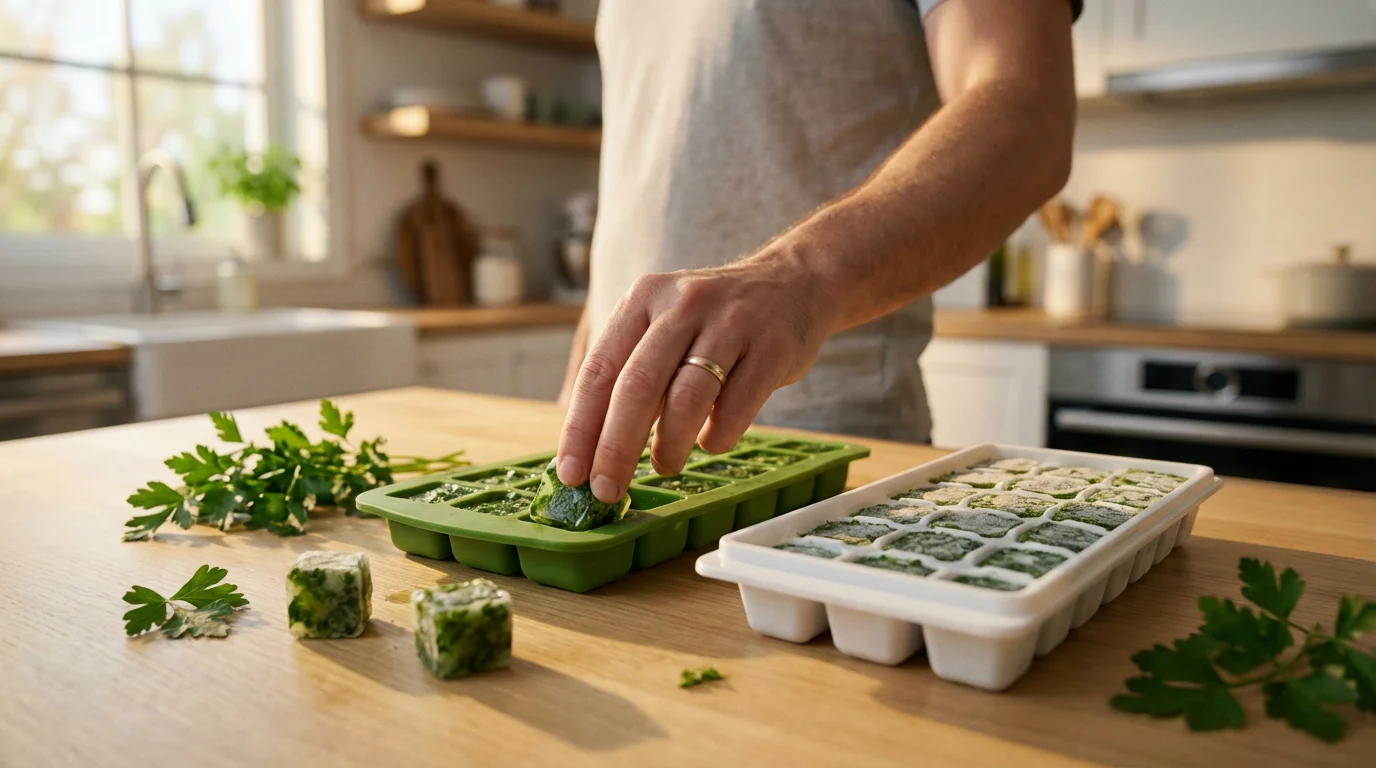
Step-by-Step: The “Flavor Bomb” Technique
Here is the most efficient workflow for turning a grocery store bunch of herbs into ready-to-cook cubes.
- Wash and Dry Thoroughly: Moisture on the surface of the leaf creates ice crystals, which leads to freezer burn. Wash your herbs and spin them dry in a salad spinner. If you don’t have one, roll them gently in clean kitchen towels.
- Prep the Leaves: Remove woody stems. Use an herb stripper for rosemary or thyme; use a knife to chop soft herbs like basil or parsley. The chop doesn’t need to be perfect, but smaller pieces freeze more uniformly.
- Fill the Tray: Pack your silicone tray compartments about 2/3 full with the chopped herbs. Do not be shy; pack them in tight.
- Pour the Liquid: Pour your oil (or water) over the herbs until they are just submerged. You may need to use a spoon to press the herbs down to ensure no leaves are sticking out above the surface.
- Freeze: Place the lid on the tray and freeze for at least 24 hours.
- Transfer: Once solid, pop the cubes out and transfer them to a labeled freezer bag or a silicone Stasher bag. This frees up your tray for the next batch.
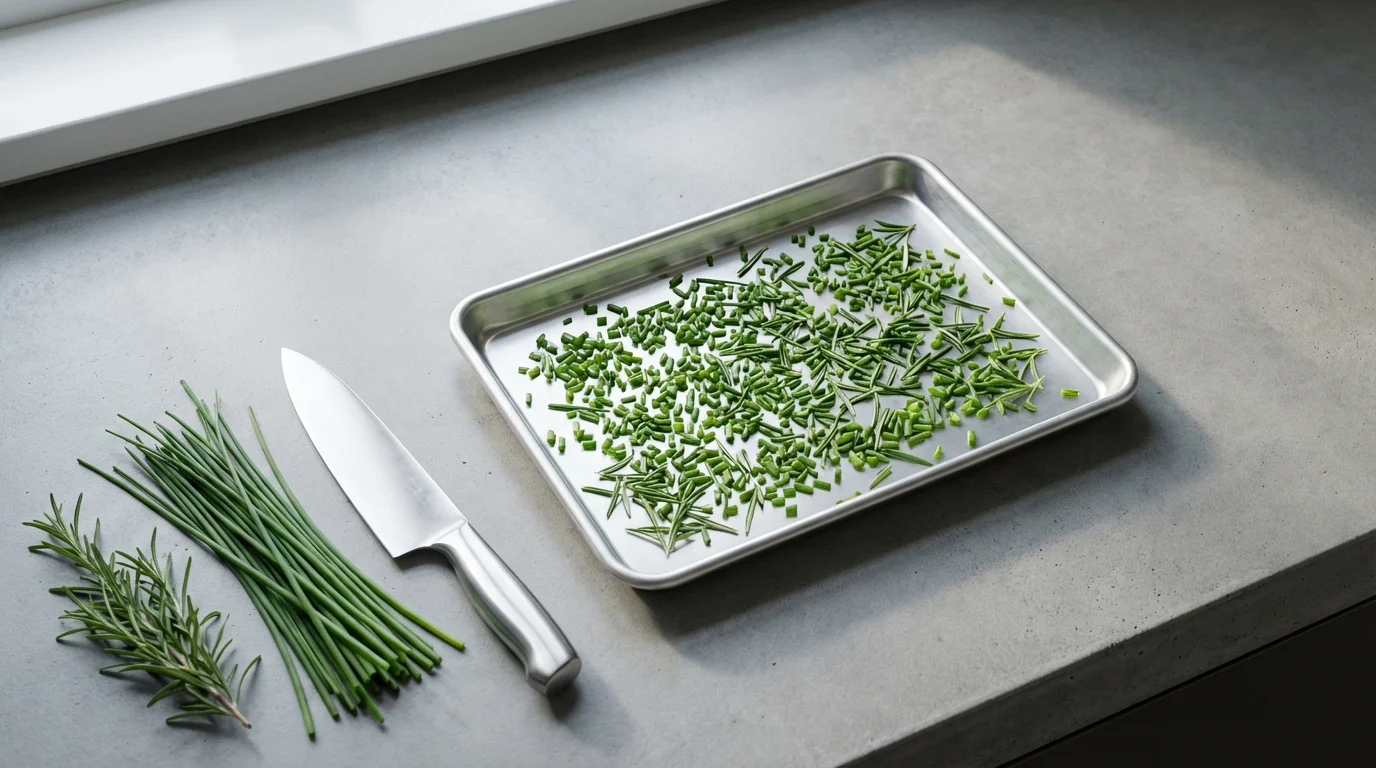
The Flash Freeze Method for Garnishes
Sometimes you don’t want an oil cube; you want loose herbs to sprinkle over a finished dish. This is where “flash freezing” comes in. This works reasonably well for chives, lemongrass, and hardier herbs like rosemary.
To flash freeze:
- Chop your herbs finely.
- Spread them out in a single layer on a parchment-lined baking sheet.
- Place the sheet in the freezer for one hour.
- Once frozen individually, funnel them into a zipper-lock bag.
Because they froze separately, they won’t clump together in the bag. You can reach in and pinch out exactly what you need. America’s Test Kitchen suggests this method specifically for ginger and lemongrass, noting that it keeps the aromatics accessible without the need for defrosting a whole block.
Storage and Organization: Avoiding Freezer Burn
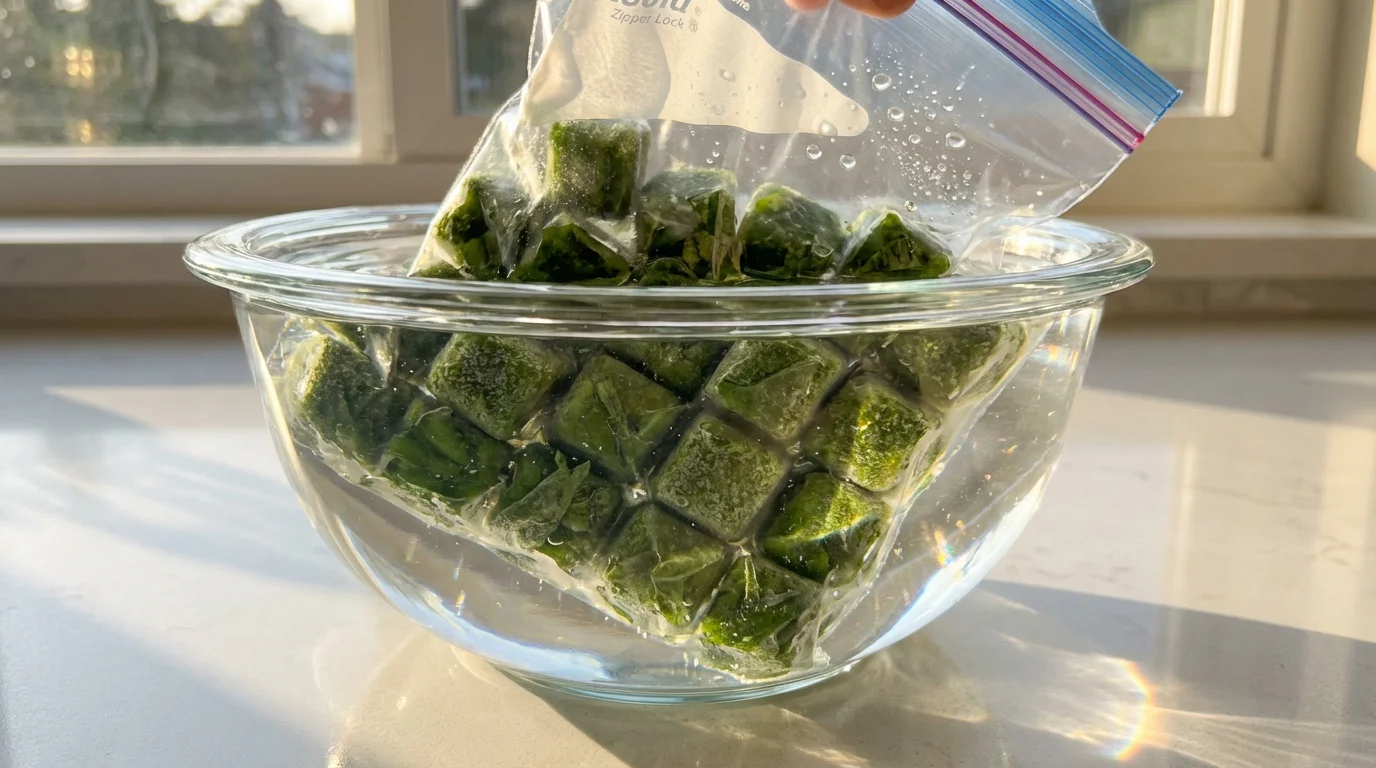
The biggest enemy of frozen food is air. Once you have transferred your herb cubes to a bag, you must remove as much air as possible. If you own a vacuum sealer, this is a great time to use it, though it might be overkill for herbs you plan to use quickly.
For standard zipper-lock bags, use the water displacement method: close the bag almost all the way, submerge it in a bowl of water (keeping the seal above the water line), and let the water pressure push the air out before sealing the final inch.
Labeling is Critical: A frozen cube of cilantro looks exactly like a frozen cube of parsley. In the dim light of your kitchen, you will not be able to tell the difference until you ruin your Italian marinara sauce with cilantro. Use a permanent marker to label the bag with the herb type, the medium used (e.g., “Basil in Olive Oil”), and the date.
Frequently Asked Questions
Can I freeze basil without it turning black?
Basil is very sensitive to cold due to its high water content. If you freeze it whole or chopped without a barrier, it will turn black and mushy. The best way to freeze basil is to blanch it quickly (dip in boiling water for 15 seconds, then ice water), dry it, puree it with olive oil, and freeze the puree. The oil coats the particles and prevents oxidation.
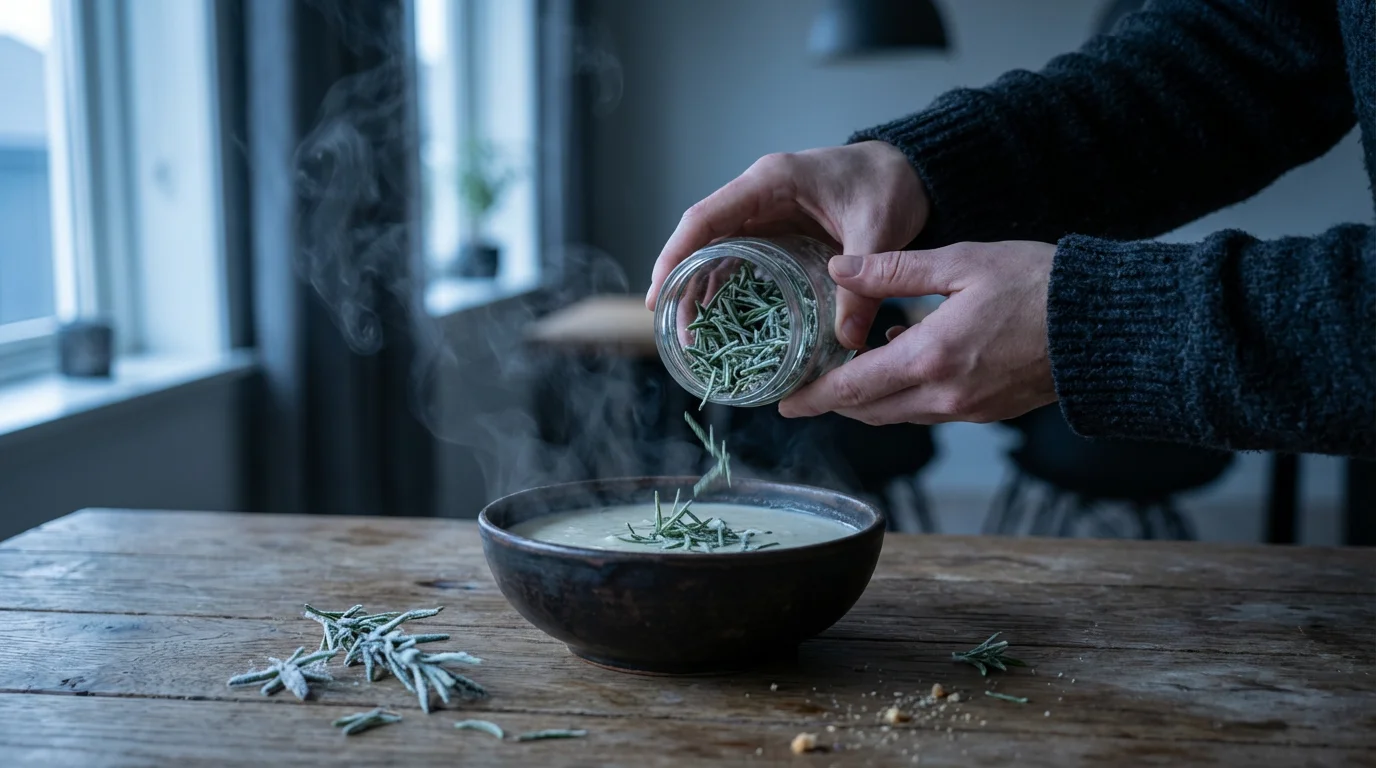
Do I need to thaw herb cubes before cooking?
Generally, no. Since these cubes are best used in hot dishes like soups, stews, and sautés, you can drop the frozen cube directly into the pan. The heat of the pan will melt the oil or water almost instantly, releasing the fresh herb flavor.
How long do frozen herbs last?
Frozen herbs are best used within 3 to 6 months. While they will remain safe to eat indefinitely if kept frozen constantly, the flavor potency will degrade over time. If you notice a lot of ice crystals forming inside the bag (freezer burn), the flavor has likely been compromised.
Are silicone trays BPA-free?
Most high-quality food-grade silicone is naturally BPA-free because it is not made from plastic. BPA-free means the product does not contain Bisphenol A, a chemical often found in rigid plastics that some consumers prefer to avoid. Always check the manufacturer’s packaging to be sure, but silicone is generally considered a safe, stable material for freezing food.
Disclaimer: Product prices and availability change frequently. Prices shown were accurate at time of writing but may have changed. We may earn a small commission from purchases made through links on this site, at no extra cost to you. Always verify current pricing on the retailer’s website before purchasing.

Leave a Reply