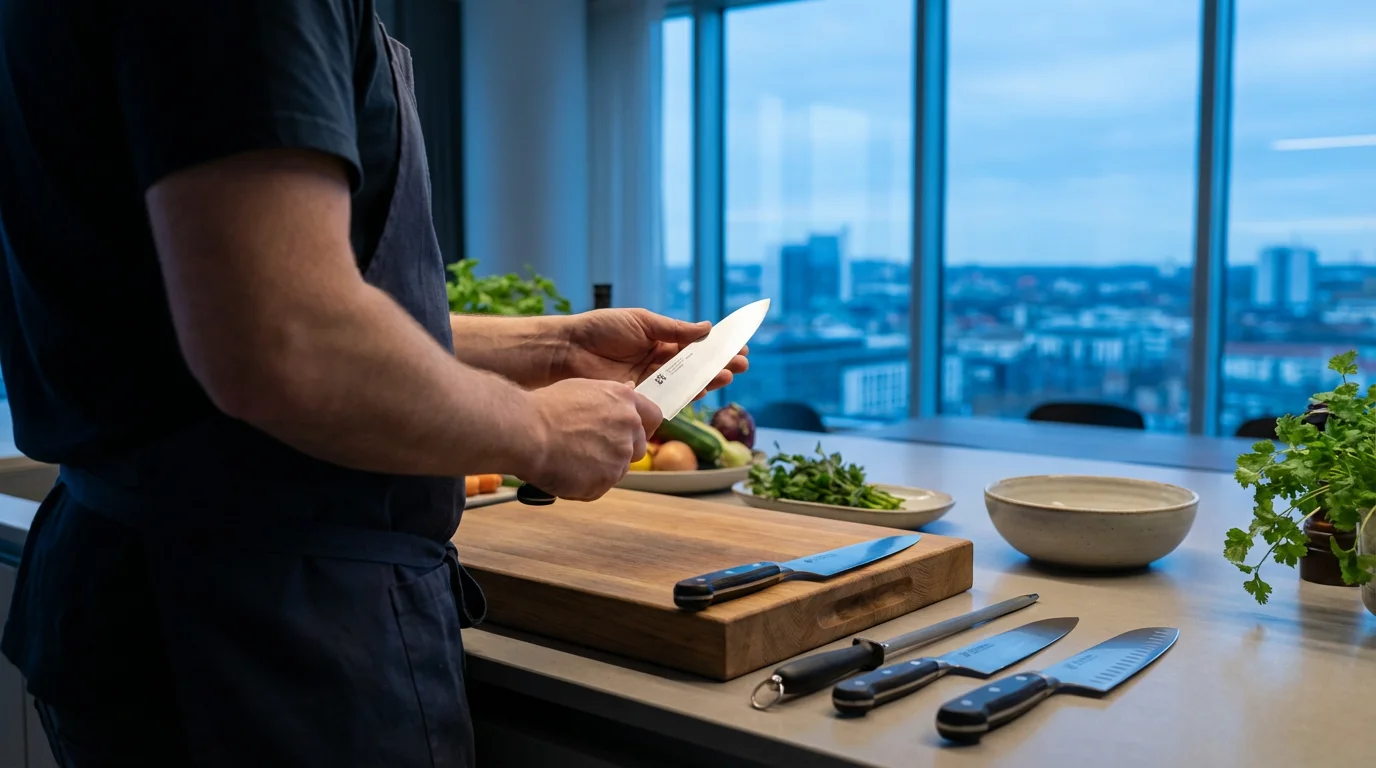
A sharp kitchen knife transforms your cooking experience. It makes slicing, dicing, and mincing feel effortless, precise, and most importantly, safe. Many home cooks struggle with dull blades, often unaware of how simple and accessible maintaining a keen edge can be. This comprehensive guide demystifies the world of knife sharpening, offering practical, actionable insights into various methods and tools available, helping you make informed decisions to keep your kitchen knives performing their best.
You often hear the terms “honing” and “sharpening” used interchangeably, but they refer to distinct processes. Honing realigns the microscopic edge of your knife blade, straightening out any bends without removing significant metal. Think of it like combing hair. This is something you should do frequently, often before or after each use. In contrast, sharpening removes a small amount of metal from the blade to create a new, fresh edge, much like giving the hair a trim. This process is necessary less frequently, typically when honing no longer restores the knife’s cutting ability.
Why a Sharp Knife Matters for Safety and Efficiency
Many home cooks mistakenly believe a dull knife is safer than a sharp one. This is a dangerous misconception. A dull knife requires more force to cut through food, increasing the likelihood of the blade slipping off the ingredient and onto your fingers. You exert less control, making accidental cuts more probable and often more severe. A sharp knife, on the other hand, glides through food with minimal effort, providing predictable cuts and superior control. This precision not only enhances safety but also speeds up your meal prep significantly. You work smarter, not harder.
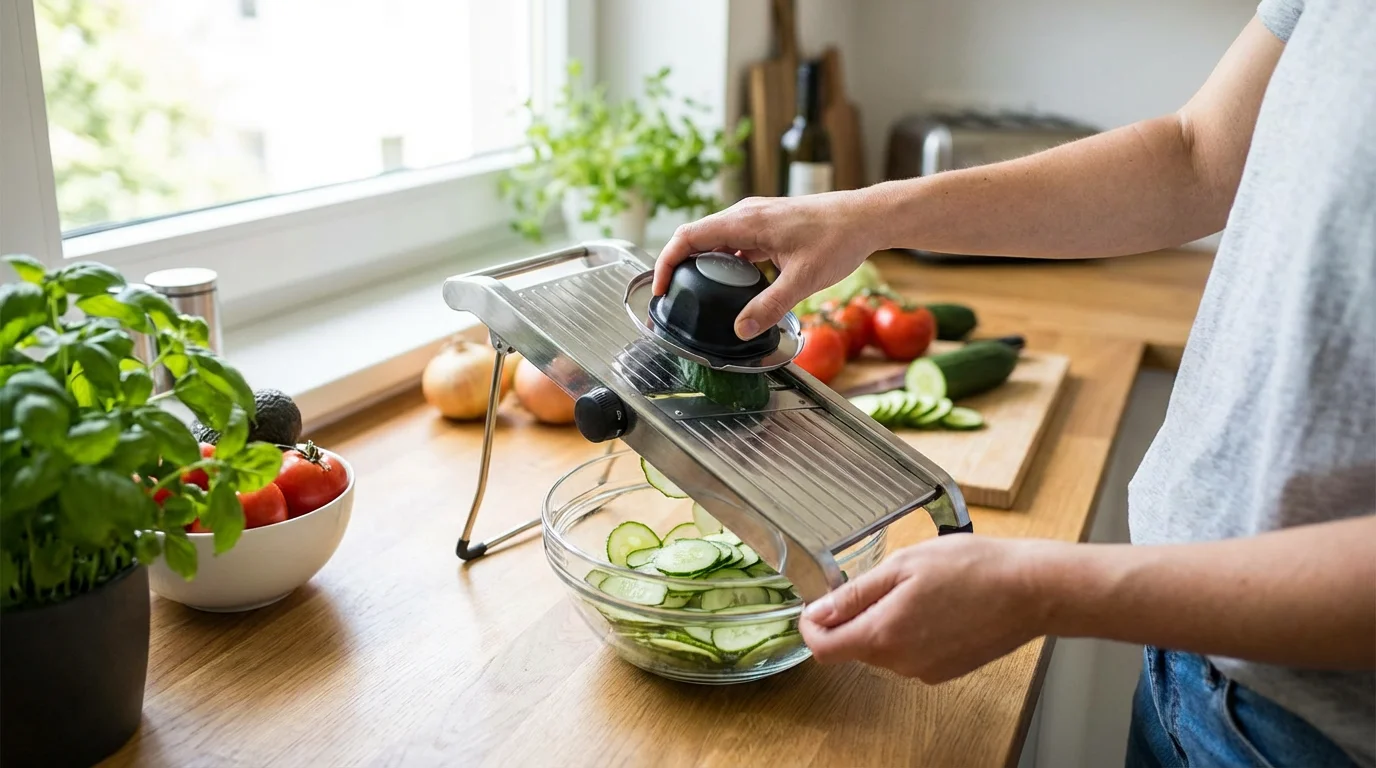
While a sharp knife is essential, some tasks are better handled by mandoline slicers when you need perfectly uniform thickness.
“A sharp knife is a safe knife. More kitchen injuries come from dull blades than sharp ones.” — Culinary Instructor
Understanding Your Knife Blade
The material of your knife blade significantly impacts its sharpening requirements and edge retention. Most kitchen knives feature blades made from various types of steel or ceramic.
Whether you are using a large chef’s knife or smaller paring knives, the type of steel dictates the sharpening frequency.
- High-Carbon Stainless Steel: This is the most common material for quality kitchen knives. It offers a good balance of sharpness, edge retention, and corrosion resistance. These blades are relatively easy to sharpen and hold an edge well with proper care.
- Carbon Steel: Prized by professional chefs for its ability to take and hold an incredibly sharp edge, carbon steel is less corrosion-resistant than stainless steel and can develop a patina over time. It requires diligent care and frequent cleaning. Carbon steel blades sharpen very easily.
- Ceramic: Extremely hard and excellent at retaining an edge for long periods, ceramic knives can be brittle and prone to chipping or breaking if dropped. They require specialized diamond sharpening tools, as traditional sharpeners are ineffective. Sharpening ceramic knives at home can be challenging for beginners.
Understanding your knife’s specific steel composition, often indicated by manufacturers, helps you select the appropriate sharpening method. For instance, harder steels might require coarser grits initially, while softer steels might respond better to finer grits.
Safety First: Essential Sharpening Precautions
Sharpening knives involves working with extremely sharp edges, making safety paramount. Always prioritize these precautions:
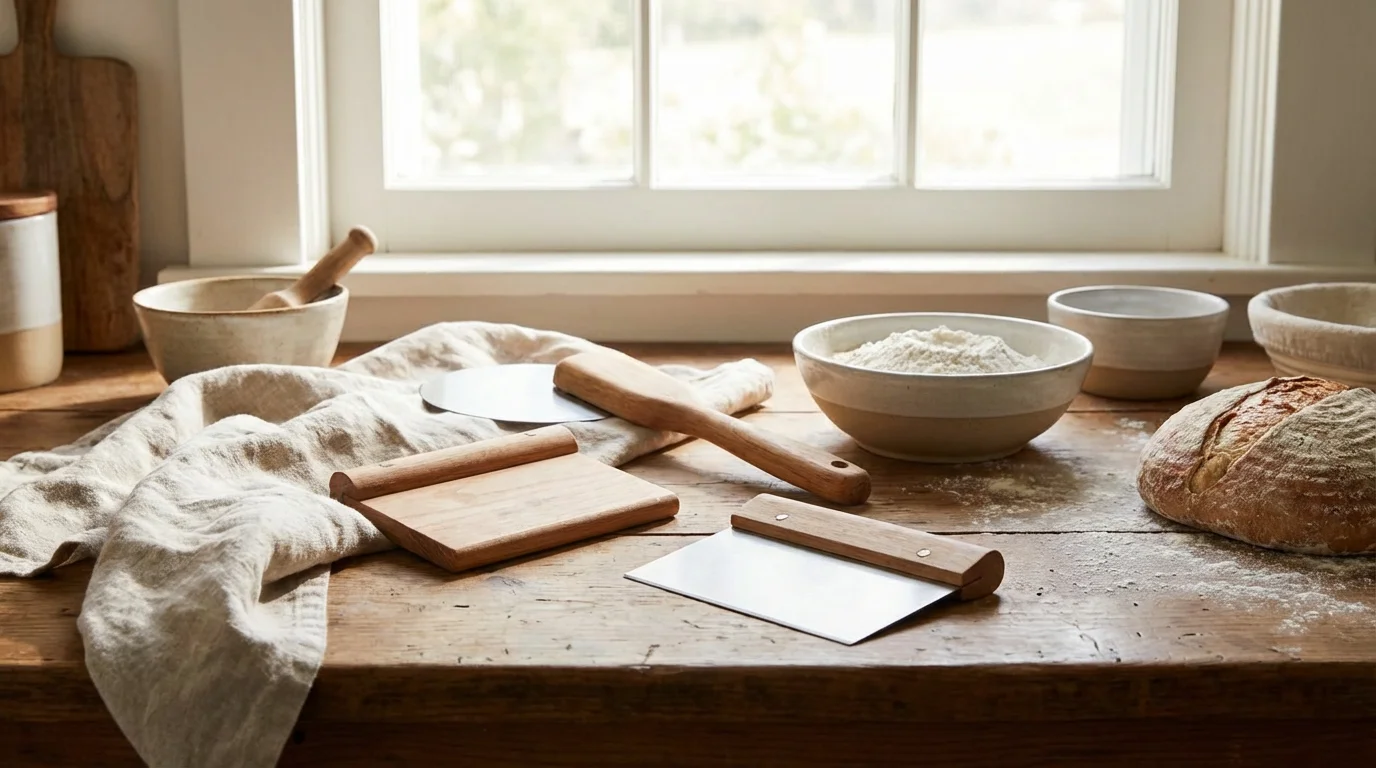
Using bench scrapers to clear your workspace is a safer alternative than sliding your sharp knife blade across the board surface.
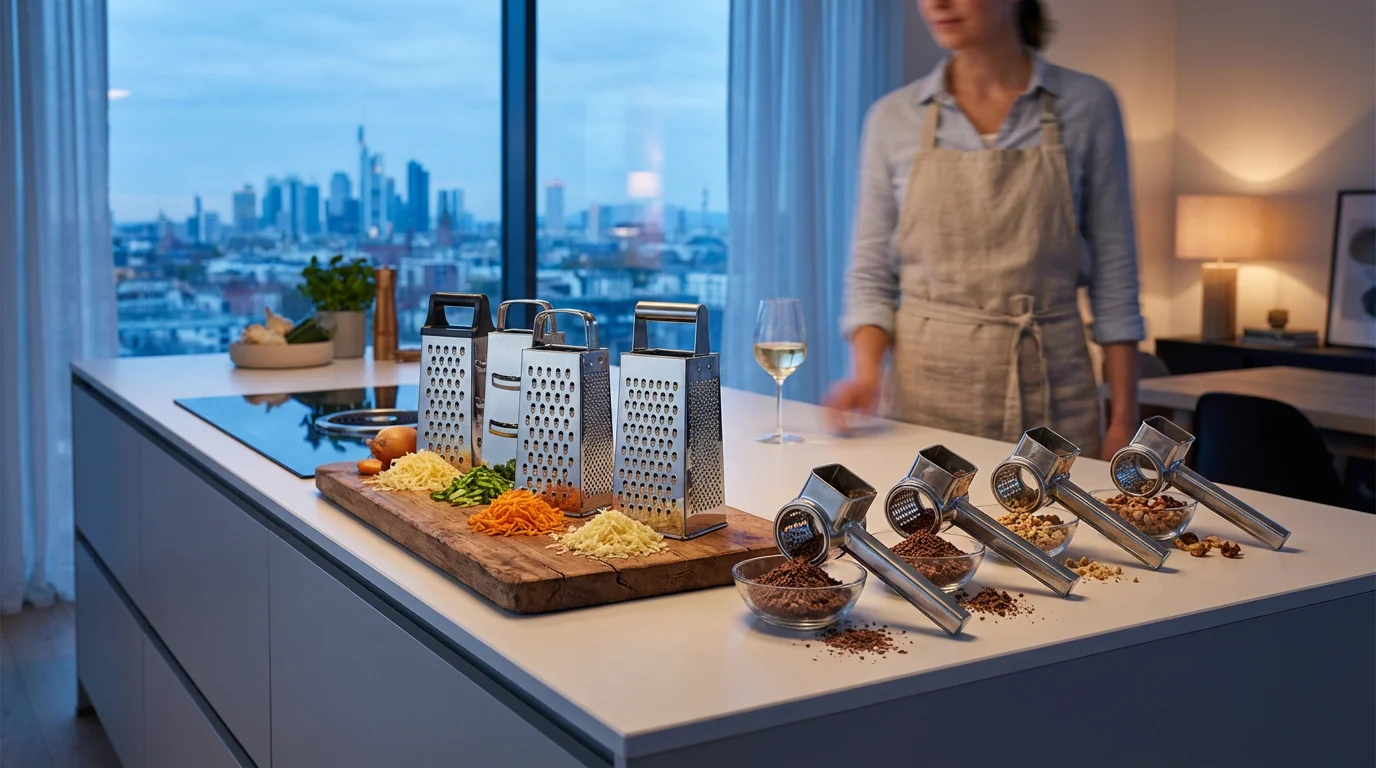
The same safety principles apply to other sharp tools, such as when using box graters to prevent accidental scrapes.
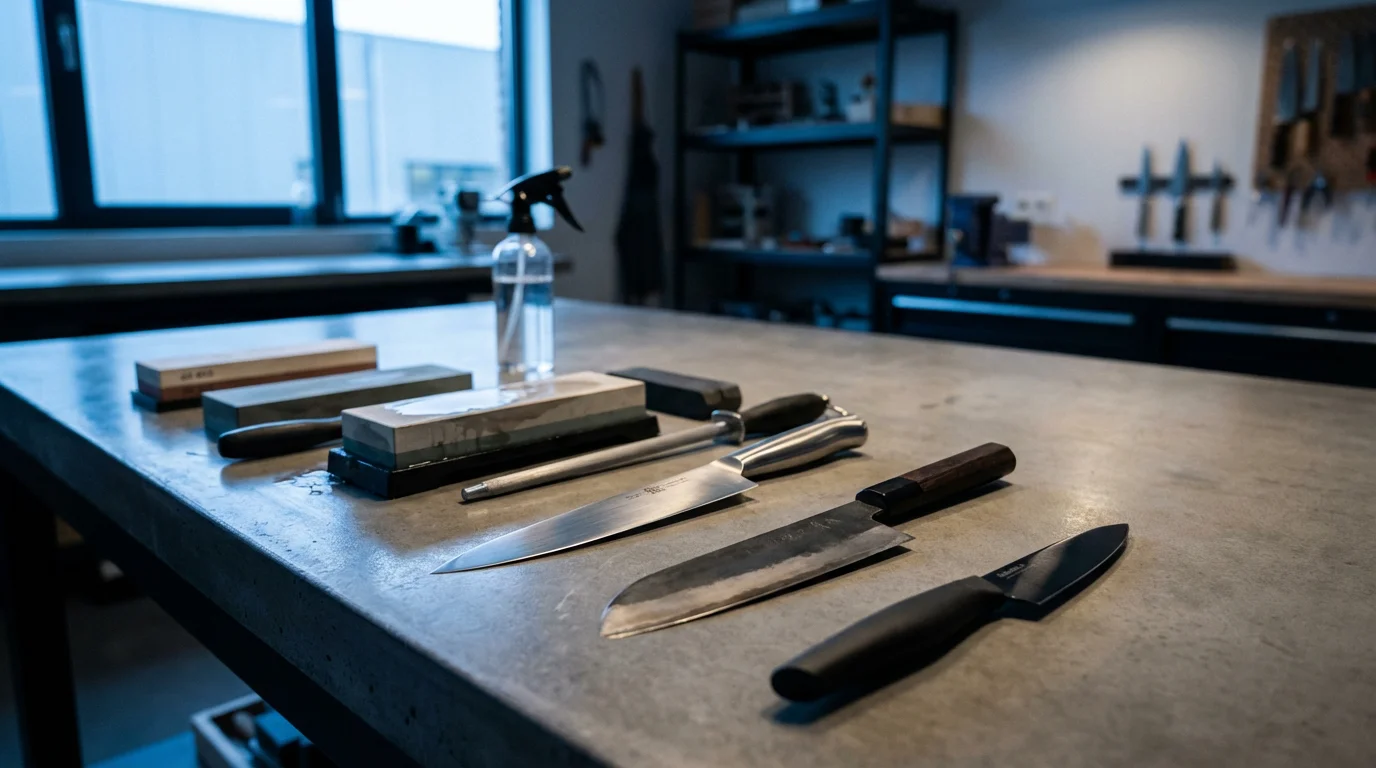
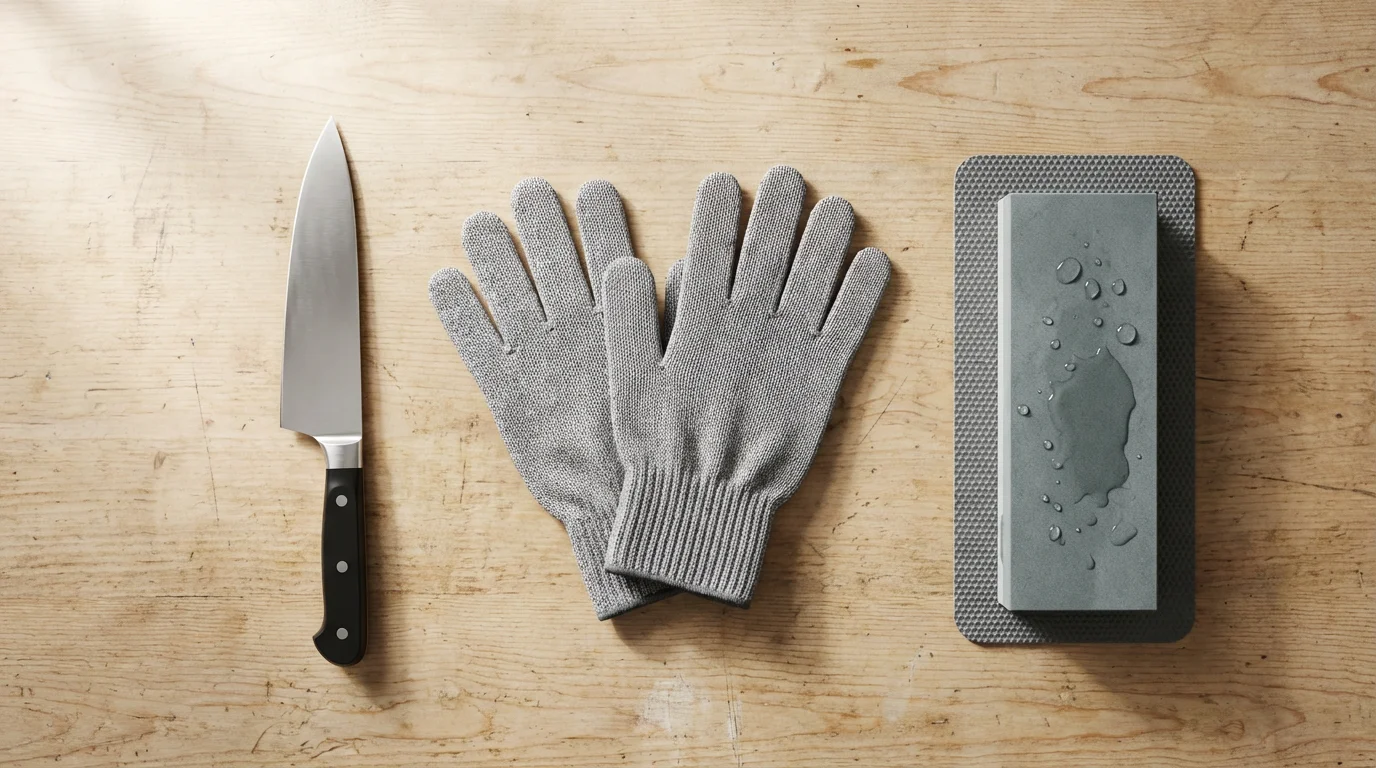
- Work on a Stable Surface: Ensure your sharpening tool or stone is on a non-slip surface. Use a damp towel or a non-slip mat underneath to prevent movement.
- Protect Your Hands: Consider wearing cut-resistant gloves, especially if you are new to manual sharpening methods like whetstones.
- Maintain a Firm Grip: Hold the knife handle firmly and keep your fingers away from the blade edge during the sharpening process.
- Understand the Angle: Consistency in maintaining the correct sharpening angle is crucial. Most Western kitchen knives use an angle between 15 and 20 degrees per side. Japanese knives often feature a sharper angle, around 10 to 15 degrees per side. Inconsistent angles can damage the edge or make sharpening ineffective.
- Work Away From Your Body: Whenever possible, push the blade away from your body when applying pressure during sharpening strokes.
- Clean Up Carefully: Metal filings and abrasive dust can be sharp. Wipe down your tools and work area with a damp cloth, being careful not to touch the sharpened edge.
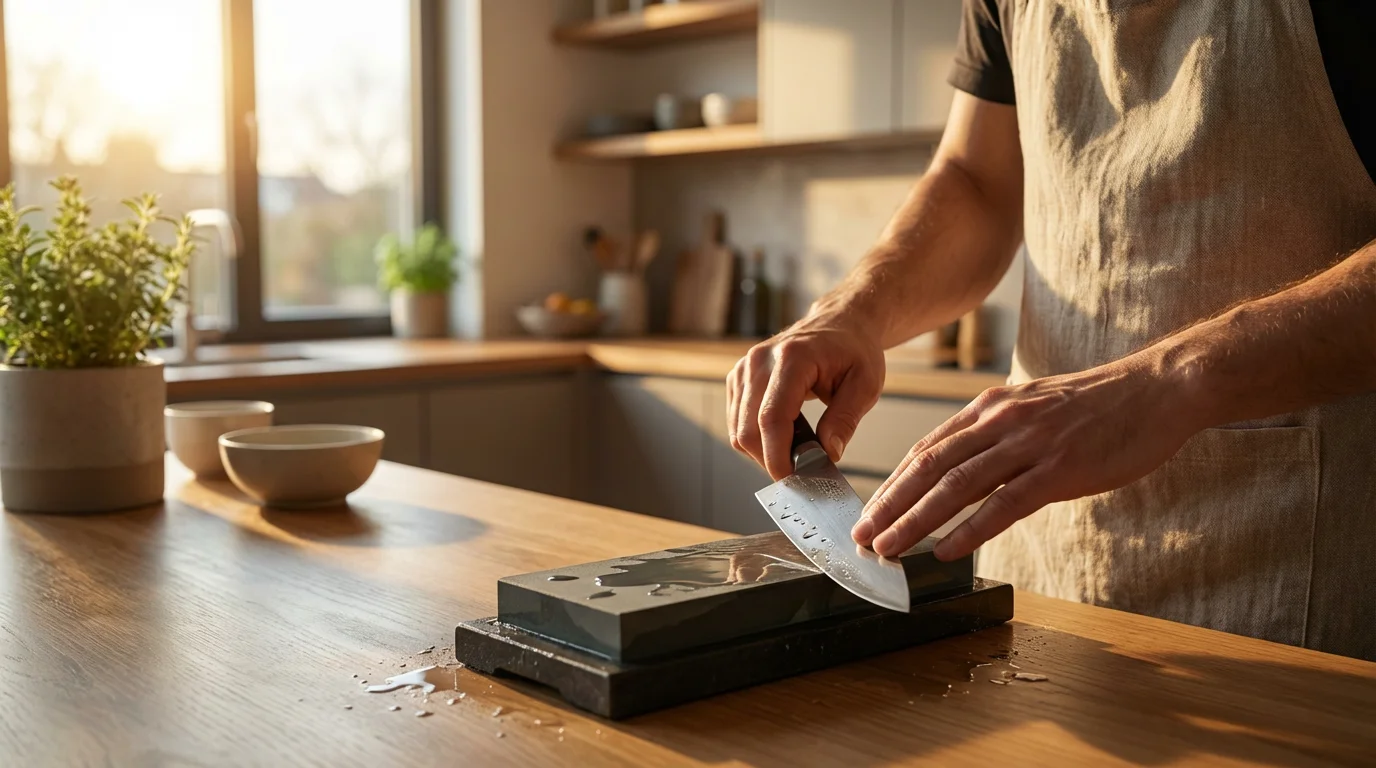
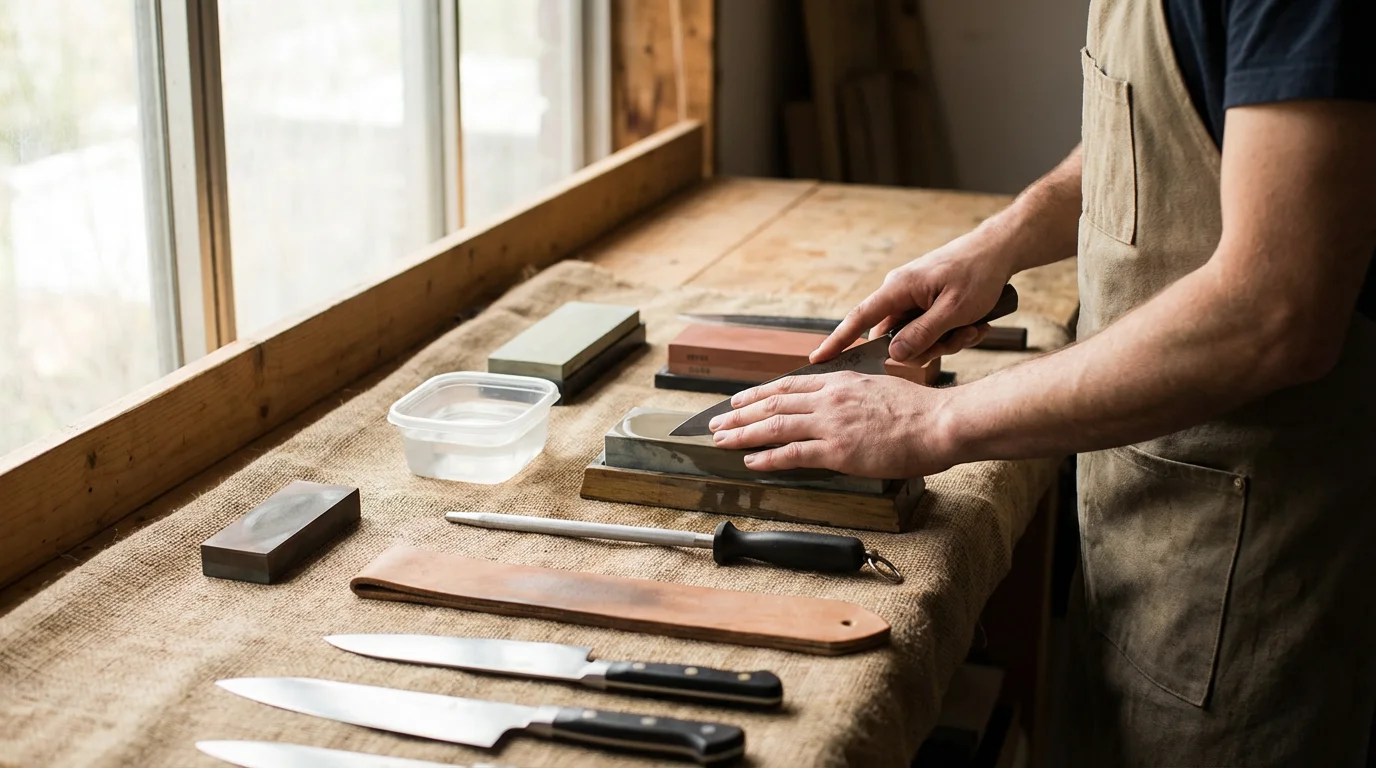
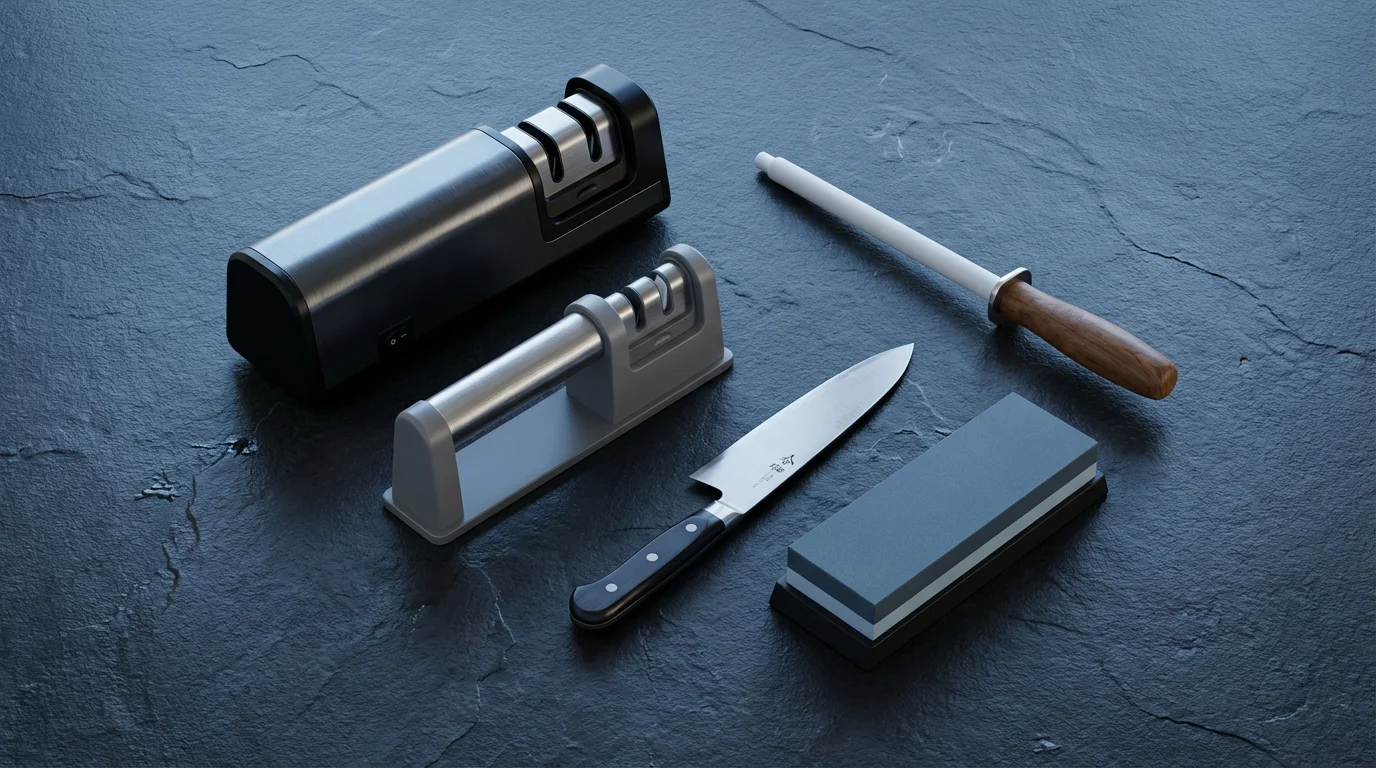
Sharpening Stones: Traditional Precision for a Superior Edge
Sharpening stones, often called whetstones or water stones, offer unparalleled control and the ability to achieve razor-sharp edges. They are a favored tool for experienced cooks and those seeking the highest level of precision in their knife care. These stones come in various materials, including natural stones, synthetic ceramic, and diamond-coated surfaces, each with different grit levels.
Types of Sharpening Stones:
- Water Stones: These synthetic stones require soaking in water before use. The water helps create a slurry that facilitates sharpening and keeps the blade cool. They cut quickly and produce very fine edges.
- Oil Stones: Traditionally used with oil as a lubricant, these stones are durable and less messy than water stones if you prefer not to deal with water. They often cut slower than water stones.
- Diamond Stones: Featuring industrial diamonds bonded to a metal base, diamond stones are incredibly durable and can sharpen any blade material, including ceramic. They never dish or lose their flatness.
Grit Levels and Progression:
Sharpening stones are categorized by grit, which indicates the coarseness of the abrasive particles:
- Coarse Grit (120-400): Use for repairing severely dull, chipped, or damaged edges. These remove significant material quickly.
- Medium Grit (800-2000): The workhorse grit for general sharpening, creating a sharp working edge. You will use this most often to restore dull knives.
- Fine Grit (3000-8000+): Used for refining the edge, polishing it to a mirror finish, and achieving extreme sharpness. This step improves cutting performance and edge retention.
Basic Whetstone Technique for Beginners:
Mastering a whetstone takes practice, but the results are worth it. Here’s a simplified approach:
- Preparation: If using a water stone, soak it according to manufacturer instructions, typically 5-10 minutes until bubbles stop appearing. Place the stone on a non-slip surface, coarse grit up.
- Set the Angle: Hold the knife with the blade flat against the stone, then lift the spine (non-sharp edge) until you achieve the desired angle (15-20 degrees for most kitchen knives). You can use angle guides to assist you initially.
- Sharpen One Side: With light to moderate pressure, push the blade away from you along the stone, maintaining a consistent angle. Apply pressure across the entire edge, from heel to tip. Repeat this stroke 5-10 times.
- Sharpen the Other Side: Flip the knife over and sharpen the other side by pulling the blade towards you across the stone, again maintaining the same angle. The goal is to develop a “burr” along the opposite edge. A burr feels like a tiny lip of metal.
- Refine with Finer Grits: Once you feel a burr along the entire length of the blade, move to a finer grit stone. Repeat the process with lighter pressure on each side, alternating strokes.
- Strop (Optional but Recommended): Finish on an even finer grit or a leather strop to remove the burr completely and polish the edge.
- Test Sharpness: A common test is to try slicing a piece of paper. A truly sharp knife will slice through it cleanly without snagging.
Pros: Superior sharpness, versatile for various knife types, full control over the edge, long-lasting tools.
Cons: Steep learning curve, time-consuming, requires maintenance (flattening stones).
Best for: Serious home cooks, knife enthusiasts, those who value precision and want the sharpest possible edge. Consider a combination stone (e.g., 1000/3000 grit) as a good starting point for learning.
For more in-depth guidance on specific knife types and sharpening angles, Wirecutter provides excellent resources for kitchen knife care, including sharpening recommendations.
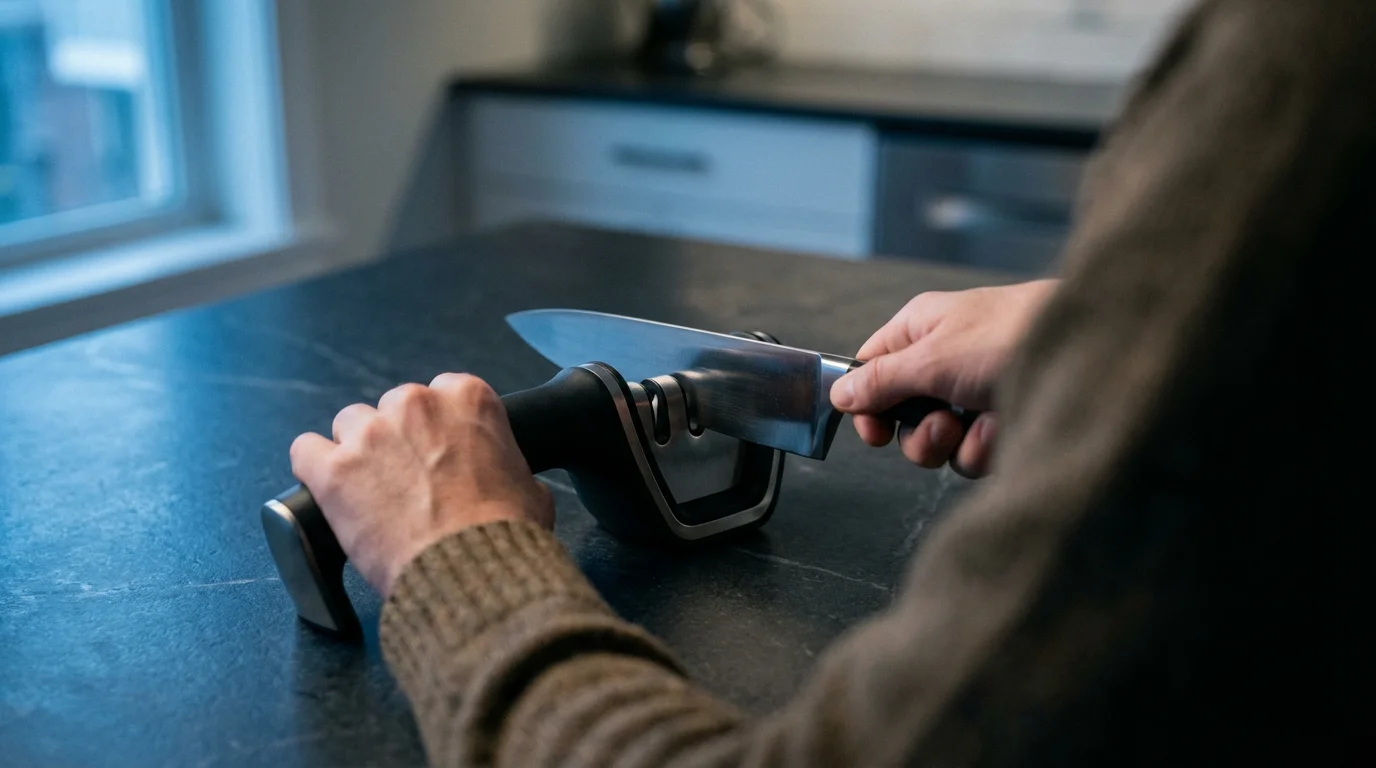
Pull-Through Sharpeners: Speed and Simplicity
Pull-through sharpeners offer a quick and convenient way to restore a working edge to your knives. These devices typically feature pre-set sharpening angles, making them very user-friendly for beginners. They come in manual and electric versions.
Manual Pull-Through Sharpeners:
These compact sharpeners usually have multiple slots with different abrasive materials, ranging from coarse carbide for dull knives to fine ceramic rods for honing. You simply pull the knife blade through the appropriate slot a few times. Most manual sharpeners have a comfortable handle for a secure grip and a non-slip base for safety.
Pros: Inexpensive, very easy to use, compact, quickly restores a serviceable edge.
Cons: Pre-set angles may not match your knife’s original factory angle, removes more metal than necessary, can create a less refined edge compared to whetstones, generally not suitable for serrated knives or very thin Japanese blades.
Best for: Beginners, those needing a quick touch-up, cooks with basic stainless steel knives, “best value” pick for convenience.
Electric Pull-Through Sharpeners:
Electric sharpeners automate much of the process. They feature motorized abrasive wheels or belts that spin at high speeds, quickly grinding a new edge onto your blade. Many models offer multiple stages, starting with a coarse grinding stage and progressing to finer honing stages. Some advanced models also include guides for sharpening serrated knives.
According to Consumer Reports’ evaluations of kitchen tools, electric sharpeners often provide significant improvements in sharpness for home cooks seeking a convenient solution.
Pros: Very fast, effortless to use, consistent results (within its design parameters), often includes multiple stages for sharpening and honing.
Cons: More expensive, can remove a lot of blade material if overused, fixed angles might not be ideal for all knives, can be noisy, some models are bulky.
Best for: Busy home cooks, “best for beginners” who want speed without the learning curve, those with a collection of standard Western-style knives.
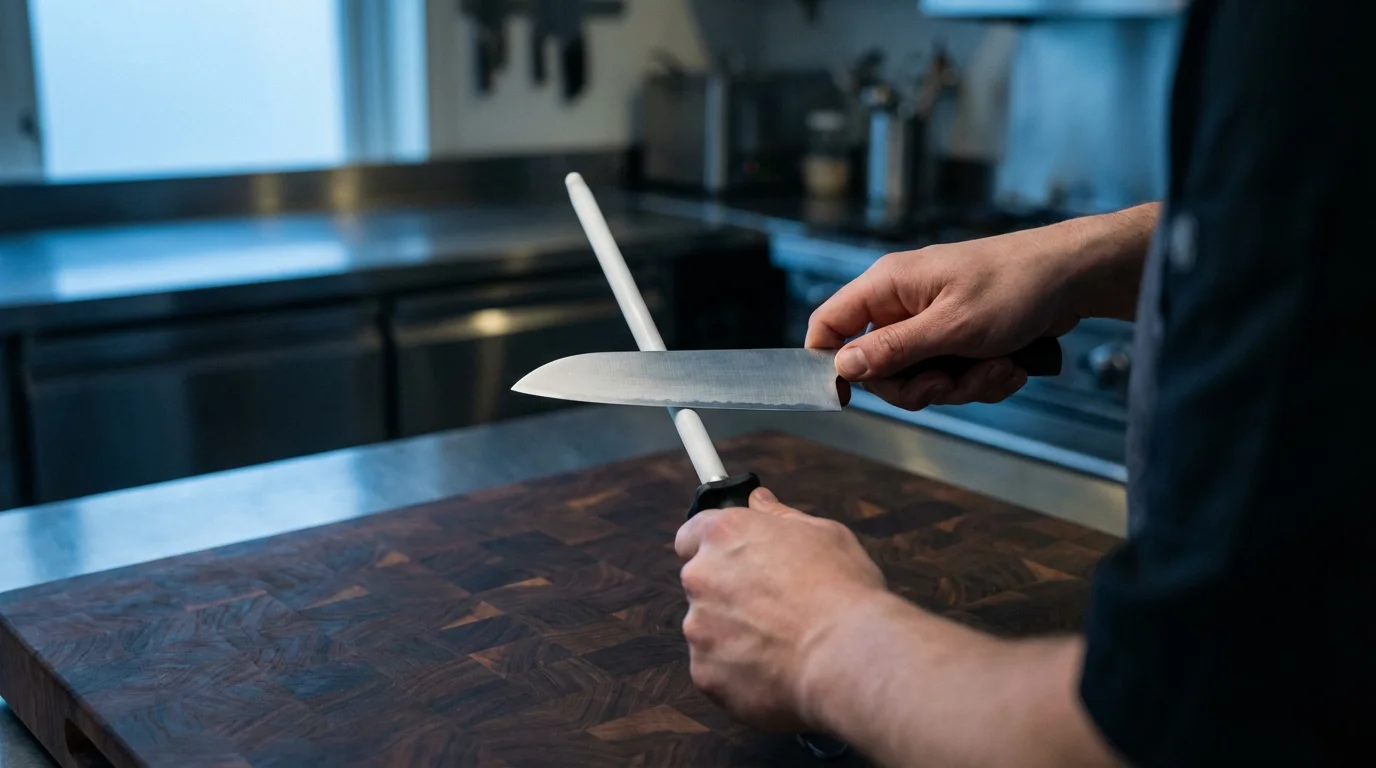
Honing Rods: The Daily Edge Maintenance
A honing rod, often mistakenly called a “sharpening steel,” does not sharpen your knife by removing metal. Instead, it realigns the microscopic edge of your blade that bends and rolls over during use. Frequent honing maintains your knife’s keenness and delays the need for true sharpening.
Types of Honing Rods:
- Steel Honing Rods: The most traditional type. These are typically chrome-plated steel, suitable for most Western-style knives. They provide a gentle realignment.
- Ceramic Honing Rods: Finer than steel, ceramic rods offer a slightly abrasive surface, capable of doing a very light “micro-sharpening” while honing. They are excellent for maintaining a very fine edge and can even improve sharpness slightly.
- Diamond Honing Rods: These rods are coated with industrial diamonds, making them the most abrasive type. They can both hone and lightly sharpen, removing a small amount of metal. Use diamond rods with caution, as they are very effective and can quickly alter a blade’s geometry if not used properly.
Proper Honing Technique:
- Stabilize the Rod: Hold the honing rod vertically with its tip firmly planted on a cutting board or counter. Keep your non-dominant hand holding the rod’s handle safely above the guard.
- Set the Angle: Place the knife heel against the top of the rod, at your desired sharpening angle (15-20 degrees). Visualize the angle and maintain it consistently.
- Long, Sweeping Strokes: With light, even pressure, draw the blade down and across the rod, moving from the heel to the tip of the blade. The goal is to use the entire length of the blade on the rod in one smooth motion.
- Alternate Sides: Repeat on the other side of the blade, alternating strokes. Perform 5-10 strokes on each side.
- Listen and Feel: You should hear a consistent, light scraping sound. Avoid heavy pressure, which can damage the edge.
Pros: Extends the life of your sharpened edge, quick and easy, minimal material removal, essential for daily knife care.
Cons: Does not sharpen a truly dull knife, requires consistent angle control.
Best for: Everyone with kitchen knives, for daily or weekly edge maintenance, especially for “knife care.”
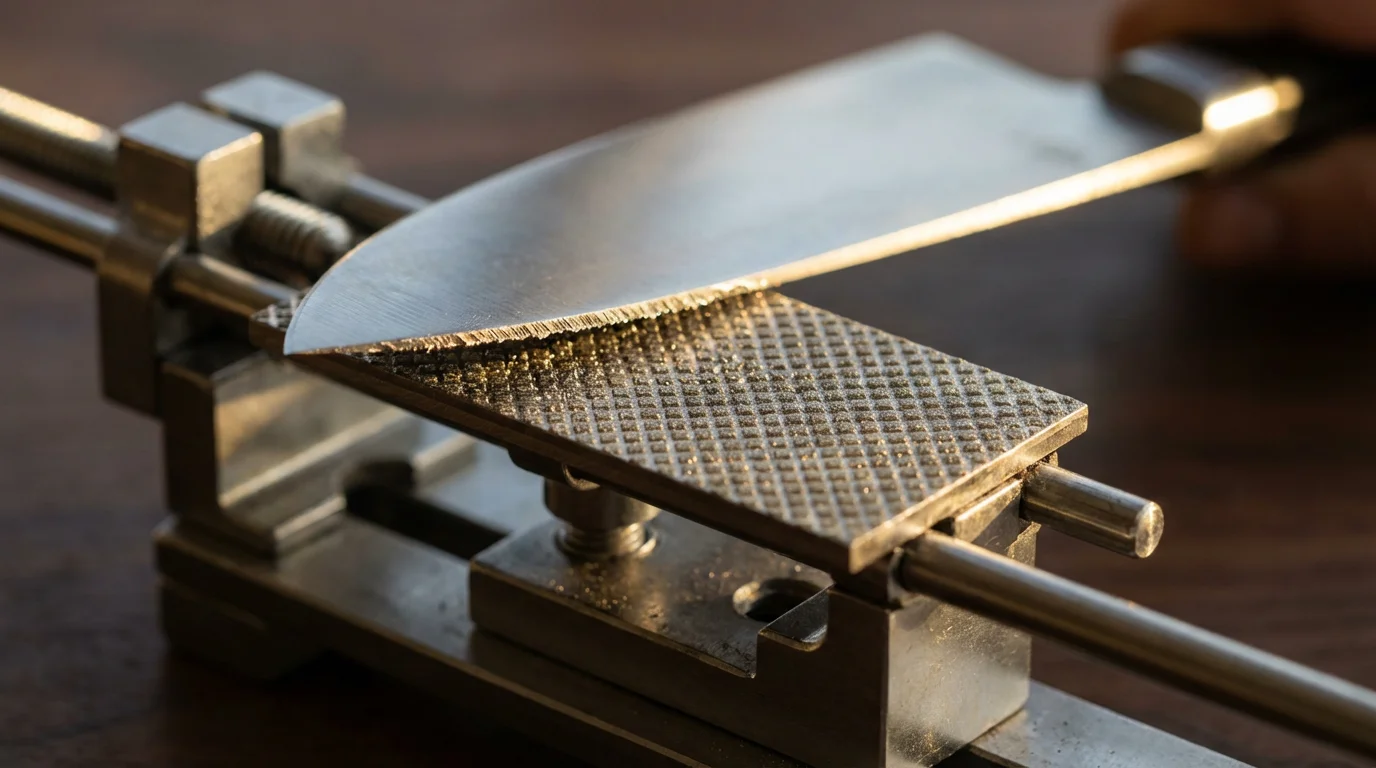
Guided Sharpening Systems: Precision and Consistency
Guided sharpening systems are designed to take the guesswork out of maintaining a consistent sharpening angle. These systems typically involve a clamp that holds the knife blade securely at a pre-set or adjustable angle, and a rod that guides abrasive stones or diamond plates across the edge.
Some systems use suction bases to secure the unit to your countertop, while others clamp directly onto the blade. You simply move the sharpening abrasive back and forth along the guide rod, ensuring a perfect angle every time.
Pros: Excellent for beginners to achieve consistent, precise angles, produces very sharp edges, great for specific knife types like Japanese blades that require precise, acute angles.
Cons: Can be more expensive than basic sharpeners, often more involved to set up than pull-through models, can be slower than electric sharpeners.
Best for: Enthusiasts who want precision without the freehand skill of a whetstone, “best for serious cooks” wanting consistent, professional results.
Choosing the Right Sharpener for Your Needs
Selecting the ideal knife sharpener depends on your skill level, budget, and the types of knives you own. Here’s a comparison to help you decide:
| Sharpener Type | Best For | Pros | Cons | Skill Level |
|---|---|---|---|---|
| Whetstones | Achieving ultimate sharpness, specialty knives | Superior edge, full control, versatile | Steep learning curve, time-consuming, messy | Advanced |
| Manual Pull-Through | Quick touch-ups, beginners, budget-conscious | Very easy, fast, inexpensive | Less refined edge, removes more metal, fixed angles | Beginner |
| Electric Pull-Through | Speed, convenience, standard Western knives | Very fast, consistent (within limits), effortless | Costly, noisy, bulky, fixed angles, removes material | Beginner to Intermediate |
| Honing Rods | Daily edge maintenance, extending sharpness | Quick, easy, preserves blade, essential for “knife care” | Does not sharpen truly dull knives | Beginner |
| Guided Systems | Precision, consistent angles, specialty knives | Excellent precision, repeatable results, great for learning angles | More expensive, slower setup, can be complex | Intermediate |
Best Knife Sharpener for Beginners: A good quality manual pull-through sharpener or an electric pull-through sharpener provides immediate, noticeable results with minimal effort. Pair either of these with a ceramic honing rod for daily edge maintenance.
Best for Serious Cooks: A set of high-quality water stones (e.g., 1000/3000/6000 grit) combined with a leather strop will give you ultimate control and the sharpest possible edge. Alternatively, a guided sharpening system offers precision with less manual skill required.
Best Value: A simple, well-designed manual pull-through sharpener is incredibly cost-effective for bringing dull knives back to life, and a ceramic honing rod is an inexpensive yet crucial tool for ongoing “knife care.”
Knife Care Beyond Sharpening
Maintaining your knives involves more than just sharpening. Proper care extends their lifespan and keeps them performing optimally:
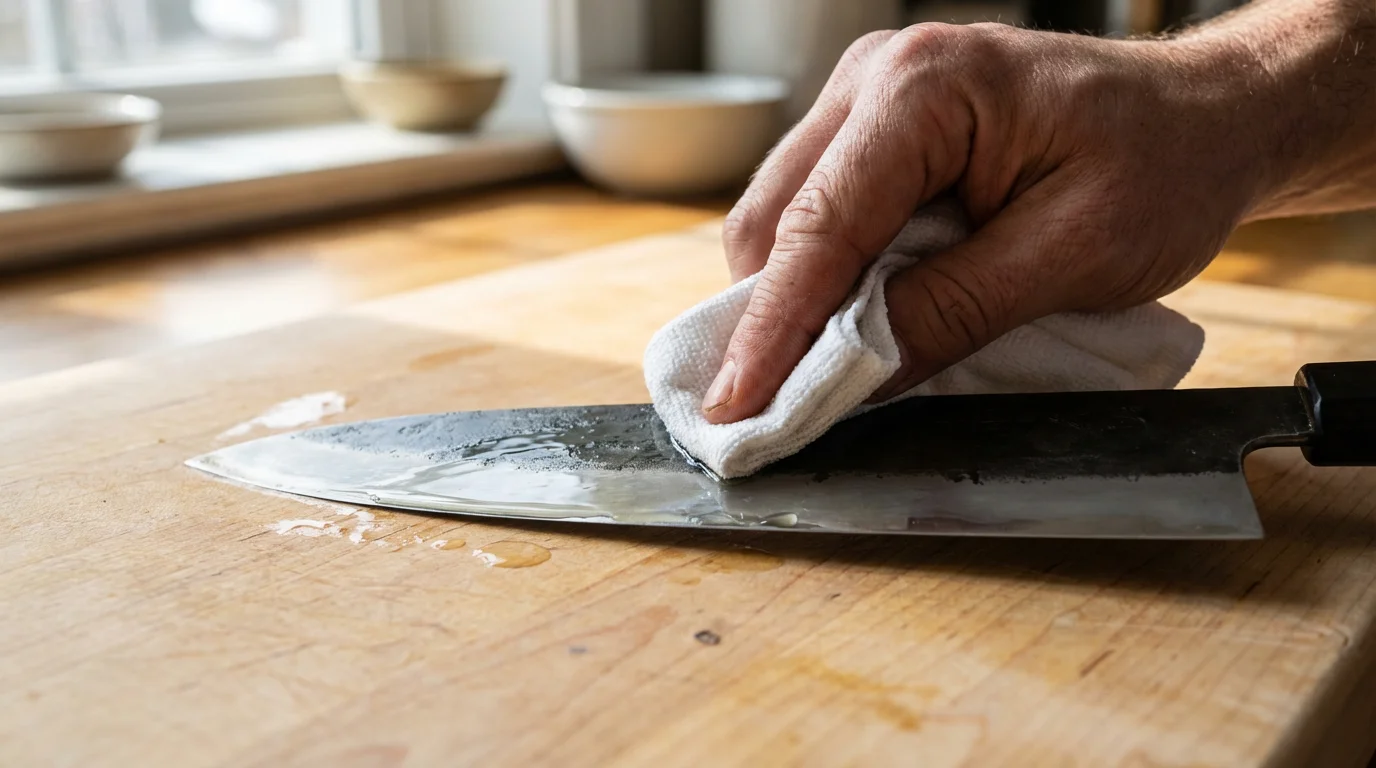
- Hand Wash Immediately: Always hand wash your knives with warm, soapy water immediately after use. Avoid dishwashers, as the harsh detergents and high heat can dull edges and damage handles.
- Dry Thoroughly: Wipe knives dry immediately after washing to prevent rust and water spots, especially for carbon steel blades.
- Proper Storage: Store knives in a knife block, magnetic strip, in-drawer organizer, or with blade guards. Avoid tossing them into a drawer with other utensils, which can dull the edge and create a safety hazard.
- Use Appropriate Cutting Boards: Always use wood, plastic, or bamboo cutting boards. Glass, marble, or ceramic boards will rapidly dull your knife’s edge. Serious Eats’ equipment reviews frequently emphasize the importance of using appropriate cutting surfaces to protect knife edges.
- Never Pry or Twist: Use your knives only for cutting. Prying open cans or twisting the blade can chip or break the edge.
Frequently Asked Questions
Is it bad to sharpen your knives too often?
Sharpening removes metal from the blade, so excessive sharpening can reduce the knife’s lifespan by making the blade thinner over time. You should hone your knife frequently, perhaps before or after every use, but only sharpen it when honing no longer restores its cutting ability. For most home cooks, sharpening a primary chef’s knife every 3-6 months is sufficient with regular honing.
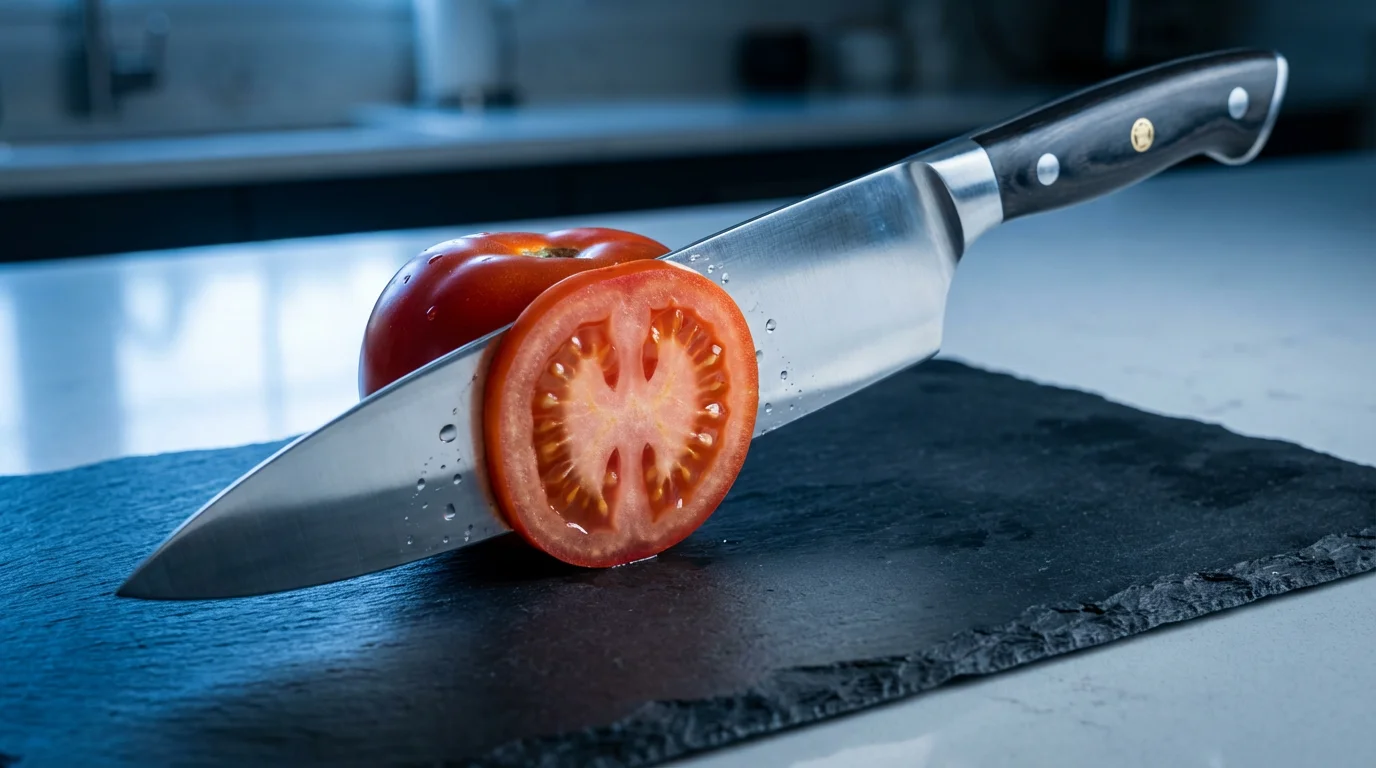
How do I know if my knife is sharp enough?
A simple test involves trying to slice a piece of paper held upright. A truly sharp knife will slice through it cleanly and effortlessly. Another test is the “tomato test,” where a sharp knife can slice a ripe tomato with minimal pressure, without tearing the skin. If your knife slips on food or struggles to make clean cuts, it needs attention.
Can I sharpen serrated knives at home?
Sharpening serrated knives is more challenging than sharpening straight edges. Most pull-through sharpeners are not suitable. Some electric sharpeners have specific serrated knife slots, or you can use a ceramic honing rod with a pointed tip to sharpen each individual scallop. However, achieving a factory-level edge on a serrated knife at home is difficult, and many people opt to have them professionally sharpened or replaced.
What angle should I use to sharpen my kitchen knives?
Most Western-style kitchen knives (e.g., German, French) are typically sharpened at an angle between 18 and 20 degrees per side, creating a total inclusive angle of 36-40 degrees. Japanese knives often feature a finer, sharper angle, usually between 10 and 15 degrees per side (20-30 degrees total). Check your knife manufacturer’s recommendations if available, or start with 20 degrees per side for general-purpose blades.
What is the difference between honing and sharpening?
Honing realigns the microscopic edge of the blade, which gets bent or rolled over during use. It does not remove significant metal, simply straightening the edge to restore keenness. Sharpening, conversely, removes a small amount of metal to create an entirely new, sharp edge, usually when the blade has become truly dull or damaged and honing is no longer effective.
Disclaimer: Product prices and availability change frequently. Prices shown were accurate at time of writing but may have changed. We may earn a small commission from purchases made through links on this site, at no extra cost to you. Always use cutting tools carefully and follow manufacturer safety guidelines.
Leave a Reply