A cluttered, disorganized refrigerator causes daily frustration. You struggle to find ingredients, food spoils hidden in the back, and meal planning becomes a chore. This common scenario reflects kitchens across the USA where home cooks grapple with limited space and an abundance of culinary tools and groceries. The good news is you do not need an expensive renovation to transform your fridge. Smart organization systems, focusing on practical minimalism and space-efficiency, create a functional kitchen that saves you time and reduces food waste.
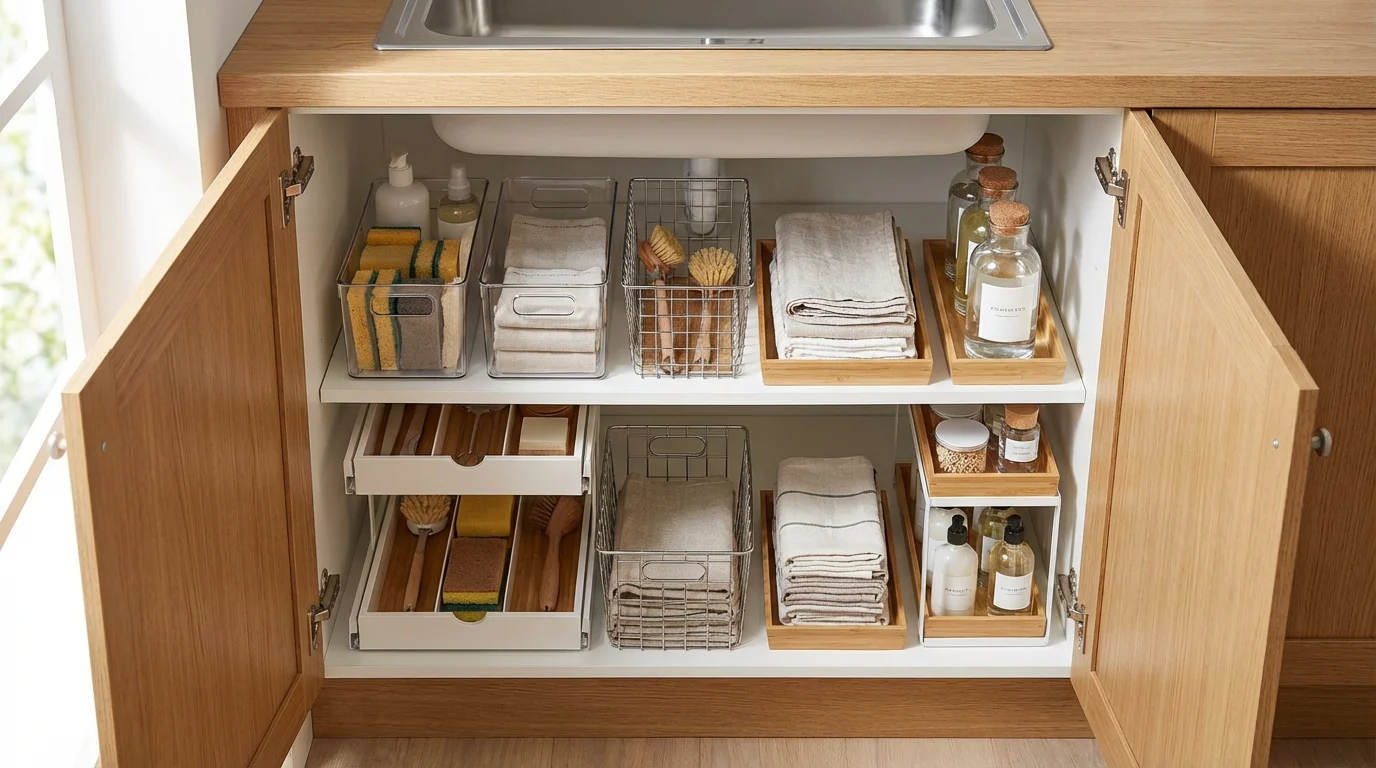
If you are working with a compact cooking area, countertop storage solutions for small kitchens can help maximize your limited workspace alongside these fridge strategies.
Why Your Refrigerator Needs a System (Beyond Aesthetics)
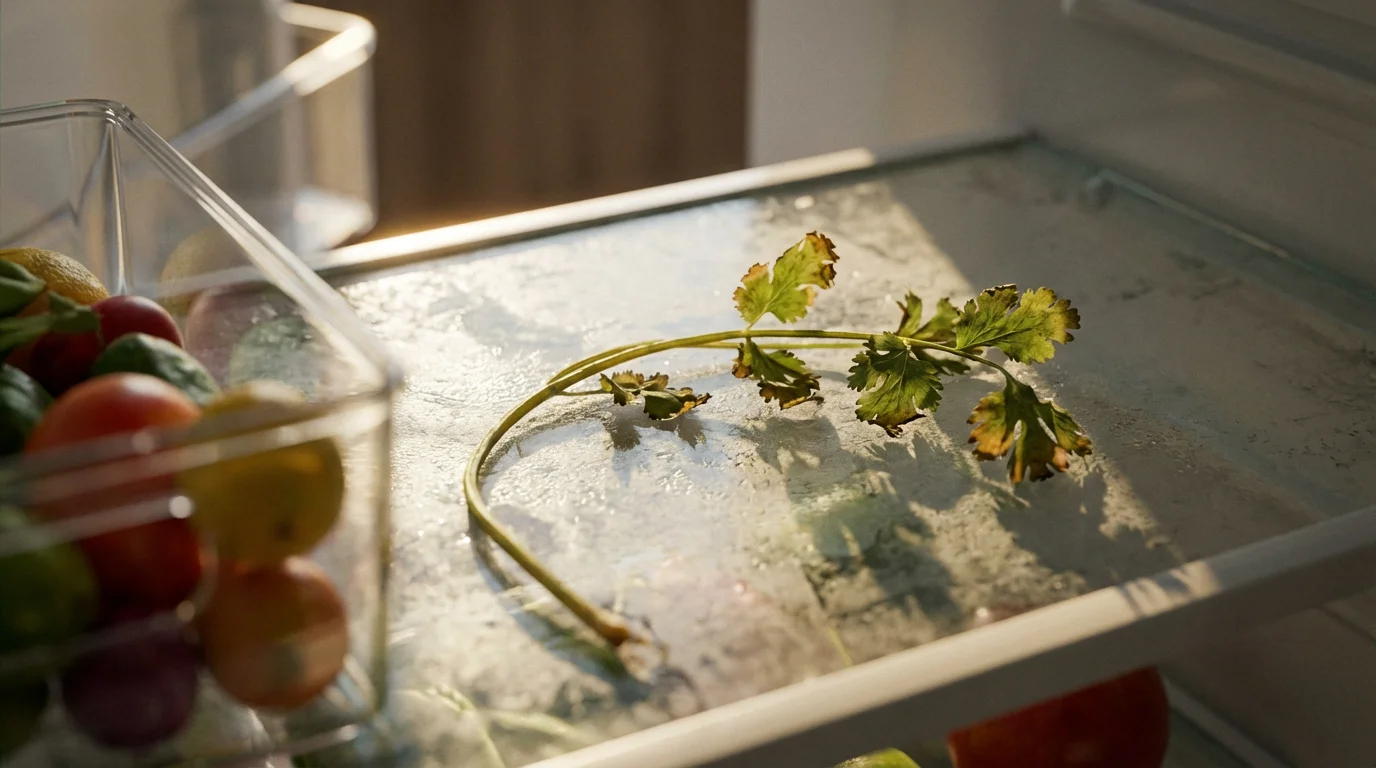
Organizing your refrigerator offers benefits far beyond a visually appealing interior. A well-structured fridge directly impacts your daily life, saving you money, reducing stress, and improving food safety. You minimize food waste when you easily see all your items, preventing forgotten leftovers or expired produce. This structured approach also cuts down on impulse grocery purchases, as you know exactly what you have on hand before heading to the store.
An organized fridge also promotes food safety. Proper placement prevents cross-contamination, especially with raw meats. It also ensures consistent air circulation, which helps maintain optimal temperatures for all your perishables. Furthermore, an efficient setup simplifies meal preparation. When every item has a designated spot, you spend less time searching and more time cooking. Implementing a FIFO (First In, First Out) system becomes natural, ensuring you use older items before they spoil. This principle means placing newly purchased items behind older ones so the older products are always at the front for easy access.
The Essential First Step: Declutter and Clean
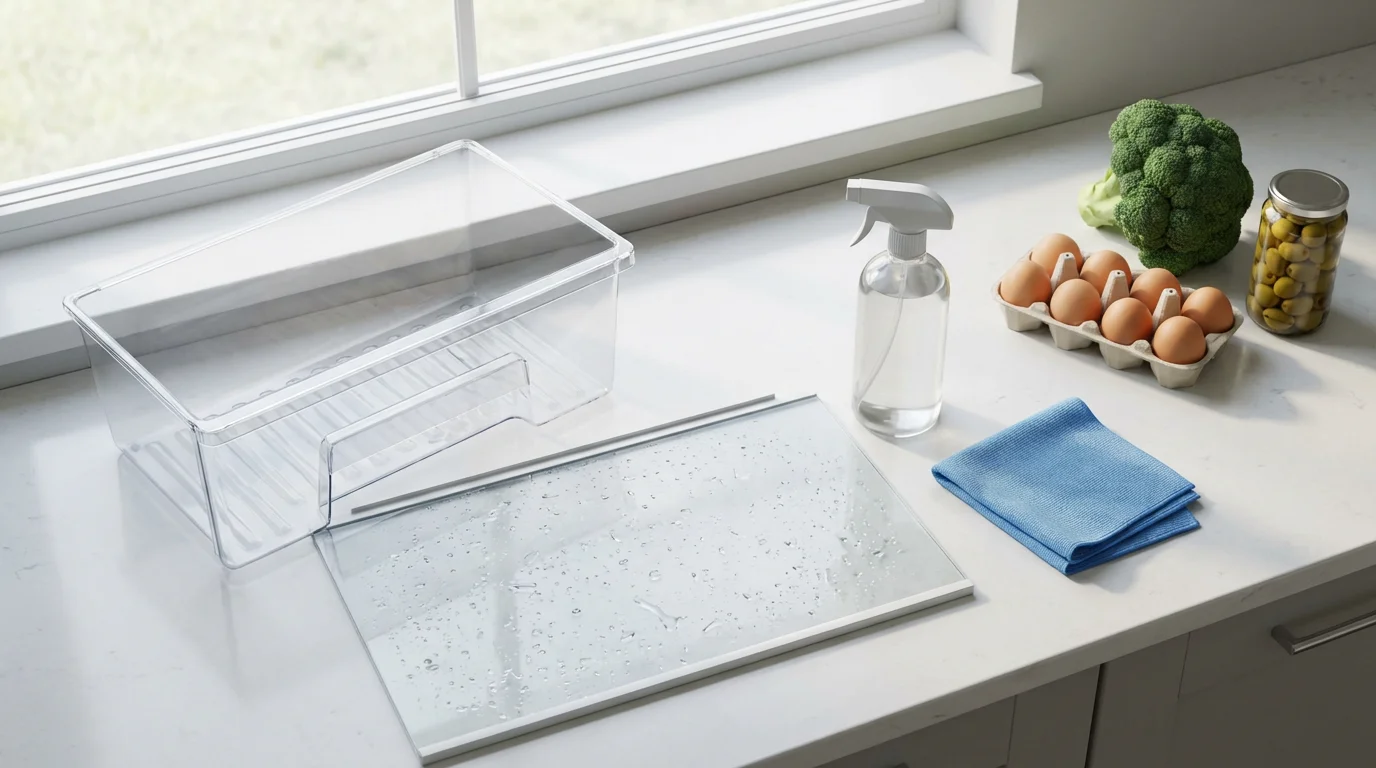
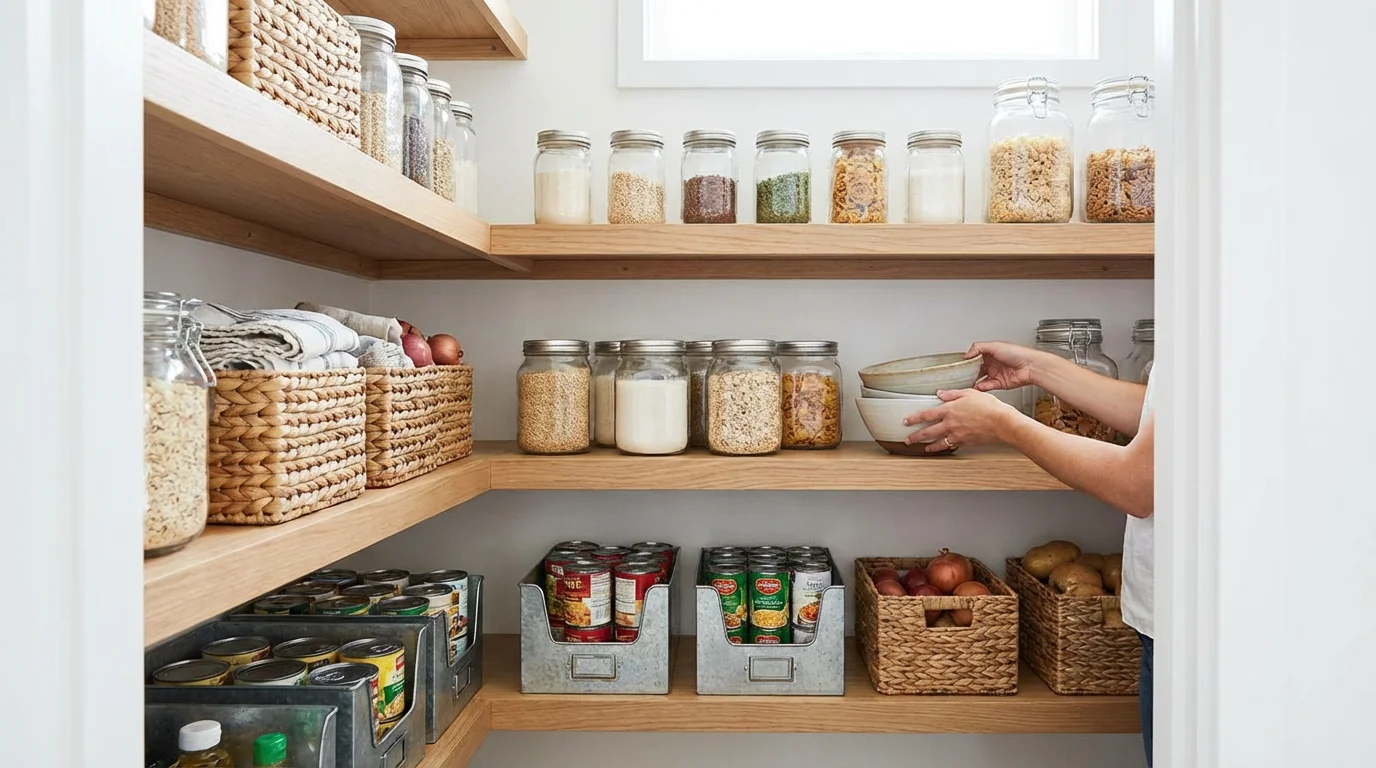
Before you introduce any refrigerator organizer bins or systems, you must start with a clean slate. This foundational step might feel daunting, but it provides clarity on what you actually store and how much space you truly have. Follow these actionable steps for an effective declutter and deep clean:
- Empty Everything Out: Remove every item from your refrigerator and freezer. Place temperature-sensitive items in a cooler with ice packs while you work.
- Discard Expired and Unidentifiable Items: Be ruthless. Toss anything past its expiration date, anything with mold, or anything you cannot identify. That forgotten container of mystery leftovers needs to go.
- Consolidate Duplicates: If you have two half-empty bottles of ketchup, combine them into one, assuming they are the same product and not expired.
- Wipe Down All Surfaces: Remove shelves and drawers if possible. Wash them with warm, soapy water. Use a gentle, food-safe cleaner to wipe down the interior walls, door gaskets, and any other surfaces. Pay attention to sticky spots or spills. A mixture of equal parts white vinegar and water works well as a natural cleaner.
- Dry Thoroughly: Ensure all surfaces are completely dry before returning items or adding new organizers.
“The goal isn’t to create a Pinterest-perfect fridge overnight. It is to create a functional system where you can find what you need in 10 seconds or less and reduce food waste.”
This cleaning process gives you a realistic assessment of your refrigerator’s usable space and helps you identify your core inventory.

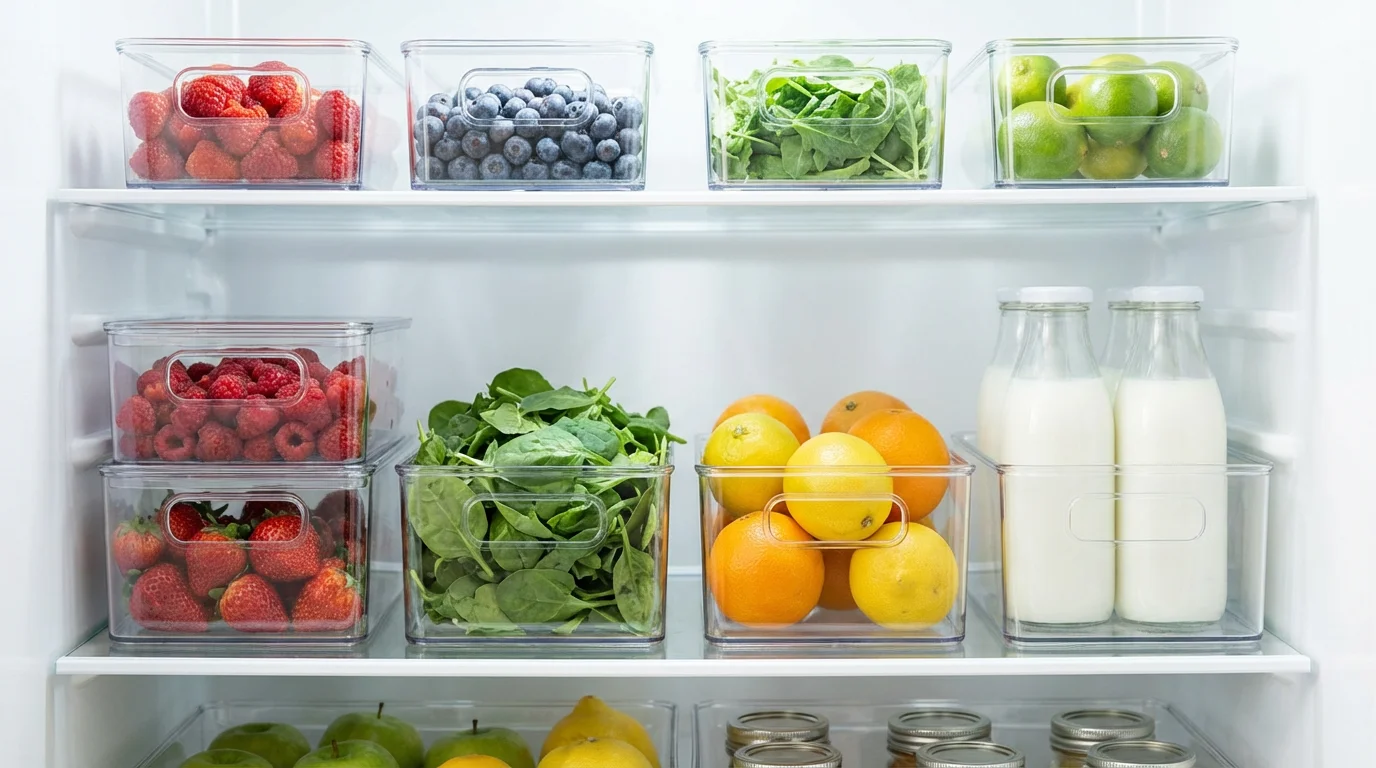
Understanding Your Refrigerator Zones
Your refrigerator is not a uniform box; it features distinct temperature zones, each best suited for specific types of food. Understanding these zones allows you to store items optimally, extending their freshness and ensuring food safety. By intentionally placing items, you maximize the efficiency of your refrigerator organizer plan.
Here is a breakdown of typical refrigerator zones and their ideal contents:
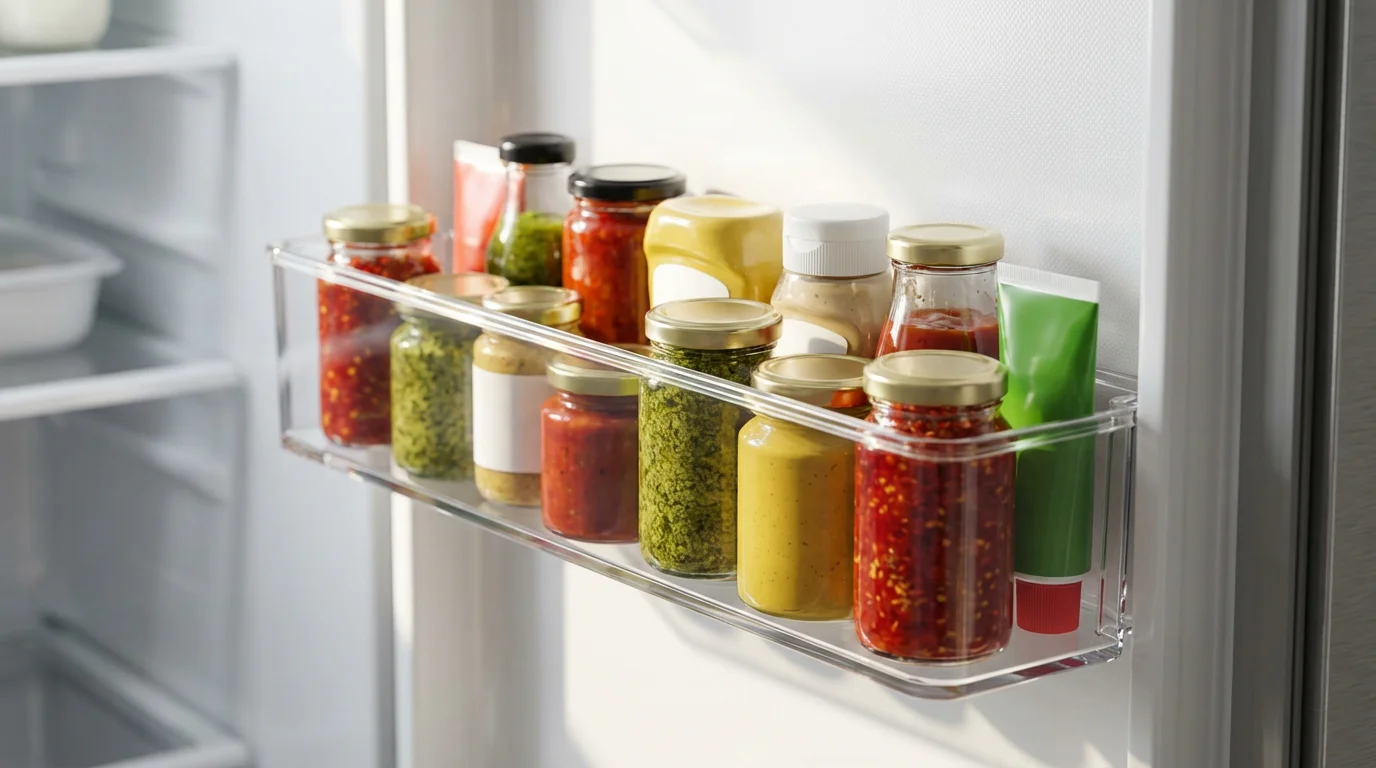
- Refrigerator Doors: These are the warmest parts of your fridge due to frequent opening and closing. They are perfect for items that tolerate temperature fluctuations. Store condiments, salad dressings, sauces, butter, and shelf-stable beverages here. Avoid placing milk or eggs in the door, despite common design, as they require more consistent, colder temperatures.
- Top Shelf: This shelf typically maintains a consistent, moderate temperature. Use it for ready-to-eat foods like leftovers, deli meats, cheeses, and prepared snacks. Place items you frequently reach for here for easy access.
- Middle Shelves: These shelves often hold dairy products such as milk, yogurt, and sour cream. They are also ideal for items like cooked meats, hummus, and opened jars.
- Bottom Shelf: This is the coldest part of your refrigerator and the safest place for raw meats, poultry, and fish. Storing them on the bottom shelf prevents any potential drips from contaminating other foods below. Always place raw meats in a sealed container or on a plate to catch any juices.
- Crisper Drawers: Most refrigerators feature two crisper drawers with adjustable humidity settings.
- High-Humidity Drawer: This drawer helps retain moisture, making it ideal for leafy greens (spinach, lettuce, kale), fresh herbs, broccoli, carrots, and other vegetables prone to wilting.
- Low-Humidity Drawer: This drawer allows ethylene gas to escape, which helps prevent over-ripening. Use it for fruits that produce ethylene gas, such as apples, pears, and avocados, as well as bell peppers and citrus fruits. Keep fruits and vegetables separate to prolong their freshness.
Choosing the Right Refrigerator Organizer Bins
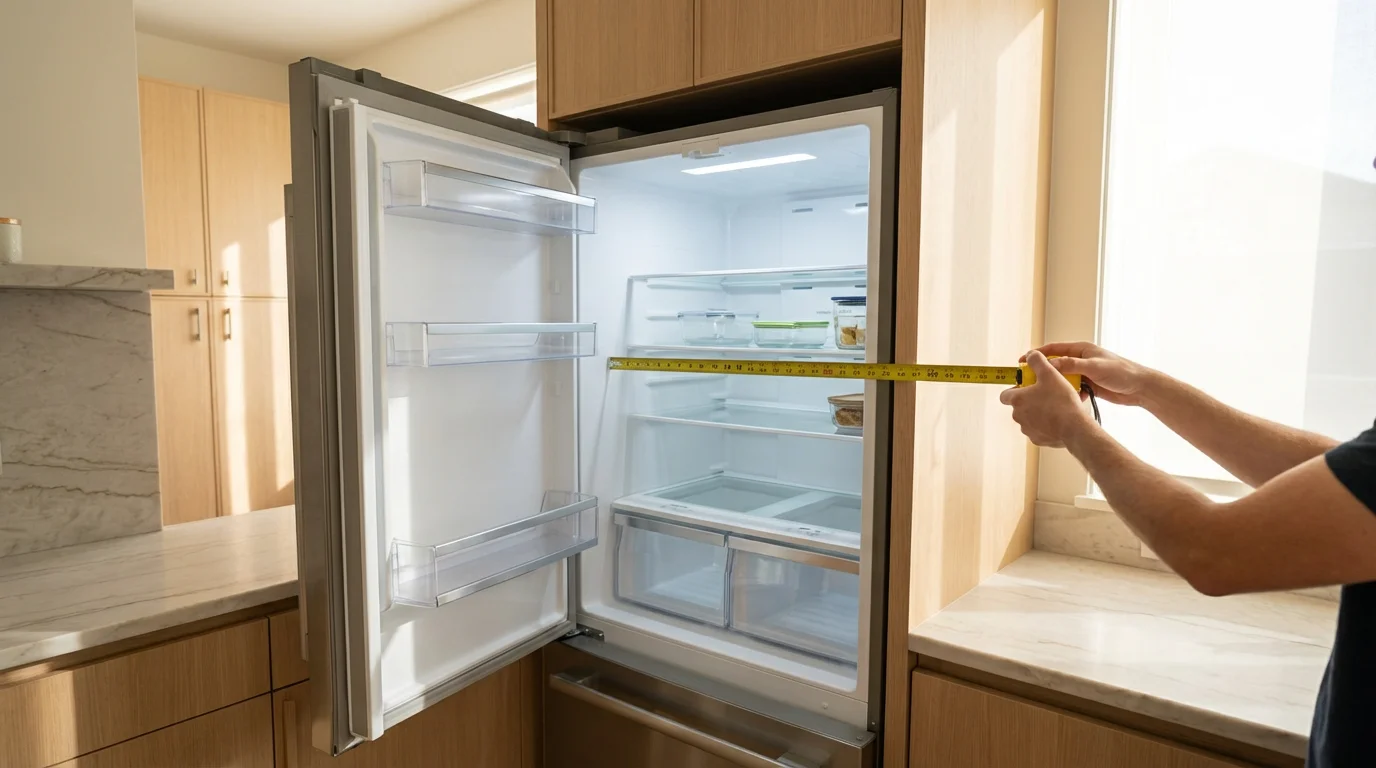
Selecting the correct refrigerator organizer, or fridge bins, represents a crucial step in maintaining order. The market offers a wide array of options, each designed to solve specific storage challenges. Consider both your refrigerator’s dimensions and the types of food you commonly store when making your selections. The best refrigerator organization bins are clear, durable, and fit your space effectively.
Types of Fridge Bins and Their Uses:
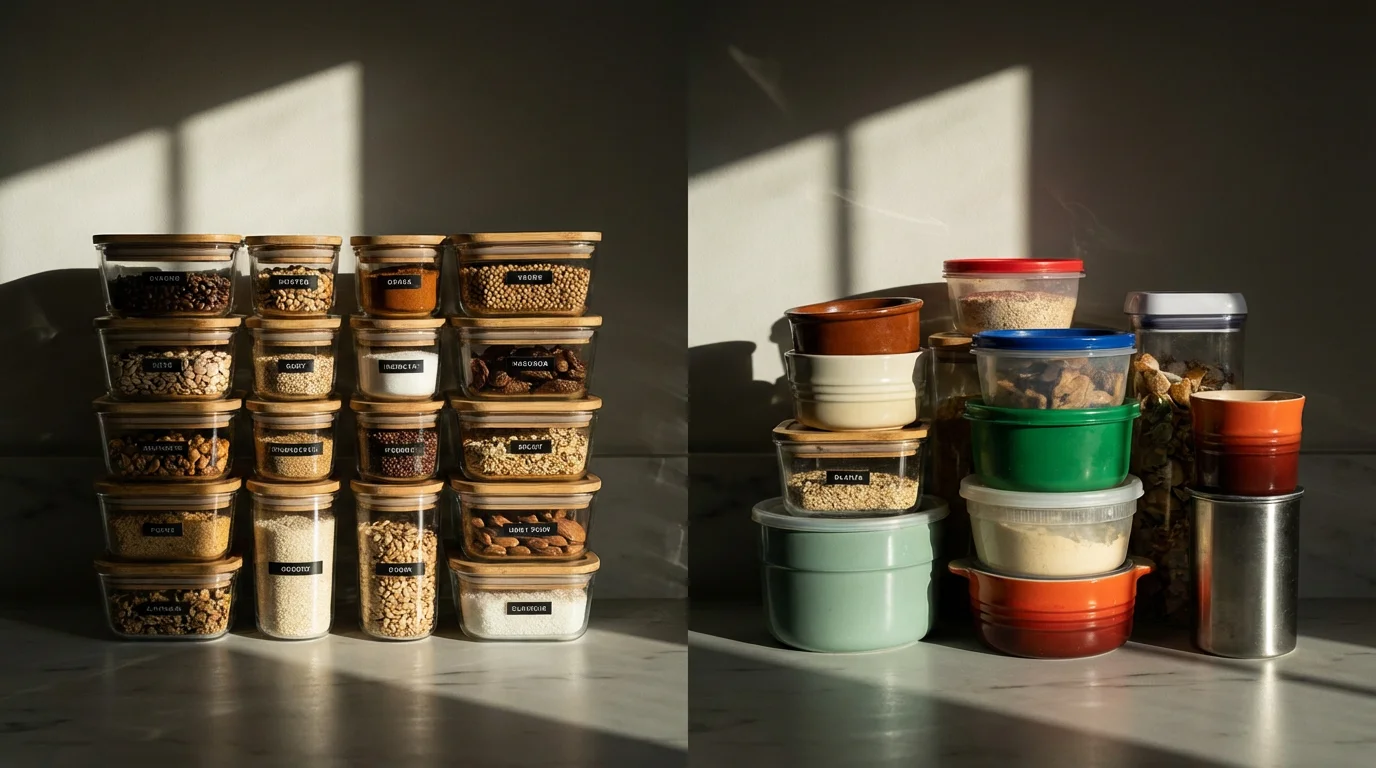
- Clear Plastic Bins: These are the workhorses of fridge storage. Their transparency allows you to see contents at a glance, preventing items from being forgotten. Look for BPA-free acrylic or PET plastic.
- Dimensions: Common sizes range from 10″ L x 6″ W x 4″ H (for yogurts, small snacks) to 14″ L x 8″ W x 6″ H (for larger drinks, produce bags). Measure your shelves’ depth, width, and height clearances before purchasing.
- Use: Group similar items like yogurts, snack packs, juice boxes, or specialty condiments. These are ideal for creating “zones” on shelves.
- Stackable Bins: These containers are designed to safely pile on top of each other, maximizing vertical space. Many come with lids or open fronts.
- Dimensions: A typical stackable bin might be 11″ L x 7″ W x 5″ H. Ensure the height of the stacked units fits comfortably under your next shelf.
- Use: Perfect for storing fruits or vegetables that do not require refrigeration in crisper drawers, or for creating grab-and-go snack stations.
- Lazy Susans (Rotating Trays): A lazy susan is a rotating tray that makes corner cabinet items accessible, and they work wonders in the fridge too. They eliminate the “black hole” in the back of your fridge.
- Dimensions: Common diameters are 9″, 10″, and 11″. Measure the depth of your shelf to ensure the lazy susan can rotate freely without hitting the door or back wall.
- Use: Group small jars, sauces, condiments, or medication that requires refrigeration. Spin it to find what you need without shuffling items.
- Produce Keepers: These specialized bins often feature air vents and sometimes a removable bottom tray to keep produce elevated from moisture, extending freshness.
- Dimensions: Sizes vary greatly to accommodate different produce. A common size for berries might be 6″ L x 6″ W x 3″ H, while a larger one for lettuce could be 10″ L x 8″ W x 6″ H.
- Use: Specifically designed to manage humidity for various fruits and vegetables, keeping them fresh longer than standard containers.
- Beverage Dispensers/Can Organizers: These units neatly store cans or bottles, often with a gravity-feed design for easy access.
- Dimensions: Can dispensers typically hold 9-12 standard soda cans and measure around 13″ L x 5.5″ W x 5.5″ H.
- Use: Keep drinks tidy and easily accessible, freeing up valuable shelf space.
When you shop for fridge bins, look for modular pieces. Modular means the pieces can be combined and configured in different ways, offering flexibility as your storage needs change. According to Wirecutter’s kitchen organization guides, opting for modular, clear organizers often provides the best long-term solution for adaptable storage.
Maximizing Door and Drawer Space
Your refrigerator doors and crisper drawers offer significant storage potential, often underutilized. Strategic organization in these areas can drastically improve your fridge’s overall efficiency and your ability to locate items quickly. The goal is to eliminate dead space, which refers to unused storage areas, by utilizing every inch.
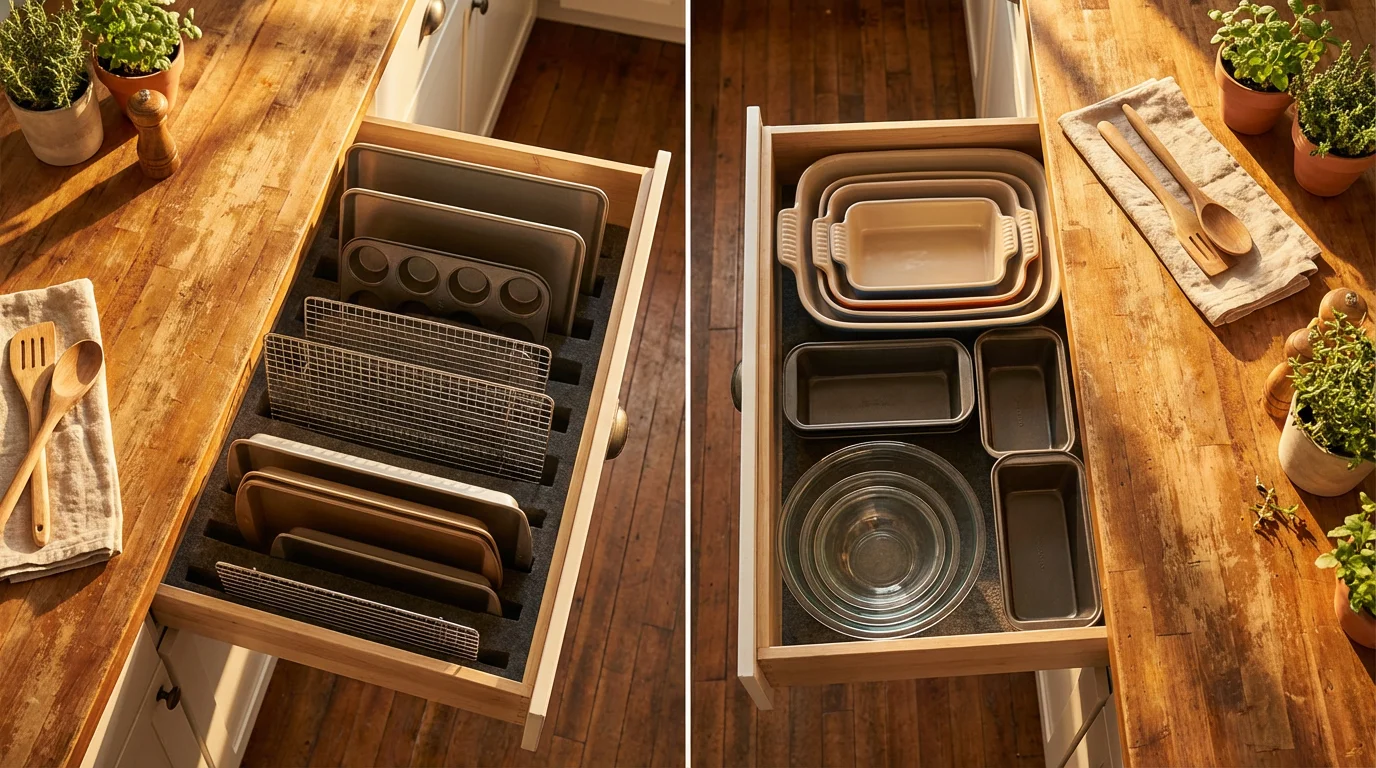
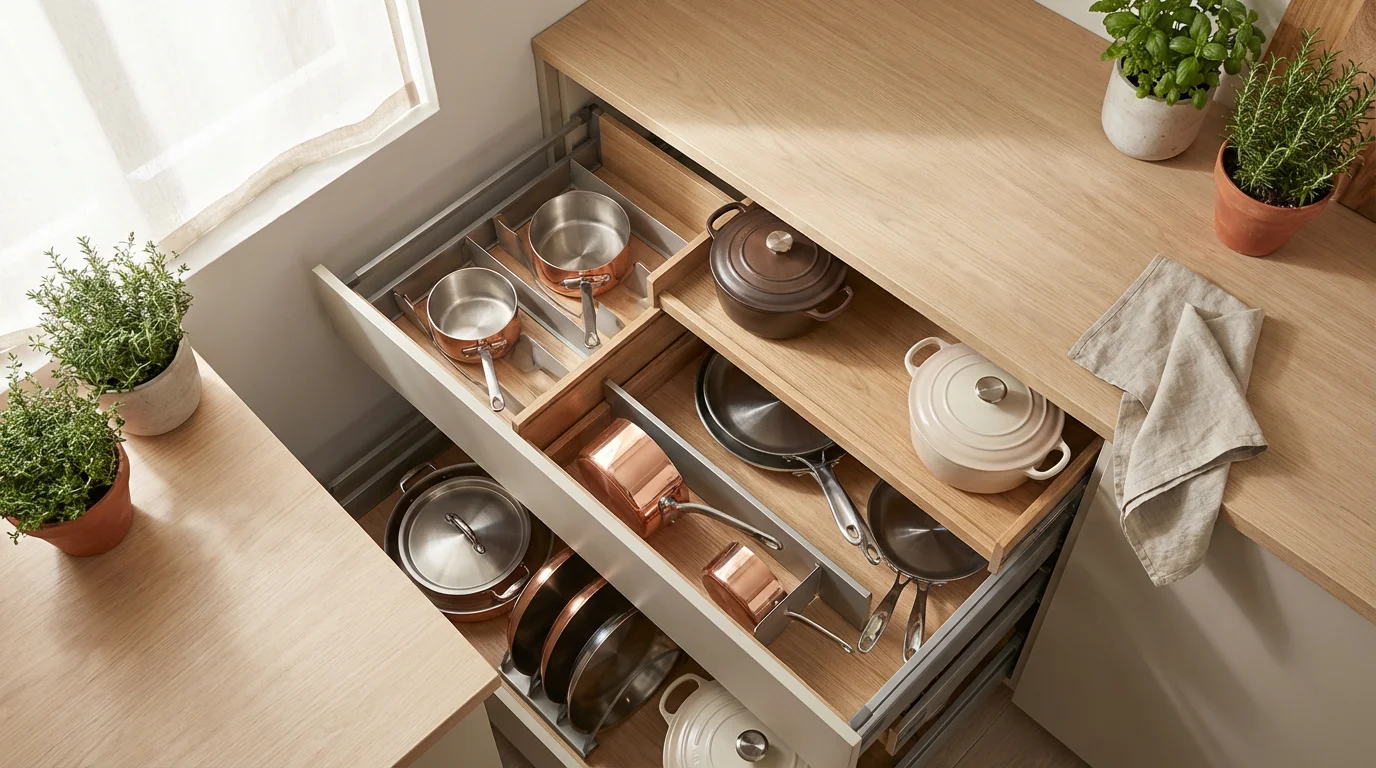
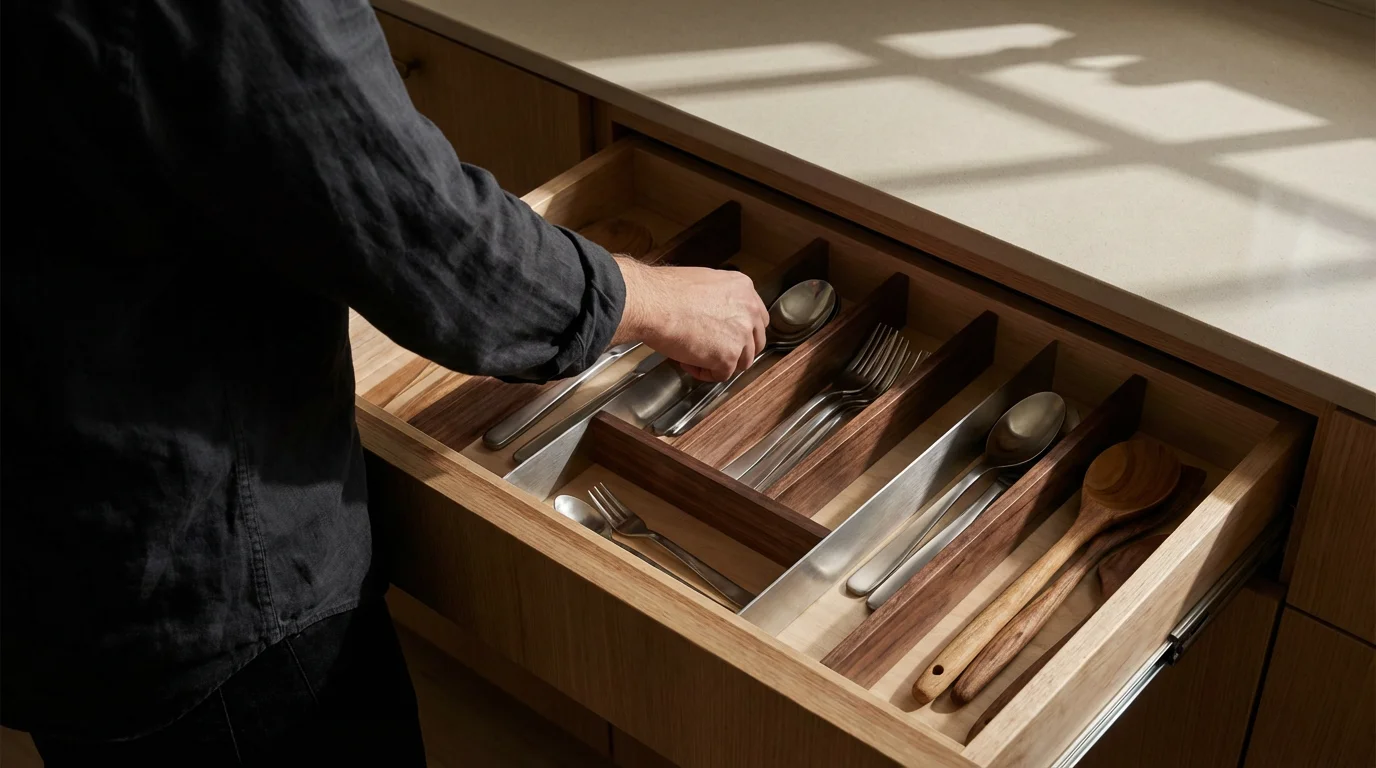
Just as you categorize fridge items, finding the best drawer organizers for utensils can streamline your kitchen’s non-refrigerated storage.
Refrigerator Doors:
While fridge doors are the warmest zone, they excel at storing items that tolerate temperature fluctuations and are frequently accessed. You can enhance this space further with specific organizers:
- Small Door Bins/Caddies: Many refrigerators come with adjustable door shelves. Maximize these by adding smaller, open-top bins (e.g., 4″ W x 3″ D x 2″ H) to corral loose items like condiment packets, tiny jars of capers, or single-serve dressing packets. This prevents them from rolling around or falling out.
- Bottle Holders: For taller bottles that tend to tip over, consider door-mounted bottle holders or clips that secure them vertically. This prevents spills and makes bottles easier to grab.
Crisper Drawers:
Crisper drawers are designed to manage humidity, optimizing the life of your produce. To get the most out of them, implement internal organization:
- Adjustable Dividers: Many crisper drawers do not come with internal dividers, leaving produce to mix and bruise. Add simple, clear acrylic dividers (available in various lengths, typically 10″-15″) to create separate sections for different types of fruits or vegetables. For example, dedicate one section for leafy greens and another for root vegetables.
- Small Mesh Bags or Bins: For delicate items like berries or cherry tomatoes, place them in small mesh bags or shallow, breathable bins (e.g., 8″ L x 4″ W x 3″ H) within the crisper drawer. This protects them from bruising and allows for better air circulation.
- Labeling: Clearly label your high-humidity and low-humidity drawers. If your refrigerator does not have these settings, dedicate one drawer for leafy greens and the other for fruits and vegetables that prefer less moisture.
By focusing on these often-overlooked areas, you create a more structured and functional environment within your refrigerator.
Freezer Organization for Long-Term Storage
The freezer, often seen as a chaotic abyss, transforms into a powerful ally for meal prep and food waste reduction with proper organization. The principles are similar to the fridge: declutter, categorize, and use appropriate containers. Effective freezer storage helps you easily locate items, understand what you have, and prevent freezer burn. Utilizing freezer-specific fridge storage can make a big difference.
Key Strategies for Freezer Organization:
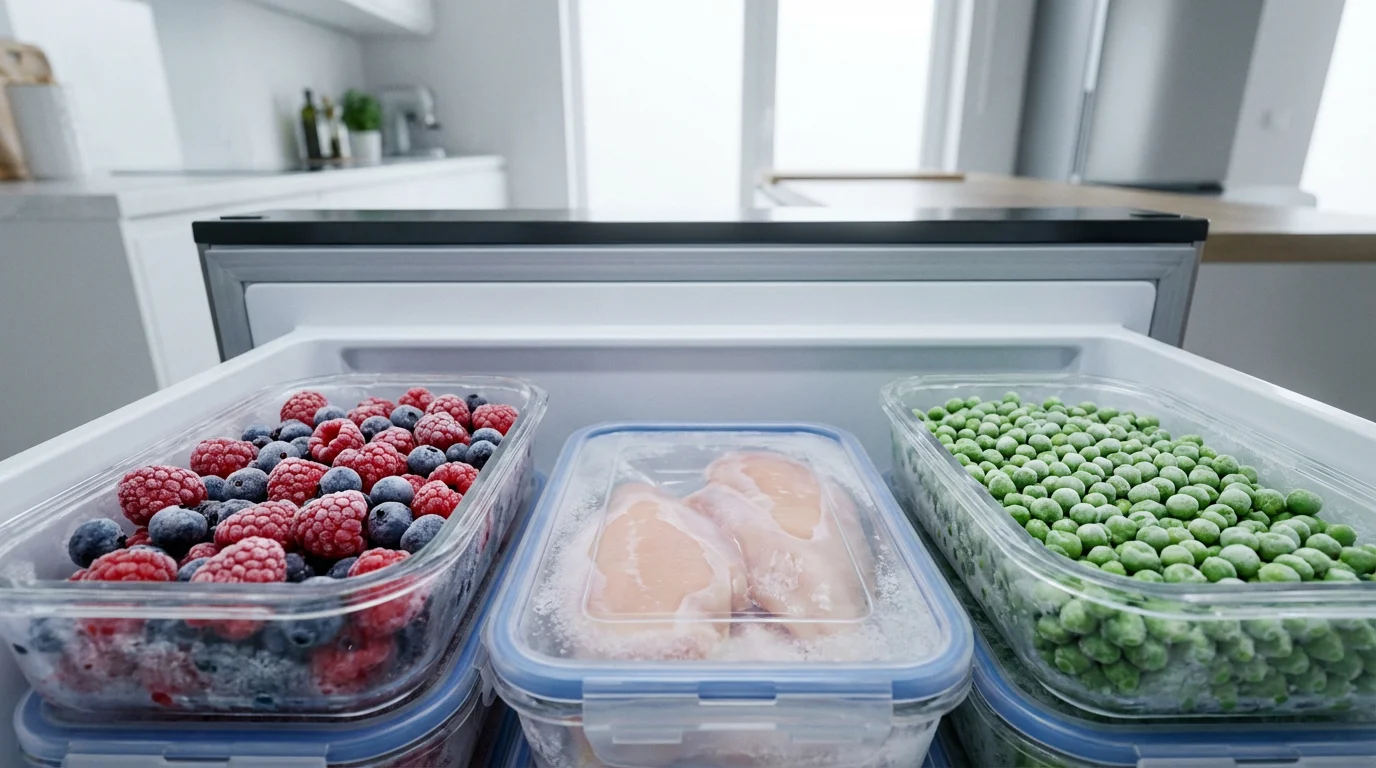
- Flash Freeze First: For items like berries, meatballs, or cookie dough, spread them in a single layer on a baking sheet to freeze solid. Once frozen, transfer them to a freezer bag or container. This prevents them from clumping together and allows for easy portioning.
- Freeze Flat: For liquids (soups, sauces, broths) or ground meat, pour them into freezer bags, flatten them, and freeze them horizontally. Once solid, you can store them vertically like files, saving significant space.
- Use Clear, Airtight Containers: Just like the fridge, clear containers (plastic or glass) let you see what is inside without rummaging. Ensure they are freezer-safe and airtight to prevent freezer burn. Consider square or rectangular containers (e.g., 6″ L x 6″ W x 3″ H) as they pack more efficiently than round ones.
- Label Everything: This is non-negotiable for freezer items. Use freezer-safe labels and a permanent marker. Include the item’s name, the date it was frozen, and the quantity. For instance: “Chicken Thighs, 1.5 lbs, 10/26/2023.”
- Create Zones: Dedicate areas for different categories. For example, one shelf for proteins, another for prepped meals, a drawer for frozen fruits and vegetables, and a door bin for smaller items like bags of nuts or frozen garlic.
- Vertical Storage: For chest freezers, use large fabric bins or sturdy plastic containers to create “compartments.” This allows you to lift out a whole section to find items underneath, rather than digging blindly.
- Pull-Out Organizers: Some upright freezers benefit from a pull-out organizer, which is a drawer or shelf that slides out for easy access to items at the back. These are particularly useful for deep shelves.
Here is a comparison of common freezer storage solutions:
| Storage Type | Pros | Cons | Best For |
|---|---|---|---|
| Freezer Bags | Space-saving (can freeze flat), flexible, inexpensive | Less durable for sharp items, prone to punctures, can be hard to stack once uneven | Soups, sauces, purees, ground meat, vegetables, fruits |
| Plastic Containers (Airtight, Freezer-Safe) | Durable, stackable, reusable, protects from freezer burn | Take up more space, can be bulky, some warp over time | Leftovers, casseroles, cooked grains, pre-portioned meals |
| Glass Containers (Freezer-Safe) | Non-reactive, durable, oven-safe (for reheating), aesthetically pleasing | Heavier, more fragile, generally more expensive | Leftovers, meal prep, baked goods, anything you plan to reheat directly |
| Wire Baskets/Bins | Organizes loose items, allows air circulation, creates zones | Does not contain liquids, items can fall through gaps | Frozen fruit bags, smaller packaged goods, bread, smaller containers |
By implementing these freezer organization systems, you transform a often-overlooked space into a valuable extension of your pantry, significantly boosting your meal prep capabilities and reducing food waste.
Implementing Your Fridge Organization System for Meal Prep
With your decluttered fridge, designated zones, and chosen refrigerator organizer bins, you are ready to implement your new system. This step involves putting everything back intentionally, with a strong focus on maximizing efficiency, especially for meal preparation. An organized fridge is a powerful tool for anyone serious about planning meals and eating healthily.
Step-by-Step Implementation:
- Start with the Heaviest Items: Place raw meats (in sealed containers) on the bottom shelf immediately. This ensures they are safely positioned and prevents cross-contamination.
- Fill Crisper Drawers: Place your humidity-sensitive produce in the appropriate drawers, using dividers or small bins to separate different types. For example, leafy greens in high-humidity, apples and citrus in low-humidity.
- Stock Main Shelves by Category:
- Dairy & Eggs: Group milk, yogurt, and cheese together on a middle shelf. Use clear bins (e.g., 10″ L x 6″ W x 4″ H) to hold yogurts or smaller cheese blocks, making them easy to pull out.
- Leftovers & Ready-to-Eat: Dedicate your top shelf to cooked foods and items needing quick consumption. Use square or rectangular glass containers for leftovers to stack neatly.
- Produce & Snacks: Utilize clear bins or stackable containers on other shelves for pre-washed fruits, cut vegetables, and healthy snack packs. This makes them highly visible and easy to grab for quick meal prep or healthy snacking.
- Condiments & Sauces in the Door: Arrange your door shelves logically. Use lazy susans for smaller, frequently used sauces and specialty oils on wider shelves to prevent them from getting lost in the back.
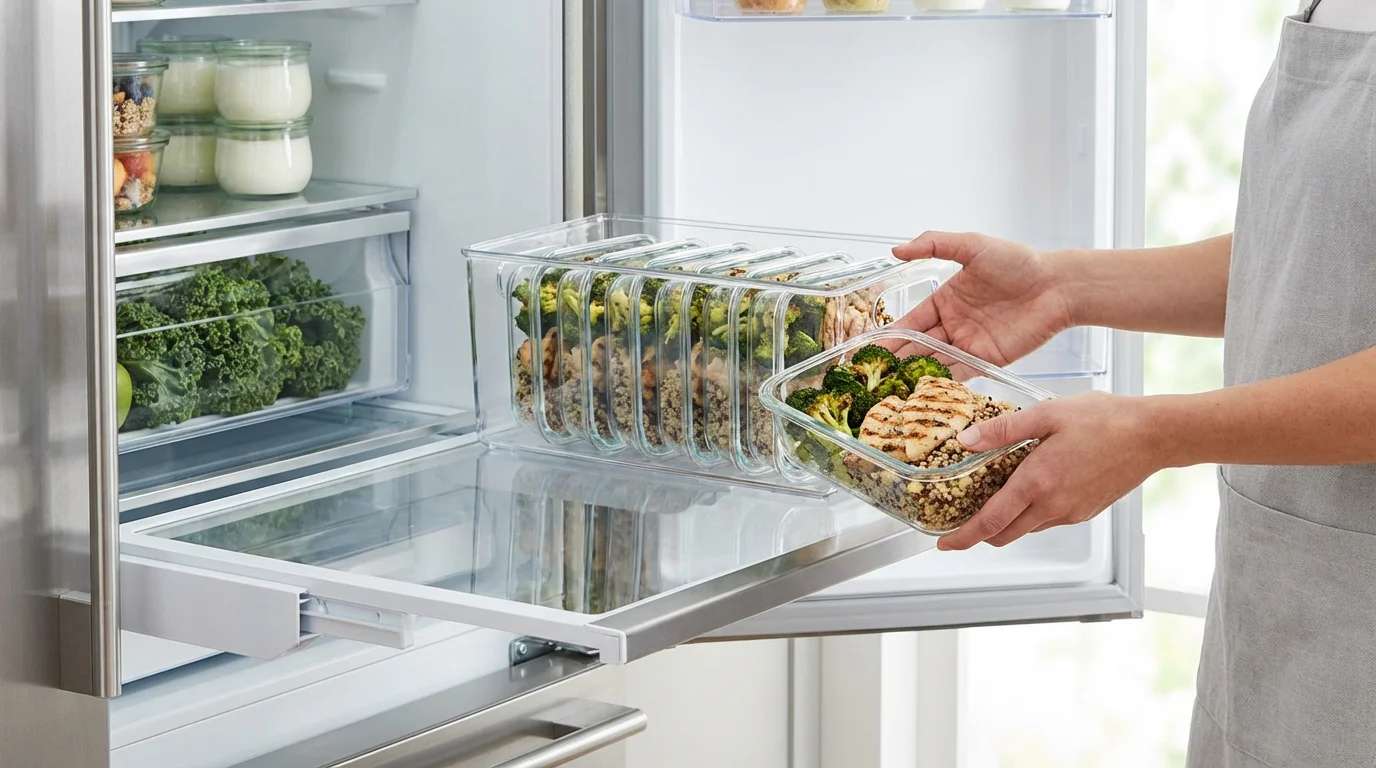
- Designate a “Meal Prep” Zone: This is critical for making your fridge work for you. Reserve a specific bin or a section of a shelf for pre-chopped vegetables, cooked grains, or marinated proteins. When you are ready to cook, all your components are in one place. For example, a 12″ L x 8″ W x 6″ H bin could hold meal prep components for the week. This strategy dramatically streamlines your cooking process, as Real Simple’s organization tips often emphasize for time-saving.
- Use the FIFO Method Religiously: As you put items back, always place newer purchases behind older ones. This applies to dairy, produce, and especially leftovers. Labeling with dates reinforces this practice.
- Leave Room for Airflow: Avoid overstuffing your refrigerator. Cold air needs to circulate to maintain consistent temperatures and keep food fresh. A good rule of thumb is to leave about 20% of your fridge space empty.
By approaching your fridge organization with meal prep in mind, you transform it from a storage unit into an active partner in your healthy eating journey. You minimize the mental load of cooking by having ingredients visible and ready to go.

Maintaining Your Organized Refrigerator
The initial burst of organization provides a fantastic start, but the real challenge lies in long-term maintenance. An organized refrigerator is a dynamic system requiring consistent, though minimal, effort. Establishing simple routines and involving your household ensures your hard work pays off.
Strategies for Lasting Organization:
- The “One In, One Out” Rule: When you buy a new item, especially a duplicate, ensure you use the older one first or find an appropriate place for the new one without creating clutter. If you bring home a new jar of jam, place it behind the existing one, adhering to the FIFO principle.
- Weekly Quick Check-in: Dedicate 5-10 minutes once a week, perhaps before grocery shopping, to a quick fridge audit.
- Scan for expiring items and plan meals to use them.
- Wipe up any small spills immediately.
- Straighten misplaced items.
- Consolidate nearly empty containers.
This prevents small issues from snowballing into a full-blown reorganization crisis.
- Designated “Eat Me First” Bin: Place a small, clearly labeled bin (e.g., 8″ L x 5″ W x 3″ H) for foods nearing their expiration date, leftovers that need to be consumed, or produce that looks a little sad. Encourage everyone in the household to prioritize these items. According to Good Housekeeping’s home organization advice, creating such a designated zone significantly reduces food waste.
- Shop Smart: Avoid overbuying, particularly perishables. Create a grocery list based on your actual needs and what you already have, not just what is on sale. This prevents your fridge from becoming overwhelmed.
- Involve the Household: Communicate your new system to everyone who uses the refrigerator. Explain why items are stored in specific places and encourage them to return items to their proper homes. Consistent effort from everyone makes maintenance much easier.
- Regular Deep Cleans: While weekly check-ins are crucial, schedule a thorough deep clean every 3-6 months. This involves emptying everything, washing shelves and drawers, and reassessing your organization system to ensure it still meets your needs. Adjust your refrigerator organizer setup as your habits or family size change.
Maintaining an organized refrigerator becomes a habit, not a chore, when you integrate these small practices into your routine. You will appreciate the time saved, the reduction in food waste, and the clarity a well-ordered fridge brings to your kitchen.
Frequently Asked Questions
What are the best refrigerator organization bins to buy?
The best fridge bins are typically clear, BPA-free plastic or acrylic, and come in modular, stackable designs. Look for brands that offer various sizes to fit your specific refrigerator dimensions. Prioritize clear bins for visibility, lazy susans for corner access, and specialized produce keepers for extending fruit and vegetable life. Always measure your fridge shelves and door compartments before purchasing to ensure a proper fit.
How do I organize my fridge for meal prep?
To organize your fridge for meal prep, designate specific zones for pre-portioned ingredients. Use clear, airtight containers for pre-chopped vegetables, cooked grains, and marinated proteins. Store these items together in a dedicated “meal prep” bin or on a specific shelf. Utilize the FIFO method for all items and label everything clearly with contents and dates. This ensures you can quickly grab components for your planned meals without searching.
What does FIFO mean in refrigerator organization?
FIFO stands for “First In, First Out.” In refrigerator organization, it means you should use older food items before newer ones. When you buy groceries, place newly purchased items behind existing ones of the same type. This ensures that foods with earlier expiration dates are at the front, visible, and easily accessible, helping to reduce food waste and maintain freshness.
Can I use any plastic containers in my fridge?
While most plastic containers are safe for fridge use, opt for BPA-free plastic or food-grade acrylic for long-term storage, especially for items directly contacting food. Ensure containers are airtight to maintain freshness and prevent odors from spreading. For the freezer, use only containers specifically labeled as freezer-safe to prevent cracking or warping at low temperatures.
Disclaimer: Product prices and availability change frequently. Prices shown were accurate at time of writing but may have changed. We may earn a small commission from purchases made through links on this site, at no extra cost to you. Always measure your space before purchasing organizers to ensure proper fit.


Leave a Reply