
Do you open your pantry and face a chaotic jumble? Do you routinely buy ingredients you already own because you cannot find them? A disorganized kitchen wastes your time, money, and sanity. You know the frustration of searching endlessly for the cumin or realizing your “flour” container actually holds powdered sugar. Implementing a robust labeling system transforms your kitchen from a disaster zone into an efficient, enjoyable space. It brings clarity and order, making every item easily identifiable and accessible.
Effective labeling is more than just aesthetics; it is a foundational element of a truly organized kitchen. It helps you maintain order, reduces food waste, and streamlines your cooking process. This guide provides practical, actionable insights on choosing the right tools, creating effective labels, and implementing a system that works for your unique kitchen challenges. We will help you leverage the power of kitchen labels and a reliable label maker to achieve lasting kitchen organization.
Why Kitchen Labels Are Essential for Lasting Kitchen Organization
Imagine effortlessly finding any ingredient or utensil in your kitchen. That is the promise of a well-implemented labeling system. Kitchen labels fundamentally change how you interact with your space. They provide instant identification, eliminating guesswork and reducing the time you spend searching for items. This efficiency is especially crucial for busy home cooks who value every minute.
Beyond saving time, labels play a critical role in inventory management. When every container has a clear label, you easily see what you have, preventing duplicate purchases and reducing food waste. The “first in, first out” (FIFO) method, where you use the oldest items first, becomes intuitive when you include dates on your labels. This approach ensures your ingredients remain fresh and potent, saving you money on groceries.
Labels also promote consistency. When you designate a specific spot for an item with a clear label, everyone in your household knows where to find it and, more importantly, where to return it. This shared understanding minimizes clutter and maintains the order you establish. A study by Real Simple on home organization emphasized that clear, consistent labeling is a cornerstone of maintaining an organized home, reducing daily frustrations and improving overall functionality. You will find that labels make it easier for family members to participate in kitchen chores, from putting away groceries to finding snacks.
“The goal isn’t a Pinterest-perfect pantry. It’s being able to find what you need in 10 seconds or less.” — Professional Organizer
Labels are invaluable for renters who cannot undertake extensive renovations. They offer a powerful, non-permanent way to maximize existing storage without modifying cabinets or shelves. You can create a highly functional, visually appealing kitchen that respects your lease agreement. For homeowners, labels complement any storage solution, from simple bins to elaborate pull-out organizers, amplifying their effectiveness. They provide the final, crucial layer of order.
Choosing the Right Label Maker for Your Kitchen
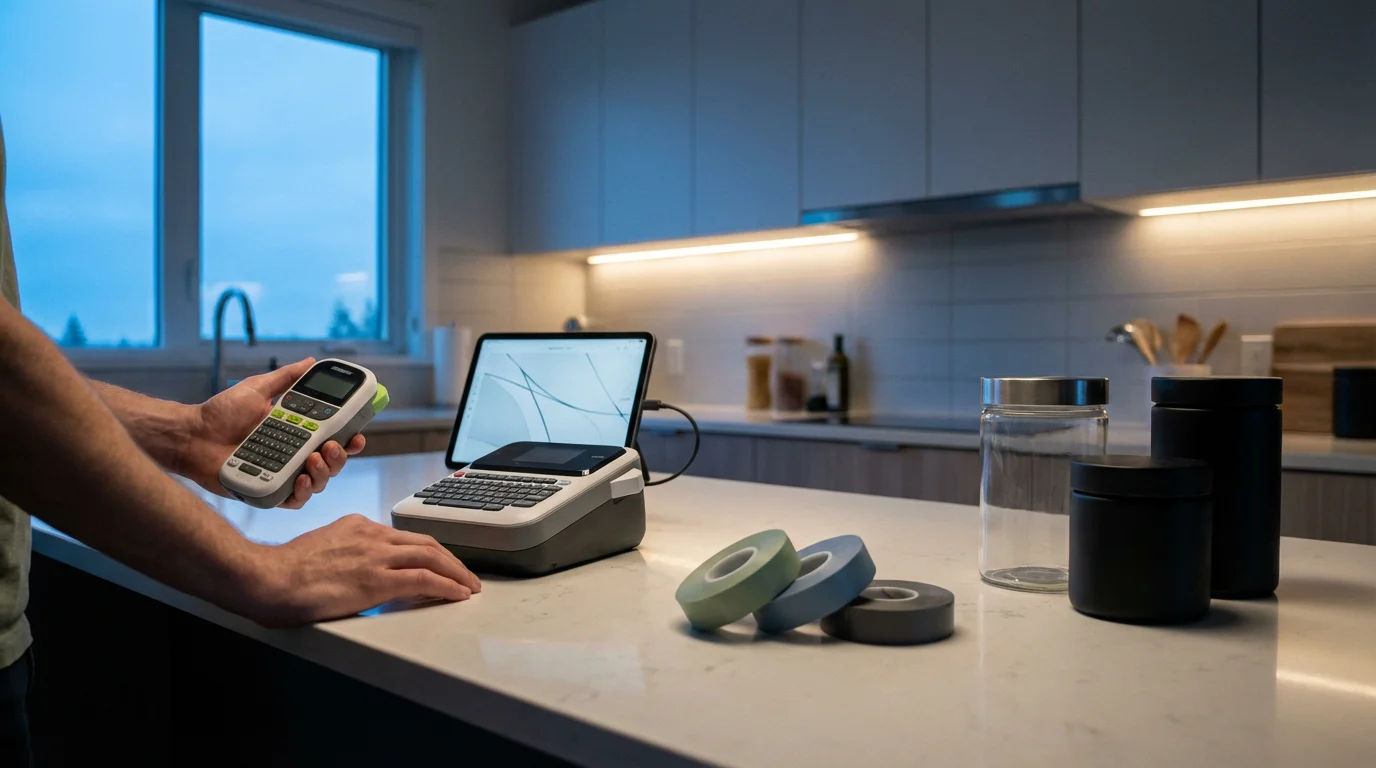
Selecting the best label maker for pantry organization depends on your specific needs, budget, and desired aesthetic. Label makers vary in their features, connectivity, and the types of labels they produce. Understanding these differences helps you make an informed decision.
The primary types of label makers include:
- Handheld Thermal Label Makers: These popular, affordable devices print on continuous rolls of thermal paper. They are easy to use, portable, and excellent for quick, on-the-spot labeling. Their labels typically resist water and smudging but can fade over time with heat or direct sunlight. Many models offer basic fonts, symbols, and frame options.
- Laminated Label Makers: Often a step up in durability, these machines print on adhesive-backed tape, then apply a clear, protective laminate layer over the text. This process creates labels highly resistant to water, fading, chemicals, and extreme temperatures, making them ideal for refrigerator, freezer, and damp pantry environments. They usually offer a wider range of fonts, sizes, and colors.
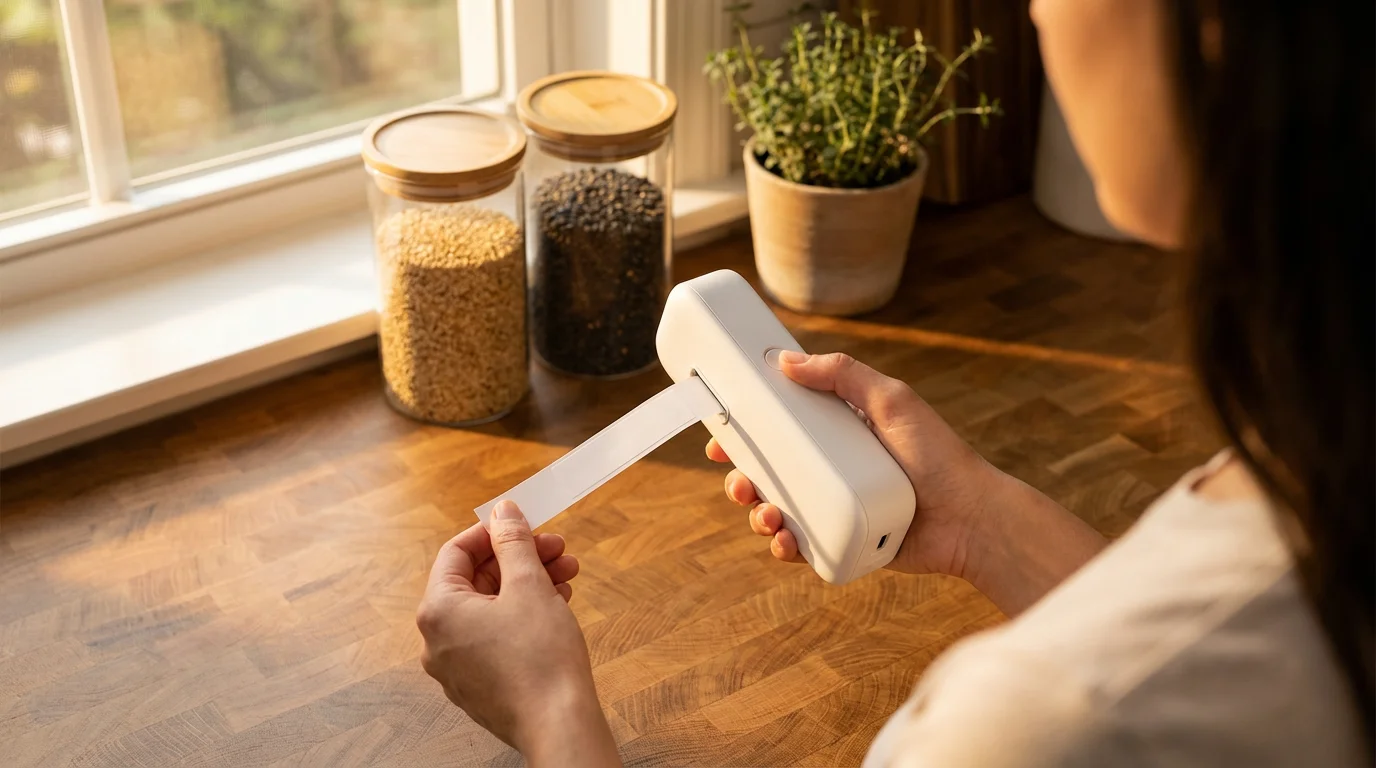
- Smart Label Printers (Bluetooth/App-Controlled): These advanced label makers connect to your smartphone or tablet via Bluetooth. You design labels using a dedicated app, offering extensive customization with fonts, graphics, and even importing images. They often use specialized label rolls, including pre-cut shapes or continuous thermal paper, and provide precise control over layout. These are great for creating professional-looking, custom labels in bulk.
- Cricut or Silhouette Machines (Cutting Machines): While not traditional label makers, these versatile cutting machines create custom vinyl labels for a highly personalized look. You design labels on your computer, then the machine cuts them from adhesive vinyl sheets. This option offers unparalleled creative freedom, allowing for intricate designs, various colors, and large format labels. The learning curve is steeper, and the initial investment is higher, but the results are durable and visually stunning.
Label Maker Comparison Table
Here is a comparison to help you weigh your options:
| Feature | Handheld Thermal | Laminated | Smart/App-Controlled | Cricut/Silhouette |
|---|---|---|---|---|
| Cost (Machine) | Low ($20-$50) | Medium ($40-$100) | Medium-High ($50-$150) | High ($150-$400+) |
| Cost (Labels/Supplies) | Low (thermal paper rolls) | Medium (laminated tape cartridges) | Medium (specialized rolls) | Medium (vinyl sheets) |
| Durability | Good (water-resistant, some fade) | Excellent (water, heat, fade, chemical resistant) | Good-Excellent (depends on label material) | Excellent (vinyl, long-lasting) |
| Customization | Basic fonts, limited graphics | More fonts, symbols, frames, colors | Extensive (fonts, graphics, images via app) | Unlimited (fonts, graphics, intricate designs) |
| Ease of Use | Very easy, instant printing | Easy, straightforward | Moderate (app interface, design) | Advanced (software, design, cutting) |
| Connectivity | Standalone | Standalone | Bluetooth to smartphone/tablet | USB to computer |
| Ideal For | Quick labels, general pantry, dry goods | Freezer, refrigerator, high-traffic areas, damp environments | Bulk labeling, aesthetically driven projects, precise control | Highly customized, professional look, specific themes, large labels |
When you consider a label maker, think about the environments your labels will endure. Do you need labels for containers in the freezer, or will they only reside in a dry pantry? This consideration guides your choice towards laminated or thermal options. For maximum control and aesthetic appeal, especially for those creating a cohesive design, a smart label printer or a cutting machine might be worth the investment.
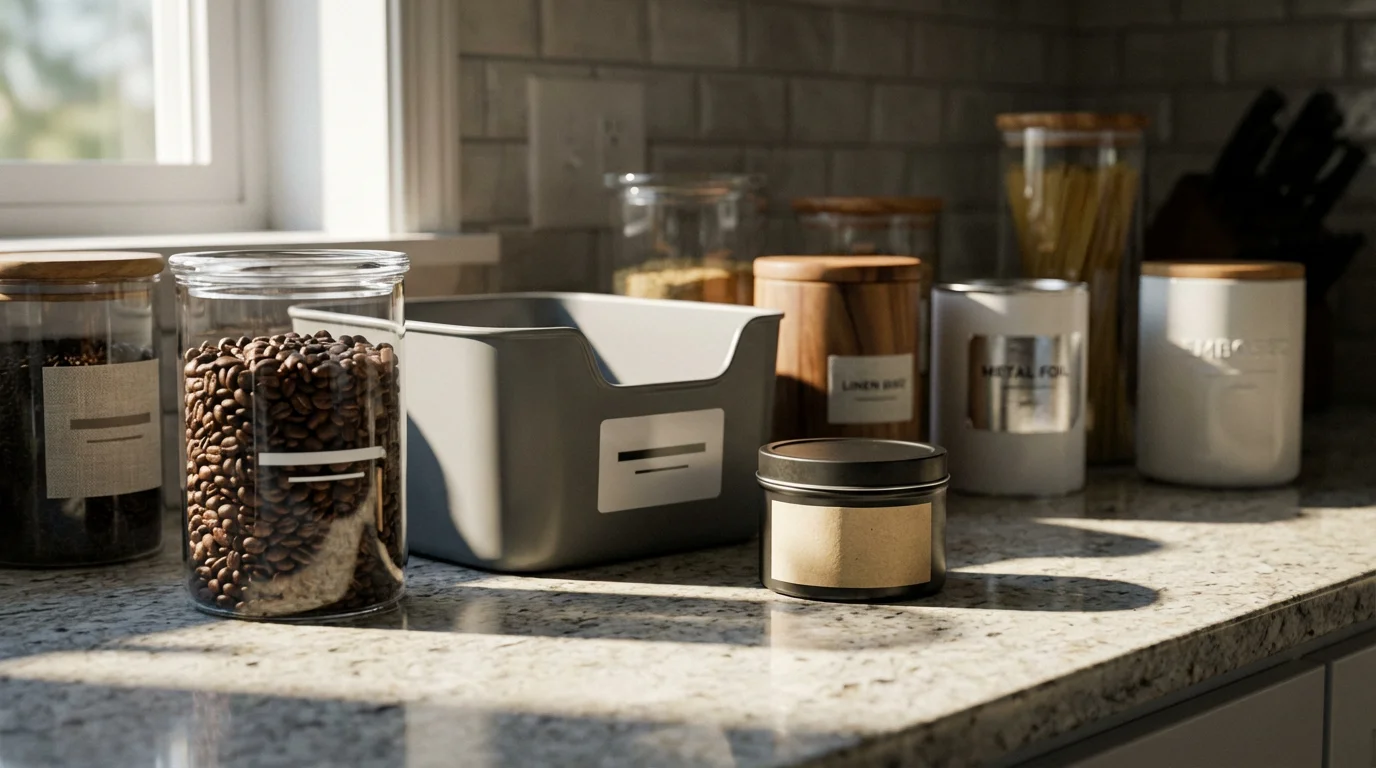
Types of Kitchen Labels and Materials
The material of your kitchen labels significantly impacts their durability, appearance, and suitability for different areas of your kitchen. Consider the environment each label will face—moisture, temperature fluctuations, or frequent handling—before you commit to a type.
Common Label Materials:
- Paper/Cardstock Labels: These are affordable and versatile, often used with a marker or printed on a home printer. They work best for dry goods in pantries where they experience minimal wear. You can easily create these with regular printer paper and tape. For enhanced durability, apply a layer of clear packing tape over the text. However, they are not waterproof and will smudge or degrade in moist environments.
- Thermal Labels: Produced by handheld thermal label makers, these labels are cost-effective and easy to print. They adhere well to most surfaces and offer decent resistance to water and smudging. Be aware that direct heat or prolonged sunlight can cause the print to fade over time.
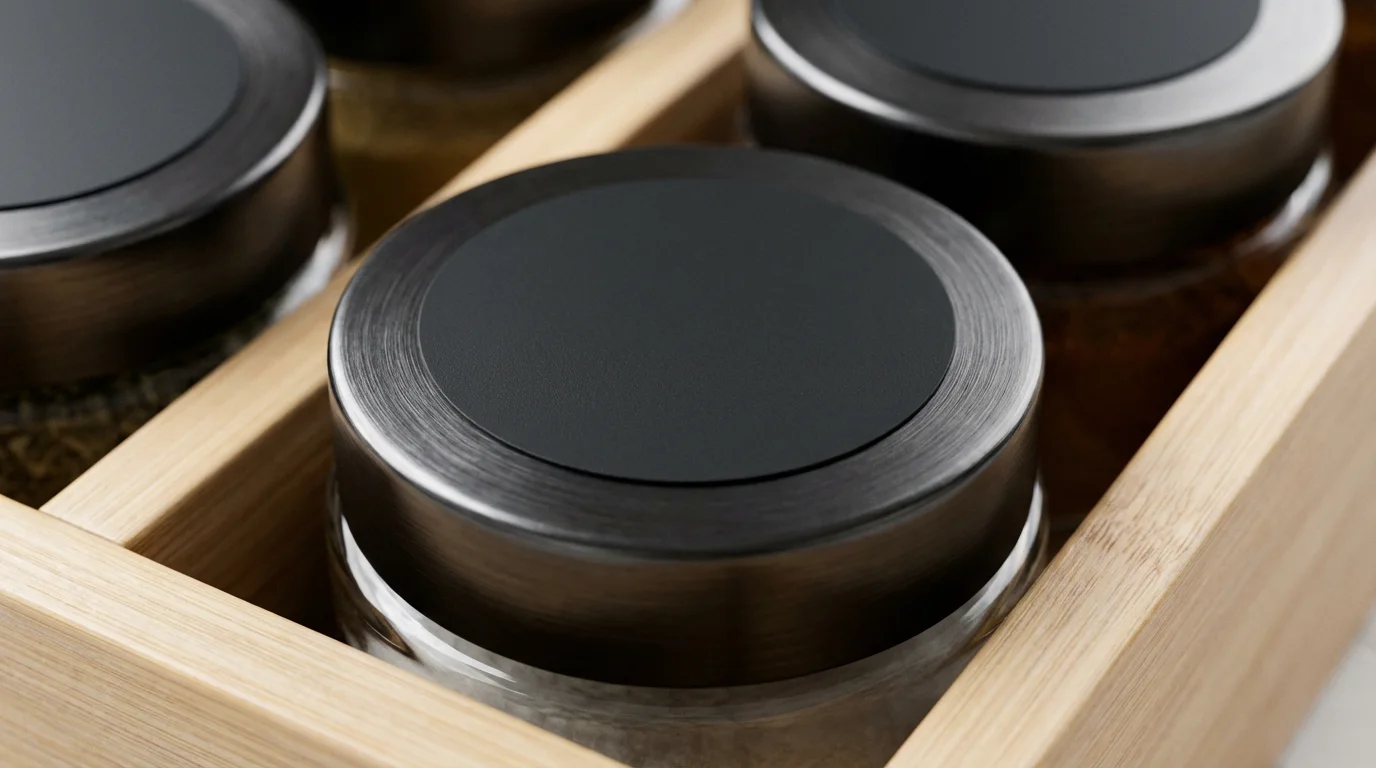
- Laminated Labels: Created by dedicated laminated label makers, these labels offer superior durability. The protective layer makes them waterproof, resistant to oil, chemicals, and temperature changes. This makes them perfect for containers in the refrigerator, freezer, or those that require frequent washing, like spice jars.
- Vinyl Labels: Cut from adhesive vinyl sheets using a cutting machine (like Cricut or Silhouette), vinyl labels are exceptionally durable and provide a sleek, custom look. They resist water, fading, and wear, making them suitable for almost any kitchen surface, including canisters, glass jars, and even plastic bins. Their application often requires a transfer tape for precise placement.
- Chalkboard Labels: These reusable labels allow you to write directly on them with chalk markers and wipe clean for updates. They are ideal for items with frequently changing contents, such as leftover containers or seasonal ingredients. They work well for a rustic or farmhouse aesthetic.
- Removable Labels: Designed for temporary labeling, these labels peel off cleanly without leaving residue. They are useful for labeling ingredients with short shelf lives, meal prep containers, or items that you rotate frequently.
When deciding, consider the container type. Glass jars often benefit from vinyl or laminated labels for a clean look. Plastic bins work well with any adhesive label. For items stored in the refrigerator or freezer, laminated or high-quality vinyl labels are essential to withstand moisture and condensation. Ensure your chosen labels fit the scale of your containers; avoid tiny labels on large bins or oversized labels on small spice jars.
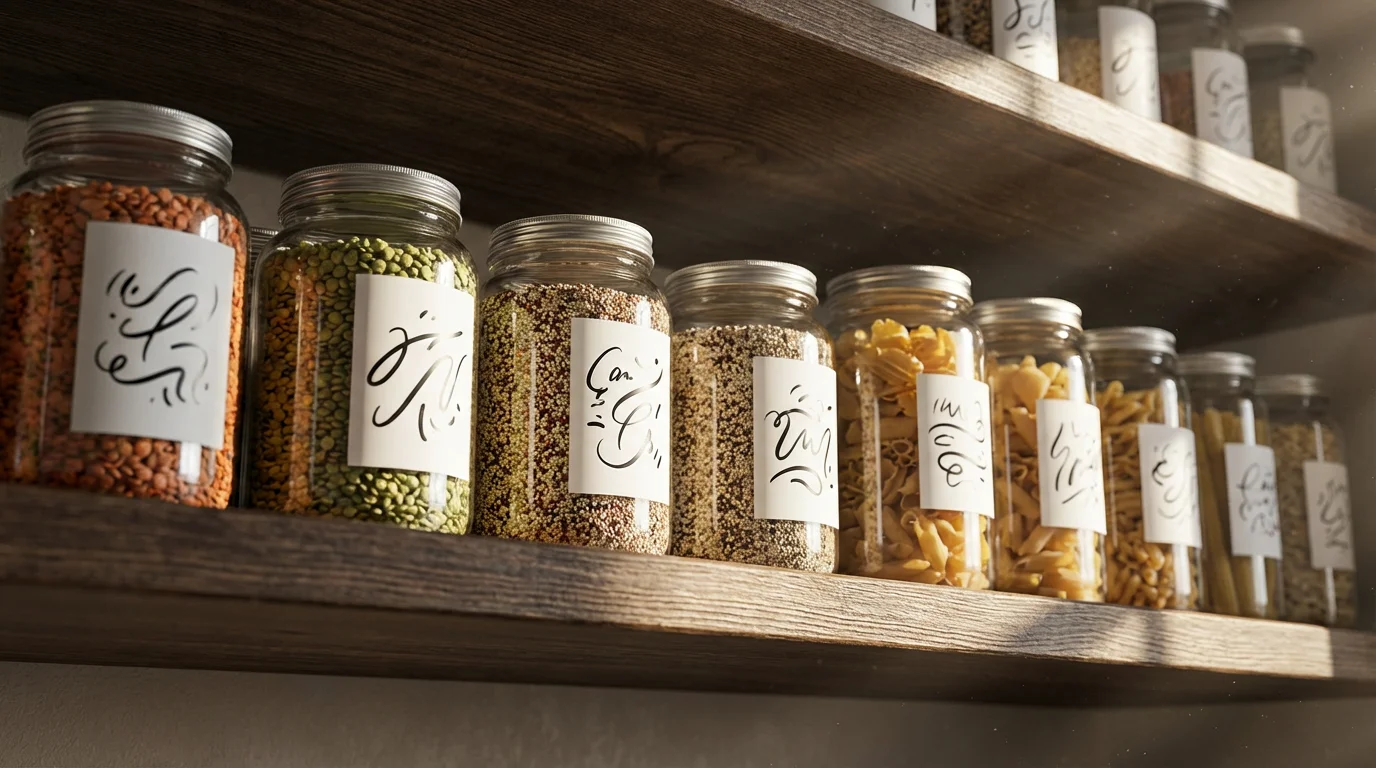
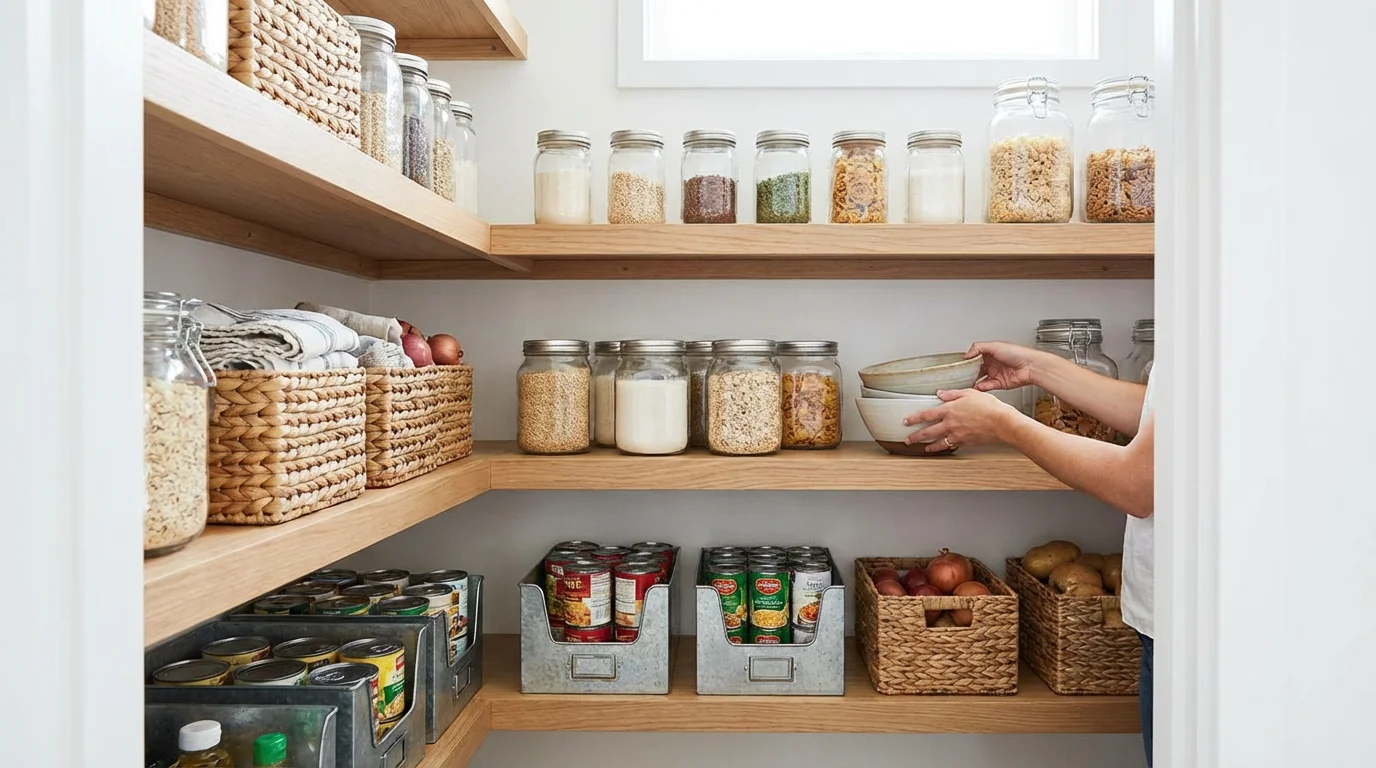
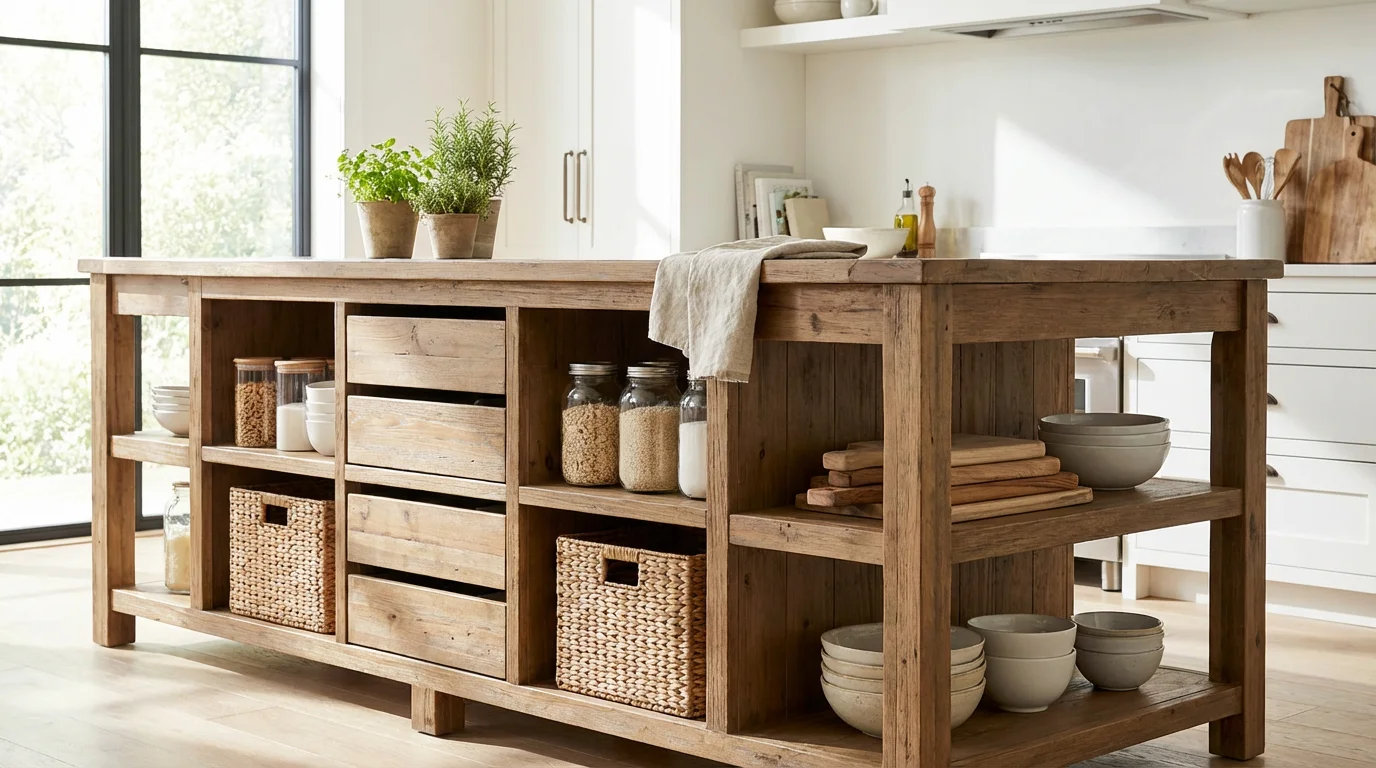
Mastering Pantry Labels: Bins, Baskets, and Bulk Storage
The pantry often serves as the heart of kitchen clutter. Applying thoughtful pantry labels transforms chaotic shelves into an organized system. Begin your pantry overhaul by decluttering. Remove expired items and ingredients you no longer use. Group similar items together, creating zones for baking supplies, snacks, pasta, canned goods, and spices. This crucial step establishes the framework for your labeling.
Before applying your stickers, ensure you have selected the right food storage containers for your needs.
Labeling Strategies for Pantry Organizers:
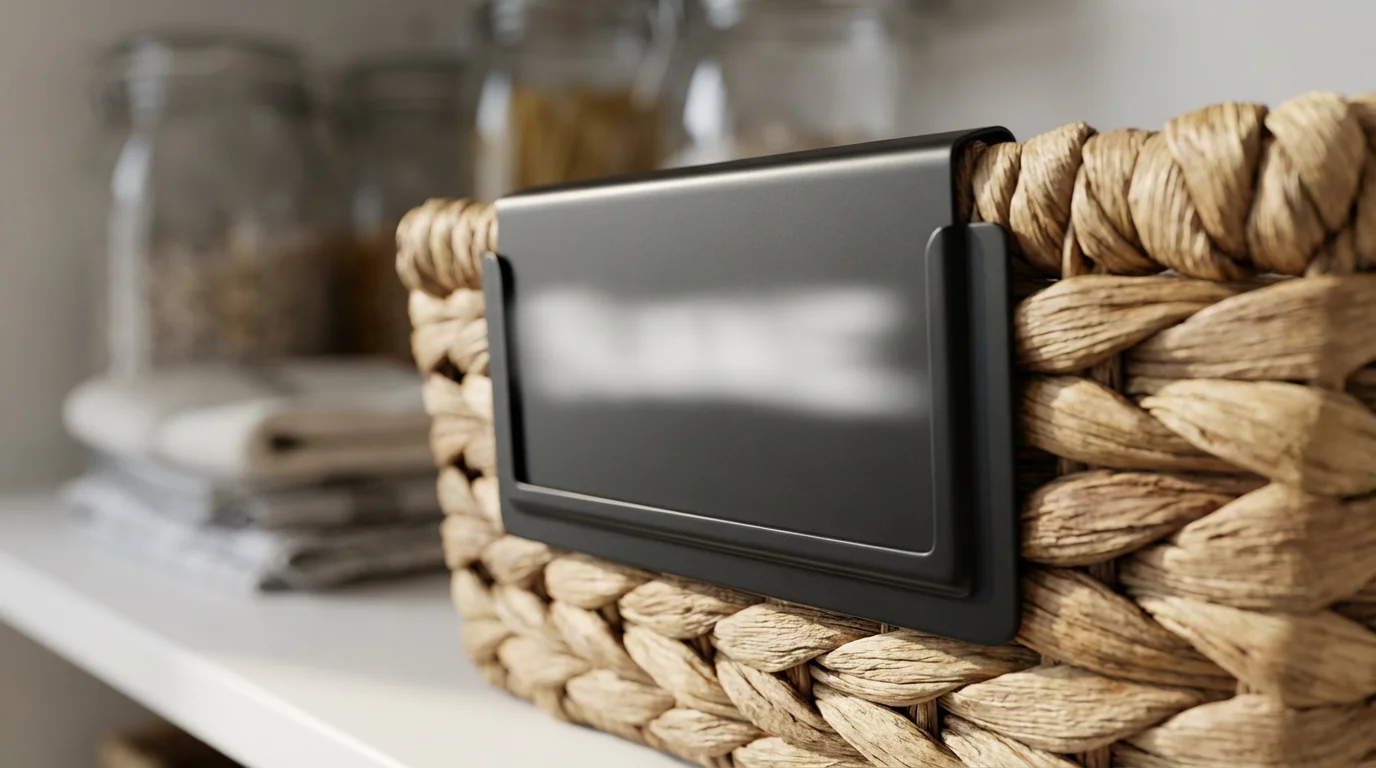
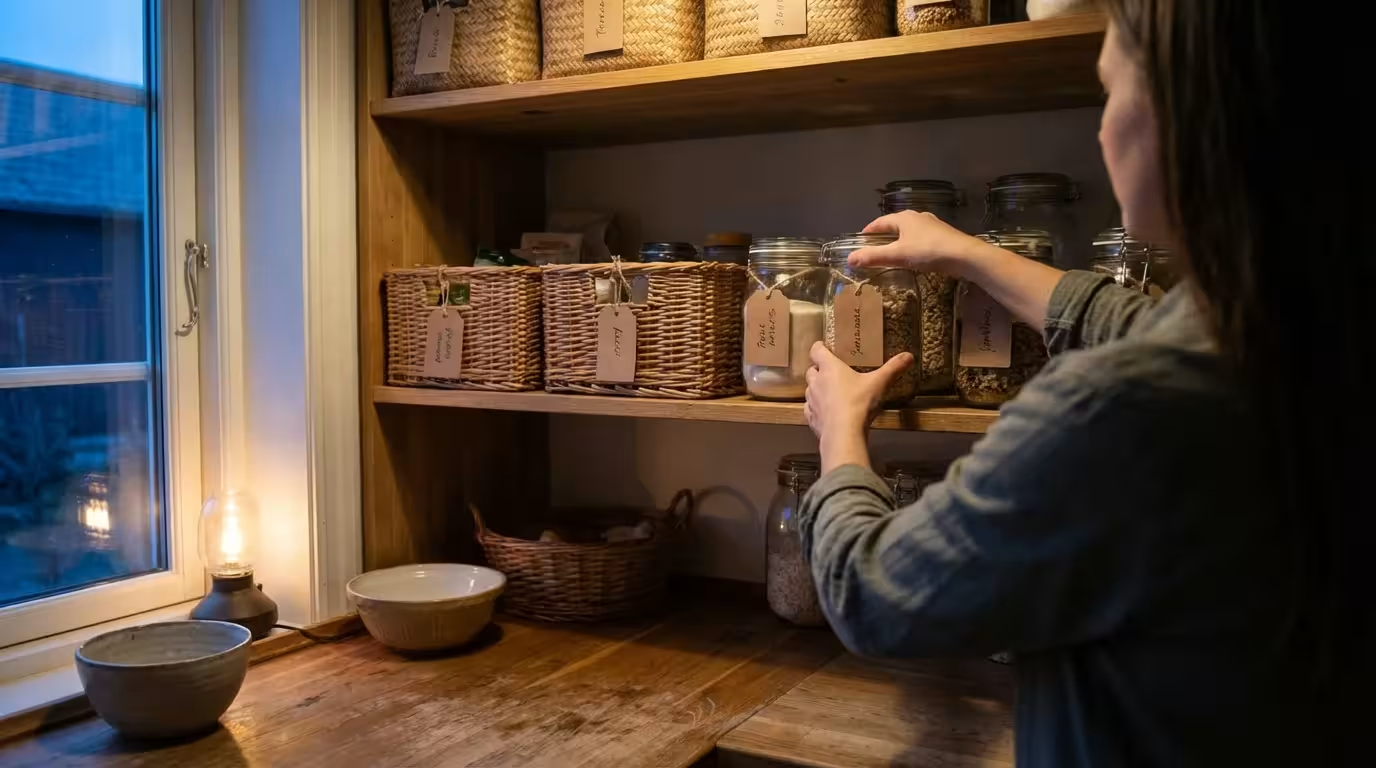
- Bins and Baskets: Use these for grouping items like snacks, small packages, or baking ingredients. Label the *front* of the bin or basket with its contents (e.g., “Kids’ Snacks,” “Gluten-Free Pasta,” “Baking Flours”). This allows you to pull out the entire bin to access items without disrupting the entire shelf. Consider bins that measure approximately 10-12 inches deep and 6-8 inches wide for standard pantry shelves.
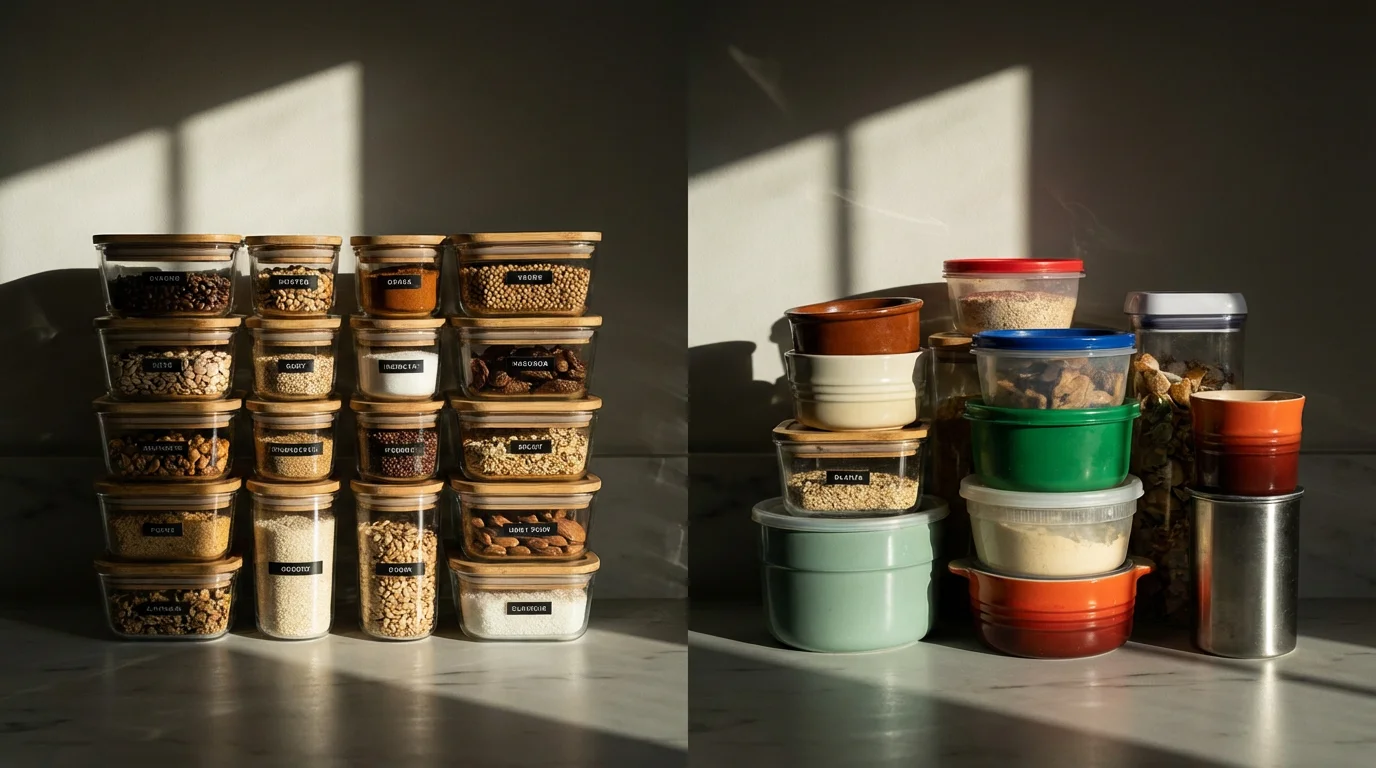
- Clear Air-Tight Containers: Ideal for bulk dry goods like flour, sugar, rice, pasta, and cereals. Label the container itself with the item’s name (e.g., “All-Purpose Flour,” “Brown Sugar”). For best practice, include the expiration or “pack on” date on a smaller, secondary label, perhaps on the bottom or back of the container, to facilitate the FIFO method. Many home cooks favor containers in standard sizes such as 1.5-quart for sugar, 2.5-quart for pasta, and 4-quart for flour to fit common cabinet depths of 12-14 inches.
- Shelf Risers: A shelf riser creates two levels of storage where you previously had one, making items visible. When using shelf risers, label the items on the lower level clearly, as they might be partially obscured.
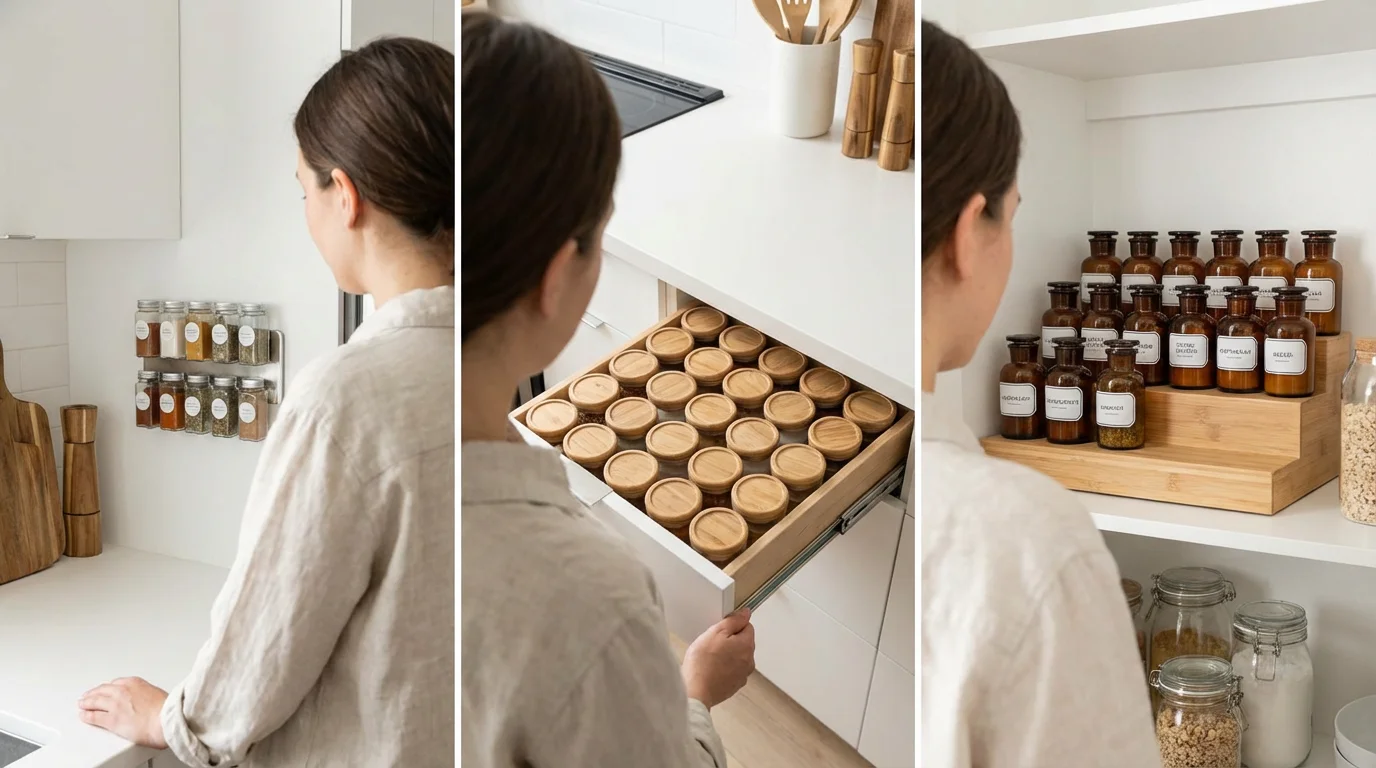
- Lazy Susans: A lazy susan is a rotating tray that makes corner cabinet items accessible. Use them for frequently accessed items like oils, vinegars, sauces, or spices. Label the individual bottles or jars so you identify them as the tray spins. For spices, consistent, small labels on the lids and sides provide immediate recognition.
- Can Organizers: These gravity-fed racks keep cans tidy. Labeling the cans themselves (if you use different brands or types) helps, but also consider a small label on the organizer indicating the general category (e.g., “Vegetables,” “Soups”).
When you create pantry labels, use clear, readable fonts. For children, incorporating simple icons alongside text helps them locate their snacks. Consider a consistent style for all labels in your pantry to create a cohesive and calming visual experience. For instance, using a laminated label maker to print white text on clear tape for all your clear containers gives a uniform, minimalist look. If you use a cutting machine for vinyl labels, a consistent font and color choice across all containers elevates the aesthetic.
Before you print any labels, measure your containers and assess the available surface area. You do not want labels that are too small to read or too large they wrap awkwardly around the container. Aim for practicality and clarity.
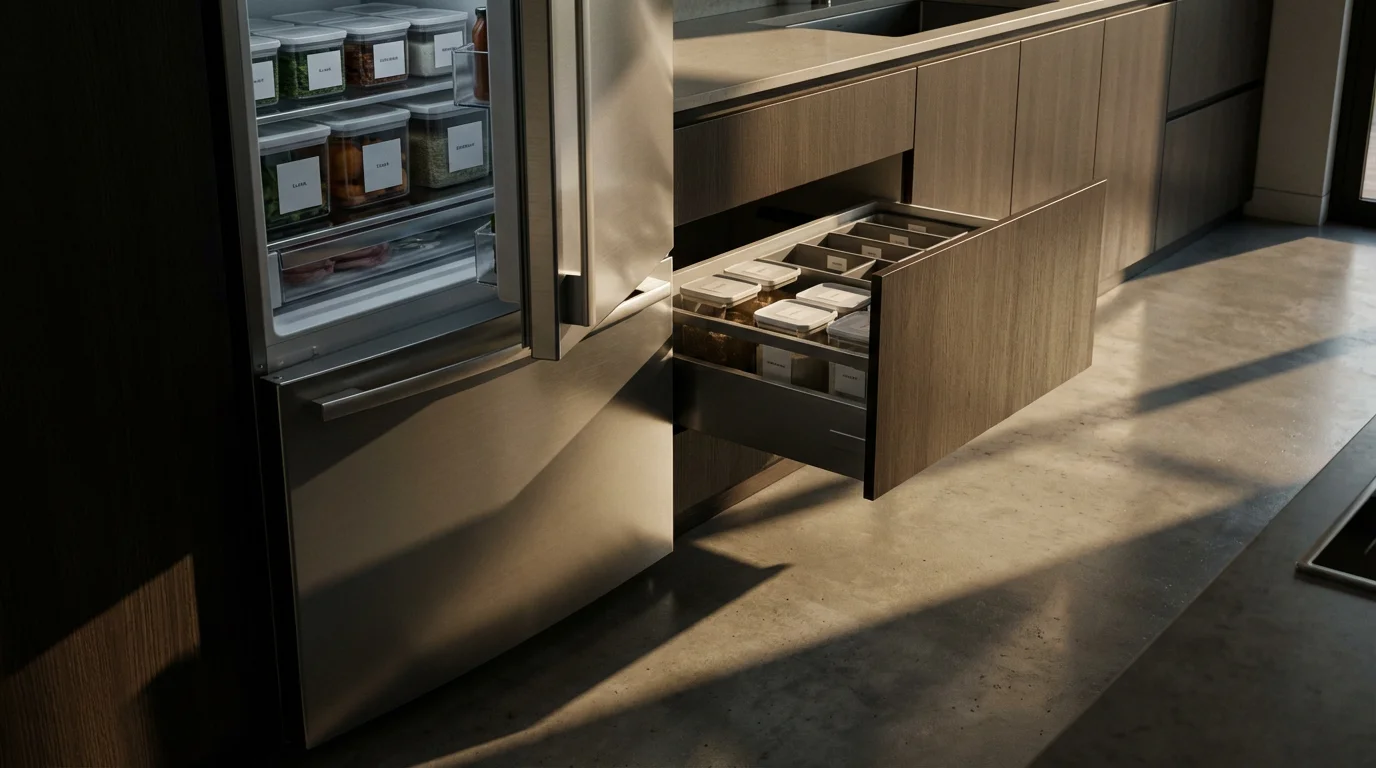
Labeling Your Cabinets, Drawers, and Refrigerator for Maximum Efficiency
Labeling extends far beyond the pantry, transforming every storage zone in your kitchen. Each area presents unique challenges and opportunities for improved organization through clear identification.
Combining a clear labeling strategy with specialized refrigerator organization bins can drastically reduce food waste.
Cabinet Organizers:
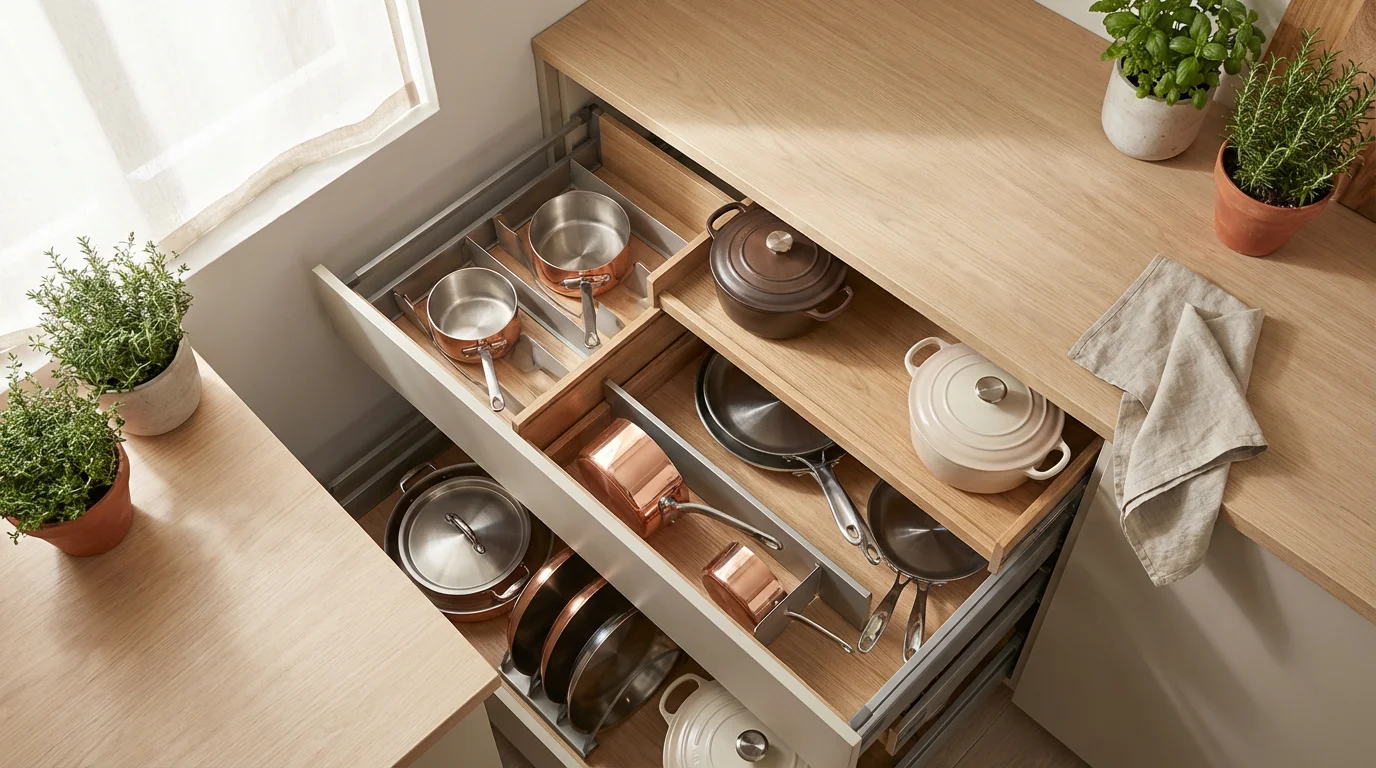
- Pull-Out Drawers and Shelves: A pull-out organizer, a drawer or shelf that slides out for easy access, simplifies reaching items deep within cabinets. Label the front edge of the pull-out with the general category of items it holds (e.g., “Cookware,” “Small Appliances,” “Mixing Bowls”). For the items inside, label individual boxes or containers. For instance, a pull-out containing small appliance accessories could have labeled bags for “Blender Parts” or “Food Processor Discs.” Standard pull-out widths often range from 15 to 24 inches to fit common cabinet openings.
- Door-Mounted Racks: Door-mounted racks, storage that hangs on the inside of cabinet doors, utilize often-overlooked dead space. Label the rack sections or items stored within. For example, a spice rack on a cabinet door benefits from labels on the spice jar lids and also on the rack indicating “Baking Spices” or “Savory Herbs.” These racks typically fit standard cabinet doors, which are often 12-18 inches wide.
- Stackable Shelves: Stackable shelves, designed to safely pile on top of each other, maximize vertical space. Label the items on each level, especially those on the lower shelves that might be less visible.
- Modular Organizers: Modular pieces, which combine and configure different ways, offer flexibility. Label individual bins or trays that form part of a modular system to maintain order, especially as you reconfigure them.
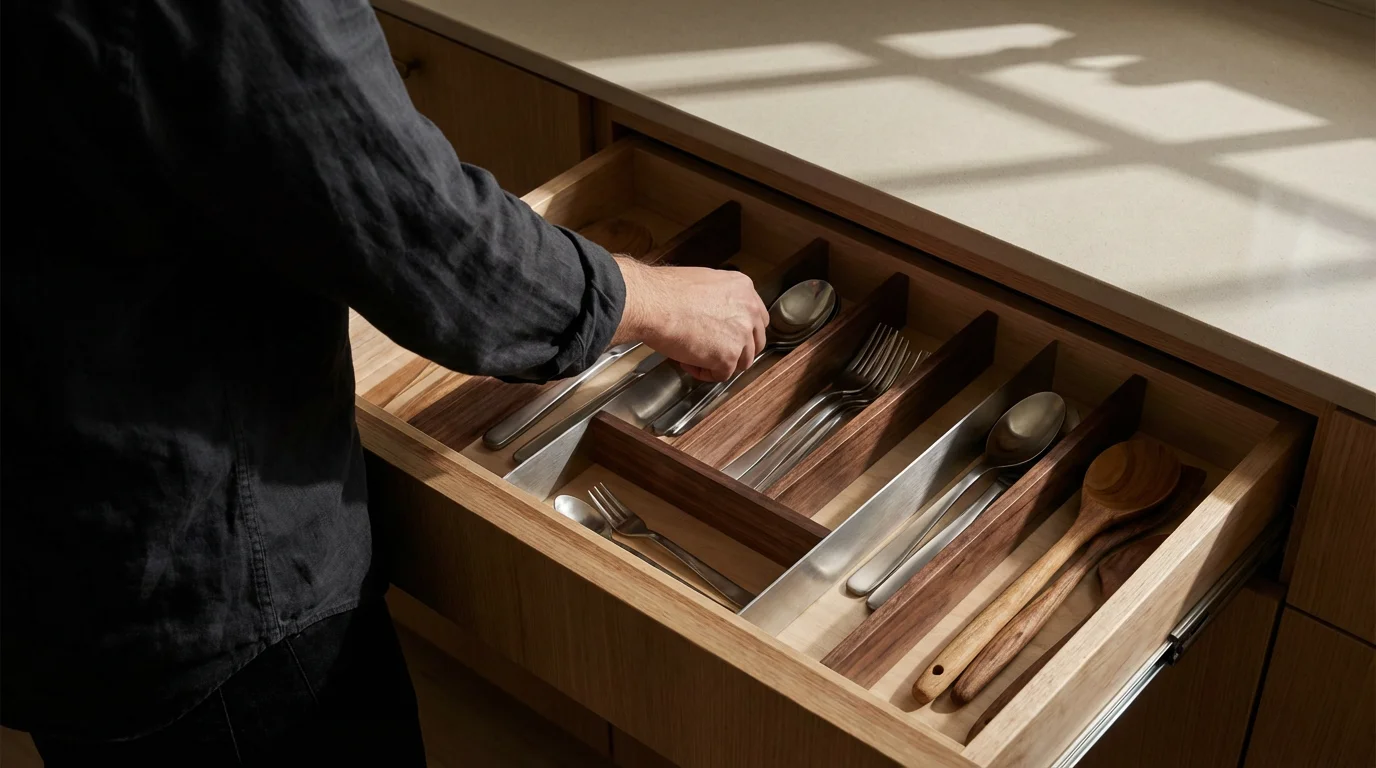
Drawer Organizers:
- Utensil Trays and Dividers: These keep flatware, cooking utensils, and gadgets neatly separated. While the items themselves are often self-explanatory, a small label on the divider itself, or on the drawer bottom, can reinforce placement (e.g., “Spatulas,” “Whisks”). This is especially useful for less common tools. Consider expandable inserts for drawers, typically 12-24 inches wide, to customize compartments.
- Expandable Inserts: These flexible dividers adjust to fit various drawer sizes. Label the sections created by these inserts to ensure every item has a designated home.
- Junk Drawer: Even the “junk drawer” benefits from organization. Use small containers or dividers for batteries, twist ties, pens, and small tools. Label each container to maintain order within the chaos.
Refrigerator and Freezer Organization:
This area demands durable, waterproof labels. Laminated or vinyl labels are your best choice here.
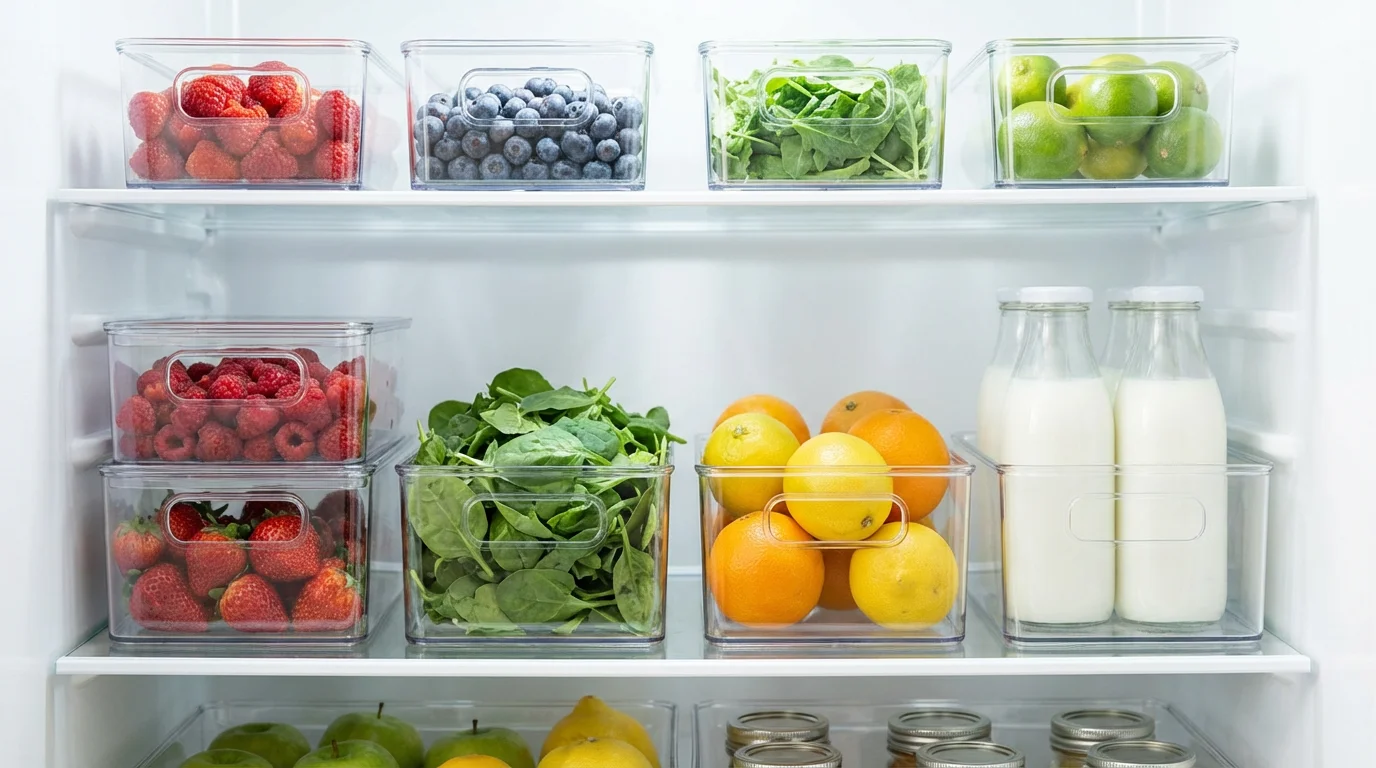
- Produce Drawers: Label drawers for “Fruits,” “Vegetables,” or “Herbs.” This promotes proper storage and prevents produce from getting lost.
- Shelves and Bins: Assign zones for specific food categories: “Dairy,” “Leftovers,” “Meat/Poultry,” “Snacks.” Use small bins for individual items like yogurts or string cheese, labeling the bin itself. Include a “Use First” bin for items nearing expiration.
- Freezer: This is where labels are absolutely critical. Label every item with its contents and the date it went into the freezer. Use specific names like “Chicken Thighs (01/15/2024),” “Chili (02/01/2024),” or “Berries (03/10/2024).” This prevents mystery meals and freezer burn. For meal prep, label containers with the dish name and date.
When labeling the refrigerator and freezer, consider removable labels for items with a short turnover, making updates easy. For long-term storage, permanent, waterproof labels are essential. You might also want to apply internal labels to the refrigerator shelves themselves, designating “Snack Zone” or “Lunch Prep” to reinforce organization habits.
Best Practices for Labeling Specific Items and Zones
Effective labeling goes beyond simply sticking a label on something; it involves strategic thought to maximize utility and maintain clarity. Here are best practices tailored to different kitchen elements.
Countertop Solutions:
- Appliance Garages: An appliance garage hides small appliances, maintaining a clean countertop. Label shelves within the garage for “Toaster,” “Blender,” etc., ensuring each appliance has a dedicated home.
- Utensil Holders: While individual labels on utensils are impractical, a large utensil holder benefits from a label on the outside indicating “Cooking Utensils” or “Spatulas & Whisks” to guide quick access and return.
- Knife Blocks: These are generally self-explanatory, but if you have specialty knives or a large collection, consider labeling slots if you find yourself fumbling.
- Coffee Station: Label canisters for “Coffee Beans,” “Ground Coffee,” “Sugar,” and “Sweeteners.” Consistent labels here create an inviting and functional setup.
Small Kitchens and Unique Challenges:
Small kitchens require ingenious space-saving solutions and precise labeling. Labels become even more critical when space is at a premium.
- Vertical Space: Maximize vertical space with shelf risers and stackable containers. Clearly label items on all levels, including those at the very top or bottom, which are often overlooked.
- Dead Space: Dead space refers to unused storage areas, often in corners or above appliances. Utilize door-mounted racks or slim pull-out organizers for these areas. Label these storage solutions clearly to ensure their contents remain visible and accessible.
- Multi-Purpose Items: If an item has multiple uses (e.g., a bowl used for mixing and serving), you do not need to label it. Focus on ingredients, specific tools, and categories.
- Under-Sink Area: Label cleaning supply bottles if you decant them, and label bins for “Sponges,” “Dish Soap Refills,” or “Compost Bags.” Waterproof labels are a must here due to potential moisture.
Zone-Based Organization:
Organize your kitchen into zones based on your cooking workflow. For example, a “Baking Zone” might contain all flours, sugars, and baking powders. A “Prep Zone” could hold chopping boards, knives, and mixing bowls. Labels reinforce these zones:
- Baking Zone: Labels on containers for “All-Purpose Flour,” “Bread Flour,” “Granulated Sugar,” “Brown Sugar,” “Baking Soda,” “Baking Powder,” and “Chocolate Chips.”
- Cooking Zone: Labels for “Pasta,” “Rice,” “Canned Tomatoes,” and specific spices.
- Coffee/Breakfast Zone: Labels for “Coffee,” “Tea,” “Oatmeal,” “Cereal.”
By creating zones and labeling within them, you create a highly intuitive system. For instance, according to The Spruce’s kitchen organization guides, grouping items by function significantly streamlines daily kitchen tasks.
Budget-Friendly vs. Premium Options:
Labels do not require a massive investment.
- Budget-Friendly: For an economical approach, use masking tape and a permanent marker. This method is effective, easily changeable, and works well for temporary or frequently updated labels. Alternatively, print labels on regular paper and laminate them with clear packing tape.
- Premium Options: Invest in a durable laminated label maker or a cutting machine for custom vinyl labels. These provide a more polished, long-lasting look, offering superior resistance to wear and tear. Premium air-tight containers with dedicated label areas also elevate the aesthetic and functionality.
Regardless of your budget, the key is consistency. Choose a method and stick with it throughout your kitchen for a cohesive and understandable system.
Maintaining Your Labeling System Long-Term
Creating a perfectly labeled kitchen feels satisfying, but the true challenge lies in maintaining that order. An organizational system only works if you commit to it consistently. Think of your labels not as a one-time project, but as an ongoing habit. Here is how you ensure your labeling system endures and continues to serve your organized kitchen.
Establish Clear Rules:
Implement a few simple rules for everyone in your household:
- Label New Items: When you decant groceries into new containers, immediately create and apply a label. This prevents “mystery powders” from accumulating.
- Update Expired Dates: If you include dates on your labels, make it a habit to check and update them when you buy new stock. This supports the FIFO method for rotating food.
- Return Items to Their Labeled Spot: Emphasize that every item has a home. Family members should return items to their designated, labeled location. This significantly reduces clutter from creeping back.
Regular Reviews and Adjustments:
Your kitchen habits and inventory will change over time. What worked perfectly six months ago might need tweaking today. Schedule a quarterly or bi-annual “label audit.”
- Assess Accuracy: Do the labels still accurately reflect the contents? Did you switch brands of flour that require a different container size?
- Check Durability: Are labels fading, peeling, or smudging? Replace any worn-out labels to maintain clarity. Laminated or vinyl labels generally stand up best to frequent handling and cleaning.
- Evaluate Zones: Have your cooking habits shifted? Do you need a new “Keto Pantry” section or a “Smoothie Supplies” bin? Adjust your zones and labels accordingly.
Declutter Regularly:
No labeling system can fully compensate for excessive clutter. Regularly decluttering is a companion to labeling:
- Check Expiration Dates: A quick scan through your pantry and refrigerator helps you identify and discard expired items. Your dated labels make this process swift and efficient.
- Donate Unused Items: If you have ingredients you bought for a specific recipe and never used again, consider donating them if they are still good.
- Remove Empty Containers: Do not let empty containers take up valuable space. Either refill them or store them away until needed.
Maintaining organization requires effort, but a strong labeling system reduces the cognitive load. You spend less time thinking about where things go and more time enjoying your kitchen. You will find that the initial investment in time and a good label maker pays dividends in daily efficiency and peace of mind.
Frequently Asked Questions
What is the best type of label maker for pantry containers?
For pantry containers, a laminated label maker offers the best balance of durability, readability, and resistance to wear. It produces labels that withstand moisture, oil, and frequent handling, ensuring your pantry labels remain clear for years. If budget is a primary concern for dry goods, a basic thermal label maker works well, but be aware of potential fading over time.
How do I make labels look uniform and aesthetically pleasing?
Achieve a uniform look by choosing a single font, font size, and label color for your entire kitchen. Using clear containers with black or white laminated labels creates a cohesive, minimalist aesthetic. For a more personalized touch, consider a cutting machine for custom vinyl labels in a consistent style. Grouping similar containers also enhances visual order.
Should I include expiration dates on my labels?
Yes, absolutely. Including expiration dates, or “pack on” dates, is a best practice, especially for bulk dry goods, frozen items, and anything with a limited shelf life. This helps you implement the “first in, first out” (FIFO) method, reducing food waste and ensuring you use ingredients at their freshest. You can use a smaller, secondary label for dates, perhaps on the bottom or back of the container, while the primary label states the item’s name.
Can I label items that change frequently, like leftovers?
Yes, for frequently changing items like leftovers, meal prep, or seasonal ingredients, use temporary or reusable labels. Chalkboard labels with chalk markers allow you to wipe and rewrite easily. Removable paper labels or even masking tape with a marker also work well, as they peel off cleanly without leaving residue, allowing for quick updates.
What if my labels start peeling or fading?
If your labels peel or fade, it is a sign your chosen material might not suit the environment or quality. For peeling, ensure surfaces are clean and dry before application. For fading, especially with thermal labels, consider upgrading to laminated or vinyl labels for areas exposed to sunlight, heat, or moisture. Always replace damaged labels promptly to maintain your system’s integrity.
Disclaimer: Product prices and availability change frequently. Prices shown were accurate at time of writing but may have changed. We may earn a small commission from purchases made through links on this site, at no extra cost to you. Always measure your space before purchasing organizers to ensure proper fit.
Labeling zones within your cabinet organizers for pots and pans helps you maintain a professional cooking environment.

Leave a Reply