Achieving perfectly tender, flavorful meat does not require complex cooking techniques or expensive cuts. Often, the secret lies in effective pre-preparation, and that is where the right meat tenderizer or meat mallet becomes indispensable. These practical tools break down tough muscle fibers and connective tissues, transforming even budget-friendly cuts into succulent meals. You can significantly enhance the texture, reduce cooking time, and allow marinades to penetrate deeper, infusing every bite with more flavor.
As an expert kitchen tool reviewer, I guide you through selecting and using the best tenderizing tool to speed up your meal prep safely and efficiently. Whether you are a beginner looking to improve your weeknight dinners or an experienced cook aiming for consistent restaurant-quality results, understanding these tools empowers your culinary journey. We will explore different types of tenderizers, their specific uses, essential safety protocols, and proper maintenance, ensuring you make an informed choice that elevates your home cooking.
Why Meat Tenderizing Matters for Better Meals
Many home cooks face the challenge of tough meat. This toughness often stems from dense muscle fibers and resilient connective tissues within the cut. Tenderizing tools directly address this issue, physically altering the meat’s structure. When you tenderize meat, you achieve several critical culinary benefits:
While tenderizing handles the fibers, using a quality chef’s knife is the first step to ensuring clean, professional cuts of meat.
- Improved Texture: Breaking down fibers results in a softer, more palatable chew. This is especially beneficial for cuts like round steak or flank steak.
- Faster Cooking: Thinner, more uniformly shaped meat cooks quicker and more evenly. This saves valuable time in the kitchen, perfect for busy weeknights.
- Enhanced Flavor Absorption: Tenderizing creates small pockets and increased surface area, allowing marinades, rubs, and brines to penetrate deeper into the meat. This means a more flavorful dish throughout.
- Versatility for Various Cuts: A good tenderizing tool transforms less expensive, tougher cuts into delicious options, expanding your cooking repertoire without increasing your grocery budget. For example, using a meat mallet for chicken breast creates uniform thickness, ensuring even cooking and juiciness.
Understanding these benefits helps you appreciate why a dedicated tenderizing tool is not just a convenience, but a fundamental asset in your kitchen.

Understanding Mechanical Meat Tenderizers: Mallets and Their Designs
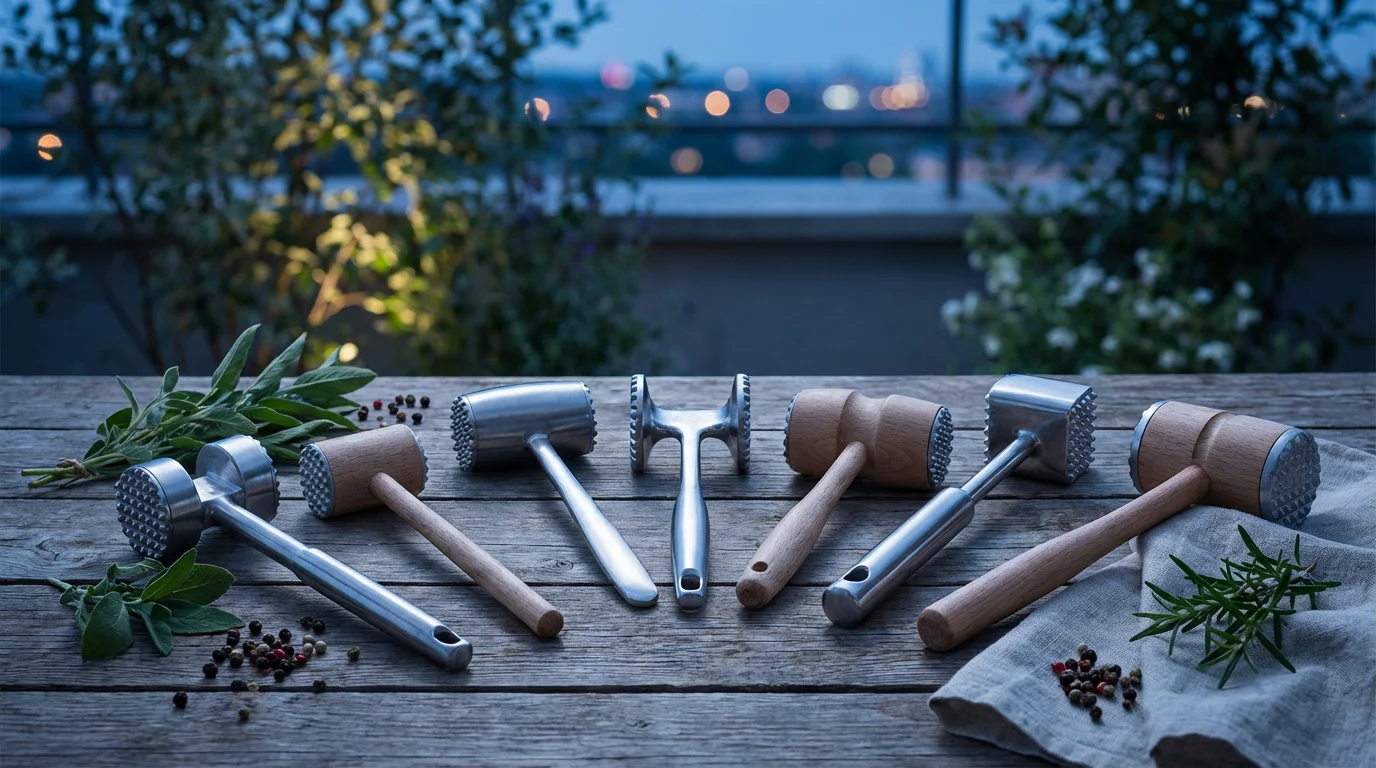
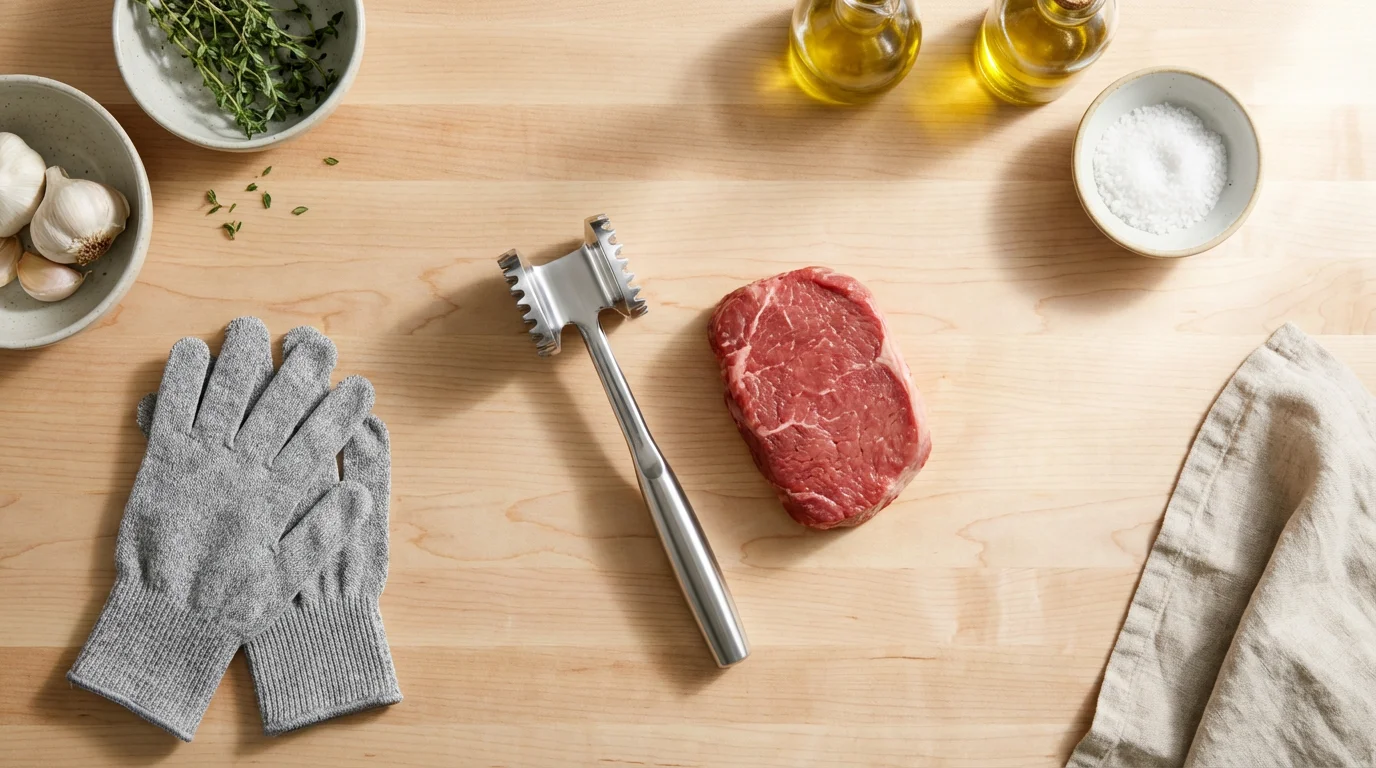
The most common type of mechanical tenderizing tool is the meat mallet, also known as a meat pounder or meat hammer. These tools rely on physical force to break down muscle fibers and flatten meat. While simple in concept, their design varies significantly, impacting their effectiveness and your ease of use.
Types of Mallet Faces:
Meat mallets typically feature two distinct sides:
- Flat Side: Use this side for flattening meat to an even thickness, such as chicken cutlets for parmigiana or veal scaloppini. It helps create uniform pieces that cook simultaneously, preventing some parts from drying out while others remain undercooked.
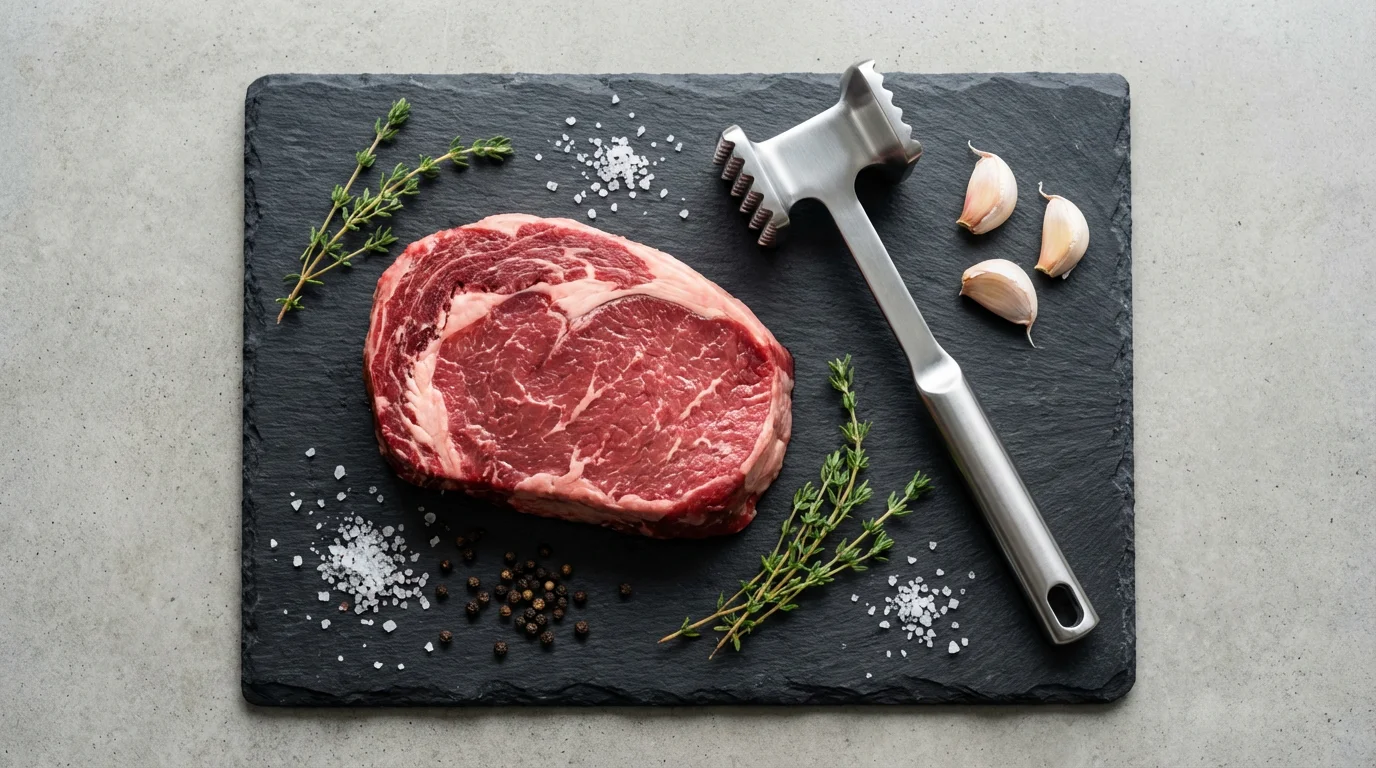
- Textured Side (or Toothed/Spiked Side): This side features pyramid-shaped teeth or sharp spikes designed to physically break down tough connective tissues. The spikes create small perforations, allowing heat to penetrate more evenly and marinades to absorb deeply. Use this side for tougher cuts like sirloin or pork chops that need significant tenderizing.
Common Materials and Their Impact:
The material of your meat mallet significantly affects its weight, durability, and cleaning requirements.
Here is a comparison of common meat mallet materials:
| Material | Pros | Cons | Best For |
|---|---|---|---|
| Aluminum | Lightweight, affordable, good heat conductivity. | Less durable than stainless steel, can dent, may react with acidic foods, not always dishwasher safe. | Beginners, occasional use, general flattening. |
| Stainless Steel | Extremely durable, heavy for efficient pounding, hygienic, corrosion-resistant, often dishwasher safe. | More expensive, heavier weight may cause hand fatigue for some users. | Frequent use, serious home cooks, demanding tenderizing tasks. |
| Wood | Classic look, comfortable grip, often gentler on delicate meats (if smooth). | Porous, difficult to sanitize, not dishwasher safe, can absorb odors and harbor bacteria. | Specific applications where a softer touch is desired, or for dry ingredients, but generally not recommended for raw meat due to sanitation concerns. |
| Plastic/Nylon | Lightweight, inexpensive, often dishwasher safe, non-reactive. | Less effective for very tough cuts due to lighter weight, can crack or degrade over time. | Light tenderizing, flattening delicate meats, budget-conscious users. |
A well-balanced, ergonomically designed handle minimizes hand fatigue, making the process more comfortable and efficient. Look for handles with a non-slip grip, especially if you plan to use it frequently or for extended periods.
The Precision of Blade Meat Tenderizers: How They Work
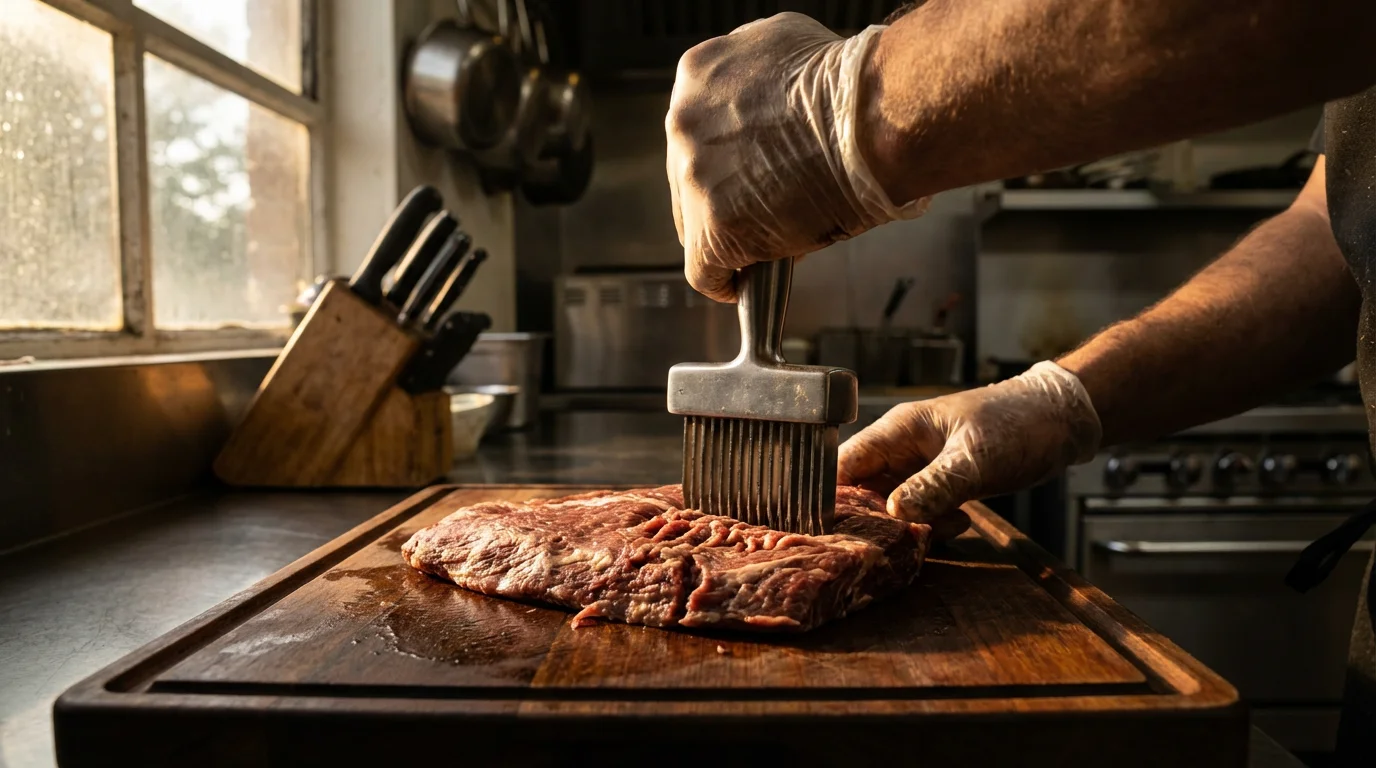
Blade meat tenderizers represent a different approach to tenderizing. Instead of pounding, these tools use multiple sharp blades to pierce the meat, creating small channels without significantly altering its overall thickness. This technique is often referred to as “jaccarding” after the tool’s original patent holder.
The blades sever tough muscle fibers and connective tissues while also creating pathways for marinades and heat. This method is particularly effective for less tender cuts of beef, pork, or even poultry, providing a noticeable improvement in chewiness and flavor absorption. Blade tenderizers typically feature a spring-loaded mechanism that retracts the blades after they pierce the meat, ensuring safety during operation.
They offer several advantages:
- Minimal Size Alteration: Unlike mallets, blade tenderizers do not significantly flatten or expand the meat, maintaining its original shape and thickness for more consistent portioning.
- Deep Marinade Penetration: The multiple perforations allow marinades to reach the core of the meat quickly and effectively.
- Reduced Cooking Time: By breaking down internal structures, heat can penetrate faster and more evenly, leading to quicker and more consistent cooking.
- Less Mess: The piercing action tends to be less messy than pounding with a mallet, minimizing splatter.
However, blade tenderizers require careful cleaning to ensure hygiene, as meat particles can get lodged between the blades. Some models feature removable blade cartridges for easier washing. As Serious Eats reports, the effectiveness of these tools relies heavily on the sharpness and density of their blades.
Selecting Your Ideal Tenderizing Tool: Factors to Consider
Choosing the best meat tenderizing tool for your kitchen depends on your specific needs, the types of meat you prepare most often, and your comfort level with different tools. Consider these factors:
- Type of Meat: For flattening chicken breasts for cutlets or veal for schnitzel, a simple meat mallet with a flat side works best. For tougher cuts like skirt steak or pork loin that need significant fiber breakdown, a mallet’s textured side or a blade tenderizer is more effective.
- Frequency of Use: If you tenderize meat often, invest in a durable, comfortable stainless steel mallet or a high-quality blade tenderizer. Occasional users might find an aluminum or plastic mallet perfectly adequate.
- Ease of Cleaning: Dishwasher-safe tools are convenient. Blade tenderizers often require more diligent cleaning due to their intricate blade design. Always prioritize tools that you can clean thoroughly to prevent cross-contamination.
- Storage: Mallets can be bulky. Consider their size and how they will fit into your kitchen drawers or hang on a utensil rack. Blade tenderizers are generally more compact.
- Budget: Prices vary widely. Set a budget and look for the best quality within that range. Remember that durability often correlates with a slightly higher initial investment, saving you money in the long run.
- Ergonomics and Comfort: A heavy, poorly balanced mallet can lead to hand fatigue. Test the tool’s weight and grip if possible. Look for non-slip handles and a comfortable weight distribution.
How to Use a Meat Mallet Properly and Safely
Using a meat mallet effectively requires proper technique and a strong emphasis on safety. Improper use can lead to injury, damage to your workspace, or inconsistently tenderized meat.
Preparation is Key:
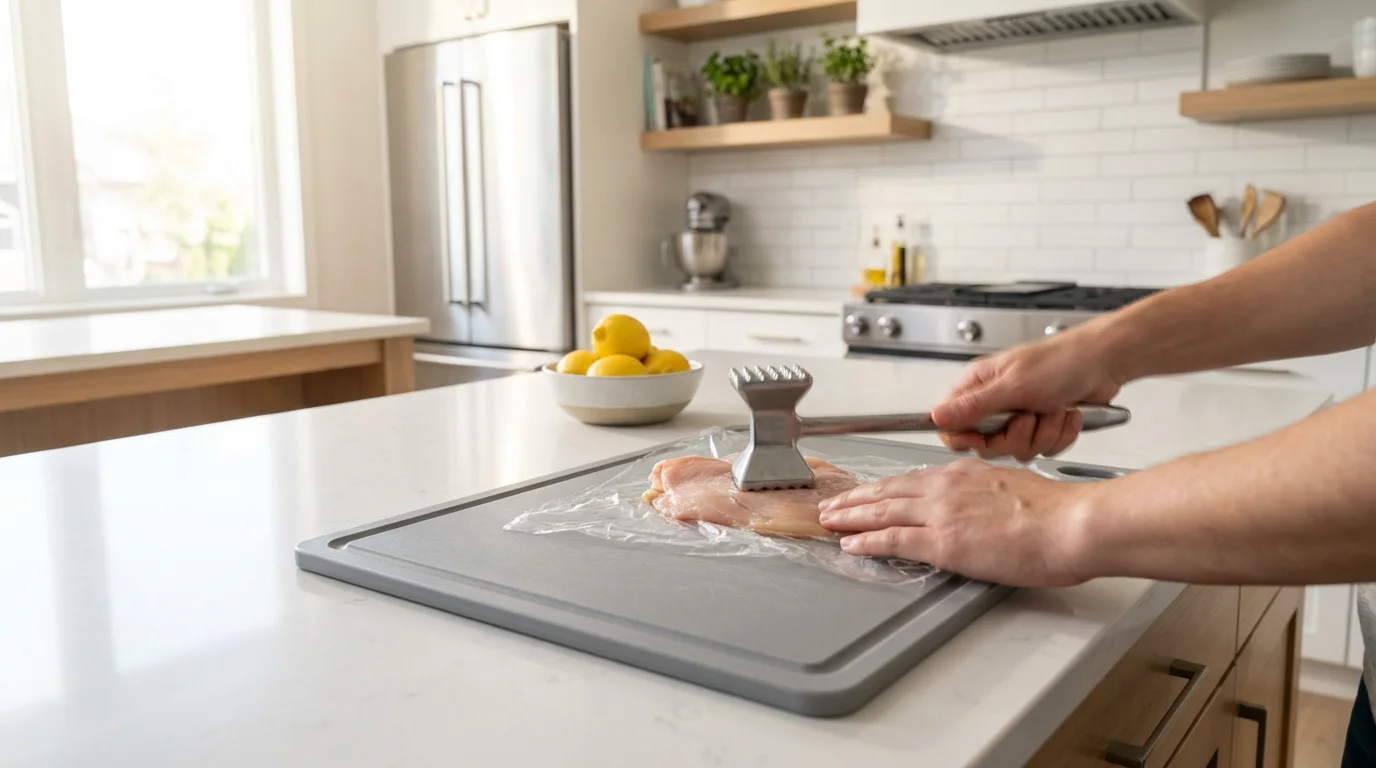
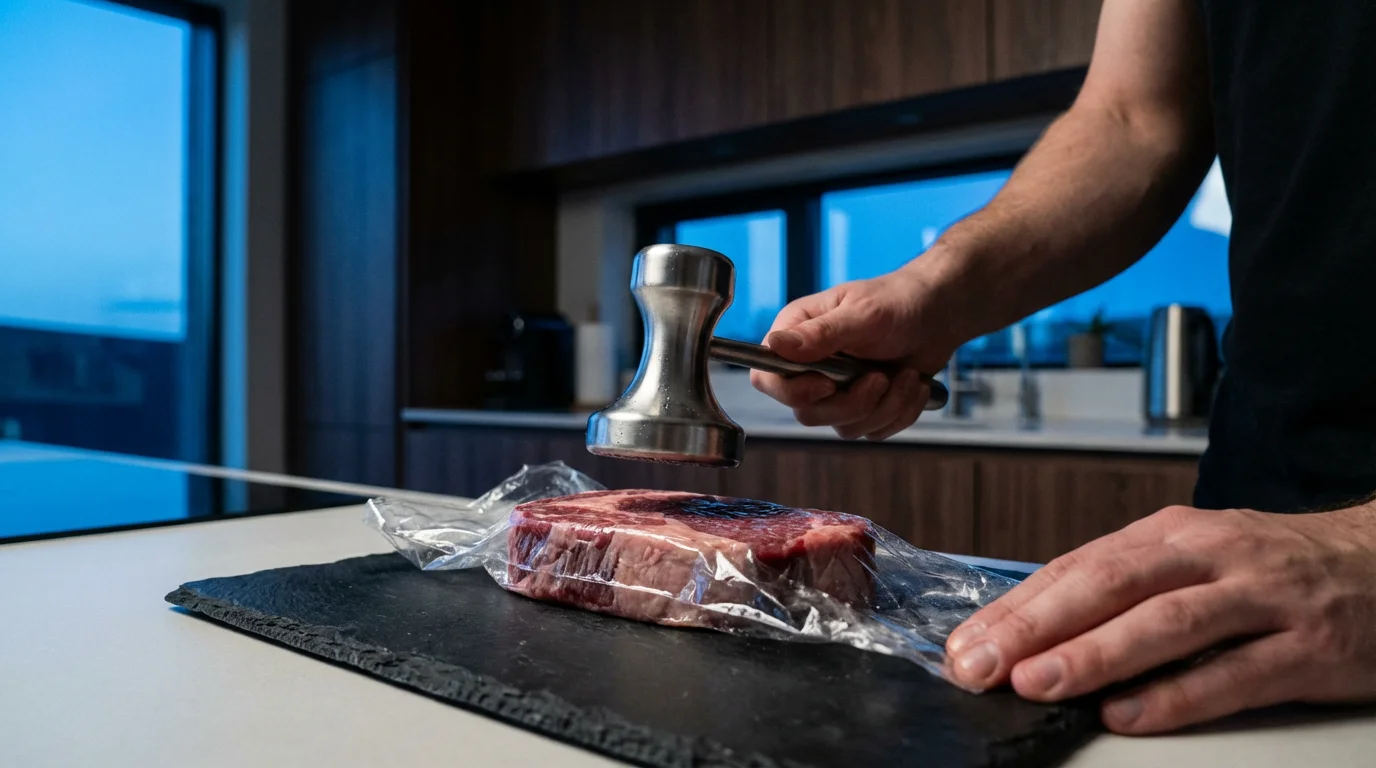
- Protect Your Surface: Always place a sturdy cutting board beneath the meat. To minimize noise and prevent damage to your counters, you can also place a damp towel or non-slip mat under the cutting board.
- Cover the Meat: For hygiene and to prevent splatter, cover the meat with plastic wrap or place it inside a heavy-duty freezer bag. This contains juices and small meat particles, making cleanup much easier.
- Portioning: If tenderizing a large piece of meat, cut it into individual portions before pounding. This makes handling easier and ensures more even tenderization.
Proper Technique for Pounding:
- Use the Right Side: As discussed, use the flat side for flattening and the textured side for tenderizing tough fibers.
- Even Pressure: Start pounding from the center of the meat and work your way outwards. Apply even, controlled force rather than violent swings. The goal is to gradually thin or tenderize, not to tear the meat apart.
- Uniform Thickness: For cutlets, aim for a consistent thickness across the entire piece of meat. This ensures even cooking. Rotate the meat as needed to achieve this uniformity.
- Pound, Do Not Mash: Use a firm, controlled striking motion. Avoid mashing or tearing the meat, as this can lead to a stringy texture.
Essential Safety Tips:
- Maintain a Stable Surface: Ensure your cutting board is stable and not prone to slipping.
- Keep Fingers Clear: Always be aware of your non-dominant hand. Keep it away from the pounding area to avoid accidental strikes.
- Controlled Force: Do not use excessive force. The mallet’s weight should do most of the work. Overly aggressive pounding risks damaging the meat, your tools, or yourself.
- Cleanliness: After each use, thoroughly clean your meat mallet. Raw meat can harbor bacteria, so immediate and proper cleaning is crucial to prevent cross-contamination.
As America’s Test Kitchen often demonstrates, proper technique not only ensures safety but also yields superior results in the kitchen.
Technique and Safety with Blade Tenderizers
Blade meat tenderizers offer a precise way to break down fibers, but they require a different approach to technique and an even greater emphasis on safety due to their sharp blades.
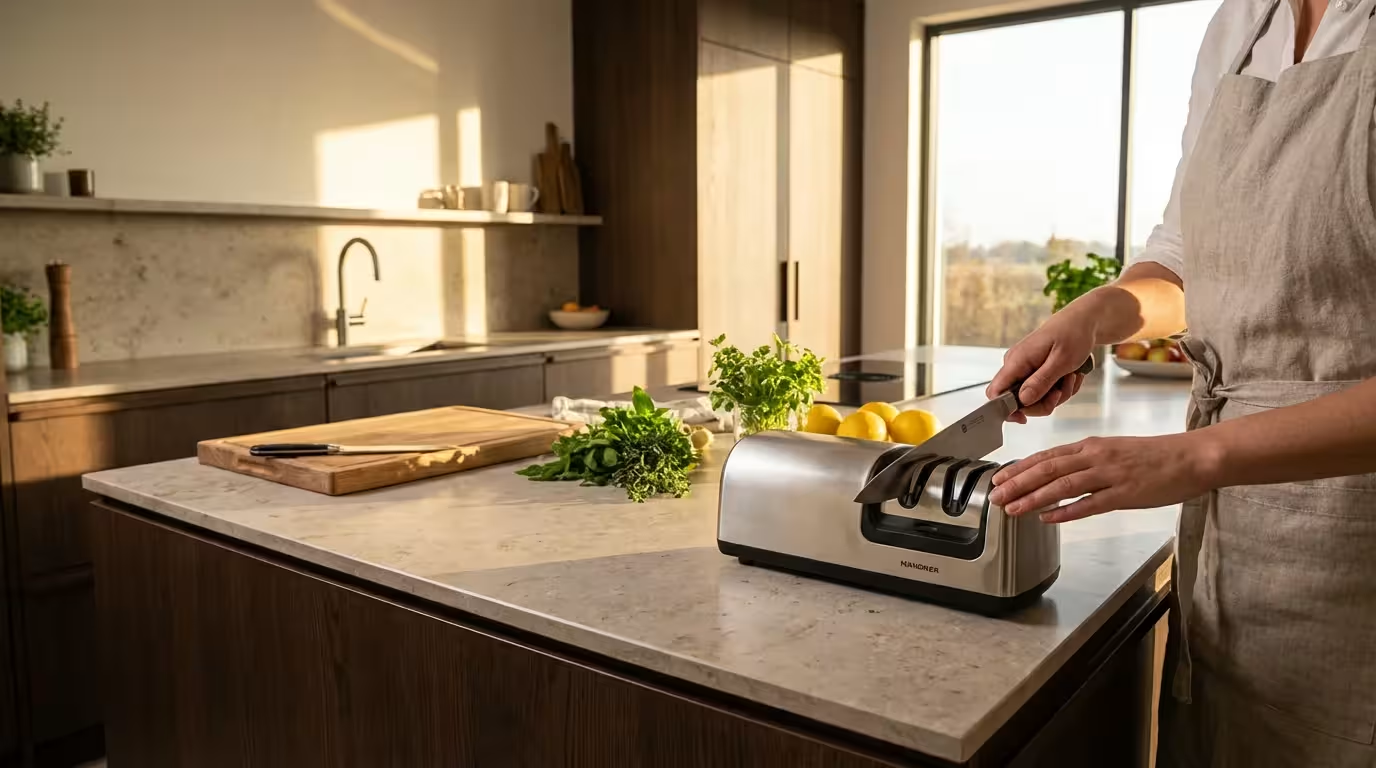
Just as you maintain the sharpness of your tenderizer, understanding knife sharpening methods is essential for keeping your other kitchen blades in peak condition.
Operating Your Blade Tenderizer:
- Prepare the Meat: Place your meat on a stable cutting board. Unlike mallets, covering the meat with plastic wrap is not strictly necessary for splatter, but it can help maintain hygiene.
- Even Application: Press the blade tenderizer firmly and evenly down onto the meat. The blades will extend and pierce the meat. Lift and reposition the tenderizer, overlapping your previous passes slightly, to ensure comprehensive coverage.
- Work Systematically: Work across the entire surface of the meat in rows. For thicker cuts, you may want to flip the meat and repeat the process on the other side.
- Avoid Over-Tenderizing: While effective, over-tenderizing with blades can make meat mushy or stringy. Use discretion based on the cut and desired texture. A few passes are usually sufficient for most cuts.
Crucial Safety Measures:
- Extreme Caution with Blades: The blades are razor-sharp. Never touch them directly.
- Always Use the Guard: Most blade tenderizers have a safety guard or plunger mechanism that keeps the blades retracted until pressure is applied. Always ensure this mechanism is working correctly.
- Keep Fingers Away: Maintain a firm grip on the handle and keep all fingers well away from the area where the blades emerge.
- Store Safely: Store the blade tenderizer with its protective cover on or in its original packaging to prevent accidental contact with the blades.
- Immediate Cleaning: Clean the tool immediately after use. Meat particles can easily lodge between the blades. Many models allow partial disassembly or include a cleaning brush. For maximum safety and hygiene, use hot, soapy water and a stiff brush (not your fingers) to dislodge any food residue. Ensure thorough rinsing and drying before storage.
Remember, a blade tenderizer is a serious kitchen tool. Treat it with the respect its sharp components demand.
Beyond Tenderizing: Versatile Uses for Your Meat Mallet
While their primary function is meat tenderizing, meat mallets are surprisingly versatile tools in the kitchen. Their robust construction and different surfaces make them useful for a variety of tasks, demonstrating their value as a multi-functional kitchen gadget.
For other prep tasks like shredding cheese to top your tenderized cutlets, consider whether box graters or rotary graters would be more efficient for your kitchen.
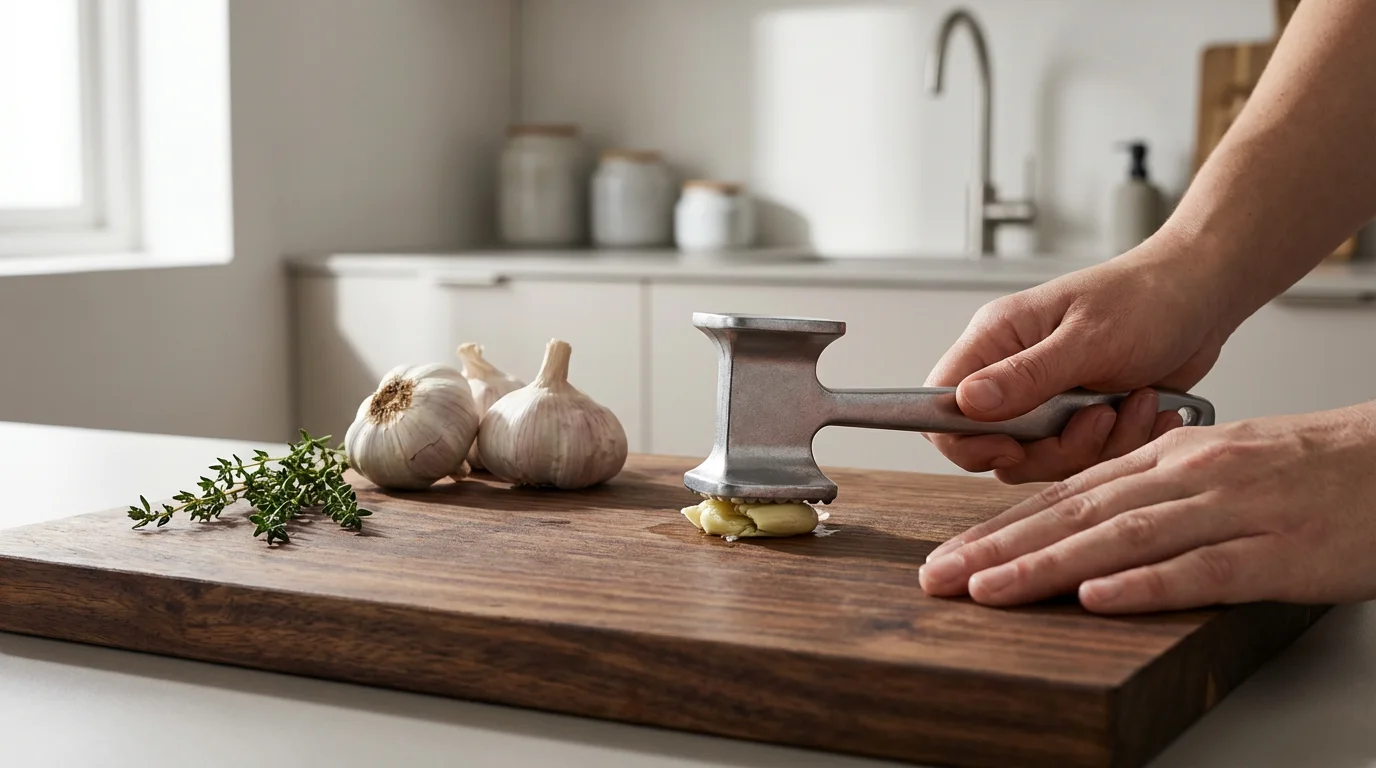
- Crushing Nuts and Spices: Place nuts, whole spices, or even cookies (for pie crusts) in a sturdy bag or between two sheets of parchment paper. Use the flat side of your meat mallet to crush them to your desired consistency. This is a quick and effective alternative to a food processor for small batches.
- Crushing Ice: For cocktails or cold desserts, wrap ice cubes in a clean kitchen towel and use the mallet to break them into smaller pieces or crushed ice.
- Breaking Up Hard Candies: Need to crush hard candies for baking decorations or toppings? The mallet works perfectly.
- Flattening Dough: For certain pastries or pizza crusts, a mallet can gently flatten dough more evenly than a rolling pin in some instances, especially for irregularly shaped pieces.
- Preparing Breadcrumbs: If you have stale bread, you can break it down into coarse crumbs using the mallet before processing further.
- Mashing Potatoes (Coarse Mash): For a rustic, chunky mashed potato, a meat mallet can be surprisingly effective for breaking down cooked potatoes in a bowl.
This extended utility highlights why a quality meat mallet can be a frequently used and valued tool in your kitchen, justifying its place in your utensil drawer.
Maintaining Your Meat Tenderizing Tools for Longevity
Proper care and maintenance extend the life of your meat tenderizer or mallet, ensure its hygienic use, and keep it performing optimally. Neglecting cleaning and storage can lead to dull blades, material degradation, and bacterial growth.
Cleaning and Sanitation:
This is paramount, especially when dealing with raw meat:
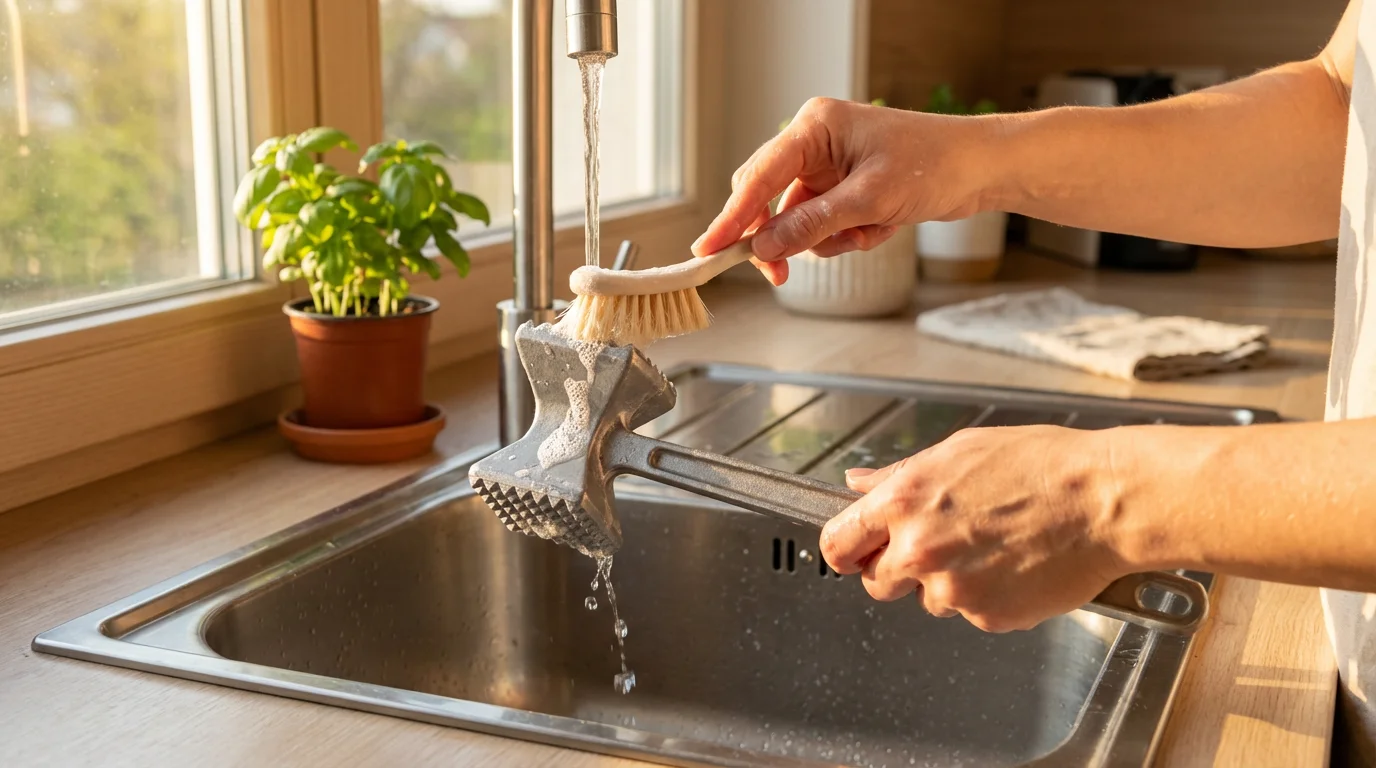
- Immediate Cleaning: Clean your tenderizer immediately after use. Do not let meat juices or particles dry on the tool.
- Hot, Soapy Water: Wash mallets and blade tenderizers thoroughly with hot, soapy water. Use a stiff brush, especially for blade tenderizers, to remove all food residue from intricate areas.
- Dishwasher vs. Hand-Wash: Check manufacturer guidelines. Many stainless steel and some aluminum mallets are dishwasher safe. However, prolonged exposure to harsh dishwasher detergents can dull aluminum’s finish. Blade tenderizers often require hand-washing to ensure all crevices are cleaned. Wooden mallets are strictly hand-wash only; never immerse them in water for long periods.
- Rinsing and Drying: Rinse thoroughly under hot running water to remove all soap. Immediately dry the tool completely with a clean towel to prevent water spots, mineral buildup, and rust (especially for stainless steel or aluminum joints). Air drying is not sufficient, as residual moisture can foster bacterial growth.
- Sanitizing (Optional, but Recommended): For an extra layer of protection, you can wipe metal parts with a diluted bleach solution (1 teaspoon bleach per quart of water) or a food-safe sanitizing spray after washing and rinsing. Rinse again after sanitizing.
Storage:
- Dry Environment: Store all tenderizers in a dry place to prevent corrosion or mildew.
- Protective Covers: Always use the protective cover for blade tenderizers to shield the blades and prevent accidental injury.
- Organized Storage: Keep mallets in a drawer or hung on a hook where they will not damage other utensils or be prone to falling.
Adhering to these maintenance practices ensures your meat tenderizer remains a safe, effective, and long-lasting asset in your kitchen for years to come.
Frequently Asked Questions
Is a meat tenderizer really necessary? Can’t I just use a rolling pin?
While a rolling pin can flatten meat, it lacks the textured surface of a meat mallet or the piercing blades of a tenderizer. These specialized tools more effectively break down tough muscle fibers and connective tissues, resulting in a noticeably more tender product and better absorption of marinades. A rolling pin primarily flattens; it does not tenderize in the same way.
What is the best meat mallet for chicken breast?
For chicken breast, which you primarily want to flatten to an even thickness for quick, uniform cooking, a meat mallet with a flat side is ideal. Look for one made from stainless steel or aluminum for durability and easy cleaning. The textured side is generally unnecessary for chicken breast, as it’s already a tender cut, but the mallet’s weight aids in quick flattening.
How do I use a meat tenderizer properly to avoid making a mess?
To avoid a mess, always place your meat on a sturdy cutting board and cover it with plastic wrap or place it inside a heavy-duty freezer bag before tenderizing. This contains juices and minimizes splatter. Use controlled, even strokes with your meat mallet rather than aggressive pounding. For blade tenderizers, the piercing action naturally creates less mess than pounding.
Can I use a meat tenderizer on fish?
It is generally not recommended to use a meat tenderizer on fish. Fish fillets are very delicate and have a much finer, flakier muscle structure compared to meat. Using a mallet or blade tenderizer would likely mash or tear the fish, ruining its texture. For fish, gentle handling and appropriate cooking methods are sufficient to ensure tenderness.
Disclaimer: Product prices and availability change frequently. Prices shown were accurate at time of writing but may have changed. We may earn a small commission from purchases made through links on this site, at no extra cost to you. Always use cutting tools carefully and follow manufacturer safety guidelines.
After crushing your spices, use accurate measuring spoons to ensure your seasoning ratios are perfect for your marinade.


Leave a Reply