Precision is not merely a suggestion in the kitchen; it is a fundamental requirement, especially for baking and complex recipes. You might think a little extra flour or a slightly smaller dash of vanilla makes no difference, but these small deviations accumulate, affecting the texture, flavor, and overall success of your culinary creations. Accurate measurements ensure consistency, reduce wasted ingredients, and build your confidence as a cook. This guide focuses on equipping you with the knowledge and tools to measure with impeccable accuracy, transforming your cooking and baking results.
From understanding the nuances between measuring dry versus liquid ingredients to selecting the right materials and maintaining your tools, you will gain actionable insights. We delve into how quality measuring cups and measuring spoons are essential baking tools that elevate your kitchen prowess, ensuring every recipe turns out exactly as intended.
Understanding Measuring Cups: Dry vs. Liquid
Many home cooks wonder, are all measuring cups the same? The answer is a definitive no. Different types of measuring cups exist because dry and liquid ingredients behave differently and require distinct approaches for accurate measurement. Using the correct type of measuring cup is perhaps the most critical step toward precision in your recipes.
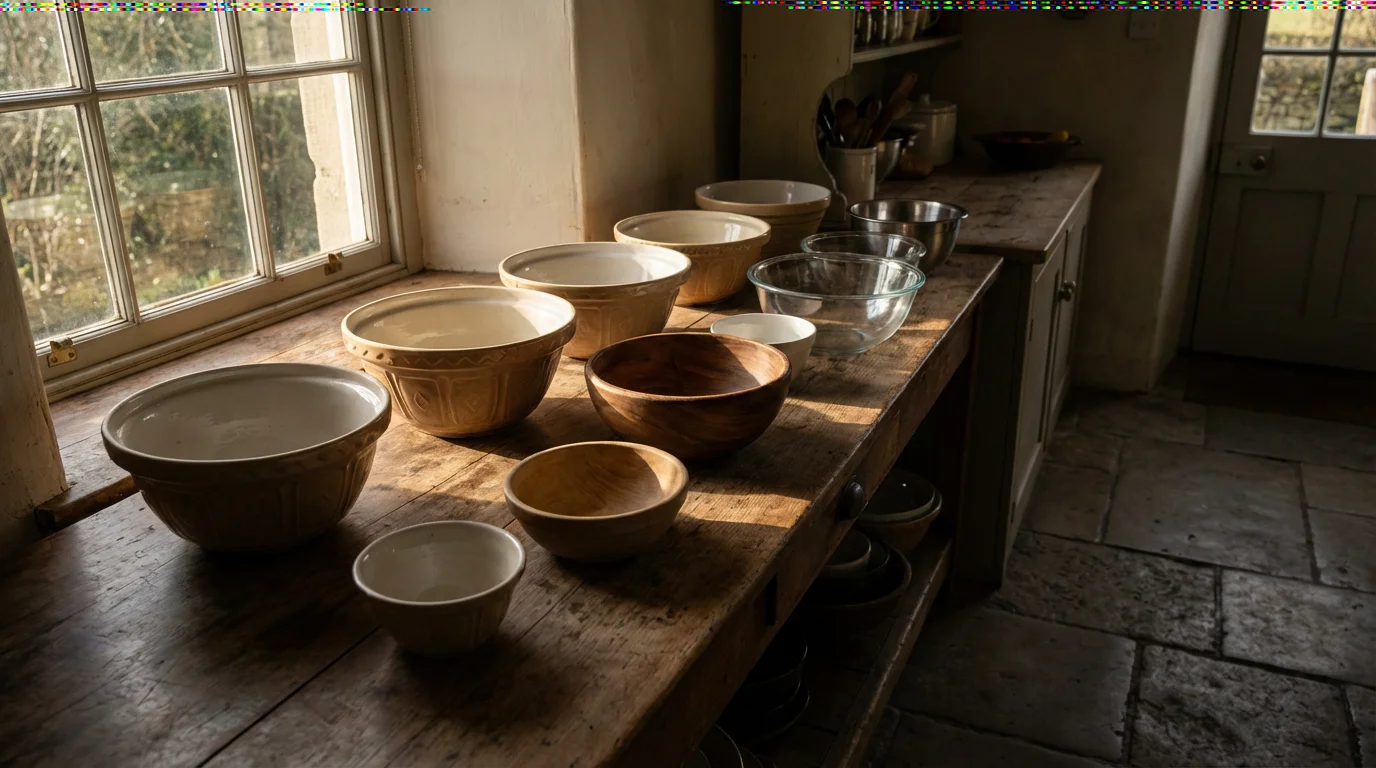
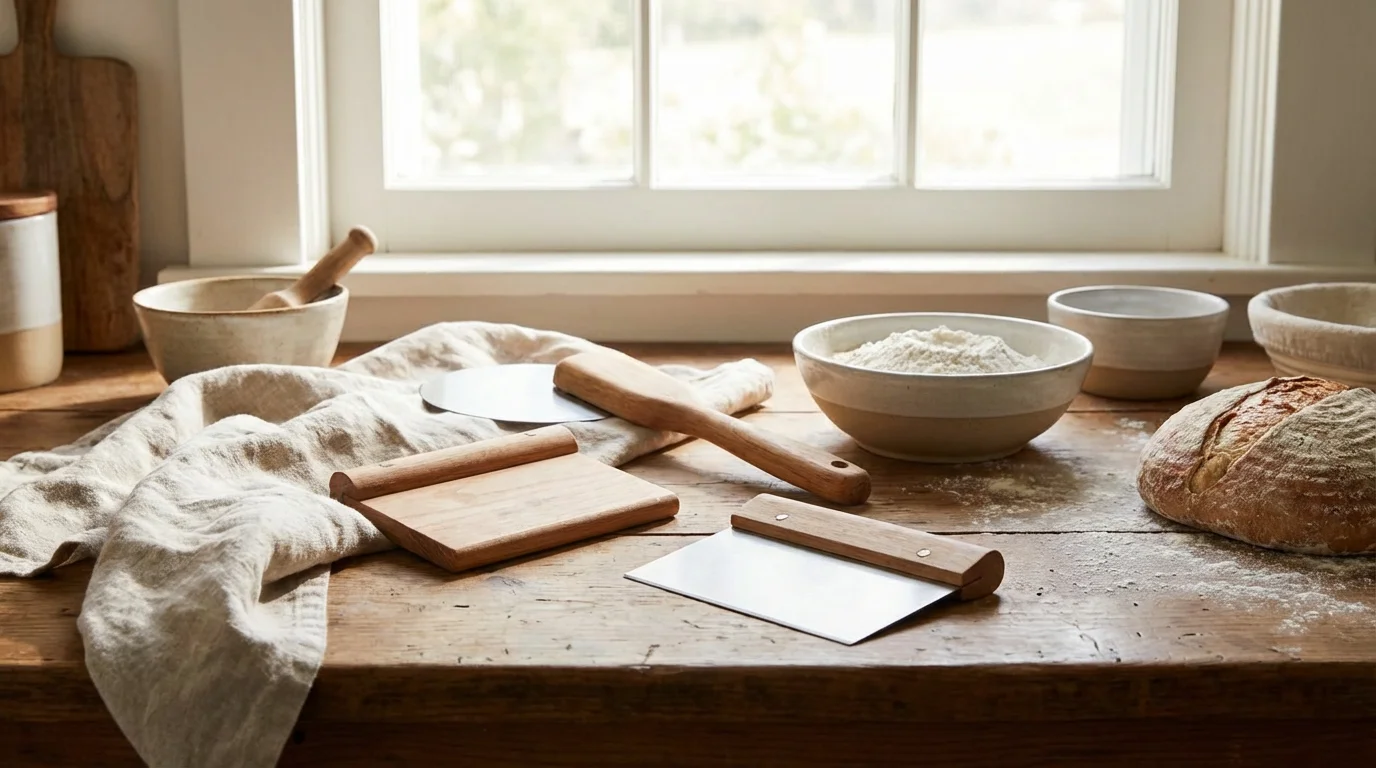
For cleaner baking, bench scrapers are excellent for leveling off cups and cleaning up excess flour from your counter.
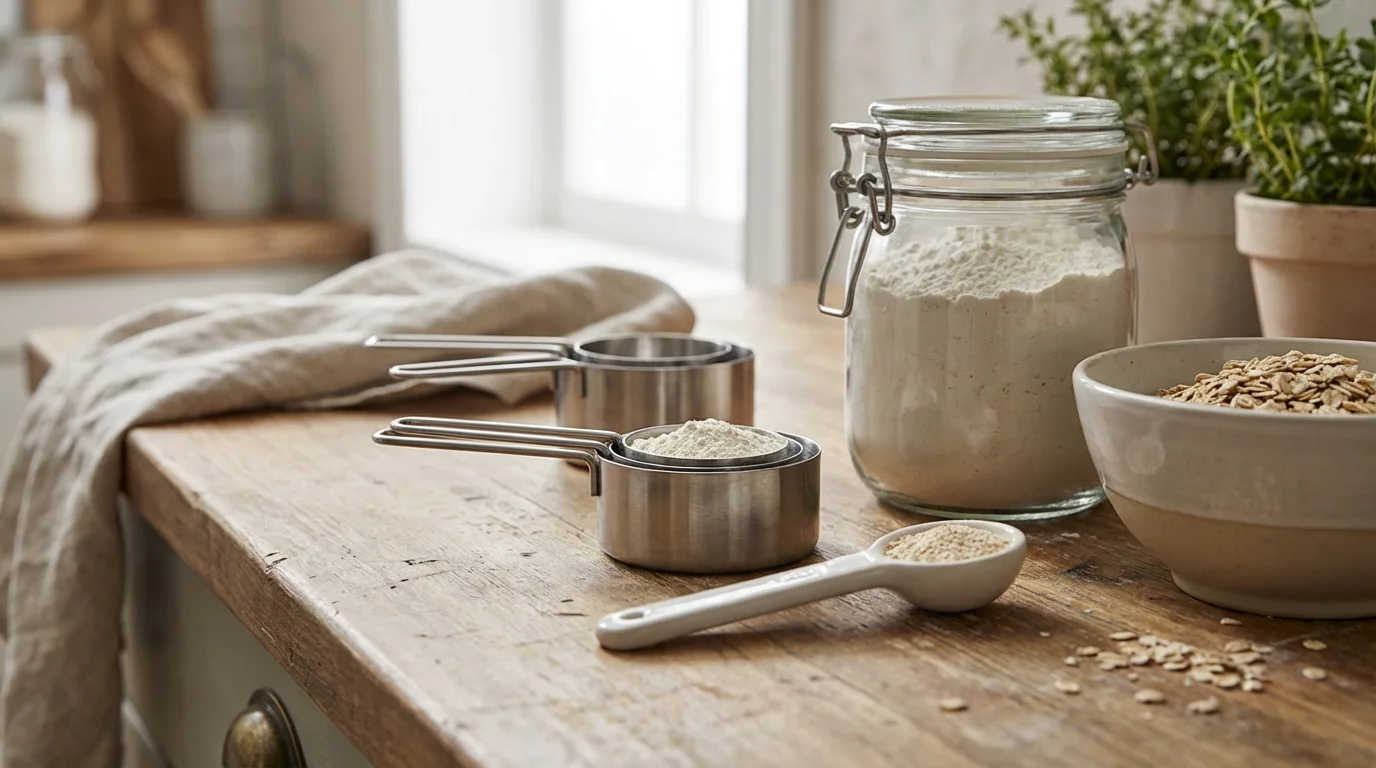
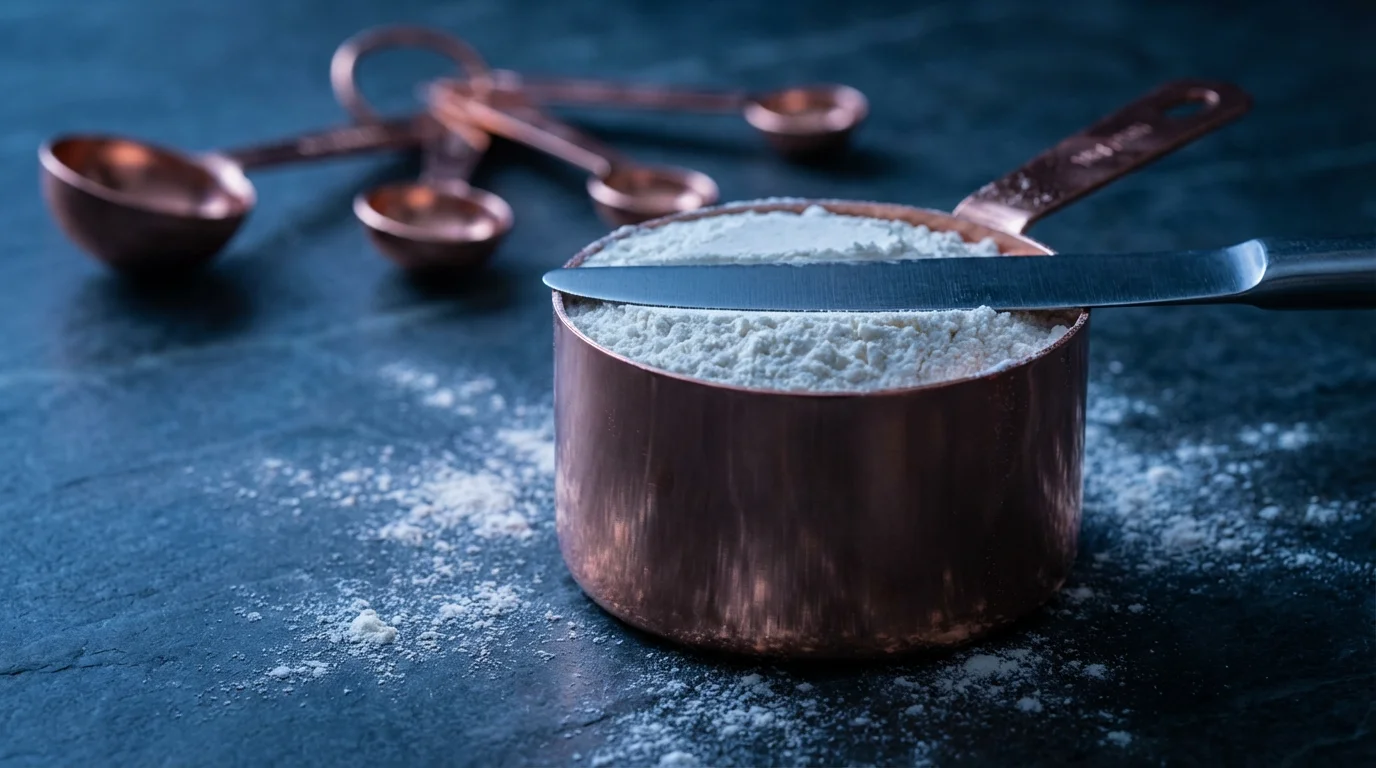
Dry Measuring Cups
Dry measuring cups typically come in sets of individual cups, often ranging from 1/4 cup to 1 cup. They feature a rim that allows you to level off ingredients, ensuring a precise amount. Common capacities include:
- 1 cup
- 1/2 cup
- 1/3 cup
- 1/4 cup
Some sets also include smaller increments like 1/8 cup. You use these for ingredients such as flour, sugar, oats, and nuts. To measure accurately with a dry measuring cup, overfill the cup slightly and then use a straight edge, such as the back of a knife or a flat spatula, to level off the excess.
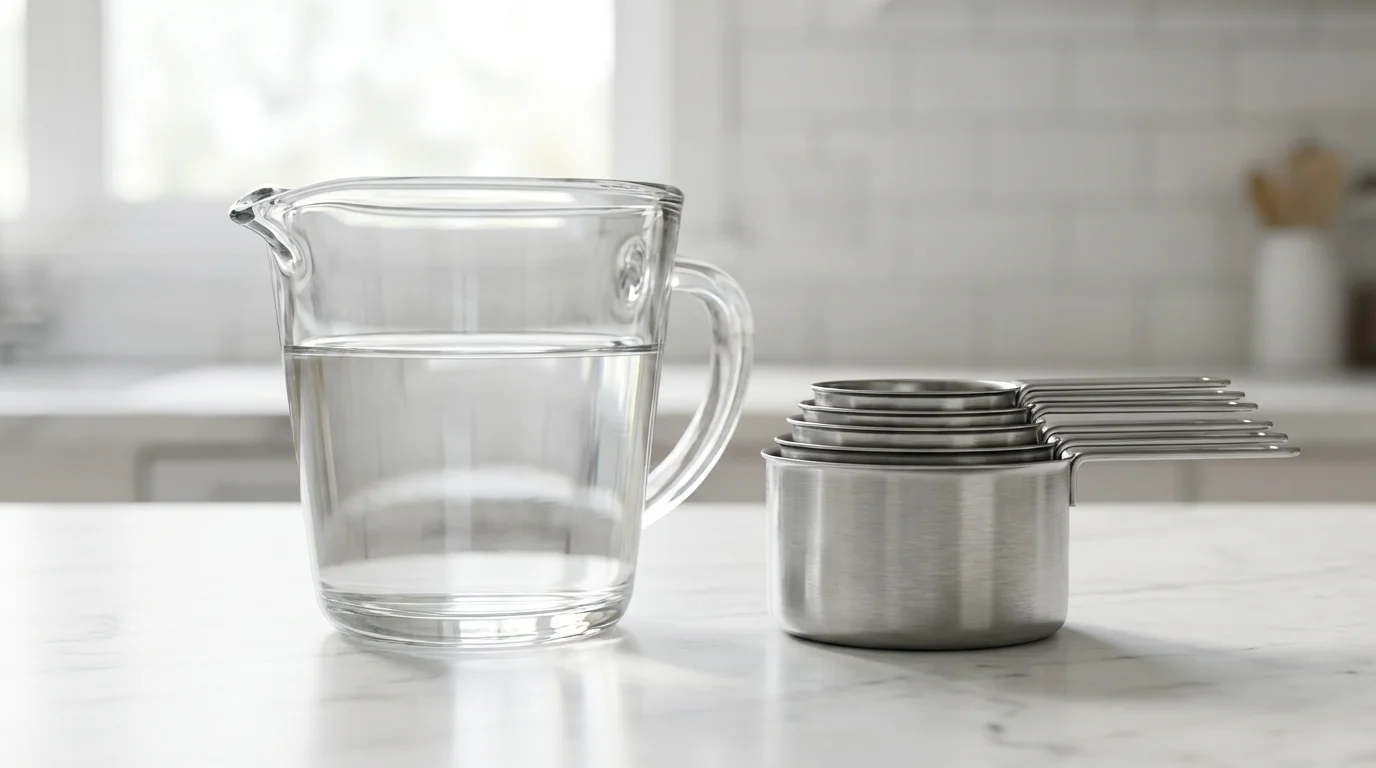
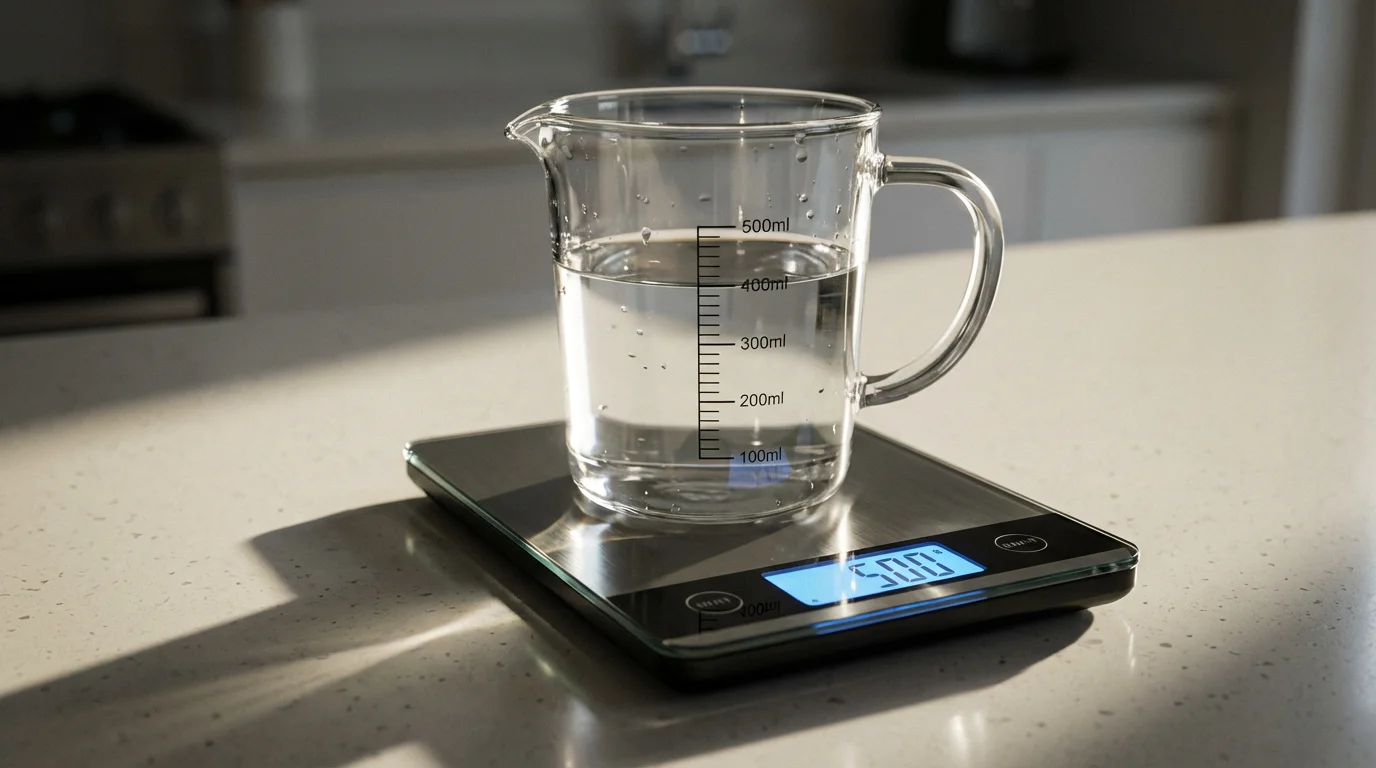
Liquid Measuring Cups
Liquid measuring cups usually feature a spout for pouring and a clear body with measurement markings along the side. They often come in larger capacities, like 1-cup, 2-cup, 4-cup, or even 8-cup sizes. The key to accurate liquid measurement is reading the meniscus at eye level. The meniscus is the curve formed by the liquid’s surface. You must crouch down to ensure your eye is level with the marking you intend to measure, avoiding parallax errors.
According to America’s Test Kitchen, using the appropriate measuring cup for the ingredient type is fundamental to consistent recipe results. They often highlight how subtle differences in technique or tools can significantly impact a dish.
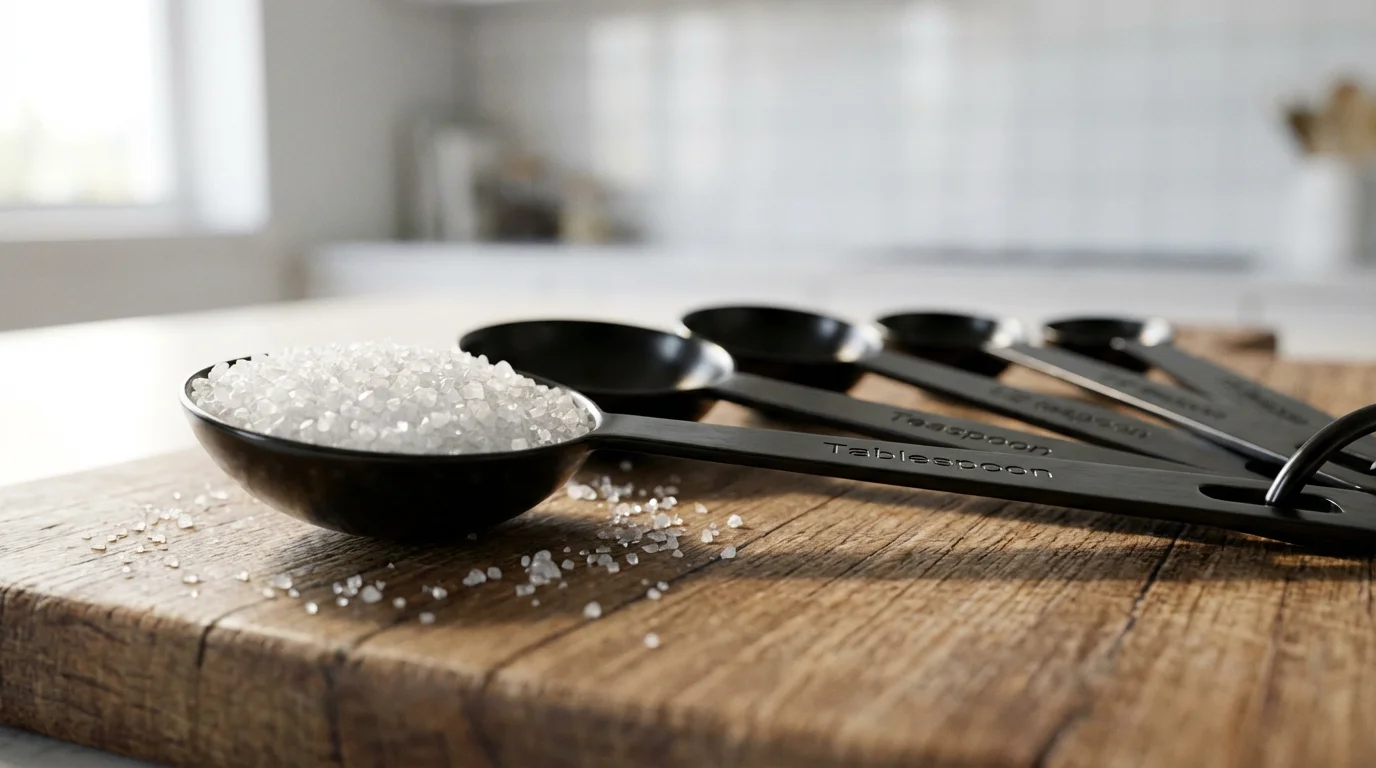
Demystifying Measuring Spoons: Small but Mighty
While measuring cups handle larger volumes, measuring spoons tackle the smaller, often potent, ingredients. These tiny but mighty baking tools are essential for spices, extracts, leavening agents, and sometimes small amounts of liquid. A standard set of measuring spoons includes:
If you often measure fresh garlic alongside dry spices, using high-quality garlic tools can ensure you get the exact amount required for your dish.
- 1 tablespoon (tbsp)
- 1 teaspoon (tsp)
- 1/2 teaspoon
- 1/4 teaspoon
Many quality sets also include 1/8 teaspoon and even 1/16 teaspoon (a “dash”). The design of measuring spoons is crucial for accuracy. Look for spoons with flat, level rims, similar to dry measuring cups, to allow for easy leveling of dry ingredients. For liquids, ensure the spoon holds the liquid without spilling when level. Some specialty spoons offer an elongated, narrow shape to fit into spice jars, a practical feature many home cooks appreciate.
“Even a slight over-measurement of a powerful ingredient like baking soda or a hot spice can drastically alter a recipe. Precision with measuring spoons prevents these common kitchen mishaps.”
Material Matters: Stainless Steel, Plastic, and Beyond
The material of your measuring tools significantly impacts their durability, accuracy, and ease of use. You will primarily encounter stainless steel, plastic, and occasionally silicone.
If you are already upgrading your prep station, consider how box graters and rotary graters can complement your new measuring tools for versatile food preparation.
Stainless Steel
Pros:
- Durability: Stainless steel is robust, resisting bending, warping, and breaking. It holds its shape well over time.
- Accuracy: Markings are often engraved or stamped, ensuring they remain legible even after years of use and numerous washings.
- Heat Resistance: You can use stainless steel tools for warm ingredients without fear of warping or chemical leaching.
- Hygiene: Non-porous surface is easy to clean and does not harbor odors or stains.
Cons:
- Cost: Generally more expensive than plastic sets.
- Weight: Can be heavier, especially for larger liquid measuring cups.
Plastic
Pros:
- Affordability: Plastic sets are typically the most budget-friendly option.
- Lightweight: Easy to handle, especially for those with hand fatigue concerns.
- Visibility (for liquid cups): Clear plastic liquid measuring cups make reading the meniscus easy.
Cons:
- Durability: Prone to staining, scratching, warping (especially in dishwashers or with hot ingredients), and cracking over time.
- Legibility: Printed markings can fade or wash off, rendering the tool useless.
- Chemical Leaching: Some plastics may leach chemicals, especially when exposed to heat or acidic ingredients, though many modern plastics are BPA-free.
Silicone
Pros:
- Flexibility: Ideal for scraping out sticky ingredients like honey or peanut butter.
- Heat Resistance: Generally safe for use with warm ingredients.
- Durability: Resists breaking and warping, often lasting longer than plastic.
Cons:
- Less Rigid: The flexibility can make precise leveling difficult for dry ingredients if not supported well.
- Staining: Lighter colored silicone can stain from strong spices or foods.
For longevity and consistent accuracy, stainless steel measuring cups and measuring spoons are often the best choice for serious home cooks. Plastic offers a good entry point for beginners or those on a tighter budget, but be prepared for potential replacement over time.
Key Features to Look For in Measuring Tools
When selecting your measuring cups and measuring spoons, consider these features that enhance usability, durability, and accuracy:
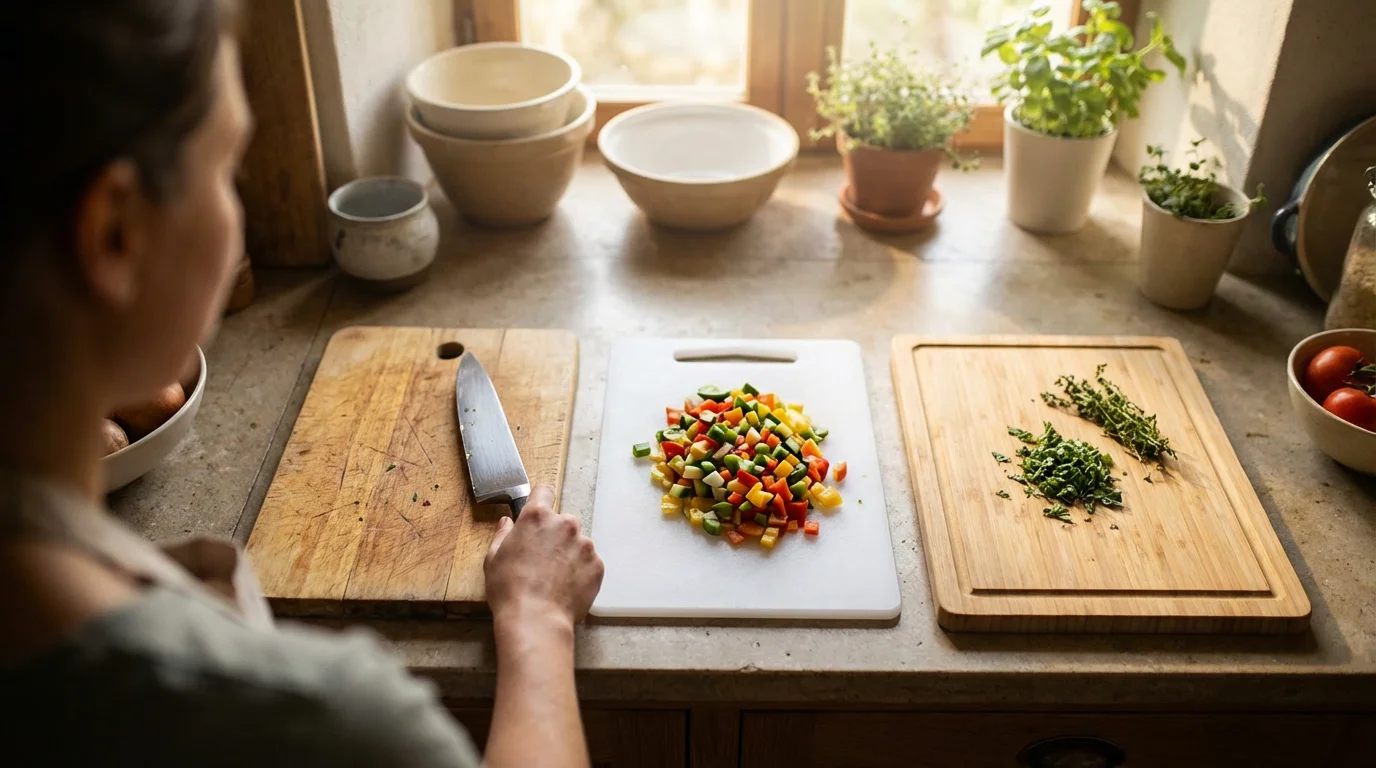
Additionally, ensure you are working on high-quality cutting boards to provide a level and sanitary surface for your measuring tools.
- Clear, Permanent Markings: Engraved or embossed markings on stainless steel are ideal. For liquid measuring cups, look for contrasting, easy-to-read markings that won’t fade.
- Sturdy Handles: Handles should be comfortable to grip and strong enough not to bend or break, especially when measuring dense ingredients.
- Nested Design with Rings: Many sets nest together for compact storage. A removable ring keeps spoons or cups together, preventing loss, but allows for individual use.
- Level Rims: Essential for accurate leveling of dry ingredients.
- Pour Spouts (Liquid Cups): A well-designed spout prevents drips and spills.
- Weight and Balance: Tools should feel balanced in your hand, not flimsy. Heavier gauge stainless steel indicates better quality.
- Variety of Sizes: Look for sets that include common fractional sizes and perhaps some less common ones (e.g., 1/8 tsp, 1/8 cup).
- Dishwasher Safe: For easy cleanup, ensure your tools can withstand the dishwasher if that is your preference. Stainless steel is almost always dishwasher safe.
Proper Technique for Accurate Measurement
Having the right tools is only half the battle; knowing how to use them correctly completes the equation. Master these techniques for consistent results:
Measuring Dry Ingredients
- Flour and Powders: Lightly spoon flour into the dry measuring cup until it is overflowing. Do not pack it down or scoop directly from the bag, as this compacts the flour and results in too much. Use a straight edge to level off the excess.
- Granulated Sugar: Spoon or scoop directly into the dry measuring cup and level off. Granulated sugar does not compress significantly.
- Brown Sugar: Pack brown sugar firmly into the dry measuring cup with your fingers or a spoon until it holds its shape when inverted. This is one of the few dry ingredients you should pack.
- Solid Fats (Shortening, Peanut Butter): Pack into a dry measuring cup, ensuring no air pockets, and level off. For convenience, you can also use the water displacement method for solid fats in a liquid measuring cup: if you need 1/2 cup of shortening, fill a 2-cup liquid measuring cup with 1 1/2 cups of water, then add shortening until the water level reaches 2 cups.
Measuring Liquid Ingredients
- Use a Liquid Measuring Cup: Always use a clear liquid measuring cup with a spout.
- Place on a Flat Surface: Set the measuring cup on a level countertop before filling.
- Pour to the Mark: Carefully pour the liquid until it appears to reach the desired mark.
- Read at Eye Level: Bend down so your eyes are level with the measurement line to accurately read the bottom of the meniscus.
Measuring Spoons (Dry and Liquid)
- Dry Ingredients: Scoop or spoon the ingredient into the measuring spoon. Level off any excess with a straight edge. For sticky powders like baking soda, ensure no clumps remain.
- Liquid Ingredients: Fill the spoon to the very top, creating a slight dome, but without spilling. Avoid measuring over your mixing bowl to prevent accidental spills of too much ingredient.
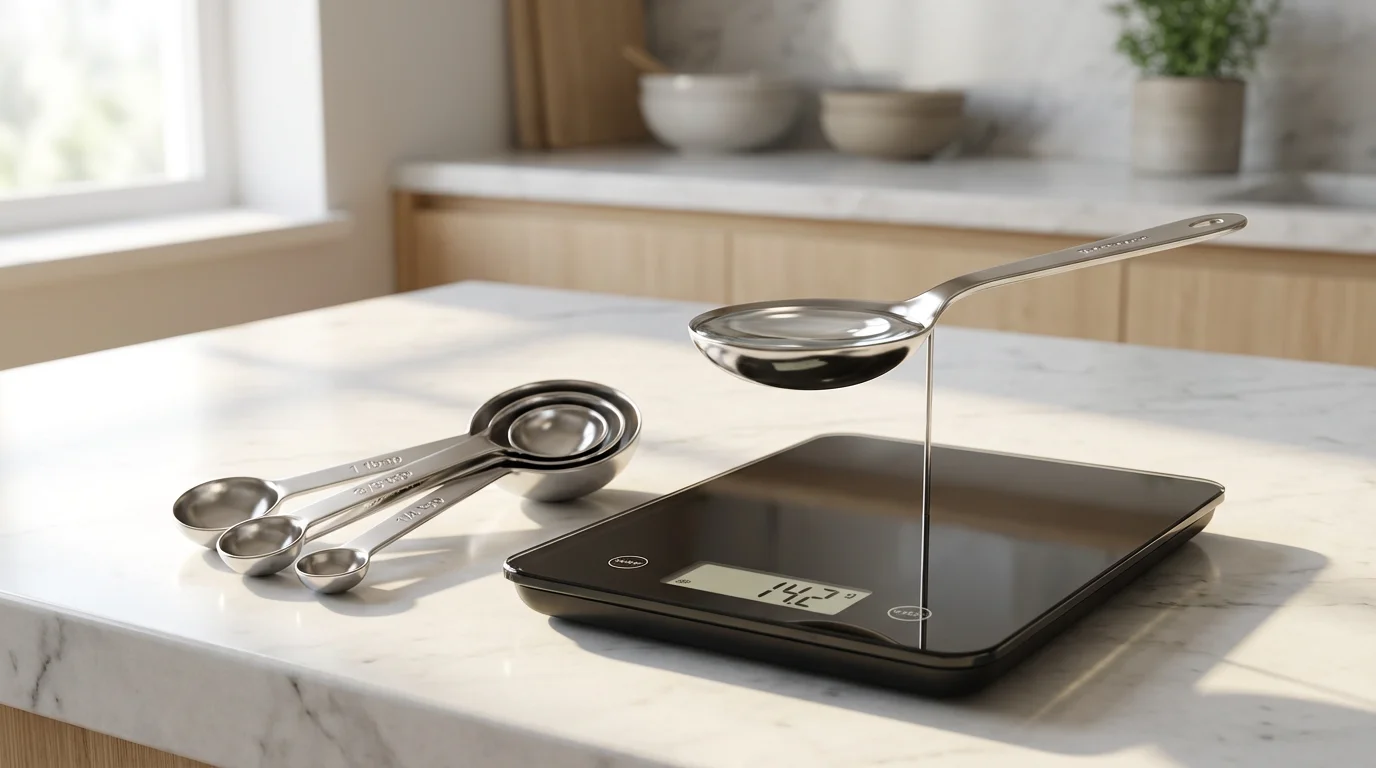
Calibrating Your Tools: Ensuring True Accuracy
Even the best measuring cups and measuring spoons can lose accuracy over time, or you might acquire a set whose markings are not quite precise. Periodically calibrating your tools helps ensure they provide true measurements. While professional calibration is unnecessary for home cooks, simple tests provide peace of mind.
The Water Weight Test (for cups)
A standard cup of water weighs approximately 8.34 ounces or 236.5 grams. You can verify your 1-cup liquid and dry measures using a kitchen scale. Pour water into your 1-cup measure, then weigh it. Close to 236.5 grams confirms accuracy. You can adjust for smaller cups by dividing this weight (e.g., 1/2 cup should be around 118 grams). This is a great way to check if your best measuring cups for dry ingredients are truly accurate.
The Comparison Test (for spoons)
To check your measuring spoons, compare them against a known accurate set, if you have one. Alternatively, fill a 1-teaspoon measure with water and carefully pour it into five 1/4-teaspoon measures. The liquid should fill all five perfectly. Similarly, two 1/2-teaspoons should equal one full teaspoon.
You can also use a precise digital scale to verify smaller measurements of common dry ingredients like sugar or salt. For instance, a teaspoon of granulated sugar weighs approximately 4 grams. While this varies slightly by ingredient density, it gives you a good general idea if your spoons are wildly off. This diligence ensures your baking tools are always performing at their best.
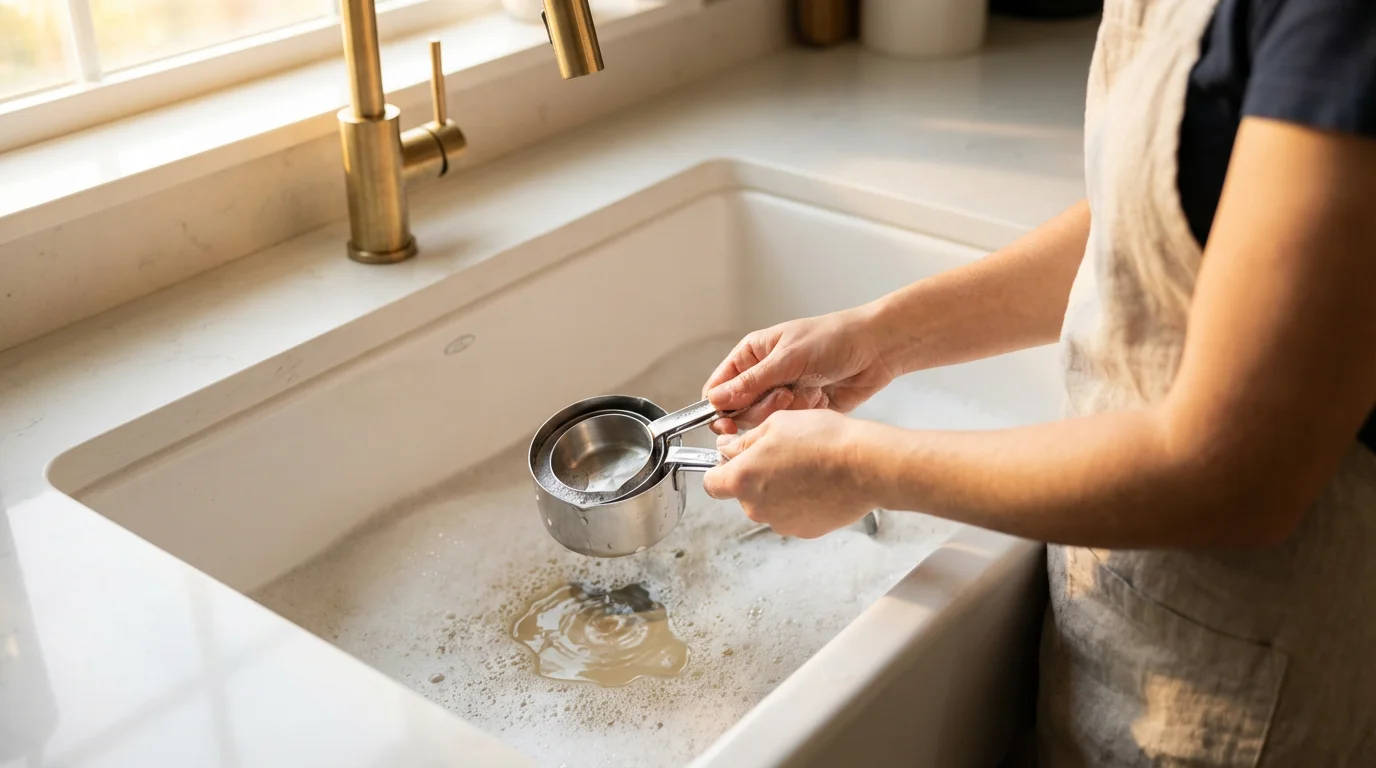
Maintaining Your Measuring Tools for Longevity
Proper care extends the life of your measuring cups and spoons, ensuring their accuracy for years to come.
Dishwasher Safe vs. Hand-Wash Only
Stainless Steel: Most stainless steel measuring tools are dishwasher safe. The high heat of a dishwasher generally does not affect their integrity or engraved markings. However, if you notice any residue or hard water spots, hand washing with warm, soapy water is a good option.
Plastic: Many plastic measuring tools claim to be dishwasher safe, but repeated exposure to high heat, especially in the bottom rack, can lead to warping, cracking, or fading of printed markings. For best results and longevity, hand-wash plastic measuring cups and spoons with warm, soapy water. Avoid abrasive scrubbers that can scratch the surface.
Silicone: Silicone is typically dishwasher safe and holds up well to heat. Hand washing is also easy due to its non-stick properties.
Storage Tips
- Keep Sets Together: Use the provided ring or store nesting cups and spoons together in a drawer to prevent loss.
- Avoid Clutter: Do not store heavy items on top of plastic measuring cups, as this can cause them to warp or crack.
- Dry Thoroughly: Always dry your measuring tools completely before storing them to prevent water spots and rust (for stainless steel, though less common).
Recommended Measuring Tool Sets for Every Cook
Choosing the right set depends on your cooking frequency, budget, and preference for materials. Here are some categories to guide your selection:
Beyond simple measurements, some complex recipes may require the power of food processors or blenders to achieve the perfect texture.
| Category | Description | Key Features & Benefits | Considerations |
|---|---|---|---|
| Best for Beginners | A reliable, affordable plastic set or basic stainless steel. | Clear, easy-to-read markings. Lightweight. Often budget-friendly. Good introduction to accurate measurement. | Plastic sets may warp over time, markings can fade. Less durable than stainless steel. |
| Best for Serious Cooks | High-quality, heavy-gauge stainless steel sets with engraved markings. | Exceptional durability, accuracy guaranteed over time. Comfortable, ergonomic handles. Dishwasher safe. Professional appearance. | Higher initial investment. Can be heavier. |
| Best Value | Hybrid sets, or well-reviewed stainless steel sets under $25-$30. | Good balance of durability and cost. Often includes a comprehensive range of sizes (e.g., 1/8 tsp, 1 1/2 tbsp). | May not have the same heft or refined finish as premium sets. Check reviews for legibility of markings over time. |
| Specialty Options | Adjustable measuring cups, elongated measuring spoons for spice jars. | Convenience for specific tasks. Reduces the number of individual tools needed. | Can be less precise than traditional tools if not well-designed. Adjustable mechanisms may be harder to clean. |
When selecting your tools, remember the advice from experts like Serious Eats Equipment Reviews: invest in tools that are comfortable to use, durable, and deliver consistent performance. This approach ensures your kitchen is equipped for success.
Frequently Asked Questions
What is the difference between dry and liquid measuring cups?
Dry measuring cups have a level rim for precise leveling of ingredients like flour and sugar. Liquid measuring cups have a spout for pouring and clear markings on the side, allowing you to read the measurement at eye level by observing the bottom of the meniscus, the curve formed by the liquid’s surface.
Are stainless steel measuring cups better than plastic ones?
Generally, yes. Stainless steel measuring cups offer superior durability, resistance to warping or staining, and feature engraved or stamped markings that will not fade over time. Plastic cups are more affordable and lightweight but are prone to damage, discoloration, and their printed markings can wear off.
How do I accurately measure brown sugar?
You should pack brown sugar firmly into a dry measuring cup with your fingers or the back of a spoon. Continue packing until it holds its shape when inverted from the cup, ensuring you get the correct density and amount.
Can I use a kitchen scale instead of measuring cups and spoons?
Yes, for many ingredients, using a kitchen scale for weight-based measurements provides the highest level of accuracy, especially in baking. Many professional recipes list ingredients by weight (grams or ounces). However, for very small amounts (like 1/4 teaspoon of an extract) or ingredients where volume is preferred (like chopped herbs), measuring spoons remain essential.
How do I clean sticky measuring spoons after measuring honey or syrup?
For sticky substances, rinse your measuring spoons immediately with hot water. The heat helps to loosen and dissolve the stickiness. If the residue persists, use a small brush or sponge with warm, soapy water. Some cooks spray spoons with a bit of cooking oil before measuring sticky ingredients for easier release and cleanup.
Disclaimer: Product prices and availability change frequently. Prices shown were accurate at time of writing but may have changed. We may earn a small commission from purchases made through links on this site, at no extra cost to you. Always use cutting tools carefully and follow manufacturer safety guidelines.

Leave a Reply