
A cast iron skillet is more than just a pan; it is a durable, versatile workhorse that can last generations with proper care. Many home cooks feel intimidated by cast iron, often due to myths surrounding its maintenance, but learning to properly season cast iron and keep it in top condition is straightforward. This guide delivers practical steps and actionable insights to help you master your cast iron skillet, ensuring it performs beautifully for years.
Understanding Cast Iron Seasoning
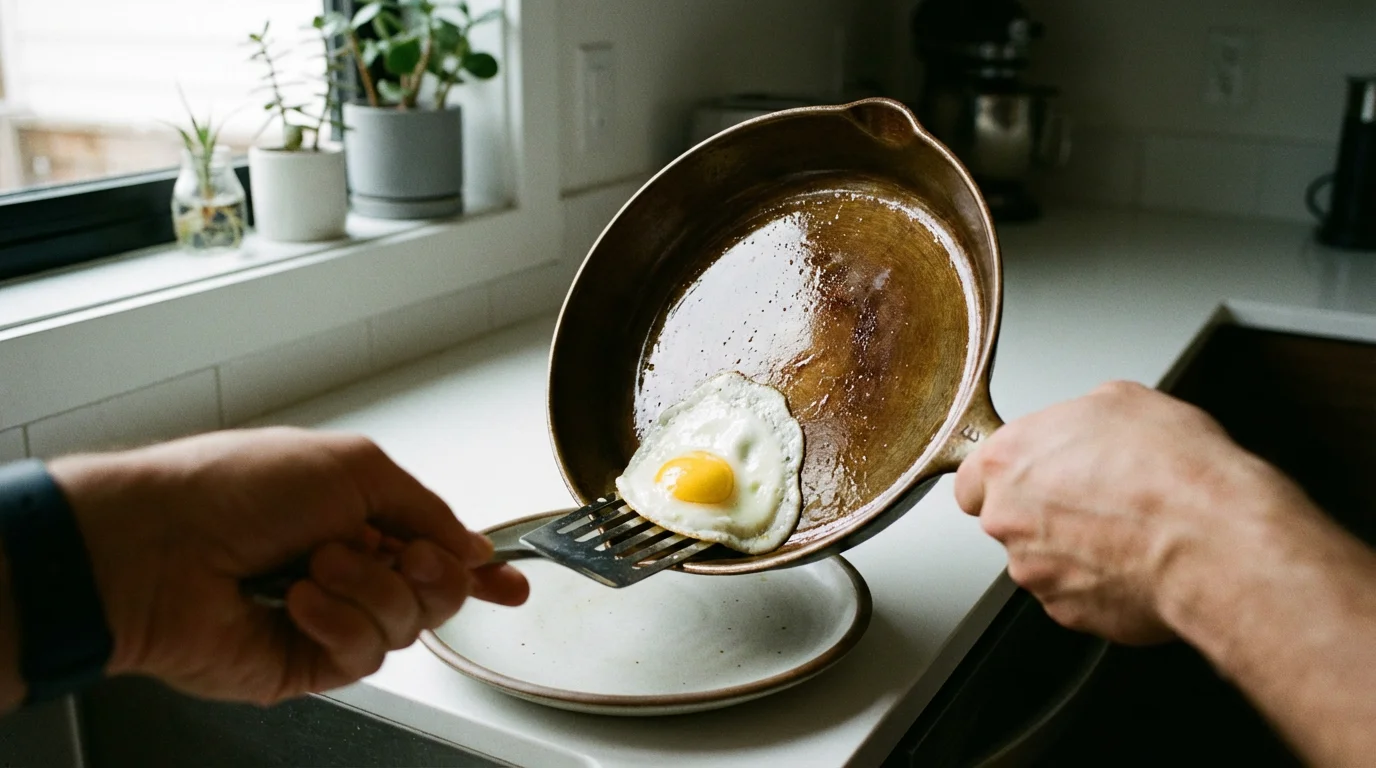
The term “seasoned” refers to a protective, non-stick coating that builds up on cast iron through the repeated application of oil and heat. This process polymerizes the oil, transforming it into a hard, slick layer bonded to the iron. This layer prevents rust, provides a natural non-stick surface, and enhances the flavor of your food. Without proper seasoning, your iron cookware can rust easily and food will stick, making cooking a frustrating experience.
This development of a natural patina is a characteristic shared with woks for home stir-frying, which also require regular maintenance to maintain their performance.
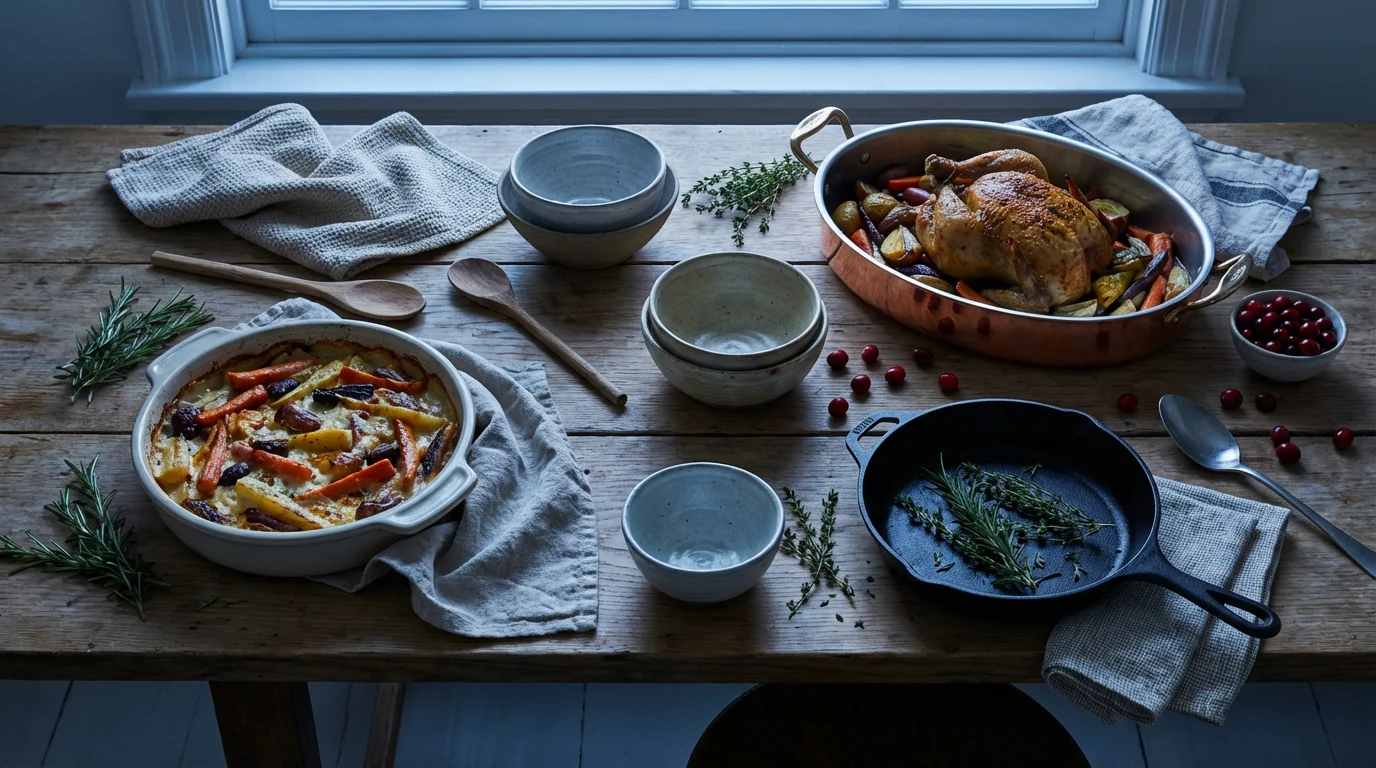
The beauty of cast iron lies in its excellent heat distribution and retention properties. Once heated, it holds temperature exceptionally well, making it ideal for searing steaks, frying chicken, or baking cornbread. However, this same characteristic means it takes longer to heat up evenly compared to thinner pans. Understanding this helps you preheat your skillet properly for optimal results.
Initial Seasoning for New Skillets
Most modern cast iron skillets come pre-seasoned from the factory, meaning they have a basic layer of polymerized oil applied. While this provides a head start, it is not a complete, robust seasoning. You must build on this foundation. Raw, unseasoned cast iron, which is less common now, requires more intensive initial preparation.
For Pre-Seasoned Skillets:
Even with pre-seasoned iron cookware, adding a few more layers of seasoning before heavy use significantly improves its performance and durability. This process reinforces the factory finish, giving you a better non-stick surface from the start.
- Clean Thoroughly: Wash the skillet with hot water and a small amount of mild dish soap. Use a stiff brush or sponge to scrub it clean. Rinse well and immediately dry with a towel.
- Heat to Dry: Place the skillet on a stovetop over medium heat for a few minutes. This ensures all moisture evaporates, preventing rust and preparing the pores of the iron for oil absorption.
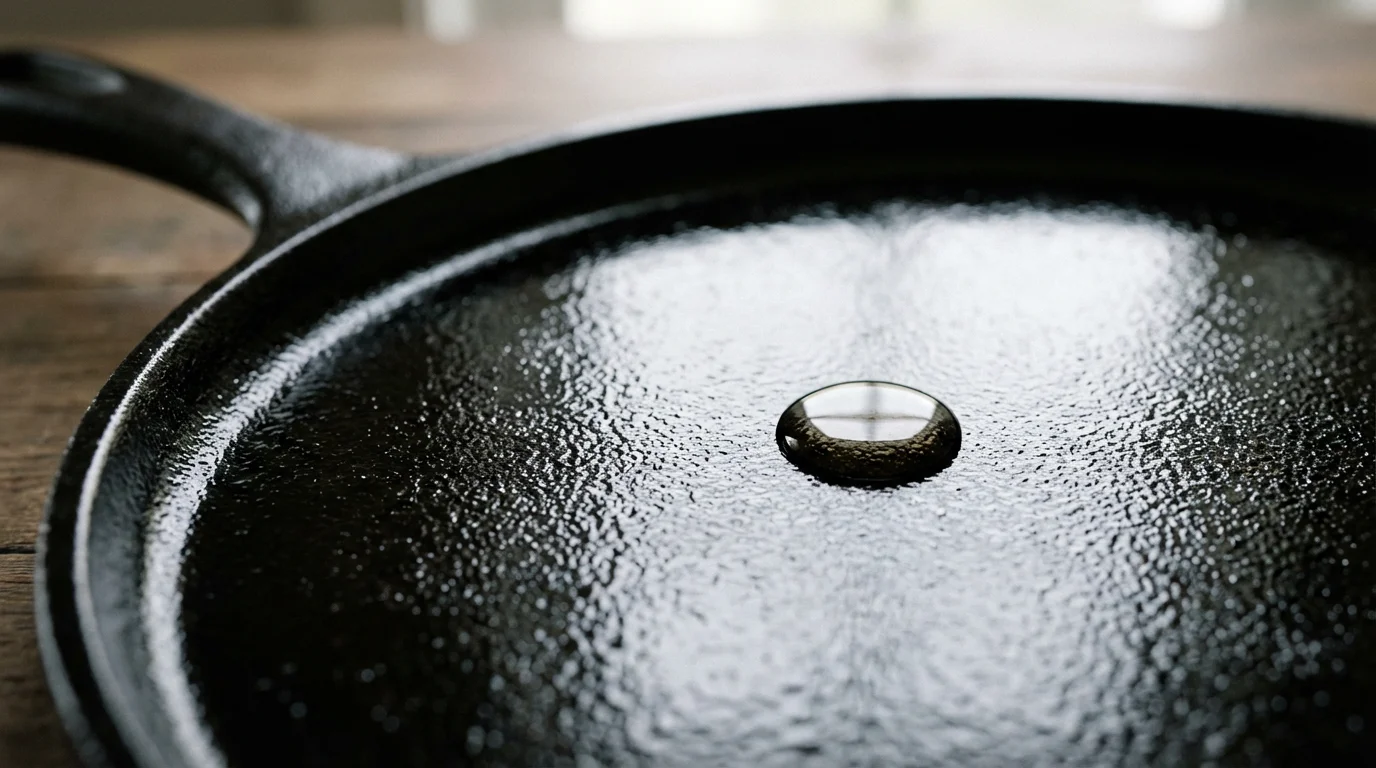
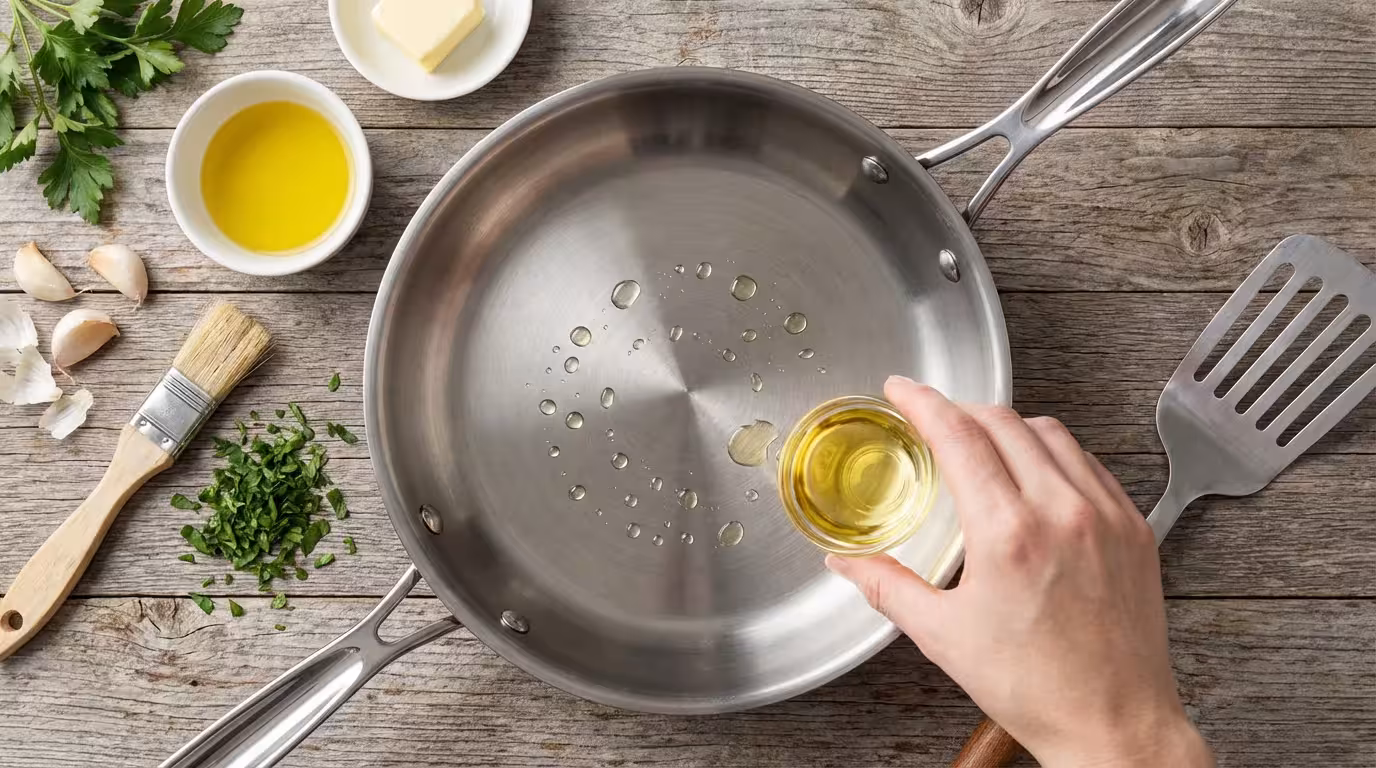
- Apply a Thin Layer of Oil: Once dry and slightly warm, remove from heat. Apply a very thin, even layer of high smoke point oil to the entire skillet, inside and out. Grapeseed oil, flaxseed oil, or vegetable oil work well. “Thin” is key here. Wipe off any excess with a clean cloth or paper towel; the pan should look dry, not greasy. Excess oil will lead to sticky, uneven seasoning.
- Bake the Skillet: Place the skillet upside down on the middle rack of your oven. Place aluminum foil or a baking sheet on the rack below to catch any drips.
- Bake at High Heat: Heat your oven to 450-500°F (232-260°C). Bake for one hour. The high temperature allows the oil to polymerize and bond with the iron.
- Cool Down: Turn off the oven and let the skillet cool completely inside the oven. This slow cooling helps the seasoning set.
- Repeat: For the best start, repeat this oiling and baking process 2-3 times. Each layer strengthens the seasoning.
“Think of seasoning not as a coating, but as a living skin for your pan. Every layer adds protection and improves performance. Patience is your best friend when building a great seasoning.” — Cookware Expert
For Raw (Unseasoned) Skillets:
If you acquire a truly raw cast iron skillet, perhaps an antique, you must thoroughly clean it and then follow the same steps as for pre-seasoned skillets, repeating the oiling and baking process 4-5 times to build a solid initial seasoning. Ensure no rust or debris remains before you start.
Daily Cleaning Your Cast Iron Skillet
Many myths surround cleaning cast iron, especially the idea that soap will ruin your seasoning. This is largely outdated. Modern dish soaps are milder than lye-based soaps of the past and will not strip away properly polymerized seasoning. As America’s Test Kitchen often demonstrates in their tests, using a small amount of mild dish soap is perfectly acceptable for cleaning a seasoned cast iron pan. The key is to clean gently and dry thoroughly.
These gentle cleaning methods are equally effective for maintaining grill pans for indoor grilling that feature the same seasoned iron surface.
- Clean Immediately After Use: While the skillet is still warm, but not scalding hot, scrape out any food residue. A metal spatula works well for stuck-on bits.
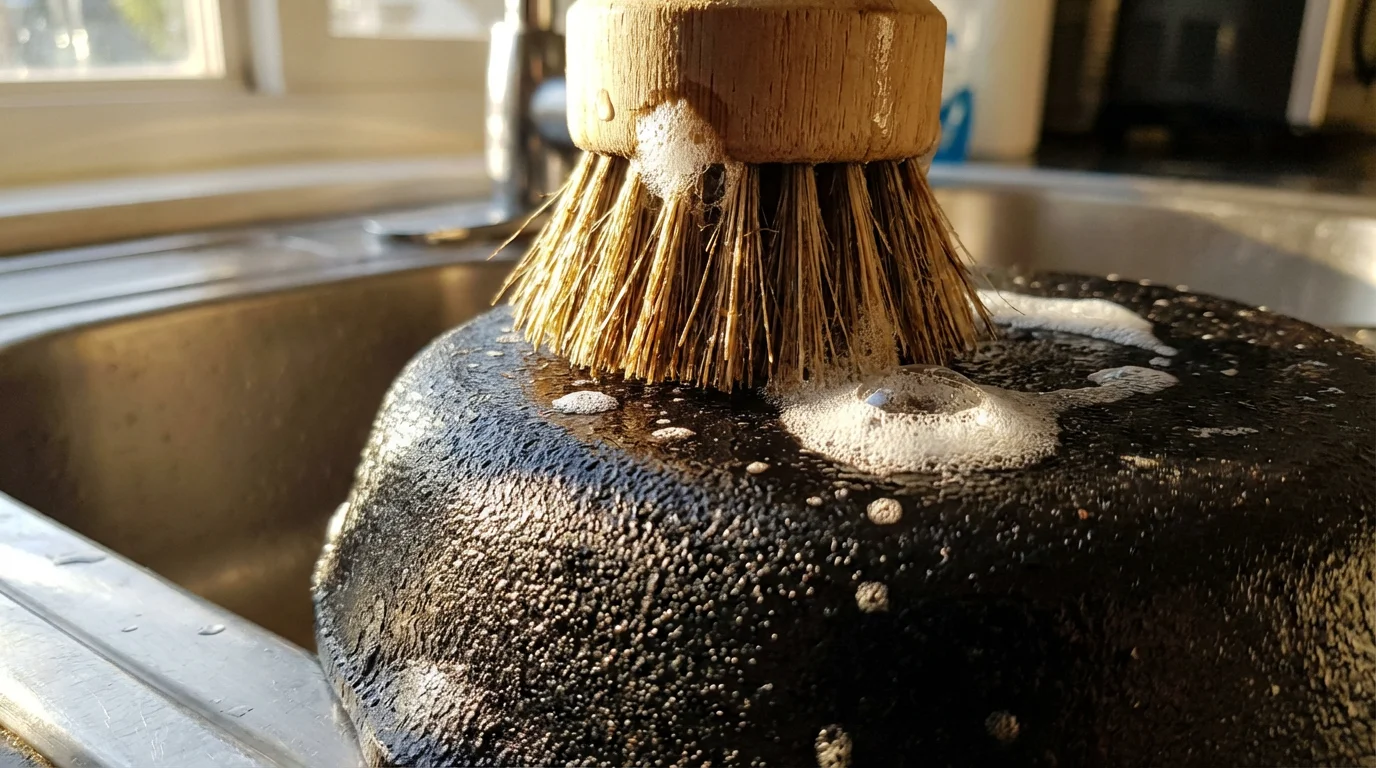
- Wash with Hot Water: Use hot water and a stiff brush or non-abrasive sponge. For stubborn food, a small amount of mild dish soap is perfectly acceptable. Avoid steel wool or harsh abrasive pads, which can damage the seasoning.
- Stubborn Food: If food remains stuck, add a tablespoon of coarse salt to the pan and scrub with a paper towel. The salt acts as a gentle abrasive. Rinse thoroughly.
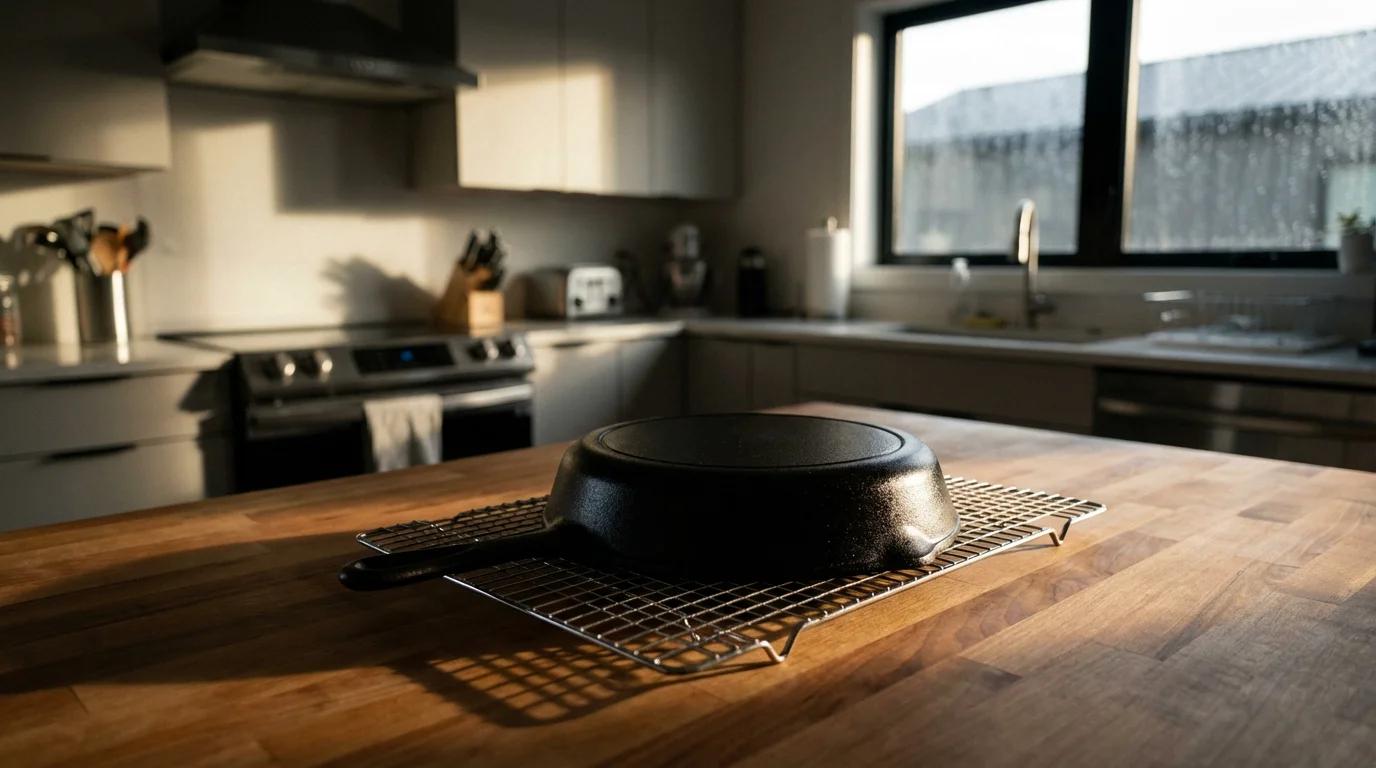
- Rinse and Dry Immediately: Rinse all soap and food particles. Place the skillet back on the stovetop over low-medium heat for 1-2 minutes until all water evaporates. This is crucial to prevent rust.
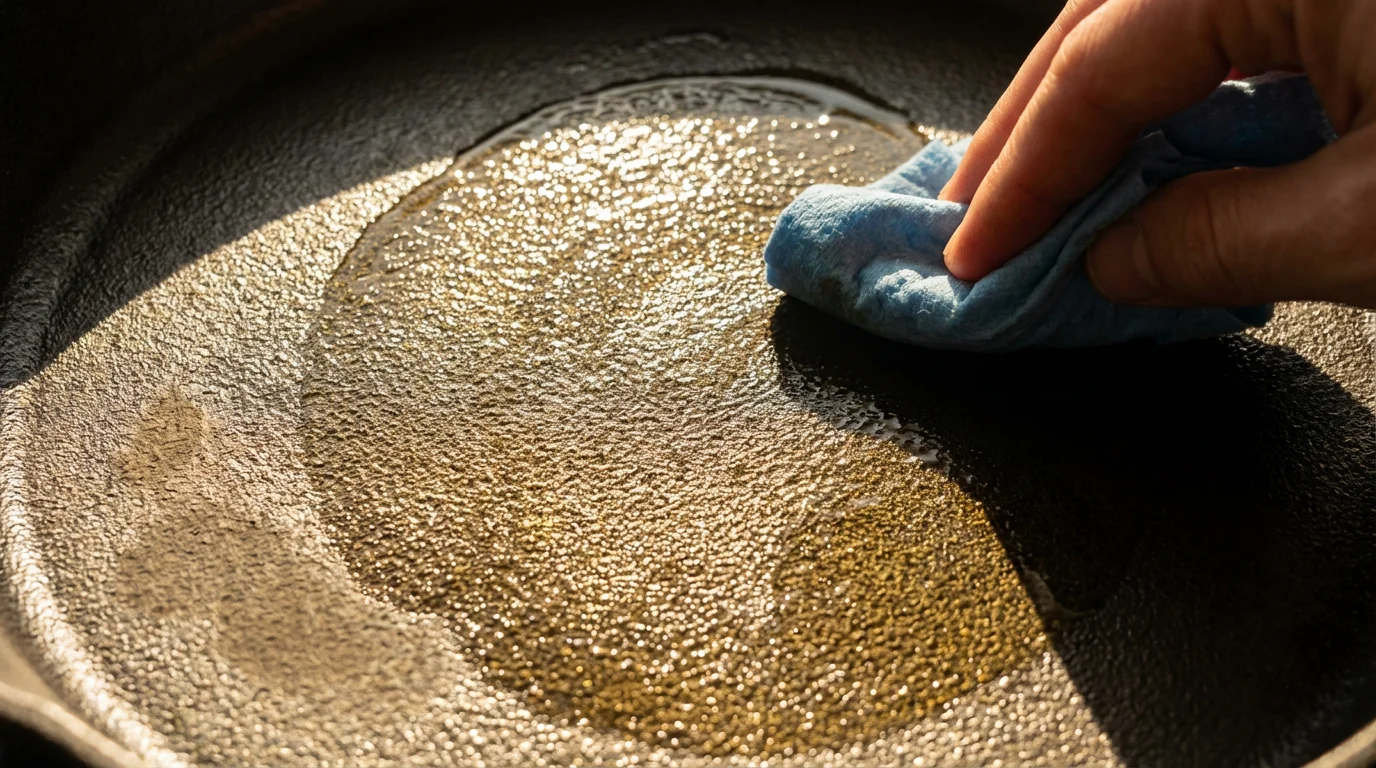
- Apply a Maintenance Oil Layer: Once dry and warm, add a few drops of cooking oil, like vegetable or grapeseed oil, to the interior of the skillet. Wipe it around with a paper towel until the pan looks lightly oiled, not greasy. The goal is a barely visible sheen. This step replenishes the seasoning after each wash and ensures ongoing protection.
- Store Properly: Store your skillet in a dry place. If stacking, place a paper towel between skillets to prevent moisture buildup and scratches.
Routine Maintenance: Re-Seasoning Your Skillet
Your seasoning improves with every use, especially when cooking with fats. However, certain foods, like acidic tomatoes or wine sauces, can degrade seasoning over time. Excessive scrubbing or accidental overheating can also wear it down. You know your cast iron needs re-seasoning when food starts sticking more frequently, or you notice dull, dry patches.
If you enjoy the benefits of seasoned metal but find the weight of cast iron difficult to handle, carbon steel pans serve as a lighter alternative with similar heat properties.
When to Re-Season:
- Food consistently sticks.
- The surface looks dull, dry, or patchy.
- You have cooked acidic foods that stripped some seasoning.
- You notice light rust spots.
How to Re-Season:
The process for re-seasoning is identical to the initial seasoning steps. You are simply adding new layers. Clean the skillet thoroughly, dry it completely on the stovetop, apply a very thin layer of high smoke point oil, and bake it in a 450-500°F (232-260°C) oven for one hour. Let it cool slowly in the oven. Repeat this process 1-2 times as needed. Regular re-seasoning ensures your cast iron skillet remains a reliable, non-stick surface.
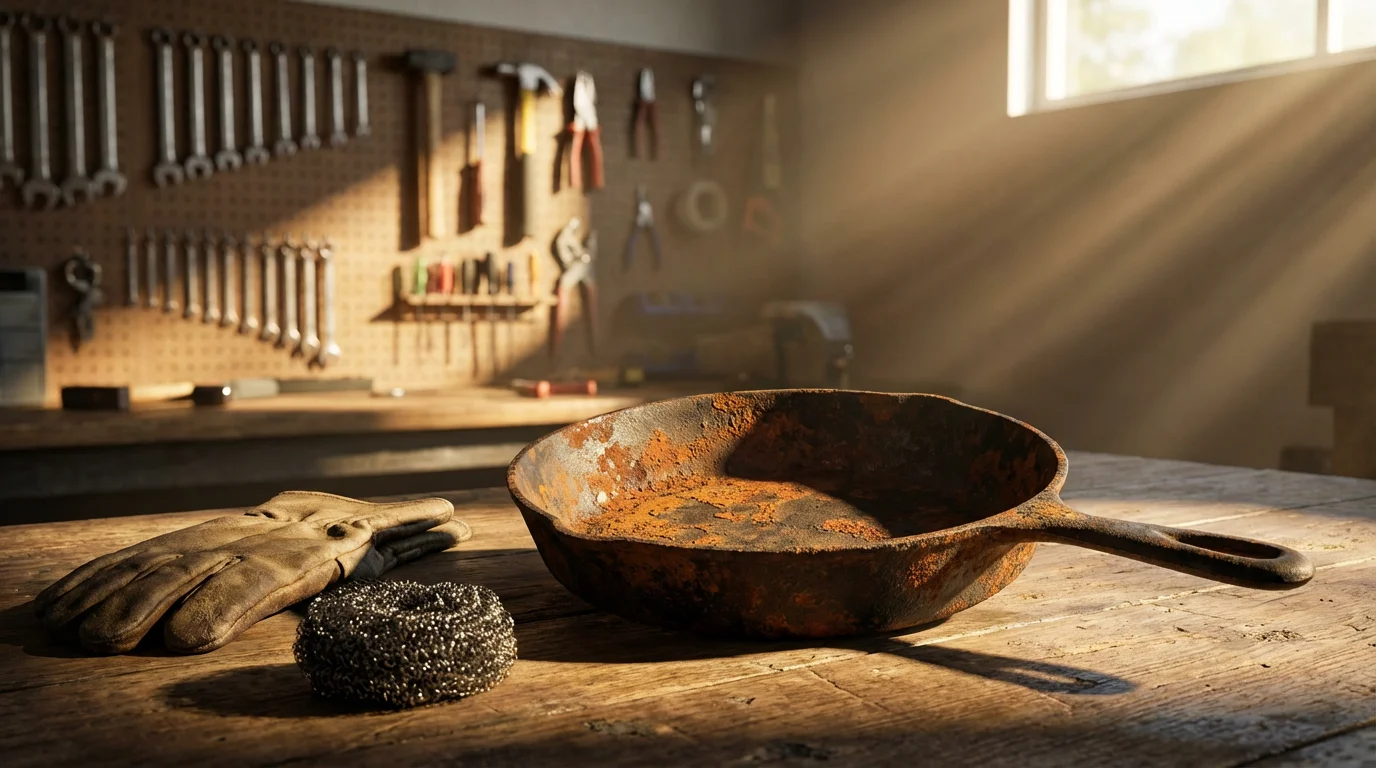
Restoring a Rusty Cast Iron Skillet
Rust is the most common issue with neglected iron cookware, but it is not a death sentence. You can almost always bring a rusty cast iron skillet back to life with some effort.
- Remove the Rust:
- Mild Rust: For light rust spots, scrub vigorously with a stiff brush or a coarse salt and oil paste. A potato cut in half with some dish soap and salt can also be an effective scrubbing tool.
- Moderate Rust: For more extensive rust, use fine steel wool or a metal scrubber. You may need to use a little elbow grease.
- Heavy Rust: For severely rusted skillets, consider using a wire brush attachment on a drill or an orbital sander, with caution and appropriate safety gear, to remove all rust. Alternatively, an electrolysis setup or a strong rust remover solution, ensure it is food-safe and follow all instructions, can tackle extreme cases.
- Wash Thoroughly: After removing all visible rust, wash the skillet thoroughly with hot, soapy water. Use a brush to ensure all rust particles and residue are gone. Rinse well.
- Dry Immediately: Place the skillet on the stovetop over medium heat for several minutes to ensure it is bone dry. Any remaining moisture will allow rust to return quickly.
- Re-Season: Once completely dry, proceed with the initial seasoning steps outlined earlier. Apply several layers of seasoning, 3-5 applications are recommended, to build a robust, protective barrier. This is the crucial step to prevent future rust and create a non-stick surface. Your newly restored skillet will be ready for cooking.
Common Cast Iron Myths Debunked
Understanding the facts helps you care for your cast iron effectively. Let’s tackle some common misconceptions.
| Myth | Fact |
|---|---|
| You can never use soap on cast iron. | Modern mild dish soap is fine. It does not strip properly polymerized seasoning. Just avoid harsh scourers. |
| The more oil, the better the seasoning. | False. Excess oil leads to gummy, sticky patches. A very thin, almost invisible layer of oil is best for seasoning. |
| Cast iron is naturally non-stick from day one. | While pre-seasoned, it improves significantly with use and additional seasoning layers. It becomes truly non-stick over time. |
| You must only cook high-fat foods in cast iron. | Cooking with fat certainly helps seasoning, but a well-seasoned pan handles a wide range of foods. Avoid highly acidic foods for prolonged periods. |
| Rust means your pan is ruined. | Not at all. Rust is treatable and reversible. You can restore even heavily rusted skillets with proper cleaning and re-seasoning. |

Choosing Your First Cast Iron Skillet
When looking for the best cast iron skillet for beginners, simplicity and value often outweigh expensive, artisanal options. A good quality, pre-seasoned skillet from a reputable brand offers an excellent starting point without breaking the bank. For many, a 10-inch or 12-inch skillet provides the most versatility for everyday cooking.
Brands like Lodge offer exceptional value and quality. Their skillets are robust, come pre-seasoned, and provide excellent performance for their price point. They are readily available and built to last. For those new to iron cookware, starting with a Lodge 12-inch skillet provides a perfect foundation for learning proper care and enjoying the benefits of cast iron cooking.
According to Serious Eats, Lodge often performs comparably to much more expensive brands in terms of heat retention and durability, making it a smart choice for both beginners and experienced cooks.
When selecting your pan, check for a smooth, even surface. While minor imperfections are normal for cast iron, significant bumps or pitting can affect cooking performance. Look for a comfortable handle, as cast iron can be heavy, especially when full of food. Always ensure the pan is oven-safe, which nearly all cast iron skillets are, typically up to very high temperatures, often 500-600°F or 260-315°C.
Frequently Asked Questions
Can I cook acidic foods like tomatoes in my cast iron skillet?
For tasks that require simmering acidic ingredients for a long time, it is generally safer to use the best saucepans made from non-reactive materials to avoid stripping your seasoning.
You can cook acidic foods in a well-seasoned cast iron skillet, but do so for short periods. Prolonged contact with highly acidic ingredients, such as tomato sauce or wine-based reductions, can strip away your seasoning, potentially leading to a metallic taste and food sticking. If you do cook acidic dishes, clean and re-oil your skillet immediately afterward.
How often should I re-season my cast iron skillet?
The frequency of re-seasoning depends on your usage. If you use your skillet daily and follow the post-wash oiling routine, you might only need a full oven re-seasoning every few months. If you notice food sticking more, dull spots, or you have cooked acidic foods, it is a good time to add another layer or two. The goal is to keep the surface consistently slick and protected.
What type of oil is best for seasoning cast iron?
High smoke point oils are best for seasoning. Popular choices include grapeseed oil, flaxseed oil, vegetable oil, canola oil, and even lard or bacon grease. Flaxseed oil often creates a very hard, durable seasoning but can be prone to flaking if applied too thick. The most important factor is applying a very thin layer and heating it to its smoke point. You can use less expensive vegetable oil for routine maintenance.
Disclaimer: Product prices and availability change frequently. Prices shown were accurate at time of writing but may have changed. We may earn a small commission from purchases made through links on this site, at no extra cost to you. Always verify current pricing on the retailer’s website before purchasing.


Leave a Reply